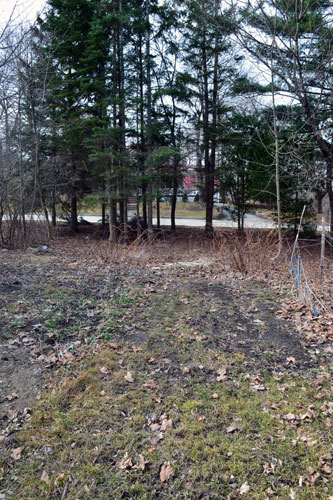
As we mentioned WAYYYYYY back here when we were writing up our New Year’s resolutions, we vowed to spend more time outside this summer. Not only do I plan to hammock so hard this summer, but also tackle a few long, does-it-ever-end yardscaping to-do list. And even though the temps dipped down to near freezing (we’re talking 35-40 degrees here), that didn’t keep us inside this past weekend and we got to work building a few raised beds for our veggie garden. Now, let me properly introduce you to our garden, mind you it’s March in Maine so things just look gross. This here is our back backyard.
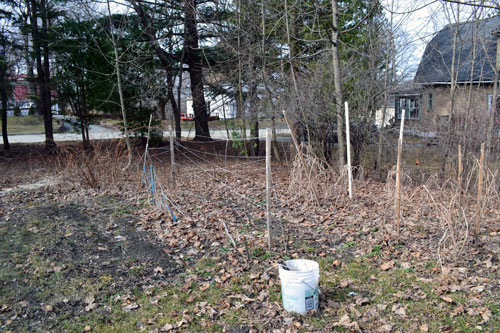
Our yard is a little strange, which is only fitting because we’re a few sandwiches short of picnic ourselves. Our yard spans the distance between two streets, making it twice as long as any of our neighbors’ yards. It’s almost like having two yards except that they’re pretty narrow. We have the backyard, which includes the shed area and the shady spot where I like to set up my hammock, and then there’s the back backyard. The back backyard is kind of like no man’s land. We really don’t go back there much, it’s kind of woodsy/unkept back there, and it’s been sorely neglected. Occasionally when we take Goose for a walk we’ll head back there but that’s on extremely rare occasions. So anyway, the pic above you’re looking into our garden and the back backyard. Now below, this is garden stage right.
That’s where we’ve grown our successful tomato, green bean, and pea gardens. The old man who used to live in our house had a very successful garden and surprisingly left us with a rototiller! Score! And then there’s garden stage left.
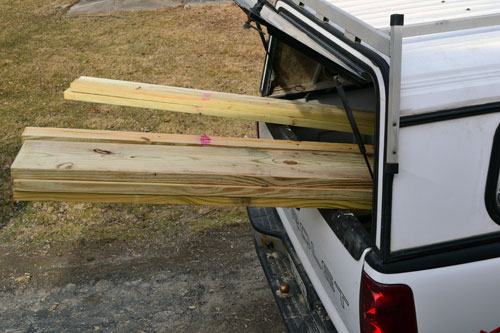
This is where we’ve quite unsuccessfully grown cucumbers, lettuce and beets. This side of the garden is a bit…well…difficult. You see, it’s a little wet over there. And by wet I mean who left the flood gates open for Niagra Falls to come crashing through our backyard to drown our sad little garden. We’ve tried to grow veggies there twice and both times failed. We sink several inches into the ground as we try to tend to the plants even in the middle of a heatwave. Our solution…raised beds and some gravel garden paths. We figure that the raised beds with a boat load of gravel will keep everything up above the swampy mess that is this section of the yard and should help our plants grow. So our project started with a trip to our local lumber yard, this time to Viking Lumber just down the road from us. We try to buy all our wood at local stores as opposed to the big box stores (Lowes & Home Depot in our area).
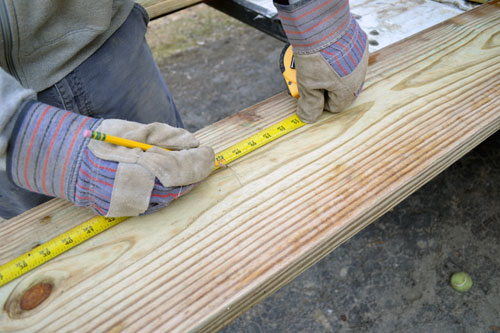
There’s extra pressure treated lumber in there for a super secret project that Colby has been working on for me. I can’t wait to share it with you…it totally rocks my socks off! So the plan for the raised beds was to build four beds measuring 4′ x 8′ each. For the project, we used eight 10″ x 12′ pieces of pressure treated wood. This meant that it took exactly two boards to complete one planter box with a cost of about $12 per board so each planter cost only $24. So to begin, Colby started measuring out the 4′ and 8′ sections:
Then squared up his measurements:
And cut the wood using a circular saw:
We weren’t too worried about cuts being overly exact or completely square since these were just a bunch of rustic, planter boxes. Precision wasn’t necessarily key here but it always helped. After making the cuts, we were left with two 8′ boards and two 4′ boards. Apparently I’m a premature picture taker because one of the boards is missing from this pic.
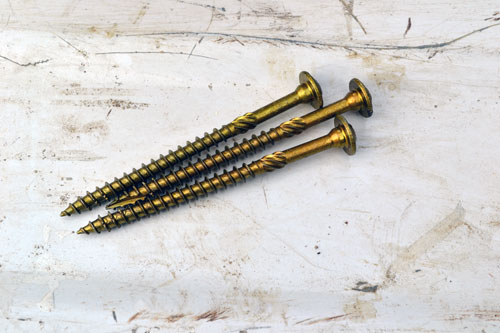
Ooops. Next it was time to screw the boards together. Colby chose some heavy duty, 5/16″ x 3-1/2″ wood screws. What can I say, he likes things built ruggedly. The screws set us back about $0.40 each and we used eight for each planter.
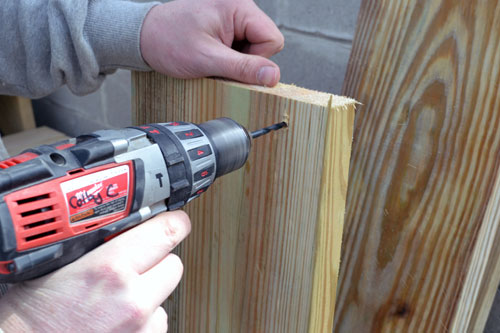
Before piecing together the planters, Colby made sure to drill pilot holes in each of the shorter boards to make it easier to drill the screws into the wood and avoid wood splitting, since he was drilling into the edge of the board.
And yes, Colby writes his name on this tools, just like a kid. He has to make sure no one steals his toys! Then we played our “smarty pants” card and lugged all the wood out to the back backyard BEFORE assembling the planters. It was much easier to carry each piece individually rather than move the whole planter box across the yard…awkwardly and heavily. Then, using an impact driver Colby screwed all the plants together using the pilot holes he drilled earlier and the 3-1/2″ wood screws.
Voila…four planter boxes.
The whole project took Colby about half an hour to do…if that. The longest part of the whole ordeal was trying to level out and straighten up everything. That’s actually what the stakes and string in the above picture are for. Colby used a line level to keep the tops of the beds level and straight. Here’s a closeup so you can get a better look at the line level.
It’s still a work in progress since the rain decided to rear it’s ugly head just when we got around to adding dirt and finish leveling the planters. Note…we opted not to use landscape fabric in the bottom of the planters. Normally you would do this, but you see, I have this strange affection for weeding the vegetable garden so I got a little sad about weed blocking with the landscape fabric and Colby first called me crazy and then agreed not to use it. Weird…I know.
We still have to finish leveling up the planters since a couple of them slope strangely thanks to some random bumps in the ground. Colby has also been working on crafting a drainage system in hopes of moving out some water. It’s nothing fancy, just some little ditches with drainage gravel. Hopefully this weekend we’ll finish filling the planters, throw down some gravel and start working on a garden path. Big plans, big plans.
And speaking of big plans, true to form I started working on a yard-work to-do list. Here’s what I’ve got so far…including the planter project since I have a compulsive need to check things off my lists:
Build four raised beds in the swampy section of the garden- Lay stone around the raised beds
- Become masters of our lawn and show it who’s boss (aka…grow a greener, more luscious lawn instead of a muddy mess)
- Create a garden path using hand crafted, DIY stepping stones, gravel, and filler plants
- Plant our veggie garden once the temps rise
- Build a potting bench
- Jack the shed (it’s sinking…like I said…swampy yard)
- Build a trellis by the deck and plant climbing roses
- Start shade gardening in the back backyard
- Deck garden using various mis-matched containers
- Add a horseshoe pit
- Install a patio with a built-in fire pit
- Replace the “temporary” cellar door with something a bit cuter
- Fix the stairs going down to the basement from the backyard
That’s all I’ve got for now but I’m sure the list will grow/change in the near future. We’re already making some serious progress on the yard work front and it’s only March! Woo to the hoo! When’s it going to be 80 degrees outside again?!






Looks like a great place to plant those moisture loving vegies, like cucumbers and squash. Nice job!!
I must email to talk about said moisture loving veggies. I do not know of this information you speak of!