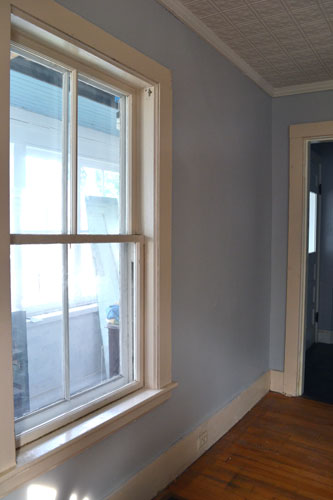
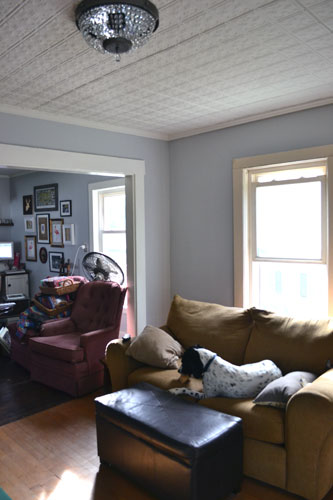
Or more like prime, paint repeat. It feels like the hundredth time that I’ve painted the living room, even though in reality it was only the second time. But I have amassed a whopping six coats of paint in the room. After stripping all the wallpaper and patching the plaster walls during our first month of home ownership back in 2010, it took two coats of primer followed by two coats of cream paint to get it looking decent. Then I decided to go grey and now it’s time to repaint the room.
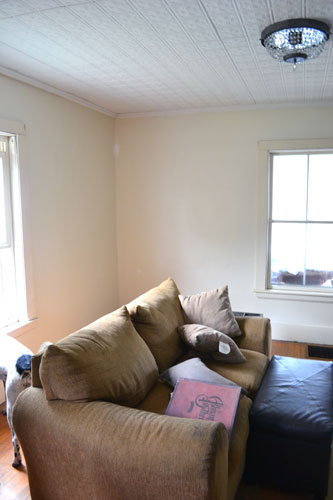
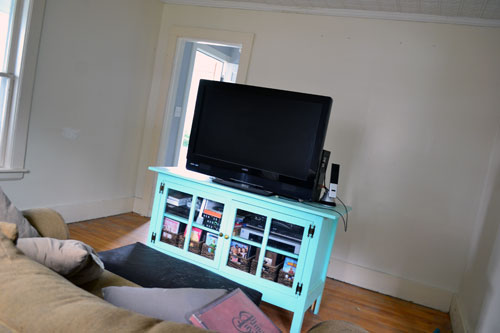
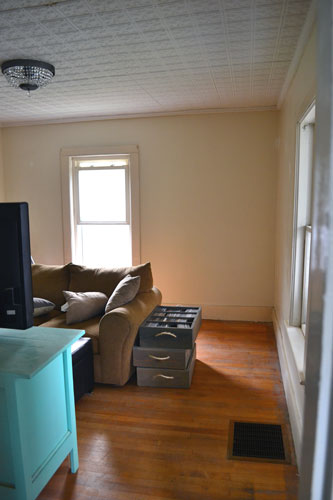
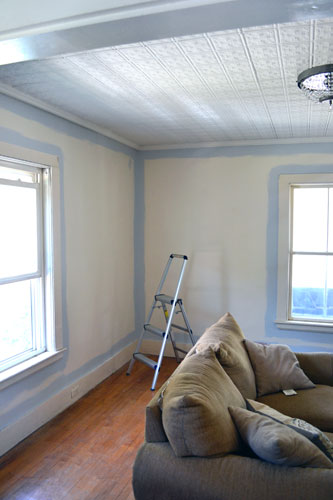
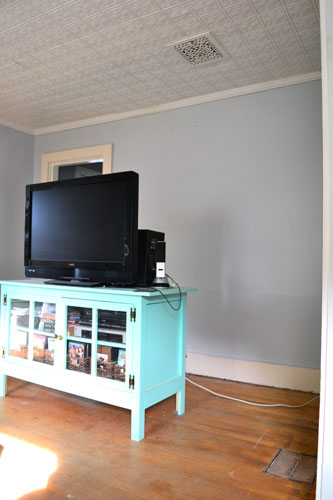
We prepped the space by moving pretty much everything out of the room except for a few key pieces of furniture (mini couch and tv…heaven forbid if we miss Red Sox games or Design Star All Stars) which got moved to the middle of the room. This left the walls completely free for the painting shenanigans to commence.
We even took a little time to clean (imagine that!) and patch the walls in a few places. But just a little time. I was overly anxious to get my paint on. Seriously…painting a room is my idea of a good time. Side note…Colby and I went golfing Sunday, which I normally love, but all I could think about was the room painting that was going to begin that afternoon. OH…and I almost forgot…I scored a birdie on one hole during our golf expedition…only three strokes on a par four. Now go ask Colby how he did…and how he didn’t get a single birdie! Booyah! He still beat me…but booyah!
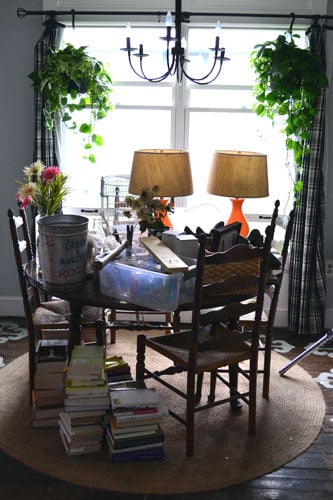
And don’t you love how when you’re working on one room, your other rooms kind of look like this:
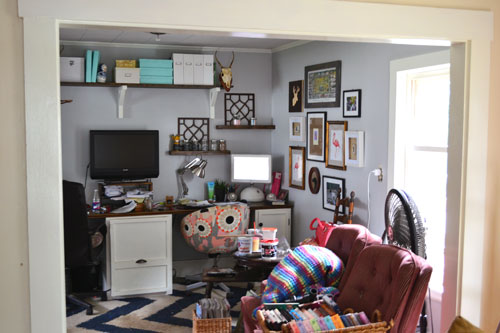
Not only did living room “stuff” take over the dining room but also the parlor.
The creeping clutter was plenty of motivation, not that I needed any, to get my paint on. AND with my new painting strategy that seems to be working really well. I start by cutting in two coats of the wall paint followed by two coats rolled on. I used to cut in a coat, roll a coat, cut in a second coat, and roll a second coat. Now, I just cruise around twice, back to back, with my paint brush, followed by two laps with a roller. Less cleaning time involved.
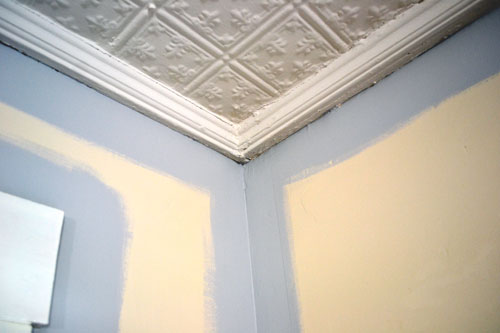
The paint color we’re using in this room is Valspar’s Baywaves in a satin finish. It’s the same color that’s in the parlor, dining room, and the hallways. We love the consistency throughout the open spaces in our house. AND how pretty the color looks up against the old plaster crown molding and tin ceiling in the living room.
After a few hours of painting, I was done!
Done with painting the walls. There’s still plenty of trim painting to tackle, which always seems to take longer than the wall painting process. The trim is getting a couple coats of glossy white paint to cover up the old, creamy color trim, which definitely doesn’t go well with the gray. They clash pretty hard…kind of like Titans.
The cream trim paint would probably look okay with bright white walls. It’s one of those old school, classy colors from back in the day. But it’s just not our color of choice. We like things crisp and white, not cream and dirty looking.
And while I was busy slaving away and painting the room, Goose kicked back on the couch to relax and devour his loaf of French bread.
He’s such a good helper Goose! And yes, we gave him a huge piece of French bread a few days ago because it was way too hard for human consumption. He’s been gnawing it down rawhide style ever since, but boy does that bread make a mess on our couch! So many crummies! It’s a good thing that dog is cute!
So now that the wall paint is done and we put together the plan in yesterday’s living room mood board post, maybe it’s about time we put together a little to-do list for the living room refreshening project, non?! Here we go.
Paint the living room walls gray- Repair and paint all the living room trim including a coat on the old plaster crown molding
- Refinish the floors to match the dark stain in the hall and parlor
- Move in the new couch
- Find the perfect jute rug for the space
- Find or DIY a chunky wood coffee table
- Purchase new, beefier curtain rods
- Sew wide striped curtains
- Layer in bamboo shades on the windows
- Add some art to the walls…maybe a new gallery wall?!
- Accessorize, tweak and fluff…the best part!
And then the more long term projects:
- New flooring…wide pine floors to match the second floor flooring
- Paint the wall by the porch an accent color (baby blue perhaps)
- Make built-in bookcases on the accent wall
- Replace the windows???? Maybe????
- And BIG maybe…take down all the plaster and lathe so we can re-insulate and put up traditional drywall…BIG maybe. Neither of use are really into gutting out rooms this days but that could change later.
Lots to do…lots to do! I’m not anticipating doing all these projects all at once. I like the idea of making small changes over time for a big impact in the end. I like it when rooms morph over time as our tastes and needs change. Next step…trim painting! Stay tuned for more riveting details.

