Hold on to your britches folks, this post is gonna be a doozy! That is if you define doozy by using 34 pictures to illustrate how to shingle a roof.
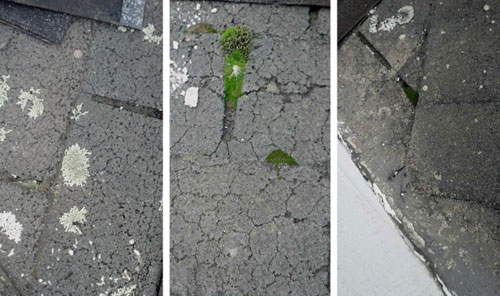
As I mentioned in yesterday’s “Roofing Tools Of The Trade” post, we finally finished shingling our porch roof. And, of the three roofs going on with our house, this one is was in the worst condition. No joke, it was so bad it was cracking, crumbling and growing moss. No wonder it always seemed to rain inside our porch!
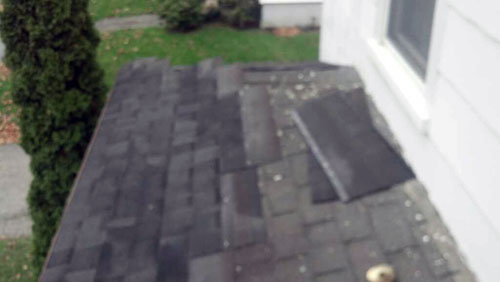
So while I was making a quick trip to Target, Colby started shingling the roof and snapped this pic mid progress with his iPhone, since he knew I wanted to take progress pictures. #boysshouldnotberesponsibleforphotographingprojects
I know it’s not the best of pictures. My apologies. But thankfully, Colby waited for my return before finishing the roofing project so I could photo-document the process. So here’s where we start, about an hour into shingling. But believe me, you didn’t miss much. It’s all pretty much the same process repeated over and over and over.
Shingling is super easy. You basically line up your shingles, staggering them so seams on one row don’t line up with seams on the next row, and nail them in place. So here is Colby lining up a shingle to be nailed into place.
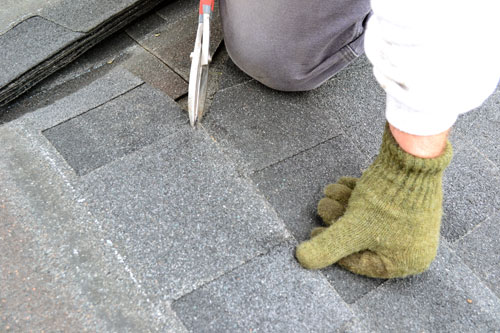
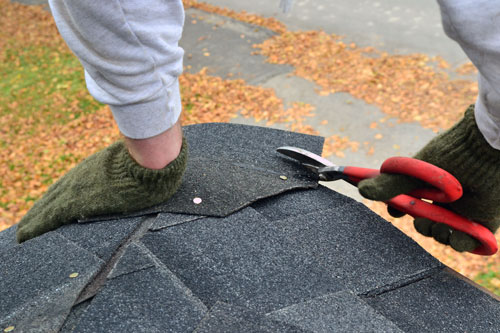
The shingle was coming up to the ridge on the roof, an area where one side of the roof meets another side, so it just needed a little trim. This is where the snips come out to trim the excess off the shingle.
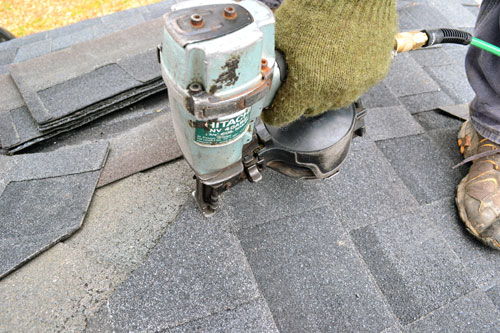
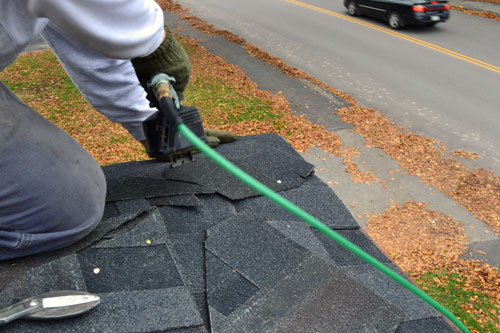
Then just nail the shingle into place. When you’re nailing shingles, make sure to nail on the non exposed shingle part. If you nail the side of the shingle that will end up exposed to wind and rain, you could compromise the effectiveness of the roofing job and the shingles could leak around the nail.
With the shingle nailed in place, you just lather, rinse, repeat and do it all over again, first lining up the shingle.
And then trimming and nailing the shingles. You start this process on the edge of the roof and work your way up to the ridge. Or in this case, this is an attached porch roof, so we shingled all the way up to where the roof met the house wall.
Keep using whole shingles up until you get to the last row.
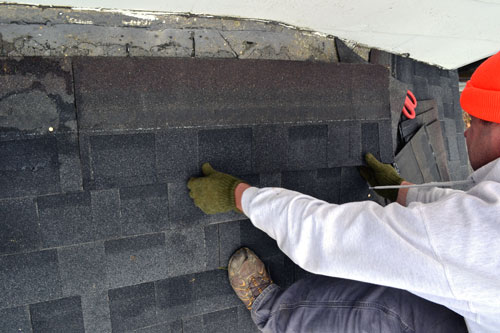
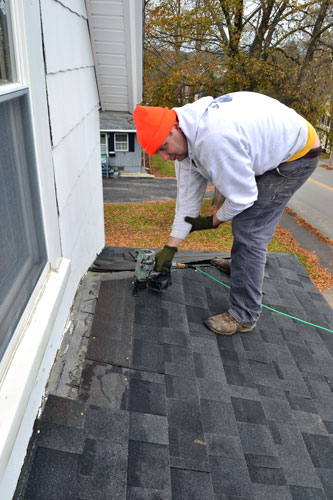
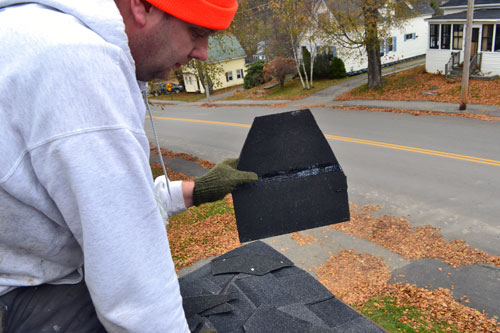
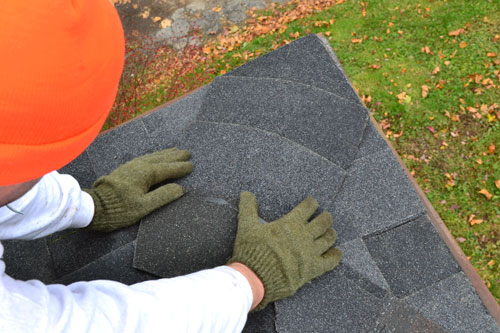
By the time you reach the last row of shingles, chances are it’s not gonna fit. In our case, the shingle was just about an inch too wide. See how the shingle Colby is holding is just a bit wider than the one nailed to the roof in the foreground?
This is just another case of trimming down the shingle so it fits appropriately.
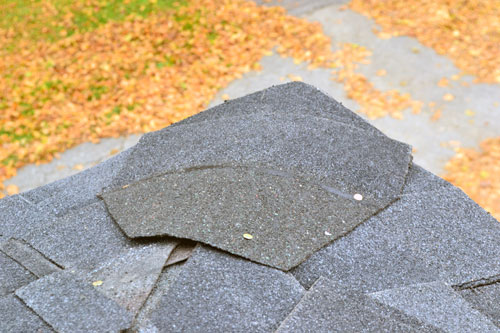
After trimming up the shingle, it fits perfectly in line with the other shingles.
And then just nail away, securing the shingle in its place.
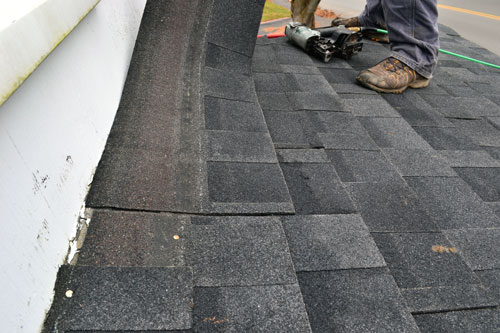
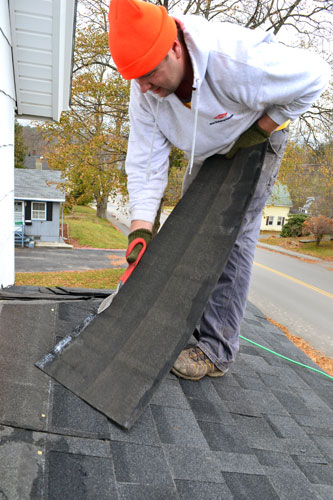
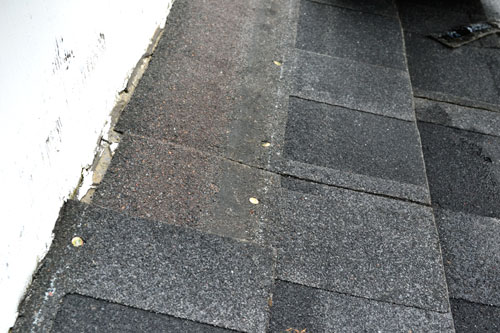
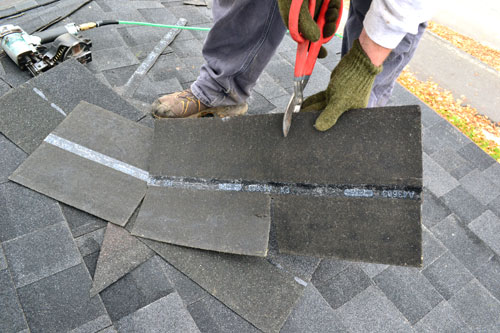
In the pic above you can see how a typical shingle is split. The more solid left side of the shingle is the part that is meant to go underneath the layered looking exposed shingles. Once we got up to the house with the shingles, the final shingle needed to be just a row of the exposed side of the shingles. So Colby cut one shingle in half, cutting along the line between the two sides, and then trimmed to length.
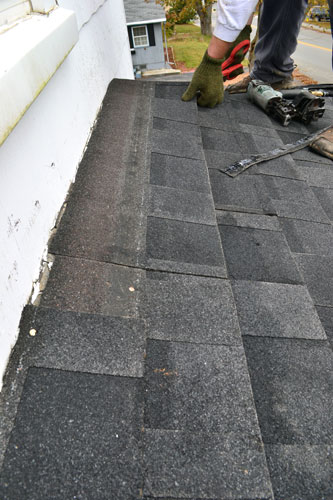
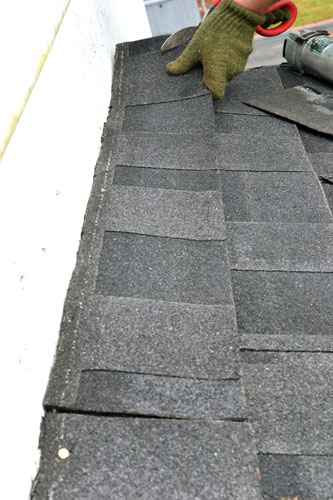
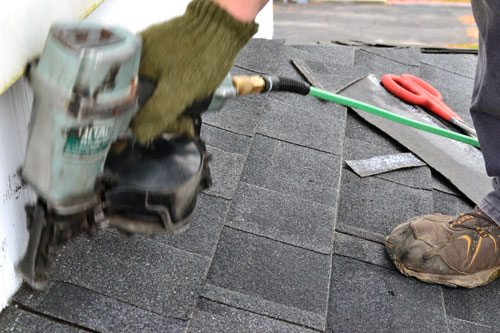
And then nailed that final row of shingles as close to the house as possible.
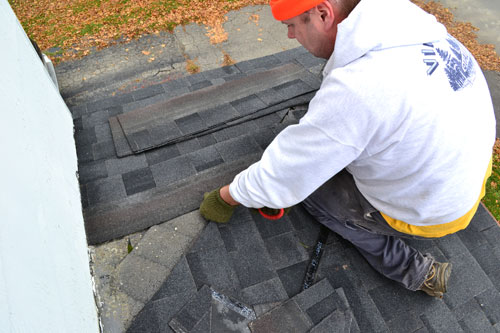
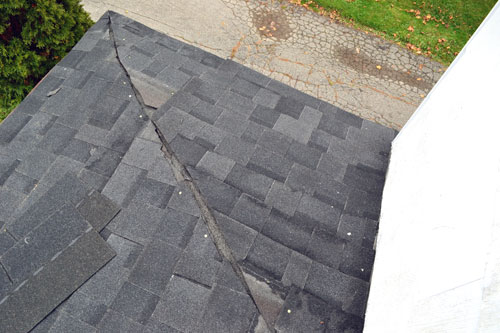
This process was repeated over and over and over until the roof was completely covered with new shingles. Here, you can see Colby working the shingles on either side of the porch roof ridge. Don’t worry about the ridge at this point. Keep shingling right up to it because adding the ridge cap is the last shingling step.
Ridge cap time. After all the shingling is done, there ends up being a line where the two different directional shingles meet. In most cases it’s the actual ridge line of your roof. Our porch roof is a little different with different directions and low slopes of the roof.
When working on the ridge you use a different type of shingle. For the majority of the shingling we used architectural shingles. But for the ridge of the roof, we used three-tab, shown here.
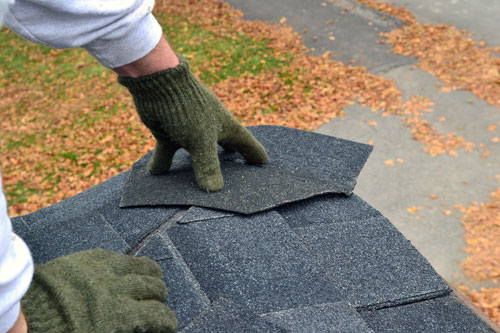
First, Colby sliced up the three tab and trimmed it down to a house-shaped-like piece. Taking the shingle, he put it over the ridge making sure the tab portion of the shingle was pointing up towards the house.
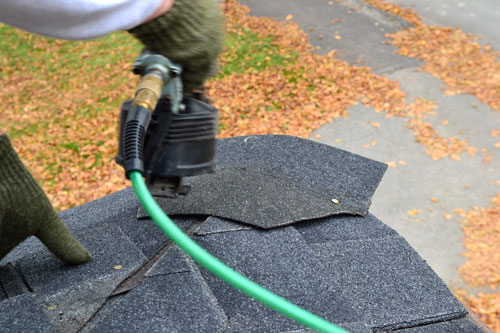
Then the shingle was nailed in place, again making sure to only nail the shingle on the side that would be covered up by subsequent shingles.
And since this was the first of the ridge cap shingles, it needed a little trim job so Colby lined it up perfectly with the other shingles below it along the edge of the roof.
Then the process was repeated. Colby first cut off a piece of the three tab and cut it into the house like shape.
Then nailed it into place, layering it over the first shingle.
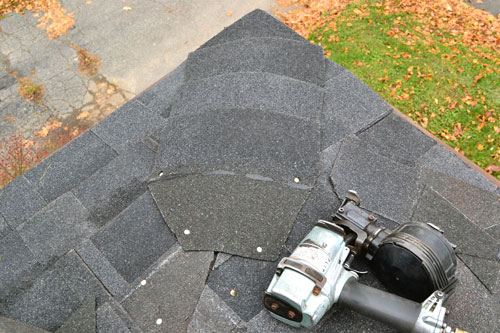
Leaving a two-shingled ridge.
And kept repeating this process, adding tab after tab after tab, working his way up the ridge until he again met the edge of the house.
When nailing the ridge cap, make sure to secure the shingle in the four corners of the shingle that will be covered up by the next shingle.
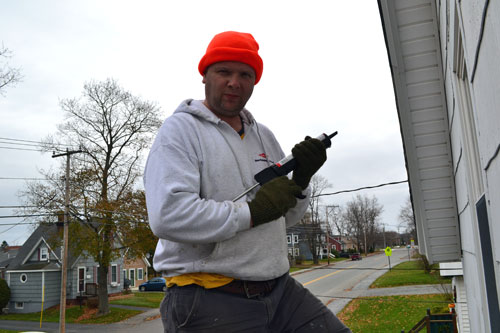
With the shingling portion of the program complete, enter the real American caulking gun hero.
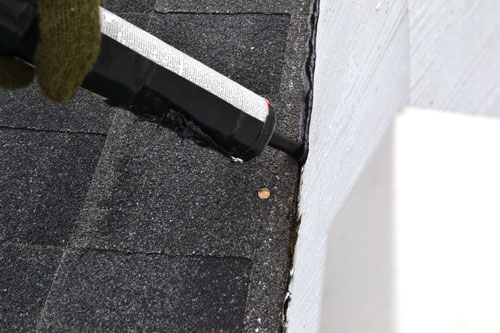
The final step in roofing is securing any areas that water may leak through with Black Jack, a roofing tar that comes in caulking gun form.
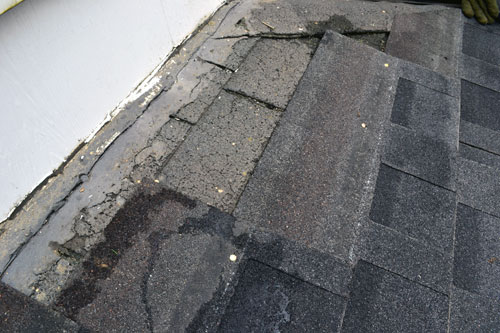
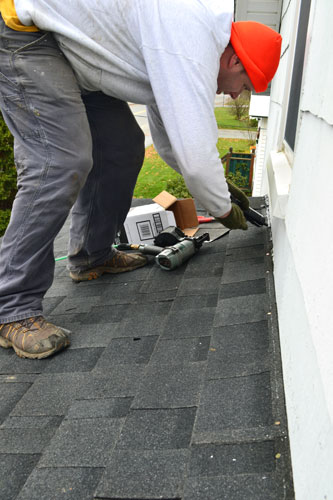
For this porch roof, we had to seal up the space where the shingles met the house. To do this, Colby ran a thin and even bead of the Black Jack roofing tar using a caulking gun.
Here’s the closeup so you can see how the roofing tar fills the small gap between shingle and house.
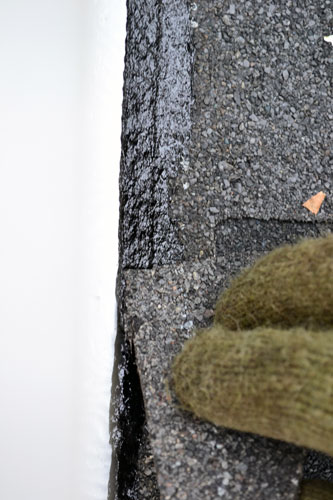
And then he smoothed out the Black Jack bead using a piece of leftover shingle. Note, this stuff is super messy thus why Colby is using a broken shingle to smooth the bead instead of his finger, like you would when caulking interior trim.
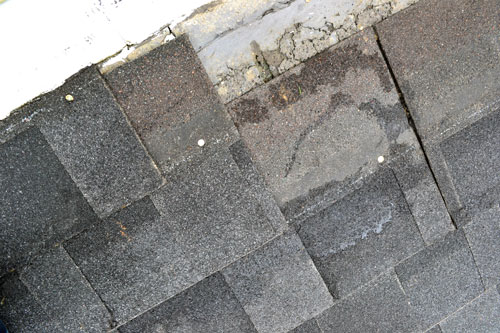
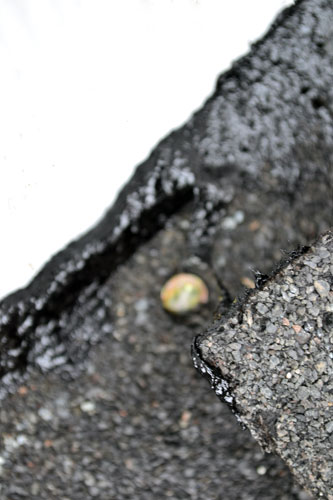
As he was smoothing out the bead of Black Jack roofing tar, he also made sure to cover up any exposed nail heads along the edge of shingles up next to the house.
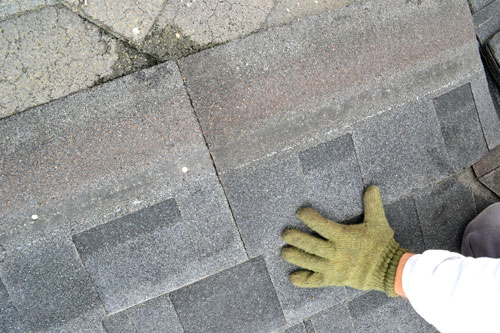
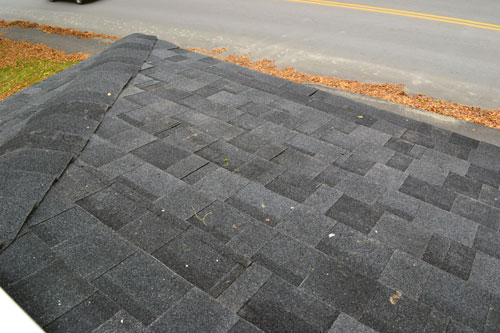
With all the gappages sealed up and roofing nail heads covered, we officially called this porch roof complete. Woo to the hoo, where is our ticker tape parade?! Seriously!
So hopefully this wasn’t too confusing for you and we were of some assistance for those of you who are looking to tackle your own roofing project. If you have any questions or if I should clarify anything, please let me know. And is it painfully obvious that I’m not the roofer in the family?! That’s all Colby! Painting is more my thing. Oh painting how I miss thee! It’s been…what…a week since I’ve painted anything?! I’m having withdrawals. Quick, someone get me a paint brush!
Pssst…You can catch up with the whole “Roofing With The Campbells” series starting with the intro about why we needed to shingle our roof, then how to calculate shingle quantity, followed by the “roofing team” shingling the main house, and then yesterday’s roofing tools of the trade post.




Wowzers! That is impressive stuff…I’m with you, I’ll stick to painting..hahaha. More my speed and love. great job though!
Haha! Thanks! Here’s to a few painting projects soon!