It’s officially February so I’m officially allowing myself to “think pink” as in Valentine’s Day pink. Can we just take a minute to recognize the fact that I have NEVER set out a single decoration for Valentine’s Day?! Strange huh?! It’s like I don’t even know who I am anymore! Especially since I’m all about decorating for various holidays and pink is my favorite color. Well, a Valentine’s Day decorator virgin I am not…anymore.
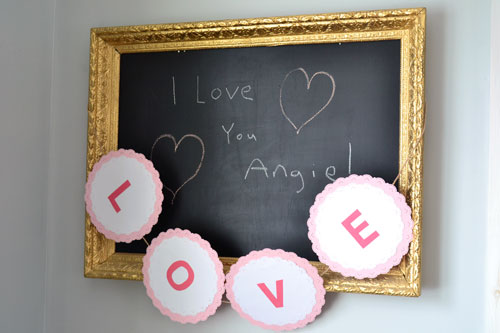
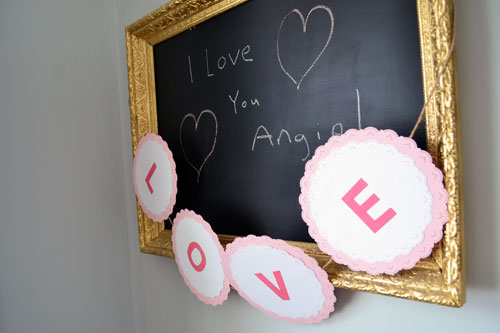
I made myself a little love note to hang in our dining room, right underneath the lovely little chalk board message that Colby wrote to me…ten months ago…that I can’t bring myself to erase…like ever. #thatchalkboardnotewillbetheretilwedie
The banner was simple and was inspired by some crafting supplies I found in the Martha Stewart aisle of our local AC Moore. I couldn’t help myself. I picked up a punch set (originally $30 but only $18 after using a coupon) and a circle cutter (also originally $30 but only $18 after redeeming a coupon).

Armed with my new Martha goods, some pink and white paper, and enough candy hearts to put an entire third grade classroom into one serious sugar coma (no worries, I restricted myself to only half a bowl), I got to work making my “love-ly” banner.
First step…tracing and cutting the letters “L – O – V – E” out of the hot pink letters.
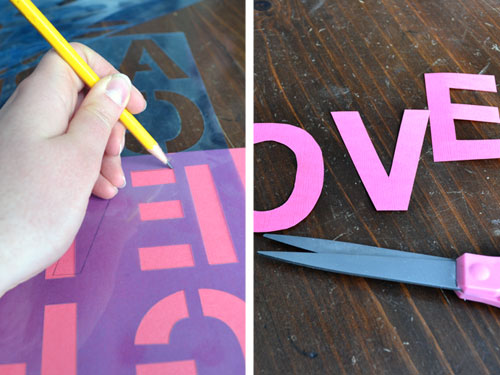
Hot tip…flip the paper to the back side and also flip your stencil over. That way you don’t have to worry about pen/pencil marks showing after you cut your letters out.
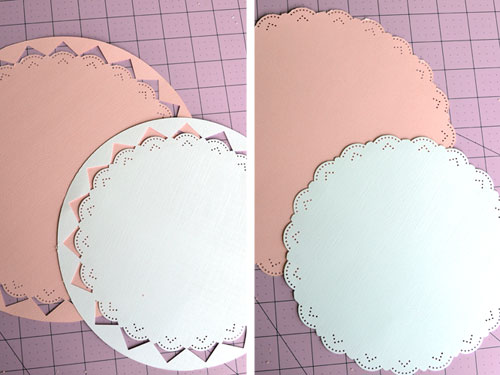
Next step…using the circle cutter to cut a couple of circles out of the white and light pink papers. I ended up setting the cutter to make 8″ white circles and 10″ light pink circles.
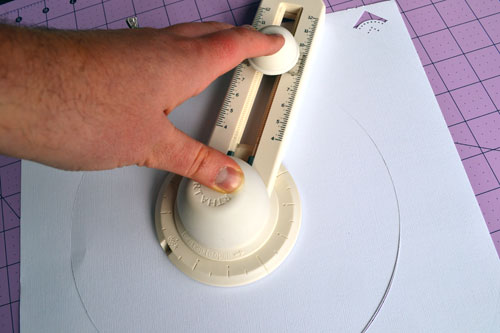
Circle cutter, where have you been all my life! I loved it and it was so much easier than my usual “let’s find something around the house that is approximately this size” method. The circle cutter does use a razor blade so be sure to lay down a cutting mat to protect your work surface. I used one meant for cutting fabric and it worked like a charm.
Next up…punching.
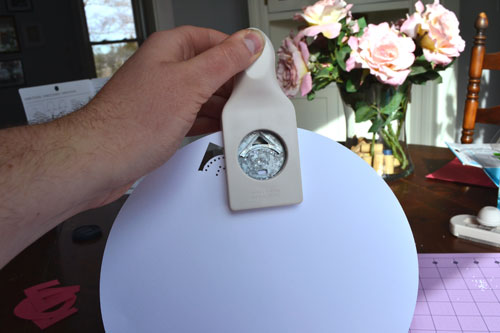
Muhammad Ali would be proud…I was a punching machine! I was worried about being able to lineup the punch correctly and getting a nice and even punch border, kind of resembling a doily. But it was pretty simple to eyeball the right positioning by turning the punch around and lining up where you left off with your last punch with the current punch.
The paper doilies kind of looked a little rough around the edges after punching around the circumference, but it was nothing a little trim trim couldn’t resolve.
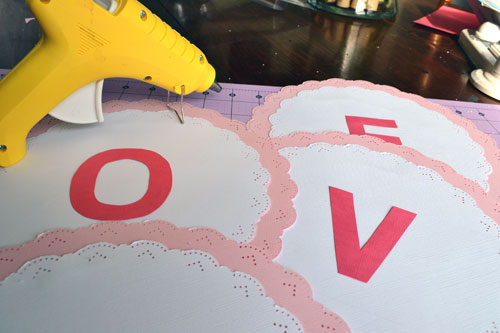
And finally it was assembly time. Armed with my hot glue gun (seriously…I’m completely incapable of crafting anything without it), I layered the paper doilies on top of each other, adorning each with a hot pink letter.
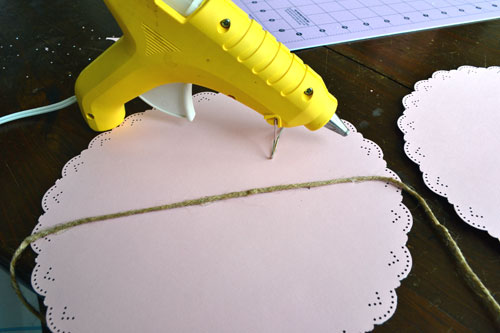
And the last step…hot gluing a strand of jute to the paper letters to make a garland. I still have tons of jute leftover from all the wedding craft projects involving jute. Thus why I used this material. But ribbon or bakers twine would also look pretty cute. I’m just a use whatcha got kind of girl.
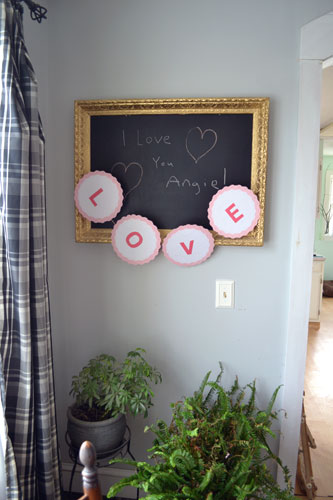
With the love garland assembled, I simply draped it around the chalkboard in the dining room and tied the jute ends together at the top into a bow so it would stay put.
I love the pops of pink that are going on in our dining room right now, in the “love” banner along and in the pink flowers on the dining room table.
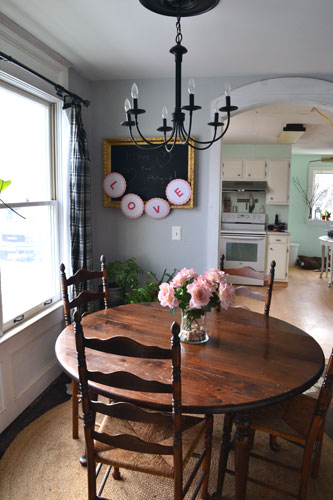
Perhaps our dining room needs more pink? Colby…how do you feel about that? Can I girl up the dining room a bit?! No? Okay. I pick my battles.
Pssst…I’m linking this post up to Carmel’s blog, Our Fifth House, at tomorrow’s link party which is all about love. So stop by and check out all of the crafty projects going on as part of the Dog Days of Winter link parties hosted by Carmel and a few other bloggers. It’s going to be legend…wait for it…dary!

Super cute, I’m with you and have never done an valentines decorating. I pretty much decorate from Halloween- Christmas and then NOTHING the other 10 months. Love your little Love sign though. By the way, did I miss when the addition of “Colby’s Hen House” was added.
Thanks Christina…and no…you didn’t miss anything. It’s always been there. I felt like I needed to include the Colb-ster since he’s such an important part of the blog. But I’ve never really worked it like I should have…hmmmmm…I sense a new blog banner/header in the future!