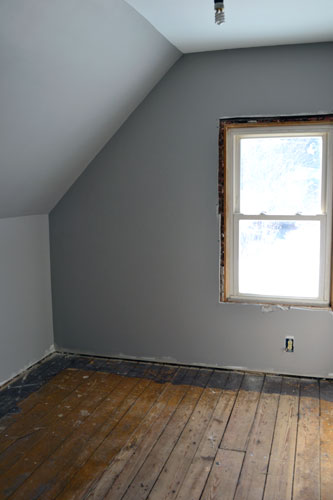
We certainly don’t give a ship around here! I don’t give a ship that I’m up past my bedtime writing this post. I don’t give a ship that our dog is acting uber annoying this evening. And I certainly don’t give a ship that it’s raining outside right now. What do I give a ship about? The shiplap flooring shenanigan-ery going on in our guest bedroom. We recently took the flooring situation from this:
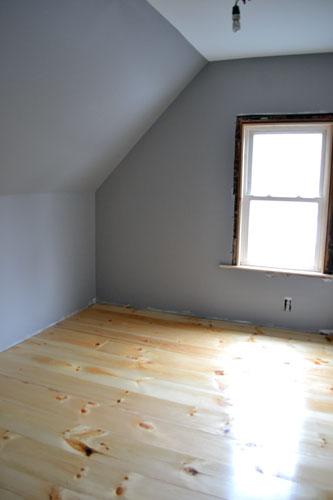
To this:
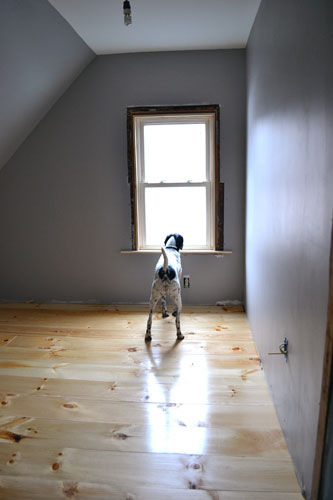
Goose approves. The flooring installation was super easy (mostly because I didn’t do any of it! Ha!). For a full blown tutorial on how to install wide pine flooring, more affectionately known as shiplap, you can check out this post of yore. Otherwise, I’m just going to highlight what we did and embellish a little bit, because every good story blog post needs embellishing.
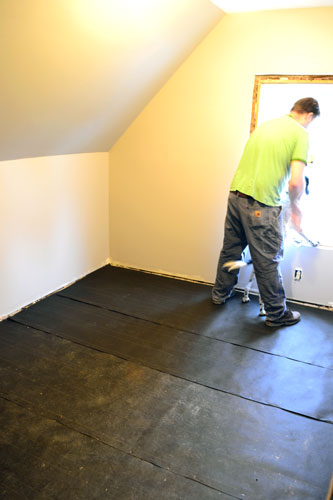
The big difference between the hall floor installation and the guest room installation was that we used tar paper instead of rosin paper. We were all out of the rosin paper so Colby picked up a fresh roll of tar paper for $18 at a local lumber yard. This stuff is instrumental in the floor laying down process as it provides a buffer between the sub floor and finished flooring to prevent squeaking. Installation was easy and including rolling it out, overlapping the rows, cutting it with a utility knife, and stapling it down to the sub floor.

Again…Goose approves.
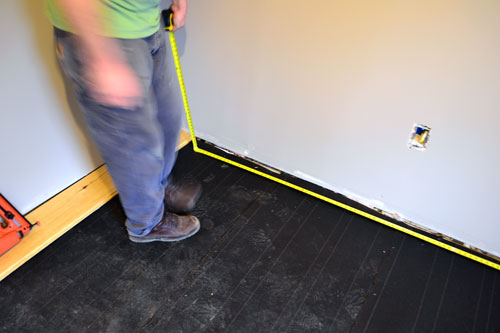
With the tar paper down, the next and probably most important step was measuring the room. You see, in an old 100+ year old home, rooms tend to be unsquare and unlevel and this room was no exception. The room wasn’t square, go figure, but at least it wasn’t bad enough to be noticeable in the flooring. If it was noticeable, the solution would have been trying to split the unsquareness between the two unparrallel sides by trimming or tapering down boards, combating the unsquareness monster. Could I say unsquareness one more time? College co-eds are making a drinking game out of this right now…I can hear them…”she said unsquareness…drink!”.
Next, it was just a matter of laying the boards, one at a time tucking one edge under the other edge, shiplap style. Not to be confused with gangnam style. That’s a whole other style!
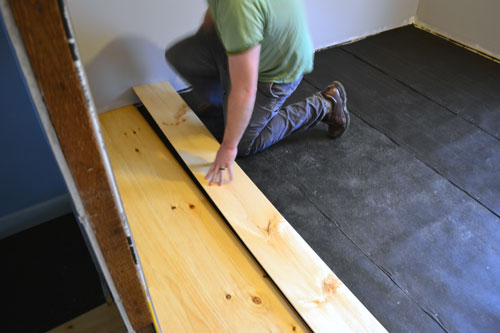
You remember when we mentioned how much yellower the older craft room floor was compared to the newer hallway floor (read about it back here)? It’s from the oil based poly yellowing the floor and darkening it over time. Well, you can kind of see it starting to happen with the hallway floor which is the bottom board compared to the lighter guest room floor which is the top board. It takes some time, but our floor will end up a similar shade of yellow pine throughout the entire second floor, regardless of when we installed it.

After nailing in all the floor boards with the Paslode finish nailer, it was cut nails time. I didn’t do the cut nail justice in the last post so I’m going to rectify that today with a little history lesson. Blog readers…let me formally introduce you to the cut nail.
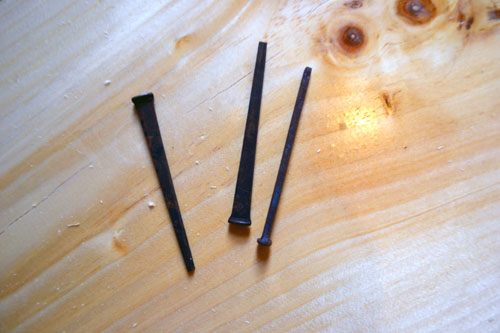
They’re essentially square head nails with a taper. I like to refer to them as old school nails since they were popular back in the day. We’re talking 1820-1910 back in the day. These nails were made by blacksmiths who hammered them into shape. You can still buy these nails today, but they aren’t quite as popular as their round head counterparts. But ironically, cut nails are about four times stronger than the round nails. In fact, while Colby was pounding away on the cut nails, you could see the floor boards tightening right up even though they had already been nailed down with the nail gun. Don’t believe me? You can kind of check it out in this poorly produced video (I’m still learning how to shoot videos with my camera):
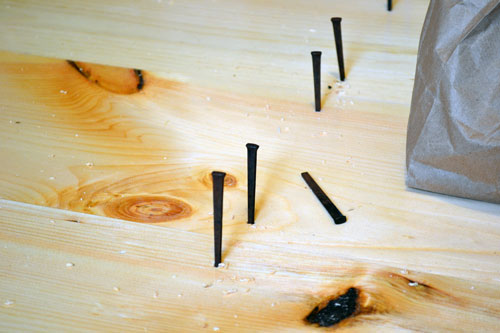
Cut nail installation is pretty easy. The only secret to it…drilling pilot holes.

The pilot holes help keep the floor boards from splitting, which is inevitable if you just start hammering in a cut nail without first drilling a pilot hole. Colby measured and marked the rows for the pilot holes since this room was much larger than the hallway floor. Hence the level. Then, Colby’s lovely assistant (that would be yours truly for those of you still debating whether or not Vanna White lives in our hood) prepped all the nails:
While Colby hammered away (with his brand new Dewalt hammer from NH Bragg…shameless plug for the day job).
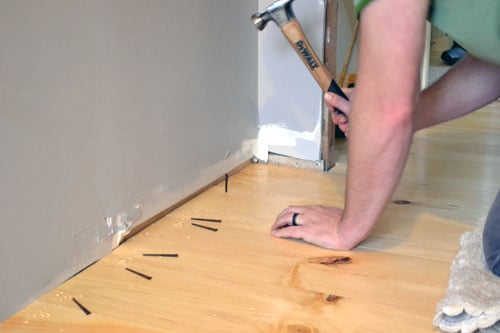
It was a team effort. In the end, we were left with a beautiful new floor that we couldn’t be happier about.
We still need to layer on a few more coats of poly now that the floor is installed. We only pre-polyed three coats, so we’re thinking another three to four would be ideal. I know it sounds like overkill, that many coats of poly, but trust us, it’s worth it. The extra post-floor-installation poly coats help seal any gaps between boards, cover up the cut nails, and add extra protection for years of wear and tear (including Goose nails). Besides, it’s way easier to poly now than it will be once the room is full of furniture and we determine the floor needs a few more coats.
Pssst…Have any of you guys installed new floors lately? Anyone else go the pine shiplap route? Or maybe you have a favorite pre-finished floor? Do tell! We love a good wood tale!

Angie, that is gorgeous. Seriously, I’m in love. I know you are! And I loved reading this post…so creatively written! P.S. I’m still crossing my fingers that Haven calls us with tickets!!!
Awwww…thanks Lindsay! Oh…and me too (about Haven)!! I want to go soooooooo bad!!! PS…I owe you a serious email, no excuses for being so late!
i was wondering were you purchased your black face nails?