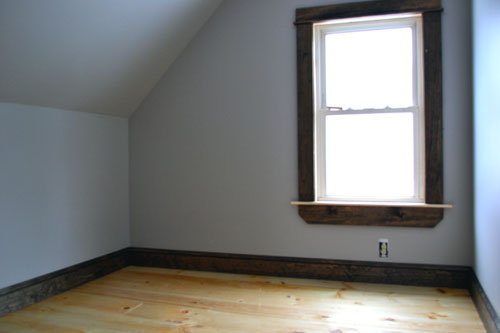
When we last left off in the guest room renovation saga, it looked a little something like this:
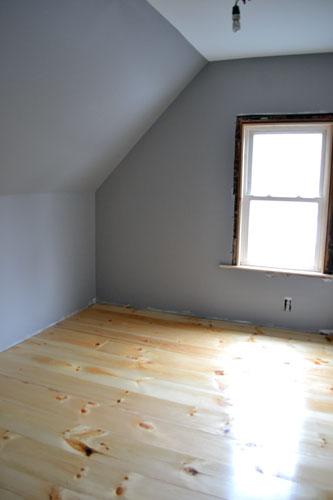
Walls up, joints mudded, painted ceiling and walls, and freshly installed wide pine flooring. It was already starting to look better, kind of like Kim Kardashian once she takes off all that makeup. But what would make the room look even more finished? TRIM! It’s like good eyeliner for those of us who weren’t blessed with ever-perky lids.
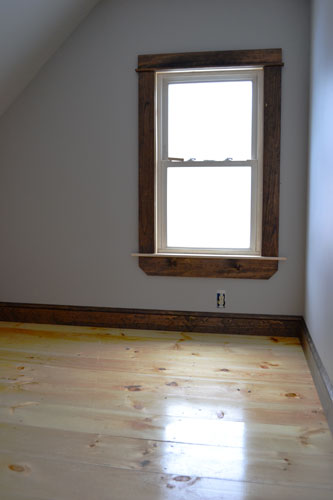
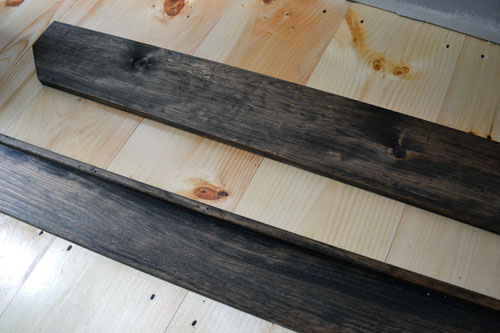
Trim installation was mad quick in this room. So quick that I couldn’t keep up with Colby as he was installing it all. The key to our quickness? We pre-cut and pre-stained most of the trim for this room, including the window trim. For instance, below is the window trim for above and below the window (more professionally known as the apron as my millwork salesman husband informs me), the extension jams and vertical trim pieces were just basic, straight cut pine.
Since all our trim pieces were measured, cut, and marked for their exact location in the room, all it took was a little nailing around with the Paslode finish nailer, trying to nail into studs whenever possible, to install all the trim.
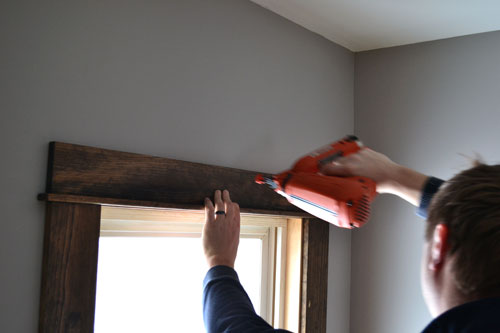
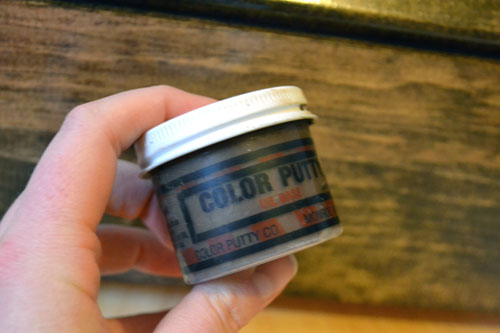
And if you’re worried about filling in those nail holes with the wood all stained, that’s what they make colored putty for. It just disappears right into the dark walnut stained wood. But we’ll talk a little bit more about our staining secrets later.
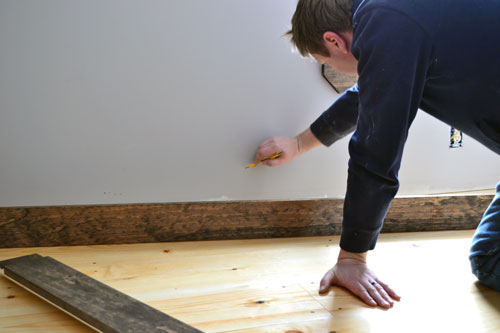
Installing the baseboards was just as easy if not easier. Colby’s a maniac and “just knows” where all the studs are in this room. Maybe it’s because he put up all the sheetrock? Actually, he doesn’t really know. Since the sheetrock was all new in this room and the space had no baseboards, Colby could see at the very bottom of the walls (where the wall meets the floor…or where the space on the walls where the baseboards cover the wall), a few exposed screws in the wall. He didn’t mud those screws so he could tell where the studs were and they just get covered up with baseboard anyway so no need to conceal them with mud, primer and paint. So he located those screws and marked the studs on the wall above the baseboard, so he wouldn’t be covering up his markings.
Game day bucket Paslode go boom! I still can’t get that KFC commercial out of my head.
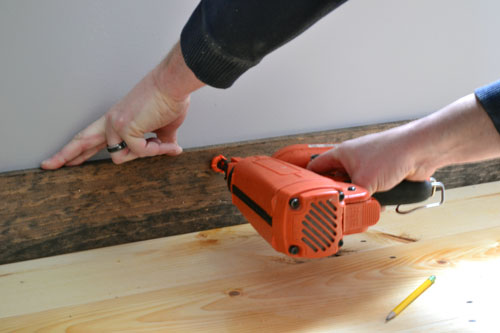
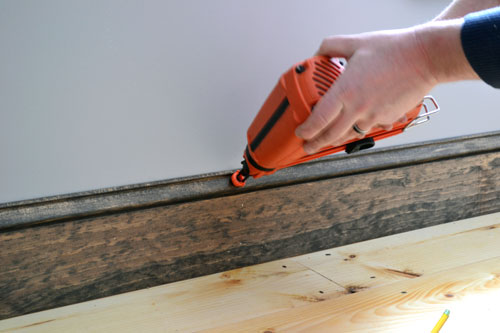
Because we like our baseboards chunky, we wanted to add base cap to the 4-1/2″ wide pine baseboards. The base cap we chose was the 1-3/8″ kind. The key to nailing in the base cap is to make sure you angle your nailing gun (or just nails) so that the nails drive straight into the face of the trim and into a stud. Trust us…nail guns make this process SOOOO much easier.
The only real tricky part to installing the base cap was around the corners of the room. Thankfully, there were only four corners in this space to work with. In these areas, you have to cope out the base cap, kind of like this:
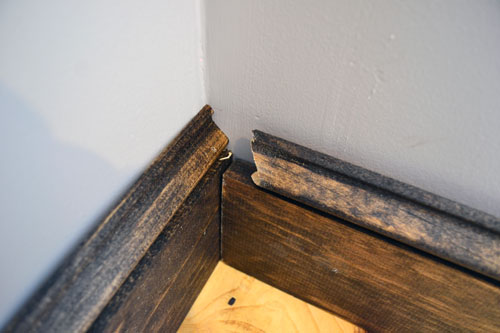
It’s not an easy task, but we’ll try to explain how you do it. First you cut the trim at a 45 degree angle with your long point touching the wall that the trim is going into (in this case the wall on the left). Then, you take a coping saw and cut out the curved bevel part. Then the cut trim slides right on over the trim on the other wall.
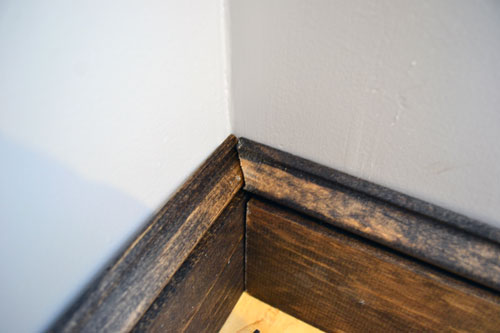
That wasn’t too difficult was it?
The only problem that we encountered during this whole trim installation was dealing with the levelness of our floor. We have a bit of a gappage going on underneath the baseboard in one location.
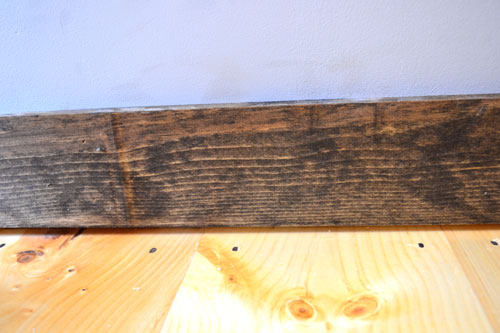
When we installed the baseboard, Colby stepped down on it as hard as he could, trying to bend the board to the curve of the floor a little bit, while I super nailed it in place (aka…using about 8 extra nails, driving them directly into studs). But we were still left with a slight gap. We may end up installing some colonial stop (thinner molding meant to be added to the bottom face section of the baseboard). The colonial stop, since it’s thinner and smaller than the baseboard, is more easily bendable. We used this trick in the craft room across the hall and it covered the gaps seamlessly. AND added some extra interest to our baseboards. But we may just live with a gap between our baseboard and floorboards. But as always, we will keep you posted if we decide to add extra trim. But until then, we’re enjoying our freshly trimmed out room.
Pssst…Enough trimming around for us for a while. We’ve got a trim staining post coming up for ya. But enough about us, what have you guys been working on lately? Any room renovations? Or little makeovers? And happy (almost) weekend everyone!

Looks great guys! I love the extra chunky molding and and that you stained it rather painting it. So rustic and fabulous!
Thanks so much Christina! And I was kind of feeling like an anomaly for staining trim instead of painting it…a weird anomaly…but I’m loving it all!
I love chunky molding! It looks fab!
Eeeeee…thanks Melinda! There’s something so yummy about something so chunky!
Love your idea for the baseboard. Did you use regular 1 x 4 pine?
How did you decide on paint color for walls? We are using the same kind of board for our baseboards and I am stumped as to what color paint I should use for the walls. I do like the grey though, that was my first choice.