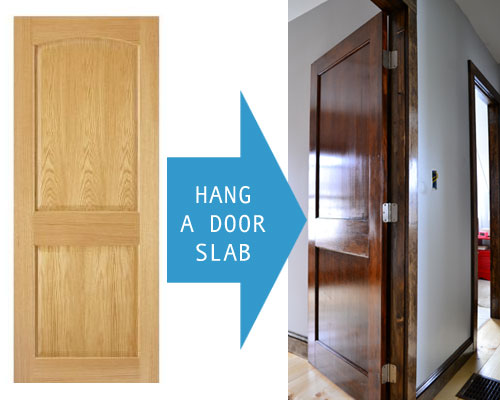
Now that you’re all up to speed in door hanging lingo, let’s hang a door, shall we? And I’m about to say “jamb” way too often so why don’t we turn this into a little drinking game? Kidding. I wouldn’t survive that game! Anyway…as we mentioned in last week’s post, one of our shameless money saving tricks is purchasing unfinished door slabs on clearance from local lumber yards and hanging it ourselves. It has saved us hundreds of dollars over the past couple years, freeing up some money to support our beer habit.
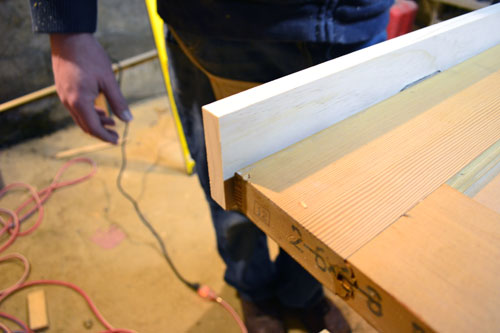
So let’s start installing that door already. The first step is to prep the door for hanging. The door needs hinges, but alas, it isn’t as easy as just screwing the hinges into the door and calling it good. No…the hinges need to be properly placed with the door and door jamb routed out. When we attacked our guest bedroom door, we started first with the casing. Colby took one of the hinges he had purchased for the door (about $2.00 each…$6.00 for all three) and traced them onto the jamb.
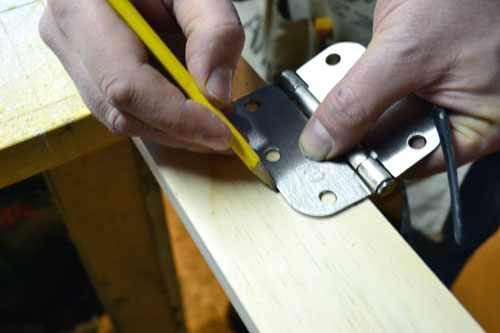
Repeating the tracing for all three hinges. After marking the hinges, Colby secured the door jamb to his workbench using a pair of Quick-Clamps. He set the router depth to the thickness of the hinge, which was a little 1/16″ and then carefully followed his tracings, routing out the space for the hinges.
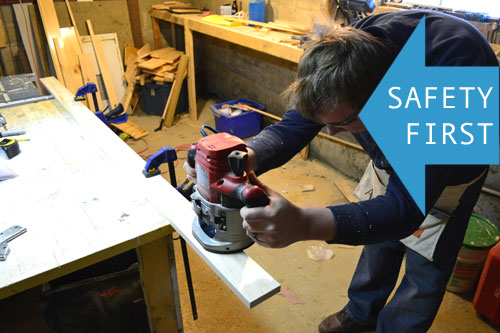
Note Colby’s use of eye protection…look for the blue moon folks! Colby has got to be the most unsafe DIYer I’ve ever met. Enter window project staging. The prosecution rests.
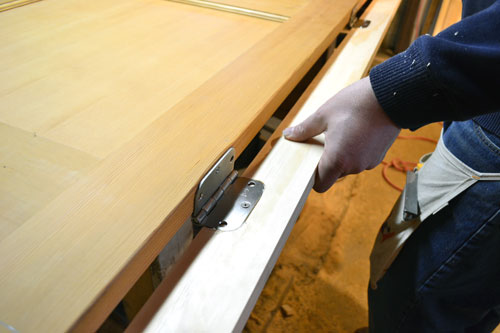
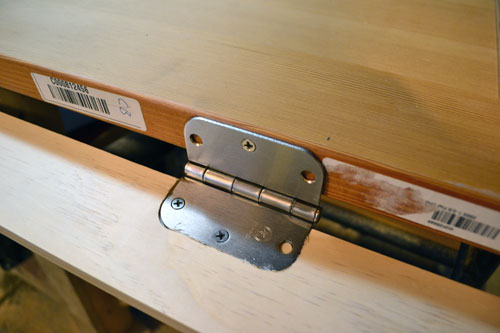
After routing out the door jamb, the hinges slipped perfectly into the jamb, flush with the rest of the jamb. Seriously…I just said jamb three times in one sentence. I told you I wouldn’t survive this game!

Next, Colby attached all of the hinges to the jamb using the screws that came with the hinges. Then, he “temporarily” screwed the hinges/door jamb to the door stile. We use that word cautiously around these parts since “temporarily” often turns into “more permanent than we like”…kind of like the “temporary” bathroom vanity that’s been around for three years.
When attaching the jamb to the door, Colby made sure to line up the top of the jamb with the top of the door plus a 3/16″ overhang to allow for room to attach the head jamb and just a little bit of a gap between the door and the jamb. You know…so the door actually opens without getting stuck.
The reason for attaching the door jamb temporarily to the door was two-fold. One…so Colby could trace the hinges onto the door stile, making sure the hinges were in the EXACT location they needed to be.
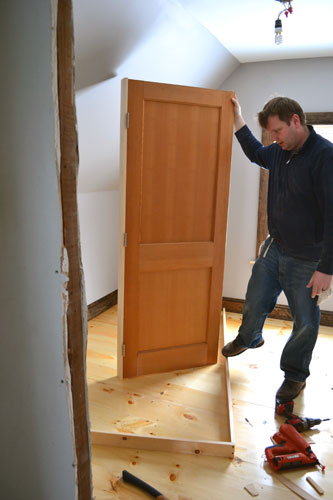
And two…it showed him where the bottom of the door needed to be trimmed:

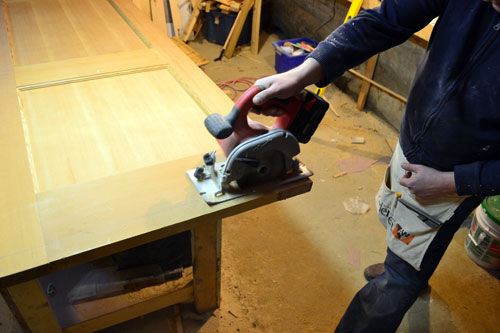
Before we even started prepping the door, Colby measured (and measured again…and measured again…and measured one more time) the rough opening for the guest bedroom door. He then cut the door jamb to size which left our door just a bit too long for the space. So after temporarily attaching the door jamb to the door, Colby was able to mark (with a pencil and straight edge) where the door needed to be cut, again leaving around 3/4″ gap for the space between the floor and the bottom of the door. You may not need this much space in your house. We’re just blessed with an uber unlevel and unsquare house…hence a 3/4″ gap so our door doesn’t scrape the floor. Then it was just a matter of trimming down the door, along the mark, using a circular saw…after removing the door jamb from the door of course.
And then routing out the hinge recess on the door stile in the same manner as routing out the door jamb.

Like so:
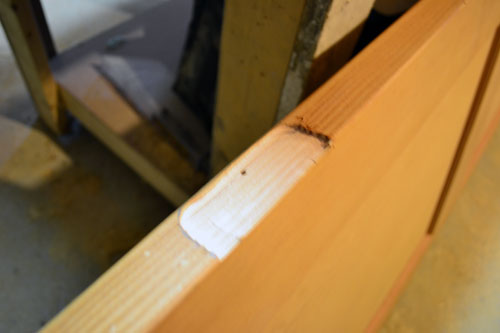
After the routing was complete, Colby finished up by screwing the door jamb to the door stile, again using the screws that came with the hinges. Sometimes, with a heavier door, it’s wise to upgrade the screws to longer ones. But in our case, the door wasn’t too heavy.
Another important door prep note, make sure to pay attention to the swing of the door. I know it’s one of those “duh” moments but it’s important. Figure out which way you want your door to swing and make sure to place your hinges appropriately. On another note, are you drunk yet?
Tomorrow we’ll finish up the door slab installation process and actually hang the thing in the rough opening. Exciting stuff, huh?! Honestly…I would rather be painting something. But at least we’re getting close to done with all the “heavy construction” in the guest bedroom and then it gets down to the decorating part! Woo to the hoo!
Pssst…What were you guys up to this weekend? Any door hanging? Or painting projects? Or did you get sucked into college basketball? We’re guilty of that one!

Is it wrong all I can think of is that Michael Jackson song now, JAM! It’s literally playing in my head after this post! Ha!
Thanks for the awesome tutorial. I think its so awesome the ways you guys have a hand in every step of your renovations. I’m so excited to see what’s coming for this guestroom and when you get to he deocirating part too!
Oh goodness…now I have dear ol’ MJ stuck in my head! Haha! And thanks for the sweet comment! We’re DIYers through and through!