Alternate title for this post “How $9.32 And Twenty Minutes Saved My Sanity And Prevented Me From Pulling My Hair Out During The Holiday Shopping Craziness That Is Our Etsy Shop”. But I thought that might be too long of a title. Consider yourselves spared. But the nine bucks and twenty minutes was well worth it as we made/hung a drying rack for our Etsy shop stands in the Roostic office.
I kid you not, this thing has saved my life…every…single….(pause for ridiculous dramatic effect)….day. Let’s just say that for the past couple of weeks, no matter how many stands I make and list, they sell out. Instantly. And it’s making me crazy….er…crazier. Thus, our manufacturing volume is at an all-time high. And with a product that requires a considerable amount of dry time (stain dry time and poly dry time), a drying rack was a must. BDR, that’s “before drying rack”, I left the stands on the desk to dry. This cut down considerably on the number of stands that I could make at any given time and also cut down on my packing space. BDR, I could probably only push through 5-6 stands in a day. But now…that drying rack holds 20+ stands so I’ve been upping my stand-making capacity to 12-16 per day! Huge difference!
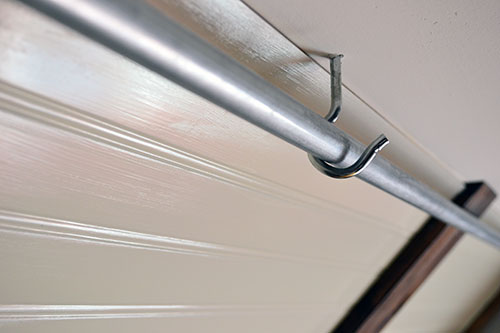
Anywho….enough numbers and quotas and such. Let’s get down to the how we did its. First up…Mr. Metal Conduit pipe. We picked up a super cheap piece of 1/2″ x 10′ metal conduit for $2.24 at Lowes. Given that this tiny bedroom of ours that we’ve turned into manufacturing space is only 10′ deep, it was a perfect fit. No cutting needed.

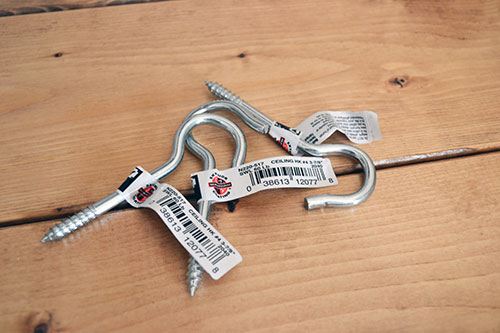
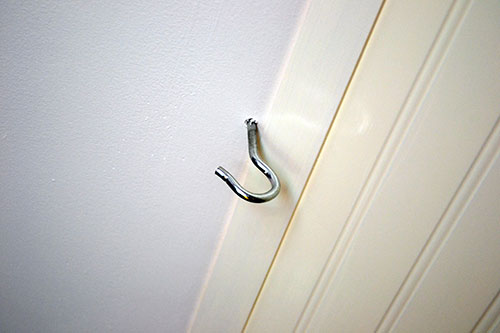
To hang Mr. Metal Conduit we need some nice long screw hooks. They needed to be big enough to not only hold the 1/2″ conduit but also long enough to screw right through the sheetrock and into the studs behind it. The drying rack was going right above my desk and my head so we didn’t want to run the risk of it crashing down on top of me. These 4″+ screws did the trick for a whopping $1.18 each also from Lowes.
To hang, we did a bit of stud finding and marking:
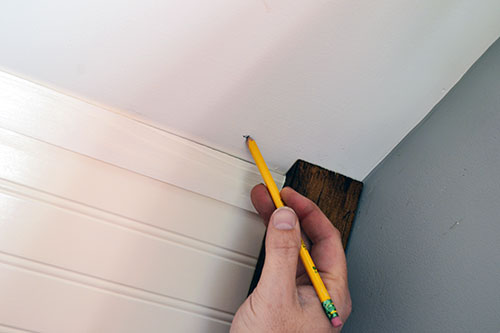
Pilot hole drilling:
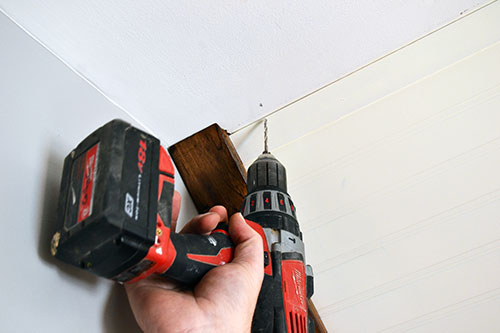
And finally screwing the long screw hooks into place:
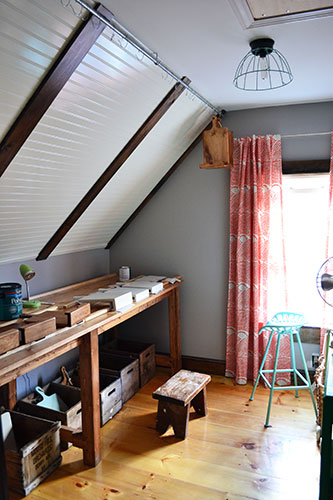
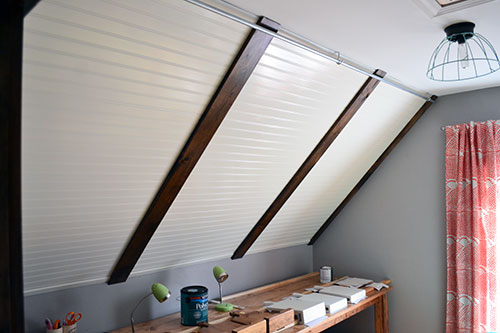
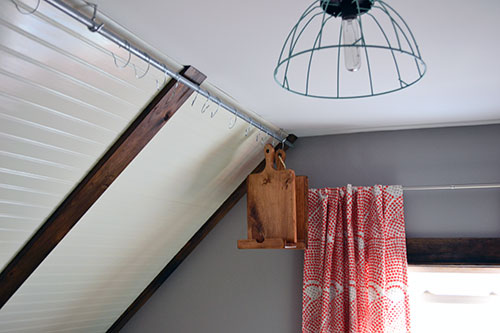
We butted the screws and the rack as close as possible to the slanted ceiling and the bead board since we were walking a fine “let’s squeeze this in between the door and the attic opening” line. Thankfully, the rack can be fully loaded with stands and both doors (the bedroom door and attic door/staircase) work just fine.
Obligatory full monty shot.
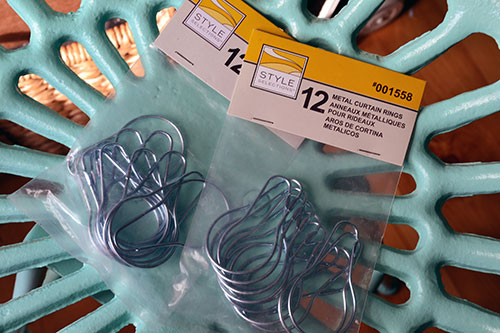
This project was one of those impromptu projects where we walked into Lowes knowing what we wanted to do but no idea how to do it. The metal conduit rod and the screws were a simple solution for the rack but we started to struggle figuring out hooks to hang the stands from the conduit. All the “S” hooks that we found weren’t big enough to fit around the conduit and none of the other hooks in the hardware aisle would work either. Enter the shower curtain hooks for $1.77 per pack of 12.
We MacGyvered the snot out of those shower curtain hooks! All it took was a bit of bending and twisting with a pair of pliers to take the hooks from its original state (on the right) to a stand-hanging hook (on the left).
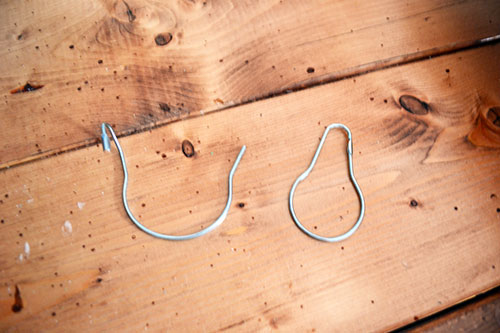
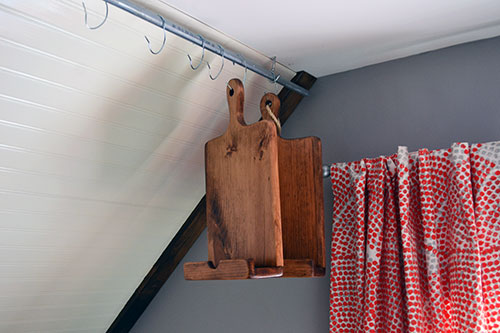
The bulkier clasp part turned into the part that would wrap around the conduit pipe and the part that clipped into the clasp turned into the part that would loop into the wooden stand hang holes. Kind of like so:
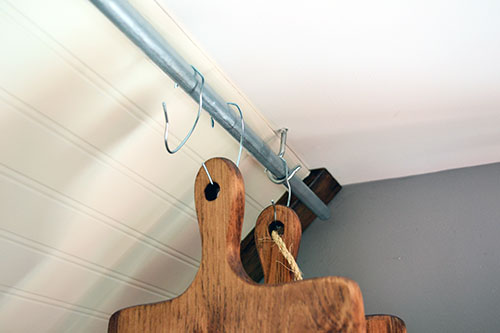
I know this pic only shows the drying rack loaded up with a pair (aren’t all good racks made up of pairs?! sorry…couldn’t help it…I am a 12 year old boy…hanging head in shame) but you should see this thing fully loaded! It’s like I’m drowning in a sea of wooden cookbook stands!
So that’s our little ditty about Jack and Dianne how $9.32 saved my life. Not really. More like improved efficiencies and made me a more productive small business owner. Now I can’t sit on the couch and re-watch episodes of New Girl while waiting for stands to dry. I liked self-employment alot better before the drying rack. That’s it, rip it out, it’s not vented! Random side note: “rip it out, it’s not vented” refers to one of our favorite shows “Holmes on Homes”. He uses that line ALL THE TIME but usually referring to showers and toilets that were installed incorrectly. Colby and I like to use the term…well…just about all the time about anything. #weirdos
Pssst…What have you spent your $9.32 on lately? Any thrifty projects going down in your neck of the woods?