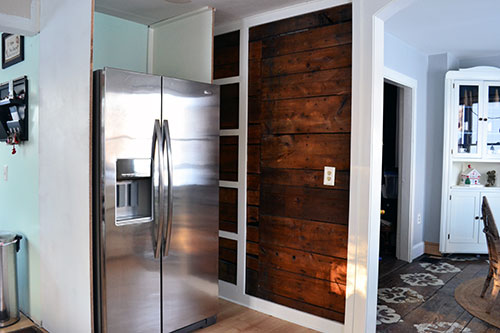
Pantry sides in the hizzah (hizzah = house in Snoop Dog terms because apparently Snoop Dog = Dr. Dre…you know…na na na na na the next episode). Anyway…we’re here unleashing pantry framing round 2…ding ding ding…after unleashing part 1 on you back here. So today we’re going to give you run down on how we made the sides for the refrigerator surround (really riveting stuff here…but alas…a necessary evil).
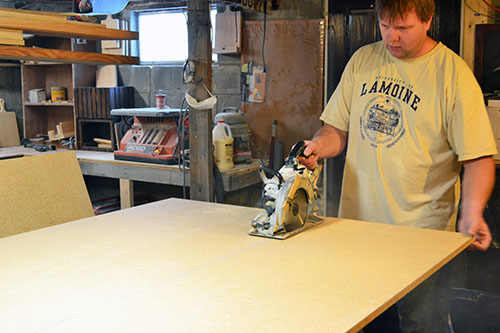
We used particle board for this project, which was our first go around using this material. We’re wood people. Nothing really beats playing around with real wood. But at $20 for a 4′ x 8′ piece of particle board compared to $60 for the same size of birch plywood (which has a smoother finish than pine), we went with the particle board. We opted just to purchase two sheets, one for each refrigerator side, and use the scraps to build the shelf above the refrigerator. After picking up our supplies, the first step was cutting down the board to size with a circular saw (making sure to prop the board up from underneath so we didn’t cut our workbench). Each refrigerator side measured 28-1/2″ deep x 91″ tall.
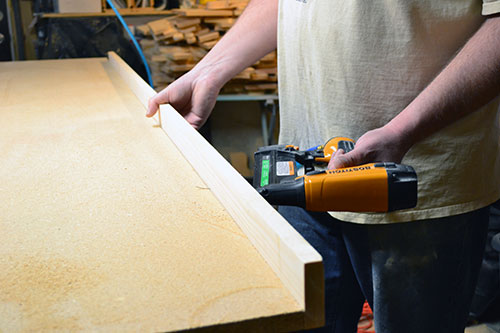
Next, we nailed a 1″ x 2-1/2″ piece of pine to the back side of the particle board, so the pine would lay between the wall and the particle board. This piece of pine not only helped provide an easy way to nail the refrigerator side to the wall, but also to help keep the particle board straight and prevent it from warping or swaying (insert joke in poor taste about wood going limp here).
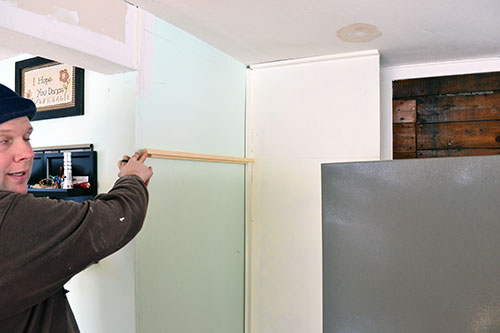
Here’s the same particle board/pine piece combo dry fitted in place so you get the idea.
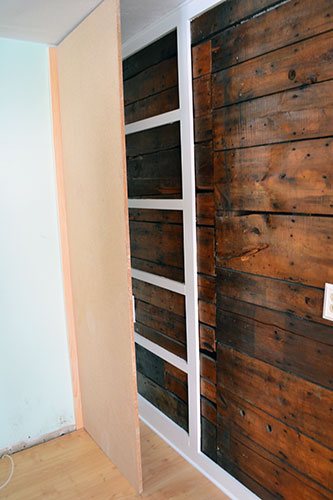
You know how I’m ALWAYS complaining about how our house isn’t level and our house isn’t square and our house is old so it’s not level or square (broken record say what?!), enter evidence stage right:
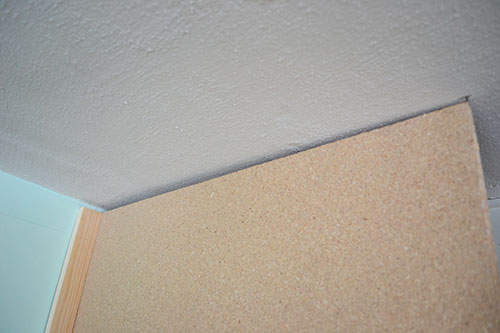
Holy gaps Batman! Thankfully trim pieces will cover this up.
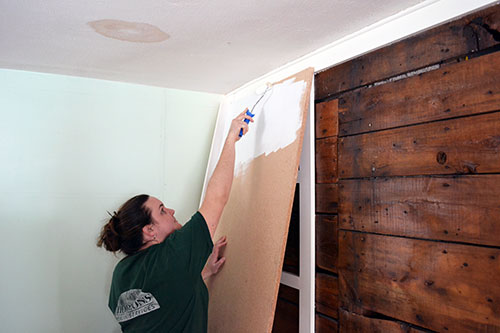
Before permanently installing the side, I took a moment to prime and paint the pieces using a small foam roller. Why didn’t I paint after installing, you ask? Let’s just say my badonkadonk wasn’t about squeeze in that 20″ pantry space to paint it once it was already installed. I also took a moment to pre-prime and paint the other trim and support pieces that were TBI (to be installed).
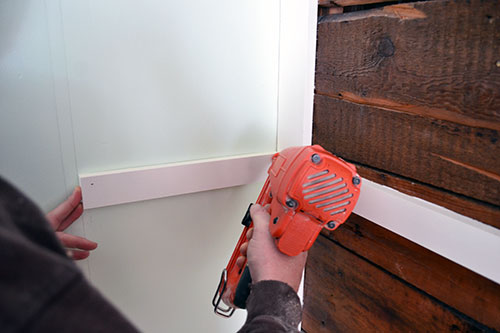
Like this trim piece, which served the dual purpose of providing a solid wood surface to nail the refrigerator side into and also as the backing for the drawer slides, also TBI.
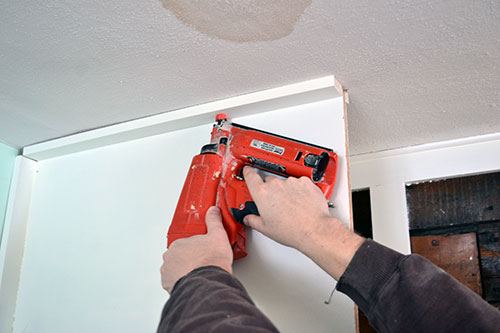
The unglamorous action shot of Grizzly Adams my mangy husband…I mean…studly husband in weekend project attire nailing the refrigerator/pantry side into place. Random side note…I adore my husband in Carharts, swoon!
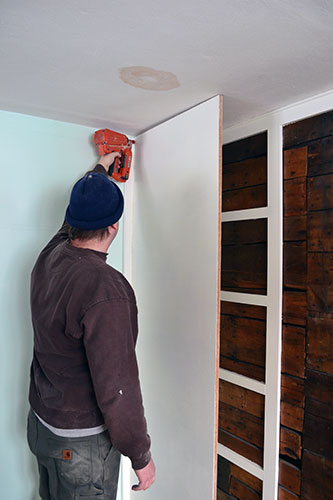
And the other trim piece we installed was another 1″ x 2-1/2″ piece of pine to cover the weird, angled gap between the particle board and the ceiling, and also to provide some needed support to the particle board.
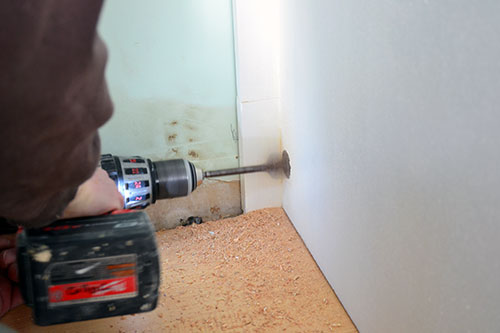
Before we could push the refrigerator back into it’s little nook, we had a little drillin’ to do. The outlet for the refrigerator was on the exposed wood wall, on the other side of the particle board side. Nothin’ a little spade bit/drill action couldn’t fix.
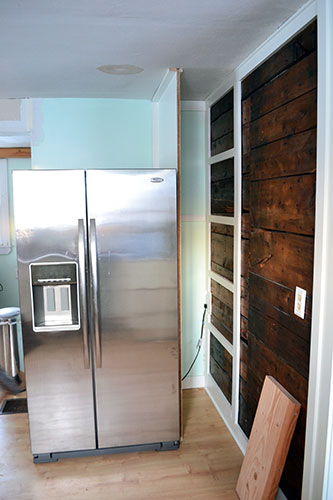
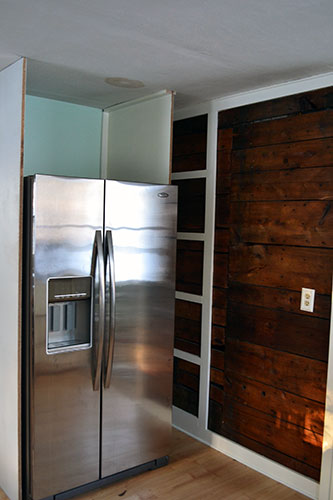
One side done and installed and one more side to go. Random side note: notice the Carhart wardrobe change?! New day, new Carharts! Swoon continued! Random side note #2: I am THIS close to patching, priming, and painting the ENTIRE kitchen ceiling because of THAT stain! Even though the ceiling is completely coming down in just a couple of months to be replaced with bead board. Patience grasshopper…patience.
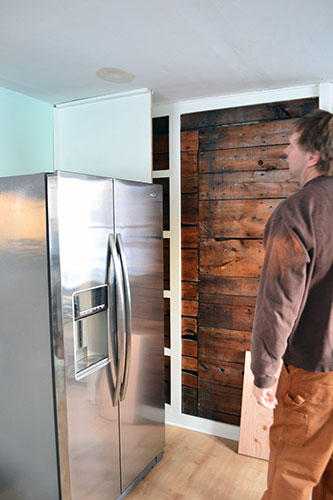
Once we got the first side of the refrigerator box up, it started to really feel like a built in pantry. Can’t you just see the pull out drawers, installed between the wall the fridge?! Filled to the brim with flour and sugar and pasta…oh my!
Back out came the refrigerator and we got back to work finishing up the framing for the shelf and also for refrigerator side number two. First by installing a piece of pine between the two sides to create an above-the-refrigerator shelf bracket.
Lather, rinse and repeat. We built and finished refrigerator side #2 in the same manner as refrigerator side #1. And with that, we have a framed-ish in refrigerator. “Ish” as in it’s still missing the shelf above the refrigerator, which we’re planning on using to stow the microwave to get it off our kitchen counter to free up more work space.
So what’s next? Great question! Glad you asked! Why, shelves of course! And since I love a good spoiler these days, here’s a kitchen pantry pull out shelf teaser:
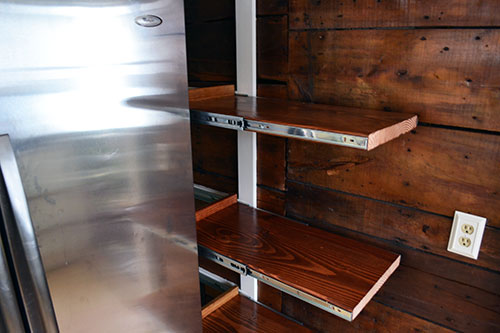
Cannot…wait…to share more about them with you! They still need a little touching up and finishing, like end pieces and drawer pulls, but more on that later. Stay tuned for more details from the great pantry project of 2014.
Pssst…Okay my Northeastern-ly friends. Have you guys been having crazy weather too?! This weekend we bunkered down and watched all the crazies try to drive up our hill and get stuck, fire truck included, thanks to all the ice. It’s like winter’s revenge after having a couple of mild winters the past couple of years! Stay safe my friends.
Great idea with the pull-out shelves. (And I’m loving the stain color on your exposed wood, too.)
Thanks so much!
This is a great project and I would love to copy it in my own kitchen! We, however, have a vaulted ceiling (slopes up above the fridge).
Do you think that the particle board “framing” would be sturdy enough if NOT secured to the ceiling? I was hoping to have it stop at the height of the fridge.
Absolutely I think the particle board framing would be sturdy enough. As long as it’s supported somewhere else (like maybe the wall) and had something coming across the front for extra support. I’m sure there are some creative framing solutions for you! Good luck with your project!!