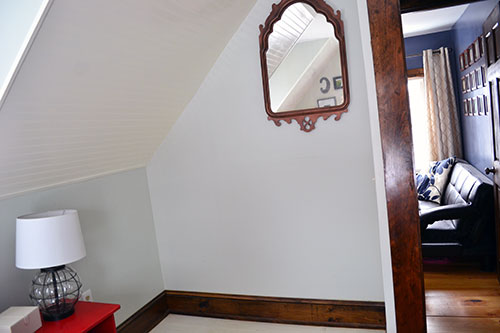
This past Sunday, when I should have been making the Pioneer Woman’s queso fundido, picking out just the right beer at the local craft beer store, and bunkering down to watch the Super Bowl with Colby, I spent my day working on a little project for our master bedroom. And I’m going to go out on a limb here and say that if my mom was here, and I showed her what I did, I’m pretty sure her reaction would be something along the lines of “Well…it’s interesting”. My mom is conservative when it comes to home decor and I’m not. Lately, I’ve felt that our master bedroom was a little on the bland side. Well folks, not anymore! Helloooooo accent wall!
We stenciled a little accent wall in our master bedroom behind a pair of Ikea dressers, which I also started impulsively painting. But more on that later. Let’s talk stenciling a bit.
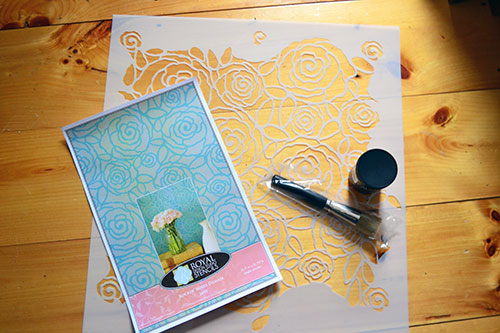
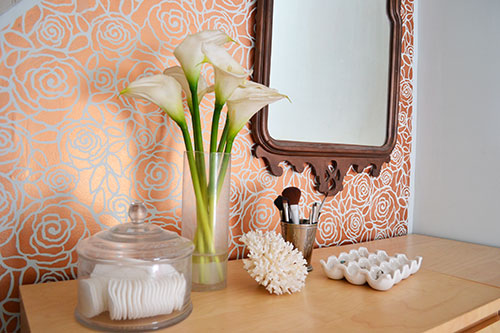
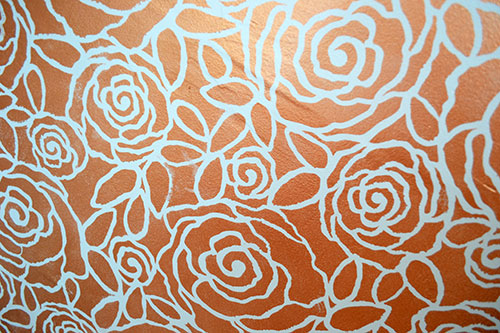
Just before Christmas time when all hell was breaking loose in the Etsy shop and I was pulling out my hair trying to keep up with sales demand, I was contacted by the lovely folks at Royal Design Studio Stencils about doing a stencil review. You mean I get to try one of those gorgeous stencils I’ve been drooling over for months for free?! All I have to do is write about it and share my experience with my people?! Um…sold! I have to admit, I’ve never stenciled anything before and was a bit nervous. Although I have watched my mom do it several times, does that count for something?! My stencil of choice is the Rockin’ Roses Damask Stencil. Swoon!
Have you guys seen Joy Cho’s living room done by Emily Henderson? I loved that accent wall. Like, wanna make out with it love it. So I envisioned an accent wall similar to that in the nook of our master bedroom. I didn’t have extra wads of cash kicking around so instead of the fancy metallic wallpaper, this stencil was a cheaper alternative with a similar vibe. So away went our dressers and off to work we went.
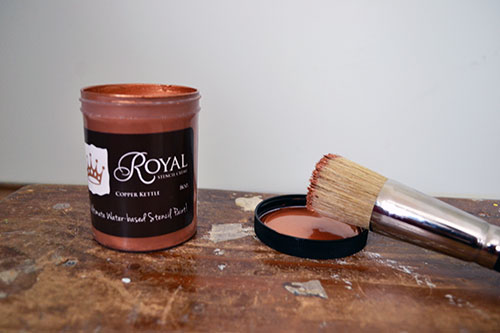
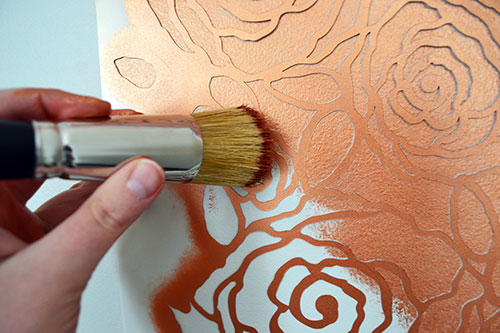
And the paint color of choice? Copper Kettle Stencil Cream. Meow.
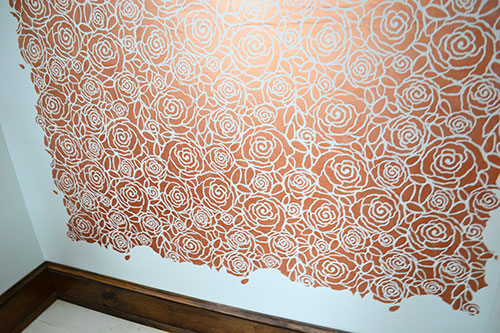
The stencil came with some basic instructions which was great for a novice like me. The consensus with the play-by-play was to start at the ceiling. The ceiling part is super visible but where the stencil meets the baseboards is often hidden by furniture or masked with baskets, bins, etc. Also included with my allover wall stencil was a ceiling stencil that was just one row of the pattern and easily matched up with the giant stencil.
I’m going on the record now to preapologize for the poor quality of “in action” shots and general lack of “in action” shots. I had a case of Edwardian Copper Hands, a distant cousin of Edward Scissor Hands, which made for quick snapshots a little difficult without getting copper paint all over the camera. Colby tried to help…photography isn’t his strong suit. He…is…man. Man…build…things…with…hands. Man…no…camera…need. (That makes more sense if you say it aloud with a caveman’s voice).
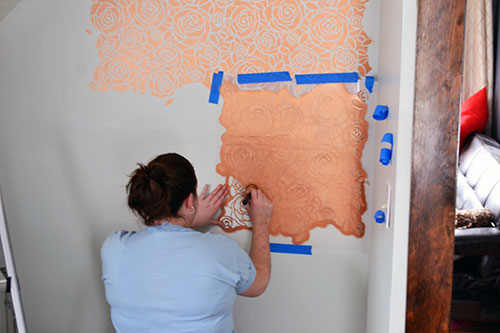
So back to stenciling. The beauty of an allover wall stencil is that they’re cut out so you can easily overlap the stencil with what you just finished stenciling to repeat the pattern. So I worked my way down from the ceiling and off to the sides, one stencil section at a time. I liked working right to left. I felt I didn’t smudge the paint as much that way but I’m sure it’s a personal preference kind of thing.
As for the general “how I did it”, I kind of winged it. I tried out this paint at the Haven Conference, and the general idea is to dip your brush in the paint (I was using the 2″ overall stencil brush), remove the excess with a rag, and work the paint into your stencil in a circular motion. I nixed the rag and just tapped off the excess paint on a piece of cardstock paper.
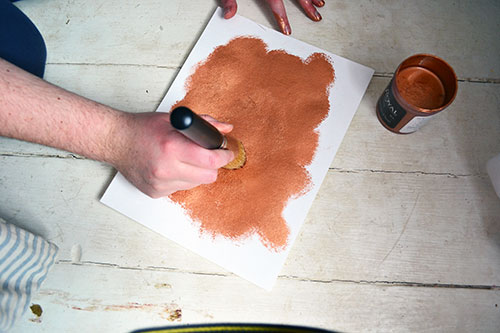
And I just kind of tapped/rubbed the paint onto the stencil/wall.
I did find I was getting a bit of bleed through rubbing the paint into the wall so I started doing a bit more tapping straight down onto the wall. I blame part of this on the fact that this wall is nothing close to straight, even, and level. Hashtag old home problems. This is where I could have benefited from using a temporary, stencil spray adhesive to help hold the stencil to the wall securely. Live and learn. But I powered through and finished the bulk of the wall in a couple of hours.
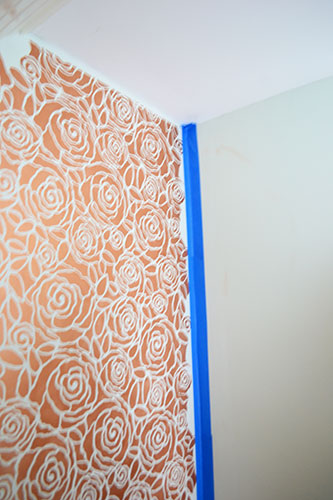
The easy part was done. Next up…the trickier cutting in parts along the baseboards, other walls, slanted ceiling, and regular old ceiling. This is when I started cursing the day that I decided to stencil an accent wall in the tiniest, most angular area of our home.
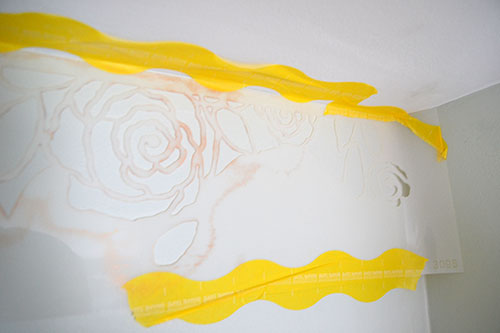
We learned quickly that we needed to protect the other walls from the stencil so before cutting in the corners we slapped up some painters’ tape. We also learned that four hands were easier than two for the corner parts, so Colby helped hold the stencil and fold it into the corner while I stenciled away. This was another case of spray adhesive would have been helpful. We also opted to tape a border around the stencil area so we didn’t have to stencil right into the corner, which was a bit tricky. I’m not gonna lie, I kind of regret the border and there’s a good chance I’m going to fix it this weekend. Blurry pic #2 of the post:
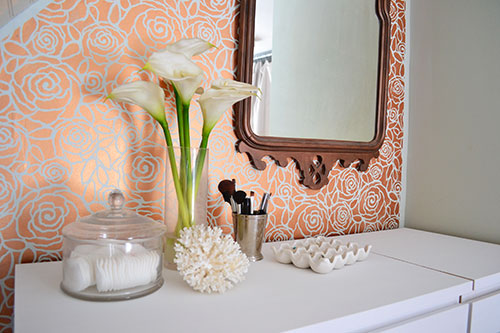
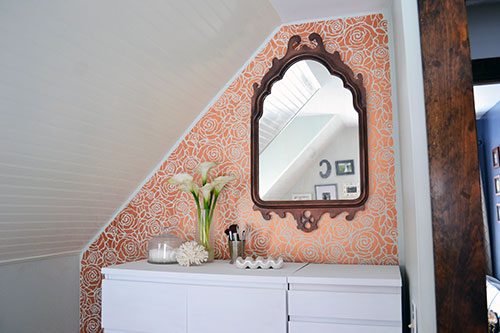
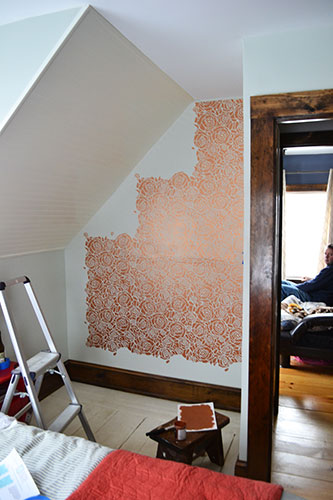
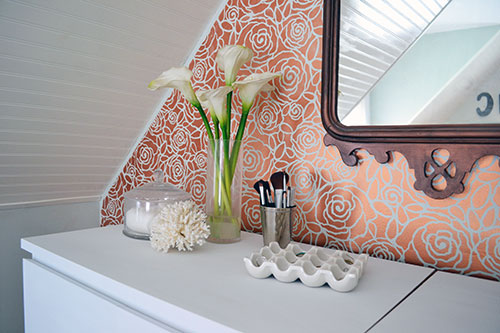
Just hours before kickoff and the beginnings of one serious Super Bowl beat down, the stenciled nook was finished. We moved the dressers back into our room and the space was looking a bit like this:
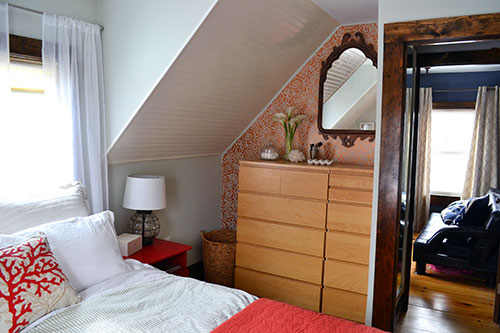
Loved the wall, but didn’t necessarily love the particle board, faux pine, or Ikea dressers in front of the wall. I just wasn’t feeling the faux pine/copper combo.
That’s when I impulsively started painting the dressers with Annie Sloan’s Pure White Chalk Paint. White went so much better with the copper rose wall than faux pine.
In the effort of full disclosure, I just barely started painting the dressers. They kind of look like this right now:
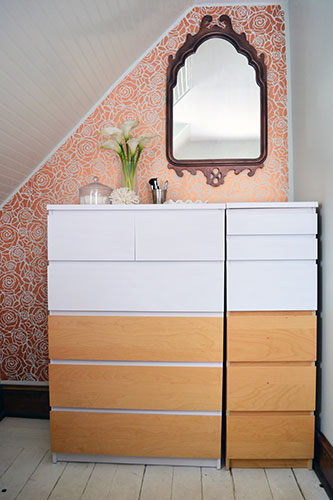
Cropping can be a beautiful, beautiful thing.
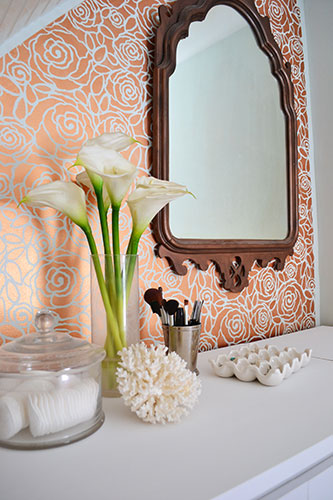
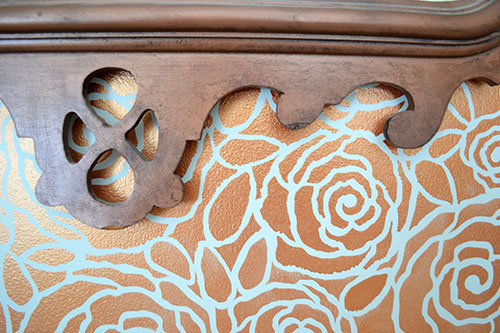
Let’s zoom in shall we?! So you can see our uneven wall a bit. Thank goodness the dressers hide that wonky part of the wall.
As for the next steps in our room makeover, we’re totally in that “the middle makes no sense” phase of the room, as Sherry from Young House Love would say. There is some serious crazy going on in here that needs to be fixed. Like red nightstands, yellow lampshades, mismatched lamp shades and nightstands, missing flooring, an unfinished closet, and so…much…more. Ack! And the mirror finish…I’m not quite sure it goes with the new copper wall.
But I feel like we’re heading in the right direction and things are coming together quite nicely all thanks to a copper rose wall. I’m hoping to finish painting the dressers by the end of the weekend, which should help them tie into the nook a bit better. And I also have some nightstand plans, lighting plans, and bedding plans coming down the pipe. So many exciting things going on in our bedroom (mind out of the gutter people…I repeat…mind out of the gutter).
Pssst….HUGE thank you shout out to Royal Design Studio Stencils for sponsoring this little post and sending me free supplies to make some magic stenciling in our master bedroom. We appreciate it and LOVED our experience using your products. Thank you, thank you!

My Super Bowl Sunday was spent the same way! The wall is very interesting, but in a good way – I love it! I wouldn’t have thought to use the metallic paint all over. It adds a “glammed” up look to your room. Good job!
I like it
Christa