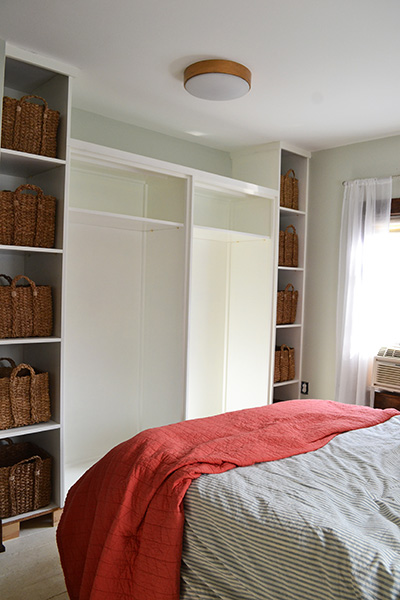
The eagle has landed…and departed. And by eagle I mean our house guest, Colby’s mom. We had a blast this weekend laying low and hanging out with her. She’s a great lady…seriously…no sarcasm included. I mean, c’mon. She wanted to go to the flea market! Now that’s my kind of a Saturday afternoon. Although she wouldn’t let me come home from the flea with chairs either. I sense some collusion going on between the Colb-ster and momma bear. Anywho, it was the upcoming arrival of our house guest that pushed finishing our master bedroom closet to the top of the project list. We did complete it in time thank goodness, but today I’m bringing you up to this point:
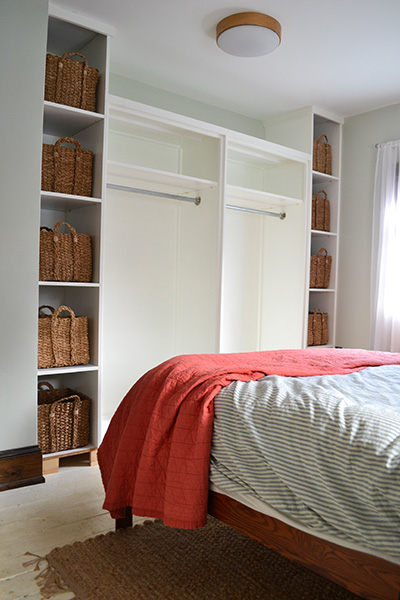
Shelves are built and closet rods are installed. In our last post, we talked about building and painting the closet where you got a brief glimpse of the shelf installation process going on, along with testing out the baskets.
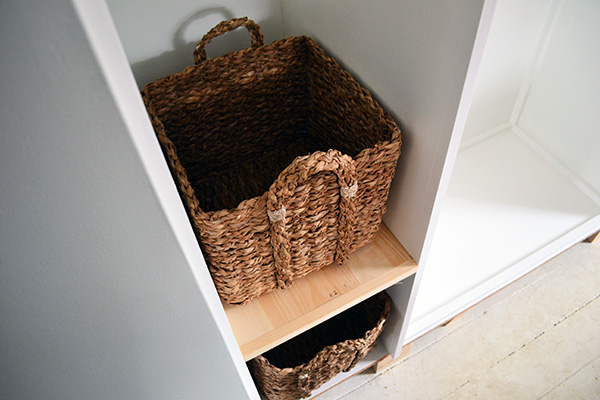
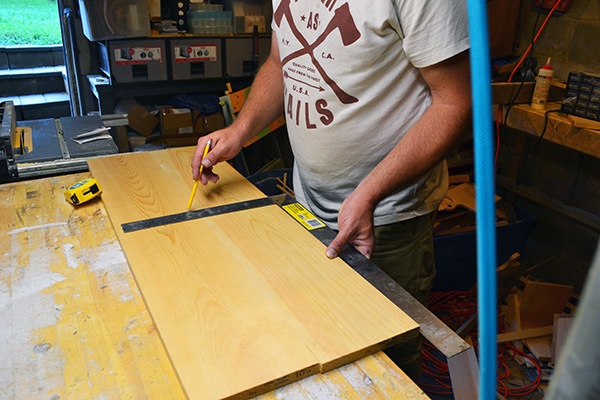
So naturally, today we’ll be talking about how we built the shelves along with how we installed the closet rods. First, the closet shelves. In our closet plan, we wanted five baskets on each side meaning we would need four shelves on each side of the closet (basket number five sits on the bottom of the closet). In theory, each of these 8 shelves we would be building would be identical. But “in theory” when renovating an old home is just a pipe dream. Nothing is square and nothing is even so it was a pretty custom shelf-building process. At least the basis for each shelf started the same. To begin, Colby glued together 1″ x 8′ pine boards side by side to form a 14″ wide shelf (some shelves had three boards glued together and some just had two due to using wider pine boards we had on hand). After letting the pine boards dry overnight, he squared them up and began making his initial length cuts using the chop saw.
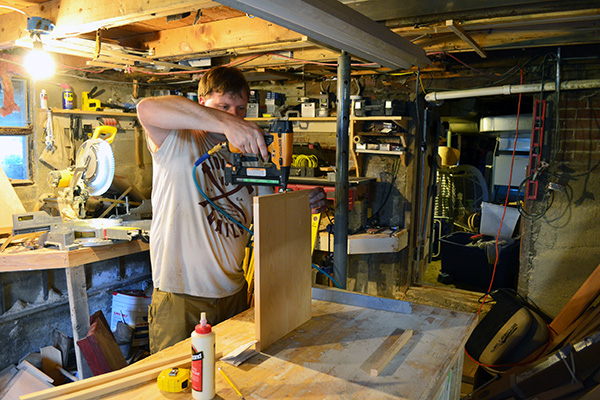
Since a trio of boards glued together with wood glue isn’t the sturdiest, most durable shelving solution, he shored them up with some scrap pine nailed to each end. The end pieces help hold the shelf together and keep the glued-together boards from separating. It also helped dress up each end of the shelf with a more finished look. The shelf was cut 1-1/2″ too short so two 3/4″ x 14″ pieces of scrap wood could be nailed to each end.
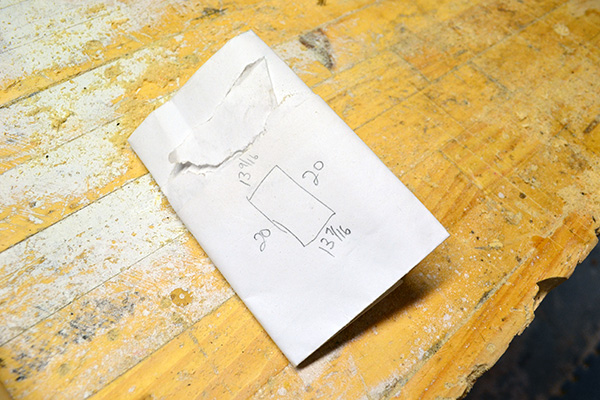
Since each shelf space was just a little bit different, Colby measured and noted each shelf’s dimension. This one is 20″ deep on each side with a 13-9/16″ width in the back and a 13-7/16″ width in the front. It’s not a huge difference, but enough that custom-cutting each shelf to fit its exact space specs made a difference.
With those measurements, Colby marked his cut lines and then freestyled the shelf through the table saw. Captain Safety is clearly not on duty this evening. Note what not to do in regard to saw safety.

After filling the nail holes with putty and sanding down the shelf/glue/putty/etc., the shelf was ready to be dry fit into the closet space and later painted.

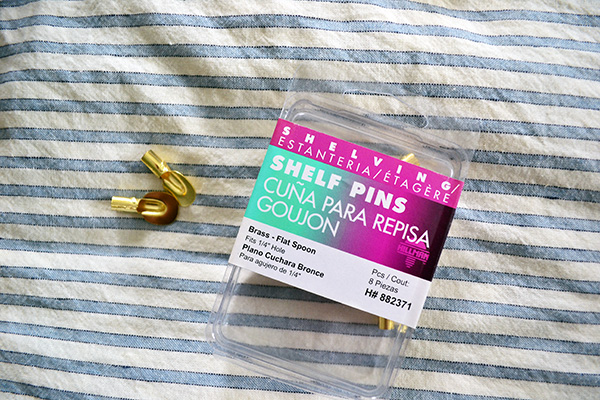
To install the shelves, we decided to use shelf pins just in case down the road we wanted to adjust the shelves. We briefly debated a more permanent solution like nailing each shelf directly into the closet but liked the added flexibility of shelf pins. If we change our minds down the road on optimal shelf location, it would just be a matter of drilling new pin holes for each shelf instead of ripping out and reinstalling the shelves.
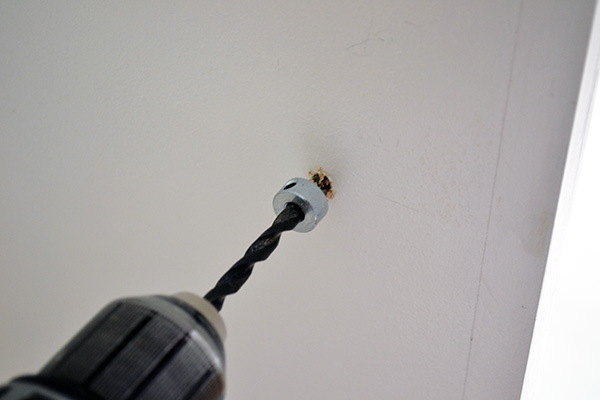
We had one of those Kregg Jig shelf pin kits in the workshop so we commandeered the shelf pin hole bit, measured and marked each pin hole’s location, and drilled holes into the particle board closet sides making sure to line up the holes vertically (3″ from the front and back of the closet).
Here are the side closet shelves dry fitted pre-painting:
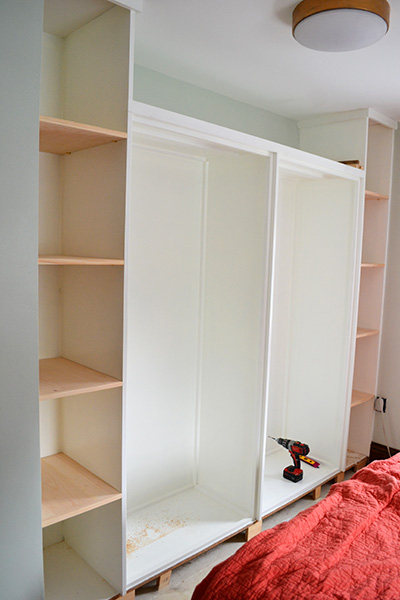
We built two more shelves for the main parts of the closet in a similar fashion before removing the dry-fit shelves and priming and painting each shelf. For the shelf finish, we went with two coats of Valspar’s Betsy’s Linen color matched to Benjamin Moore’s paint in a semi-gloss. One coat of primer and two coats of paint later our closet was starting to look like a closet.
With the closet shelves painted and installed, it was time to turn our attention to the final piece of the closet assembling puzzle, the closet rods. We had a piece of 1″ X 100″ conduit that we used for a curtain rod to conceal our makeshift closet. It seemed silly not to reuse it for a clothes rod in our his/hers closet. Out came the pipe cutter and we cut down the conduit to two 34″ rods to be installed in the main parts of the closets.

We had also salvaged the hardware so all we needed to install the closet rod was a single rod kit from Lowes for just a few bucks.

We used a super sophisticated method of determining proper closet rod placement. Are you ready for this one? We brought out one of the hangers, hung it on the rod, and moved the rod around until we found the proper height position:
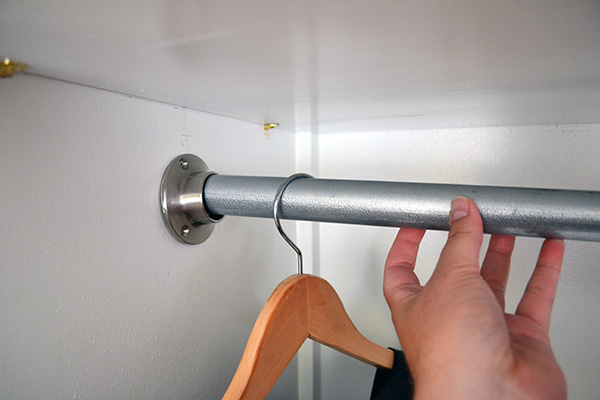
And depth position:
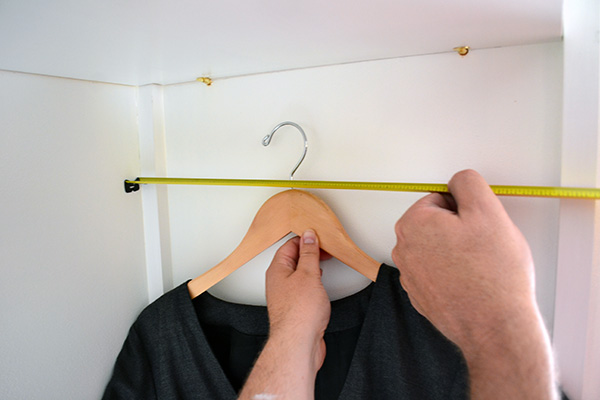
Life-changing, I know. Then it was just a matter of measuring and marking the closet rod hardware position on both sides of each closet, then screwing the hardware in place.

Having real closet rods is a beautiful, beautiful thing. I feel so adult now. Like I should be working on my five-year plan, buying toilet paper en masse, and putting myself to bed by 9 pm on a work night.

Serious…closet…love. Naturally, the second the last closet rod went in I was tearing through our makeshift temporary closet in Goose’s room tossing old clothes that we no longer wear and super organizing the closet. It took me hours…plural…for multiple days. Definitely my idea of a good time late on a Sunday evening…and Monday evening…and Tuesday evening.
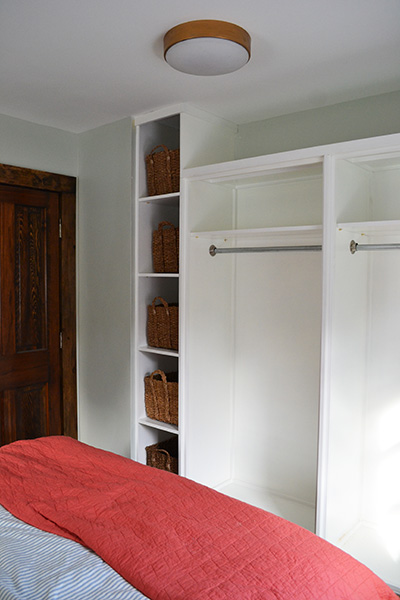
And one last shot of the finished closet (minus the doors) from the other side:
Next up on the old closet building agenda: the main event, the heavy-weight match, the part you’ve all been waiting for….closet ORGANIZING! We still need to build some closet doors, which we haven’t even started yet, and then she’s done in all her closet glory. Oh, so close grasshopp-ah!
Pssst….Who else had overnight guests this weekend? Did you scramble to finish up projects around the house like we did? Or is anyone else finishing up some lingering, started this in April, projects?

Awesome! Great job. Now will you come do my closet?!?