Today we’re talking about planking. Laundry room ceiling planking. Not the cop car, Macy’s escalator, red carpet, or the middle of the lawn planking fad that’s all over the internets. No. Different planking.

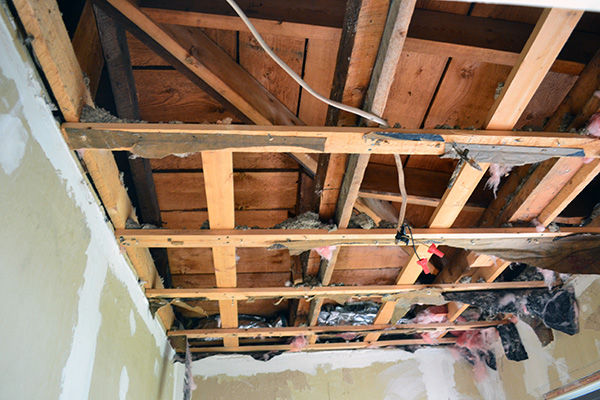
After gutting out our laundry room for a much-needed reno, we were left with a super naked ceiling. We opted to take down the whole ceiling since we’re also in the middle of updating all the electrical in the kitchen and this made the whole process easier. Besides, the textured ceiling had to go. It had worn out its welcome. I’ve always loved planked ceilings and have been jonesing to install one in our kitchen. Since I wasn’t 100% sold that a planked ceiling in our kitchen was worth the cost (about $800 for planking vs. $150 for sheetrock), we decided to take it for a test drive first in the laundry room. Spoiler alert…I LOVE it and will be installing it in the kitchen. The planking was our biggest splurge in the space clocking in at a whopping $60.
The blogosphere is riddled with planking posts and everyone talks about how they get these multi-packs of boards for next to nothing at Lowes/Home Depot. I don’t know if it’s just a regional thing but we could find no such bulk packs of planking. We do prefer buying lumber at our local lumber yard so there we went to find their version of planking, v-groove pine boards.
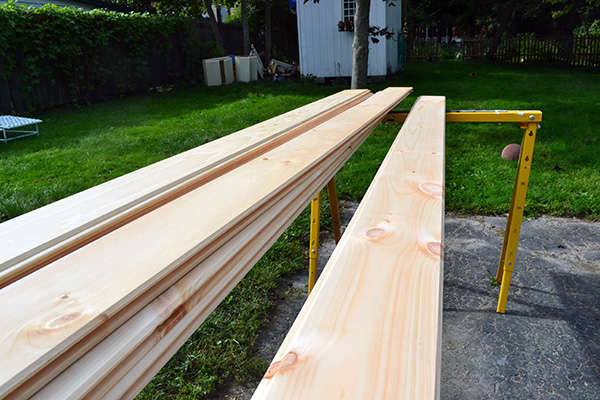
The concept is pretty basic…there’s a tongue side of the board, and a groove side of the board, and when you click them together it creates a little groove. Planking. Our only concern with using the v-groove was that it was covered in knots of various intensities. Early in our DIY days, we learned that knots tend to bleed through white paint after a while. No matter how much I paint I still have knots coming through our bathroom trim. Lesson learned…use the good primer. It’s worth the extra cost and the extra time.
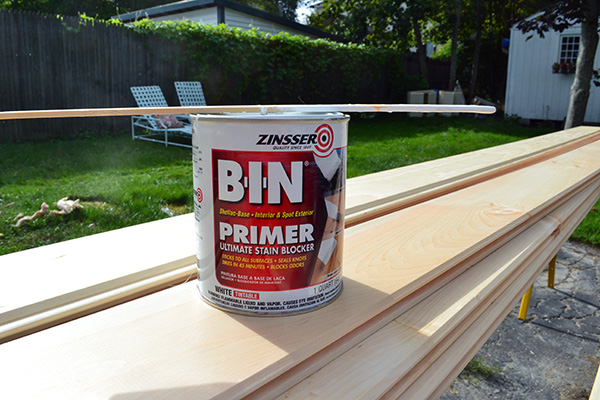
Colby and I both swear by BIN’s oil-based primer. Our theory is that if it’s bad for you and your health, it’s probably good stuff. We feel the same way about our asbestos shingles on the house. They’ve been around FOREVER and with just a little painting once in a while, are in MUCH better condition than the newer cement board siding on the kitchen part of our exterior.
Thankfully, while priming/painting the planking it was still gorgeous outside. Meaning I could prime the boards with the stinky oil-based primer outside and not stink up our house like the dog did the other day thanks to a skunk encounter of the worst kind. I set the boards up outside and layered on a full coat of oil-based primer, touched up the darker knots with a second coat of the primer, followed by two coats of glossy white paint.
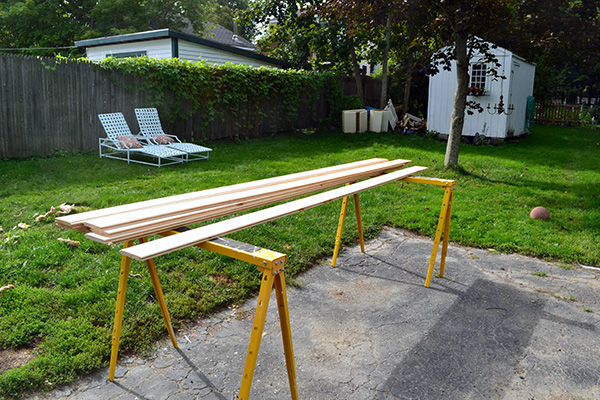
The painting went pretty fast since we only needed about 35 square feet of planking for the tiny space. After the boards were dry, Colby cut them down to size one at a time and began installing them using a pneumatic finish nailer.

Before this step, he also added back insulation and prepped the ceiling which included making sure it was level and that blocking was installed perpendicular to the planking to provide something solid to nail into. During installation, Colby made sure to nail each board to the blocking through the tongue part of the board which left us with very little nail hole filling after the ceiling was installed.

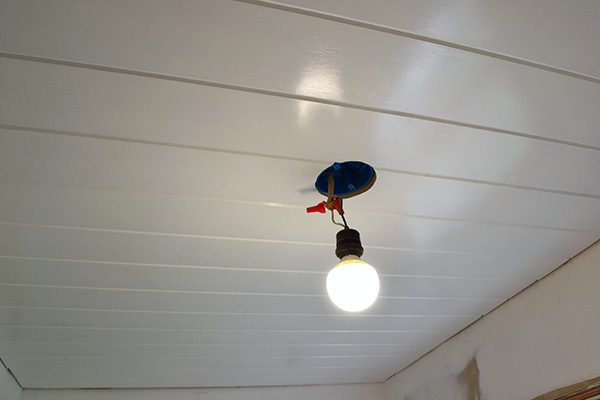
The trickiest part, which wasn’t even that tricky was cutting around the light fixture box. A pigtail light installed made it much simpler to work the planking around than having a full-sized fixture hanging there.
After all the planking was installed, we were left with a decent-sized gap around the room where the planking met the walls.
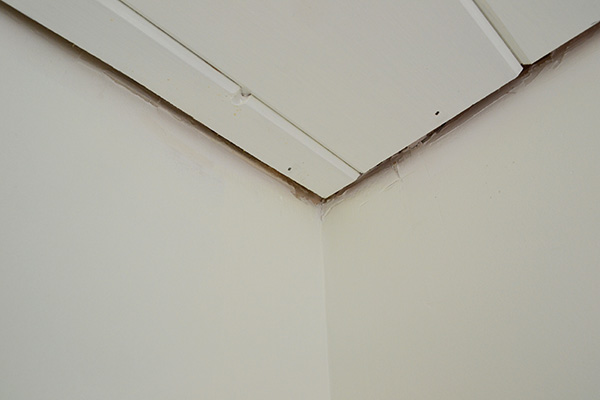
Nothing a piece of pine couldn’t fix. More specifically 1-1/2″ piece of pine. It covered up the gap in a crown molding-type way.

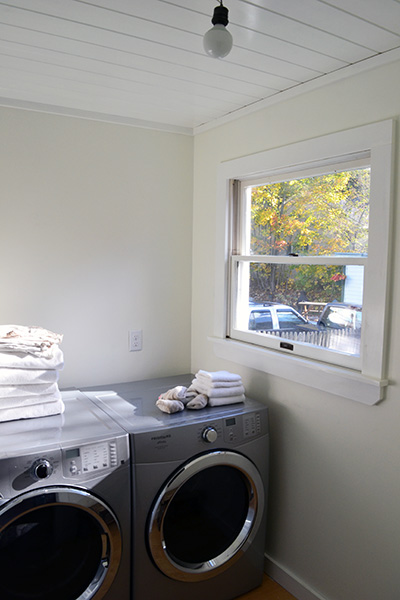
At this point of the project, the whole room was feeling super bright and white, a stark contrast to what it was just a few weeks earlier all 70s style with metal cabinets, paneling, and yellow plaid wallpaper. It was blindingly white and I couldn’t wait to start layering in some wood and texture in shelving and cleaning/organizational accessories.
Stay tuned for more news on the shelving front.