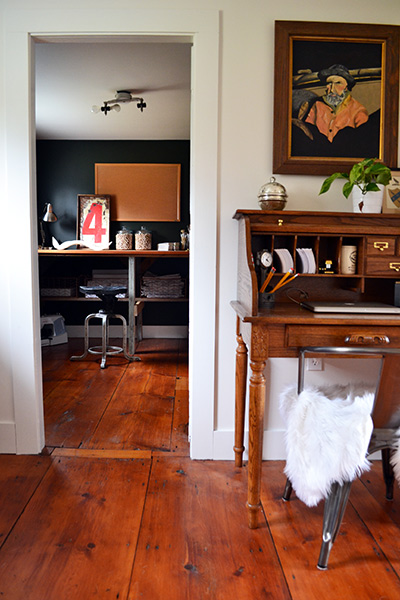
I was sorting through photos the other day, you know, finally deleting the 3,000+ extra photos of our house and the 2,000+ photos of Goose in compromising positions. I kept the best ones and deleted the less flattering ones (you’re welcome Goose). Then I realized I had never really blogged about the craft room desk build or the preliminary tour of the space, just teased the room a lot like this:
So I’m going to talk about the craft room table for a bit. Probably talk about it a bit too much since that’s what I do. And as much as I’m going to go on and on about the craft room table, I’m also going to go on and on about how awesome my husband is. It is Valentine’s Day-ish after all. An alternate title for this post is “An Ode To My Husband” or maybe “My Husband Can Build Anything I Show Him A Picture Of”. I’ll save “How I Coerce My Husband Into Building Me Things” for another day.
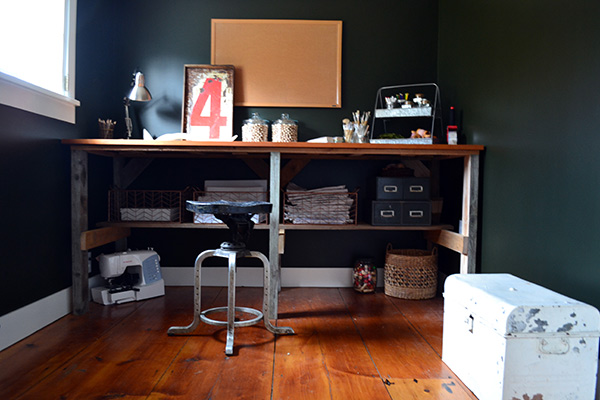
Colby never ceases to amaze me with his genuine aptitude for building things. Rugged things. Rustic things which we lovingly call “old world style”. All it takes is a picture, a few rough estimates, and a general aesthetic. One weekend I showed him this picture and asked him to build me a craft room table.

I believe the picture is from House Beautiful, one of the many magazine clippings I’ve saved over the years. A few hours later he had built this beast, spending precisely zero dollars on it. Zero! He made it out of scrap wood from around the property including some old, broken fencing.
And it gets better. The same weekend I showed him this picture of my dream kitchen island I wanted built in time for Thanksgiving (at the time, just about a week away).

It’s from an old Pottery Barn catalog. And a few days later he had framed it all up:
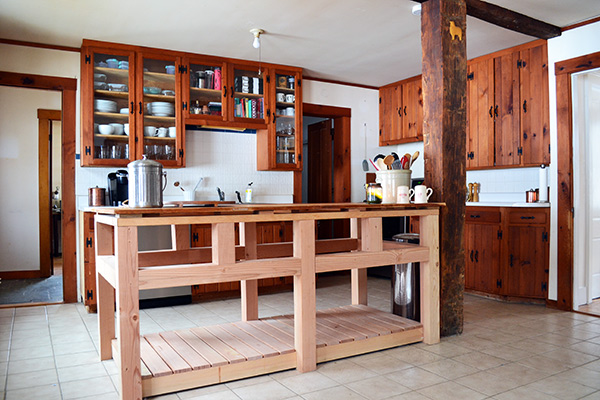
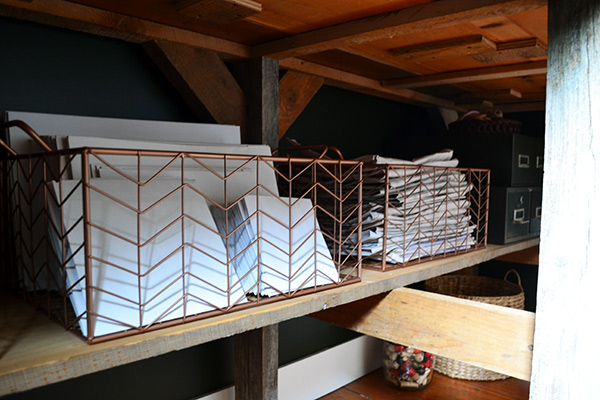
It was void of drawers and finishing but we had an island. I have many more details on the kitchen island coming to you soon. We’re oh so close to finished with it. Just a couple more hours of polying the drawers and some hardware attaching and we’re good to go! But let’s talk more about the craft room table. I don’t have much for a tutorial because literally…I blinked and it appeared in the house. But it was a pretty simple build with all the framing simply screwed together.

Here’s a closeup so you can get an idea of how it’s built. Reader’s Digest version…make the three sets of legs/framing, screw on some boards for shelving across the leg bracing (helps for sturdy-ness and storage), screw on some framing for the top, then attach a basic scrap wood top.

And scene. When I asked Colby to build me a craft room table, I didn’t care about what it looked like, I just wanted a surface to work on. I envisioned building something that I wanted later on when we felt more settled and tackled a few more projects around the house. But seeing the table now in the space, I’m in love and foresee many craft projects tackled on this table.

The top still looks so clean and lacking in layers of stain/paint/glue/glitter and other craftiness. I’ll get on that. The craft room still has a ways to go in terms of storage, organizing, and accessorizing but I’m loving its initial direction and am enjoying the ride of tweaking the room as I use it. If you want to catch up on craft room projects here’s the post on painting the room and the post about a wrapping paper storage system we built.

I like keeping my most used supplies on the table surface. At Christmas time that included wrapping supplies but I also hoard colored pens, washi tape, and ribbon in the galvanized caddy along with paint brushes for craft projects in mason jars.

On the shelf underneath the craft table, I store wrapping supplies like tissue paper and boxes. Now that Christmas wrapping is over, I’m considering switching it out for yarn storage. There’s nothing I enjoy more than watching Red Sox spring training coverage while mindlessly crocheting baby blankets for friends and family. Weird, I know. Pitchers and catchers report tomorrow.
We picked up this chippy, metal trunk at a junk sale this summer for $10 and it’s one of those pieces that’s traveled to just about every room in our house. But I think it has a permanent home in the craft room.
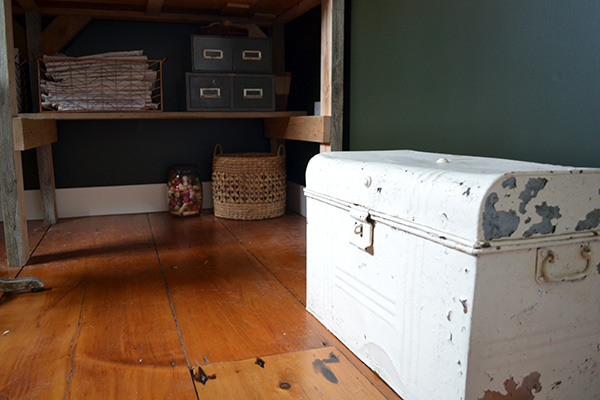
It’s the perfect size to store fabric scraps and sewing projects (both in progress and those “someday” projects).

In the corner of the craft room by the door, I set up the wooden ladder shelf pretty much exactly how it was set up in the craft room in our first house. Someday I would love to find an old armoire that’s sized perfectly for this nook and fill it with various craft supplies. I like the idea of a closed-up storage solution for this room since (speaking from experience) it tends to get messy quickly and I like the idea of shamelessly shoving everything into a cabinet and closing the mess behind the doors. But for now, I love the ladder shelf.

It’s one of the first pieces of furniture that Colby built for our first house. Again, I showed him a picture and POOF there it arrived. I adore the shelf because of that and it always reminds me of when we first set out on our DIY adventures. Until next time, you’ll know where I’ll be…crafting (or coloring) away in my little craft space or crocheting on the couch in front of the TV. Next up in the room, finally filling up that bulletin board, adding a bit of art, and a light fixture refinishing project.

Angie thanks so much for sharing! It’s awesome that your husband can put these things together! My thanks though is really because you made me realize that I can use an old foot locker from my uncle’s Army days as storage for all my batting! We were struggling with how to use it and now we have a good one where it’s ratty condition doesn’t matter so much!
Yes! I love that idea of using an old army footlocker! The ratty condition just adds to it’s charm!
I love the galvanized two layer server for your oft-used supplies! Genius. And the moody color is so fun. Your house really looks great. And how cool to have someone build for you. I am the builder here, but I suppose I like it that way. I do so love my saw. Such great progress you guys are making.
The Other Marian
Thanks so much Marian (aka The Other Marian…you’re so cute!!).