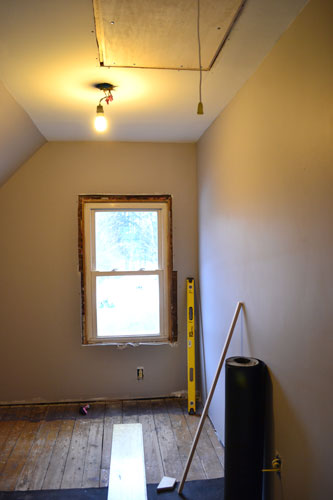
Today’s post isn’t about a glamorous project, or a terribly exciting project, but one of those necessities that you just have to pull up your big girl pants and take care of…the attic staircase installation.
When we did all the demo work upstairs, we moved the tiny attic staircase opening that Colby barely fit through, from our master bedroom into the guest bedroom. And when we did that, we (and by we I totally mean the global “we”…aka…Colby did it) planned ahead and made the opening the perfect size for a pull down attic staircase. Us? Pre-plan? WTF mate, that’s just not right, man!
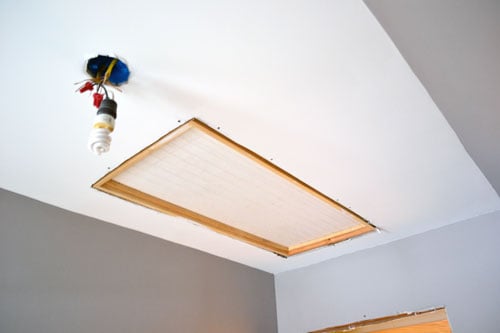
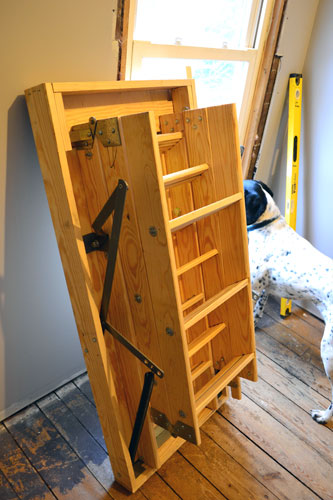
Until we got around to ordering the attic stairs from our local lumber yard (it only cost us $120), we just popped a piece of bead board leftover from other projects, up to cover the opening…that’s until this guy came home with us:
Then, only a couple months after putting up some temporary trim, down it came, which was pretty much just a space saver for the attic staircase frame.
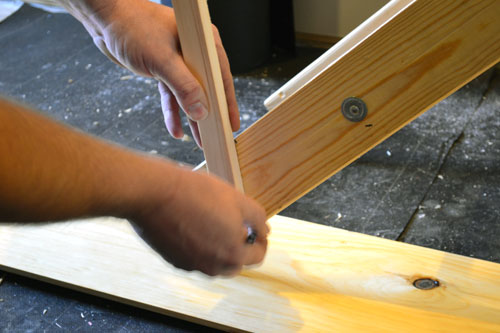
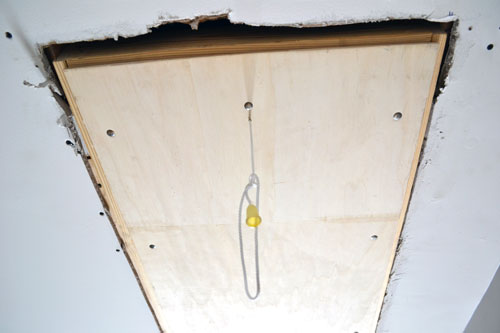
Since attic staircase installation is pretty much a three person job (one person in the attic to screw it all in and two people down below to lift/hold the stairs in place) we created a third “person” to help hold the stairs in place by temporarily screwing a 2 x 4″ onto the ceiling.
We screwed in boards on both ends of the staircase opening to help us hold it in place since Colby would be up in the attic attaching the stairs to the frame and I, the weakling of the pair, would not be able to hold the stairs in place on my own.
Next step, well, the picture speaks a thousand words.
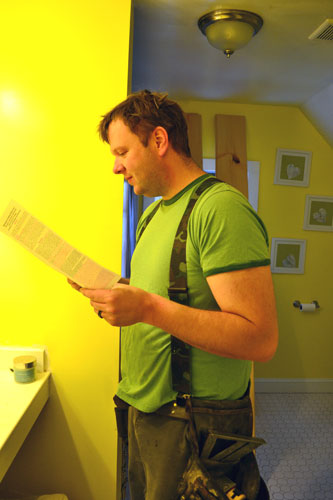
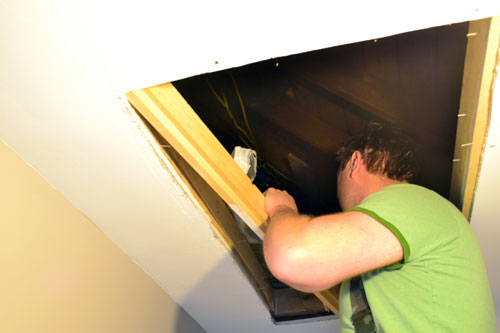
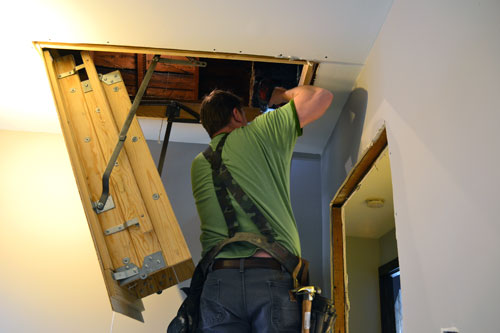
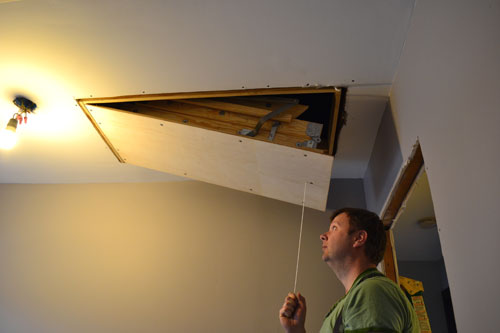
Colby consulted the instructions to make sure we were installing it correctly.
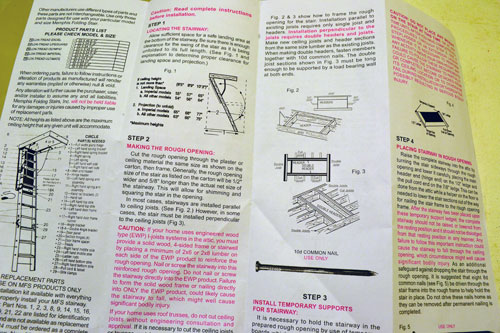
Look for the blue moon folks! My husband is reading directions! After the quick direction reading portion of the program, up into the attic both Colby and the staircase went. Random note…the staircase is MAD heavy! MAD I tell you!

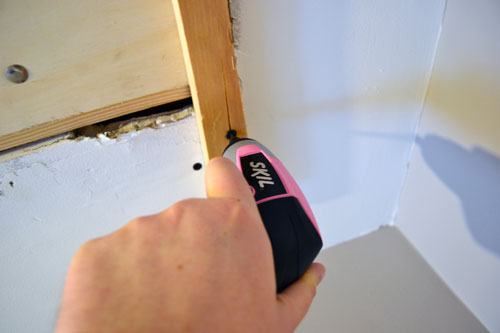
I don’t have many pics of us putting the stairs into the attic or of how Colby screwed the stairs into the framing, partly because I was too busy holding up the stairs but also because Colby was in the attic doing all this while I was down below. After Colby secured the stairs in place from his perch in the attic, he asked me to open the stairs and let him out. Minor problem…our board helpers were blocking the opening. Ooops! Pink screwdriver to the rescue!
I totally rescued my husband from a Chevy Chase in Christmas Vacation situation. Except that we don’t have a trunk full of Grandma’s old cloths and hats or a box full of old home movies to entertain him. Just Christmas decor and some felt bats. But after rescuing him…the stairs worked like a dream.
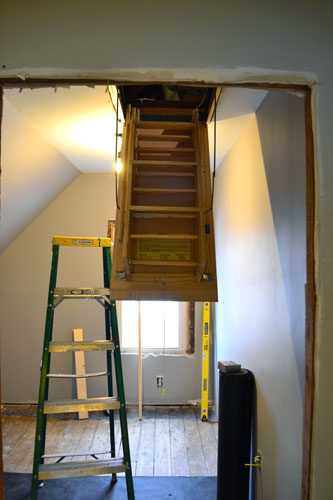
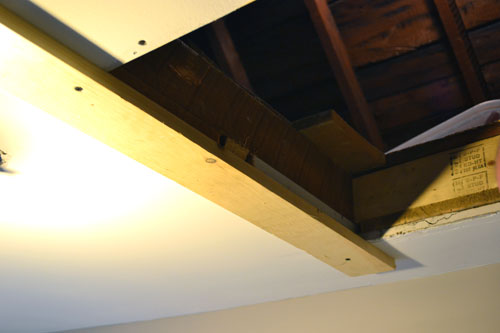
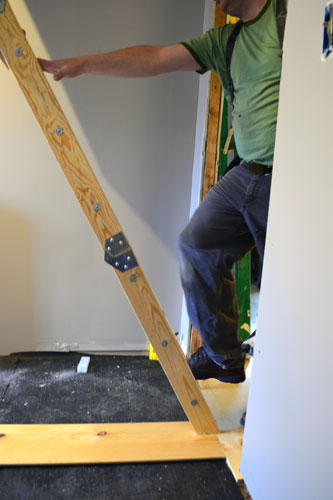
And from another angle:
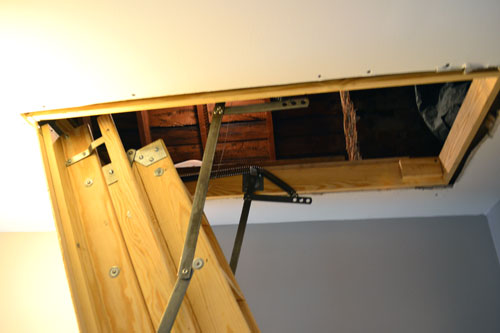
We were just a hair bit worried that the staircase, when it extended down, would jam into the wall. But we tested, mocked up a little doorway trim, and tested again. The staircase just barely made it through. Phew.

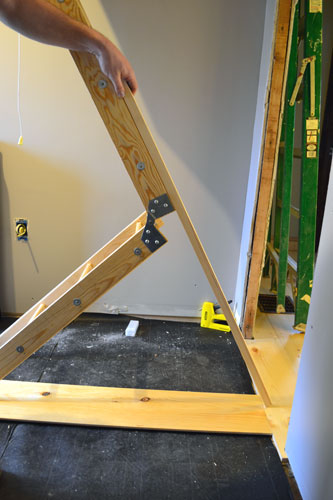
Now…this is where I, the inexperienced construction worker in the house, thought we were done. But, noooooo, there was fine tuning to do. The staircase was installed, but not necessarily squarely or level-ie. One easy way to check the square-ness is to measure the diagonals. They should match. If one diagonal is longer than the other, one edge needs to be shifted to make the box square.

So Colby measured, broke out the level, and adjusted the screws attaching the attic stairs to the frame, until everything was level and square.
Is anything hotter than a man in Carharts and sporting a tool belt! Swoon! After Colby squared up the stairs, I thought we were done again…WRONG…again. When we unfolded the staircase completely, the ladder was just a bit too long. It needed a trim and an angle adjustment so it would reach the floor and rest evenly on the floor. To help Colby measure and cut the ladder correctly, he used a piece of scrap wood to measure and mark it as a template, measuring both the long length of the ladder legs:
And the short length of the ladder legs:
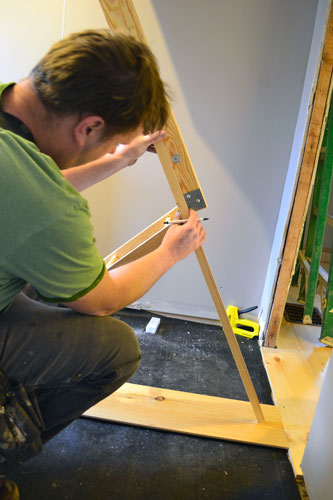
Then he marked these measurements on both legs:
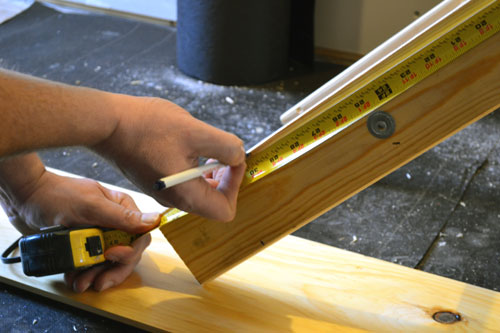
And used a straight edge to mark the right angle for the cut, which he made with a circular saw.
Tah-dah! A perfect length and a perfect angle!
Colby even tested out the stairs…a few times…and they didn’t break once. Success! We even tested opening it and closing it…several times and it worked like a charm. This is why it was important for us to square up the stairs in the previous steps. If the stairs weren’t installed squarely, it wouldn’t pull down or close up correctly. The stairs would catch and get stuck.
I love that picture of Colby. He looks so much like a little kid holding a balloon.
So now we have an installed attic staircase in our guest bedroom. It only cost us $120 and about an hour of our time. It sure doesn’t look that pretty but I’ve got ideas for how to fix that.
But we have other things to tackle first, including installing the floor. Here’s how the good ol’ guest bedroom renovation to-do list is looking these days:
Prime the walls and ceilingPaint the ceiling a bright white (Benjamin Moore’s ceiling paint is my all time favorite)Paint the walls a taupe/gray color- Install new flooring and poly the crap out of it
- Install, stain and finish baseboards, window trim, door trim and even the new door
Since the attic entrance is in this room, install a pull down staircase and finish the opening (paint or stain, still haven’t decided)- Add some sort of flair to the window wall (maybe a stencil, maybe a pallet wall, maybe some wallpaper…still deciding)
- Add bead board to the slanted part of the ceiling, painting it bright white
- Decide on and install a new light fixture for the space
- Make some curtains (I’m thinking white with some fringe or pom poms)
- Build a custom daybed for the space
- Turn a little dumpster diving find into a sweet little night stand
- Add some storage and shelving
- Art, art and more art
Still so much to do in this room, but at least most of the heavy lifting stuff is coming to a close…like the demo, sheet rocking, mudding and sanding (blech!) and now attic staircase installation. Hopefully this weekend we can get the new floor laid down and the new trim installed. Wish us luck!
Pssst…What are you guys checking off your to-do lists? Any construction type projects? Or quick upgrades like new art or curtains?

Where did you order your stair from. We have to replace ours and I don’t want any of those flimsy narrow ones. Thanks
We purchased ours from a local lumber yard. We went in, told them what we were looking for, and they ordered one for us. It wasn’t anything they had in stock but at least it came in quickly. If it helps, the one we bought was a Memphis Folding Stairs brand and it was pretty rugged. Good luck with your project!!
Thanks for the response! We wound up going with a premade folding down. I don’t like it, but we needed something quick and options were limited. The DH is happy 🙂