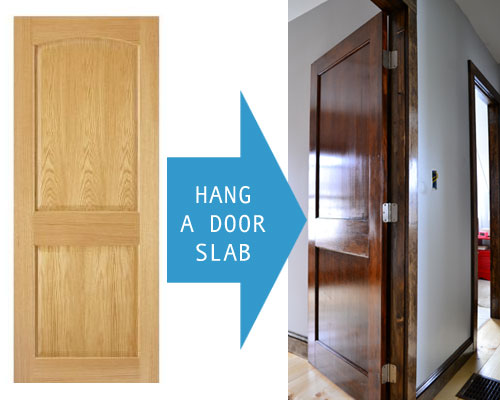
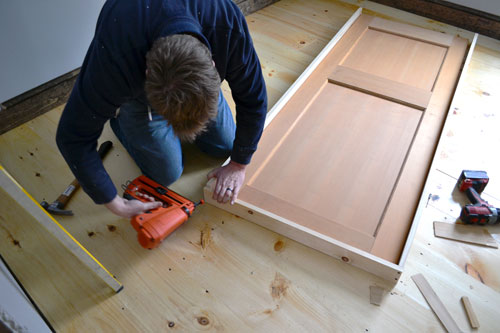
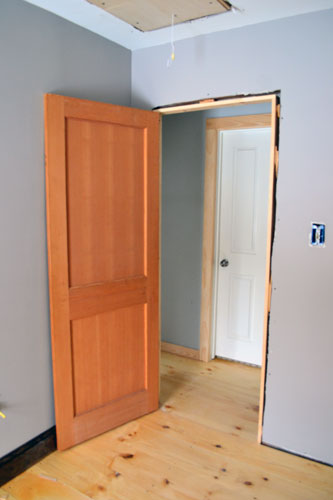
Let’s put that door in already! Right?! To recap our door slab to installed door saga, we first learned a little door lingo and then prepped the raw door slab for hanging, which included routing out the door and jambs for hinges. Now all that’s left is a little door hanging.
So let’s hang, shall we? And by “hang” I don’t mean hang out at the Max, Saved By The Bell style, I mean hang the door slab in the guest bedroom. The first step was to level up the rough opening.
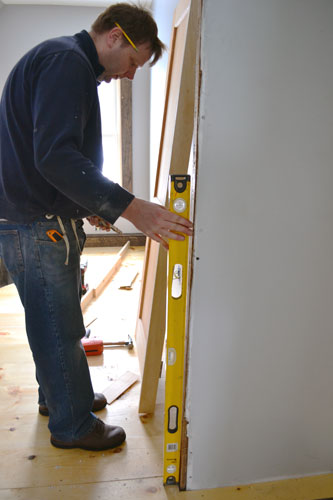
The levelness was a little out of whack so Colby nailed a shim here and a shim there until the door framing was level from top to bottom.
And double checked the levelness after nailing the shims to the framing.
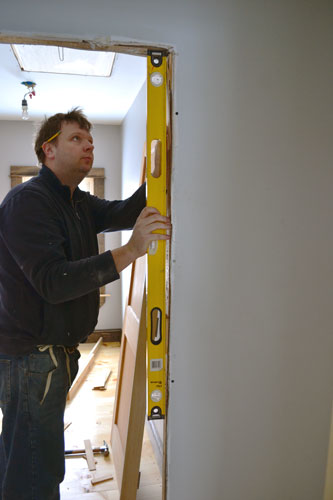
With the rough opening all leveled up, Colby finished assembling the door jambs. In yesterday’s post, he had already attached the hinged door jamb to the door stile, so now he just needed to attach the hinge side jamb to the head jamb and the head jamb to the lock side jamb. To do this, he nailed together pre-cut to size, 1″ x 4″ pine (which he ripped down just a little bit to fit our space).

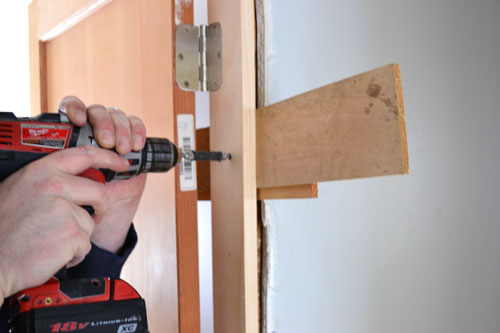
The nailing was just a little temporary tacking to hold together the wood pieces. Nails really aren’t strong enough on their own to hold door jambs and framing together. So with the finish nails holding the pieces of wood together, Colby used a 1/8″ drill bit to drill a pilot hole into the jambs:

Pilot holes help keep the wood from splitting when you screw it together. And then Colby screwed a couple of wood screws into the pilot holes, securing the jambs together.

And then repeated the process one more time, attaching the other side jamb to the head jamb.
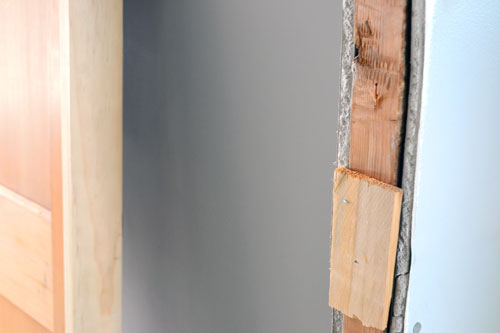
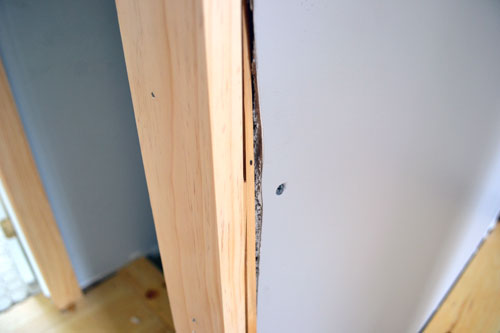
With the jambs attached to each other and the door all hung on the jambs, the next step in the interior door hanging process was to attach the jambs to the framing of the rough opening. This is where a lot of trial and error starts to come in. Using the initial shims as guides, Colby screwed the jambs into the framing, making sure to fill in any gaps that the screw would hit with wood shims.
Don’t worry too much about the shims sticking out at first. You tend to spend a lot of time adjusting shims…moving this shim out just a little bit or adding another shim here until the jambs and door are completely square and even. Once you’ve adjusted the shims for levelness and are happy with how the door is hanging, then you can snap off the excess wood shim, leaving a flush shim/jamb combo ripe for trimming out with casing.
Anyway, we spent ALOT of time adjusting the shims. And by “we” I mean the “royal we”, aka “Colby” spent alot of time adjusting the shims. I, however, spent alot of time perfecting my napping position on the chaise. Not true…I perfected that a long time ago. I really spent my time working on the blog. Anyway…let’s give you an idea of why we adjust the shims around the door jambs. In the pic below, the door on the left is of the initial installed door (which was installed level-ie by the way) and on the right the installed door after adjusting shims (which was not level…this goes to show how un-level and un-square our house is):
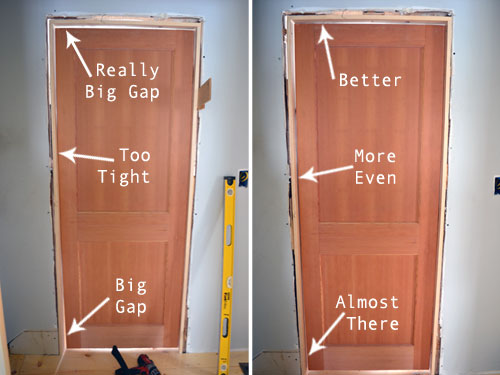
You see how the shims help loosen areas where the door rubs up against the jamb and tighten up areas where there are larger gaps? To solve gaps or tightness, you just add a shim there, shift a shim here, and remove a shim over there. Once all the shims were adjusted and the sticking-out-parts of the shims snapped off, we called it…the door was officially installed.
Since then we’ve installed all the trim and stained it. We still have a few more construction like tasks to tackle in this room, like adding a few more coats of poly on the floor, installing bead board to the slant-ie ceiling part of the room and trimming up the attic staircase in the ceiling, but we’re getting oh so close to decorating and making this room useful in the housing overnight guests department. We even got a little bed building project coming down the pipe, so stay tuned for all the guest bedroom fun!
Pssst…Random side not coming…Colby and Goose are currently in a stare down having a “lick your chops” contest. Weirdos! How did I get stuck with these two?! Somebody save me! But enough about us, what have you been up to?

Maybe I’m crazy, I’m pretty much accused of it on a daily basis, but I could have sworn Colby sold prehung doors for a living.
What?! You?! Crazy?! Noooooooo! Haha! Ask Colby someday what brand that door is!
i know but i do like a bargain.
Foolish door salesman!