Welcome to our second installment of kitchen island building where we can officially stick a fork in the island-building project, or more like stick a fork in the delicious upside-down lemon meringue pie that’s freshly baked and sitting on top of the island. To catch up, we first revealed our finished, rustic wood kitchen island and then posted about how we built it. So today’s post is all about the finishing, hardware, and a complete budget breakdown of the project.
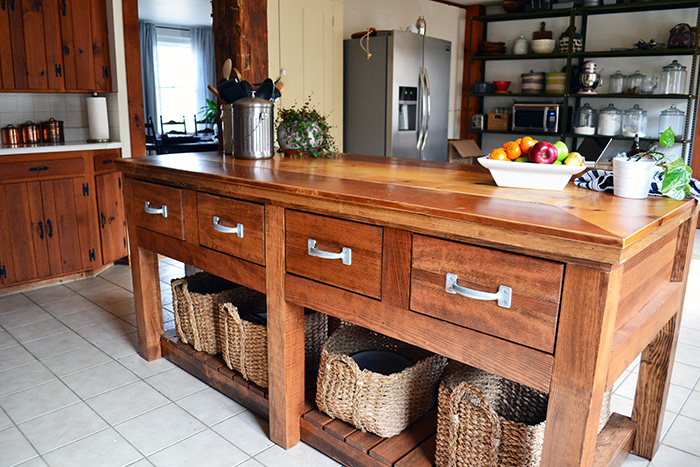
We knew we wanted to stain the wood and when it came to staining color choice, we were thinking long term here. Currently, our kitchen is full of various colored wood tones, but the one wood tone that is never changing is the old wood beams in the kitchen, original to our circa 1781 home and hand chiseled. #nobodymesswithmybeams I wanted a stain that would complement the beams, not necessarily match it. I turned to my favorite Minwax shade, Early American, which we consistently used in the kitchen of our first house, and LOVED it! After testing it on a piece of scrap fir, we declared the shade a winner.
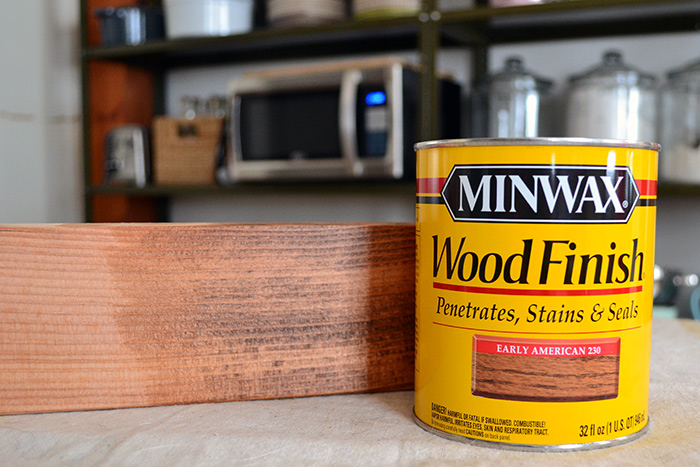
Staining was fun. Note the sarcasm. Colby and I tag-teamed the whole project so it would go faster and hopefully avoid the inevitable dizzy feeling that often comes from staining. But alas, no luck. Note to self…stop staining furniture inside during winter.
We wanted to make sure we stained and polyed every inch of the island, even the bottom, considering we have a moisture/mold problem in our house that we’re constantly battling (although it’s been much better lately thanks to laying down plastic over our dirt floor basement). So we tipped the island on its side and went to town.
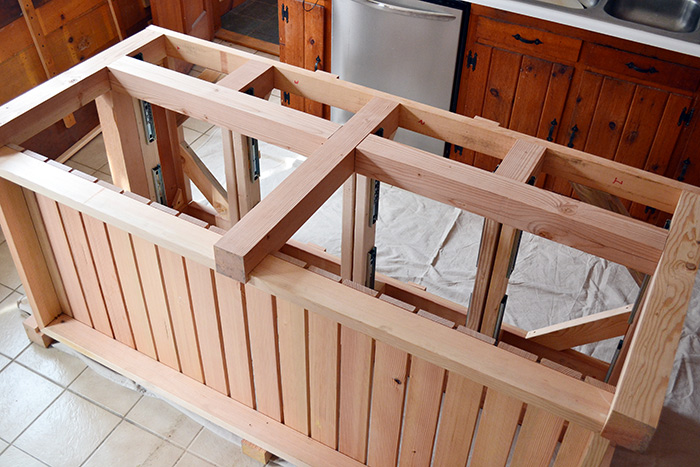
Have you seen the Friends episode when they’re all in London and Joey had to “go into the map”? His popup map of London? That’s how I felt during staining. I channeled my inner Joey because sometimes, you have to go into the island to stain it. I wish I had a picture of that…Colby camped out on a tiny milking stool staining the bottom of the island, while I crawled inside the island to stain the opposite side simultaneously so we wouldn’t get any weird, uneven stain drips.
Meanwhile, on the other side of the room, the drawers were hanging out:
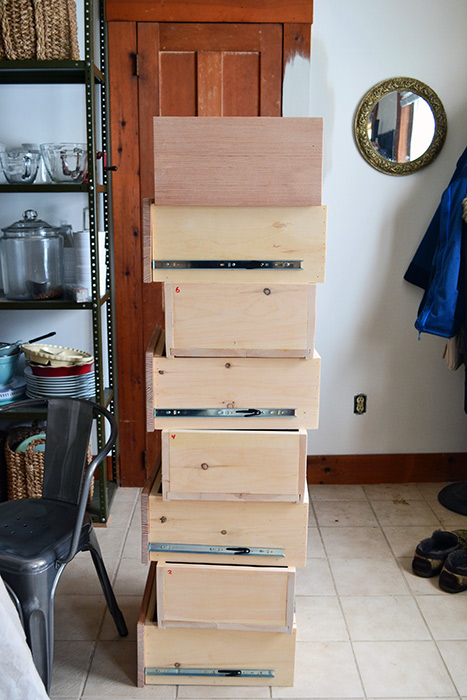
Staining both the island and all the drawers was a bit too much for us to handle in one day so we saved the drawer staining for later, chipping away at them during the week after work each day. Since each drawer is essentially custom fit to each drawer location, Colby made sure to label the back of each drawer with a Sharpie. There was no way we would be playing ring-around-the-drawers trying to figure out which drawer goes where. Nobody’s got time for that!
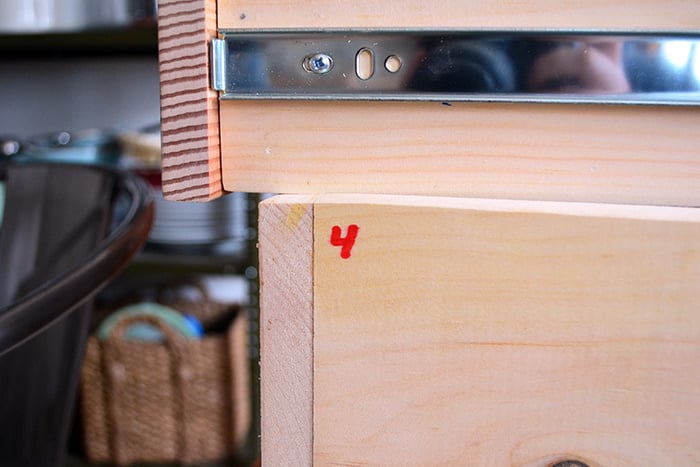
In the pic above and the one below you can see where we attached a drawer face to each of the drawers to give it a finished look. This piece is made out of fir (the rest of the drawer box is made with pine) so it matches the rest of the fir island. It’s hard to tell, but the drawer faces aren’t one solid piece of wood, they’re Kregg jigged together, similar to the drawer bottom. Once the piece of wood was built and cut to size, it was screwed on using short, 1-1/4″ screws from the inside of the drawer.
We stained the entire drawer box…inside, outside, bottom, back. Any unfinished piece of wood anywhere on the island and the drawers were getting finished.
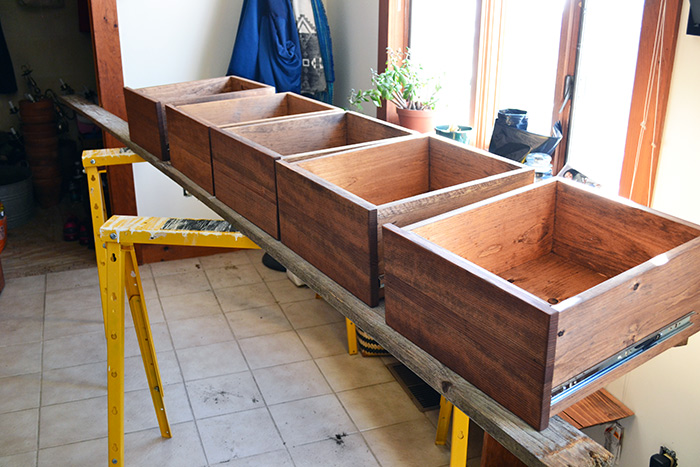
Once the stain dried (we like to let it sit overnight), we started the polying process. We went with two coats of glossy, water-based poly over the entire thing. Our favorite is the Minwax water-based clear poly in gloss. It’s our go-to. Between old house projects and our former Etsy shop, I’m pretty sure we’ve burned through at least 30 gallons of that stuff. The only thing we won’t use it on is floor finishing. We prefer the oil-based for that work.
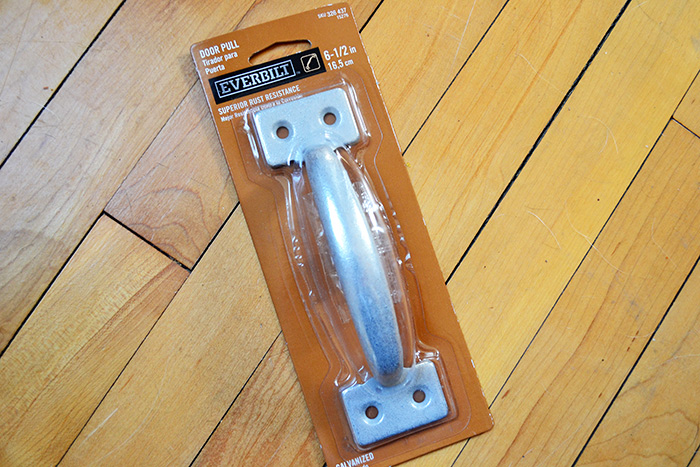
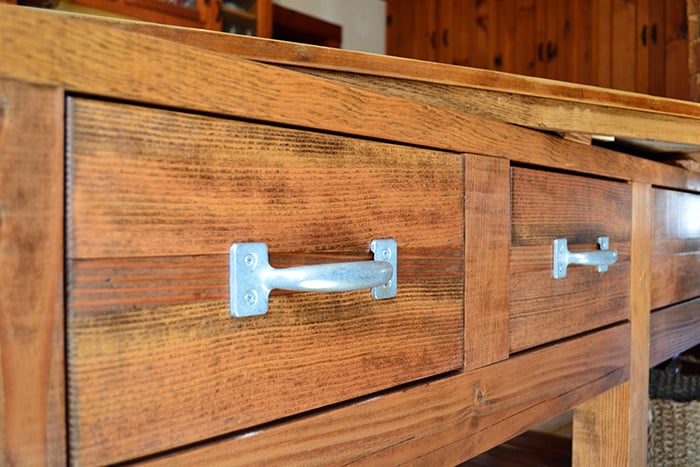
It took us a couple of weeks of slowly puttering away, polying the island and drawers, before we got two coats on the whole thing. By this time I was so excited to attach the hardware and start filling up all the drawers. There was quite the hardware debacle. Let’s just say, I ordered super awesome and not-so-cheap hardware from Rejuvenation and they ended up being way too small. But don’t worry, they’re being repurposed as sash pulls. We ended up using screen door hardware from the Home Depot since it was big and chunky, the look I was going for, and cheap at only $4.28 each.
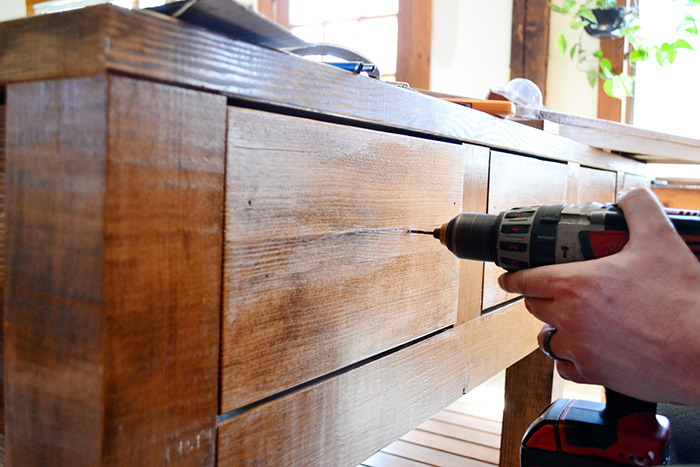
We wanted them centered both vertically and horizontally on the drawer front. After marking each pull location, Colby used a drill bit to pre-drill the screw holes into the drawer face. This prevents wood splitting and considering how much time we’ve put into this island (mostly Colby’s time…not gonna lie), a split might have caused a certain someone’s drill to go through a window (just saying).
As fast as Colby was attaching drawer pulls, I was filling up and organizing the drawers. Organizing is my happy place.
We haven’t talked much about the island top, but it’s a scrap wood job that Colby threw together a few days before we hosted 35+ for Thanksgiving. It was a rush job. The island top is made out of scrap pine Kreg jigged together with a lip underneath that fits over the island. Eventually, we plan on adding a stone counter top but that’s years down the road during a dream kitchen makeover. For now, the scrap wood top works but we may try our hands at a more solid (as in no small cracks between boards for rogue crumbs to fall into), concrete countertop. Concrete would also help break up the excessive amounts of wood tones currently in our kitchen. So now, the scary moment. Let’s talk budget.

We went into this project knowing that it was going to be a permanent project. This is our forever home. The kind of home that I’m going to have to be dragged out of one day because I am never leaving it (I love it too much!). Thus, we were okay with spending more on this project than we normally would have and taking our time building it. We also wanted to make sure the piece was rugged enough to hold a granite top someday. So here’s the ultimate breakdown of how much it cost to build:
- (7) 4 x 4 Fir Posts – $103
- (6) 2 x 4 x 8 Fir – $24
- (10) 1 x 4 x 10 Fir – $108
- (8) 1 x 8 x 8 Pine – $42
- (3) 2 x 4 x 8 Pine Framing Lumber – $6
- (2) Boxes of Screws – $20
- (1) Qt of Stain – $8
- (1) Gallon of Poly – $48
- (8) Galvanized Door Pulls – $34
- (8) Drawer Slides – $96
- Grand Total – $489
It’s definitely not the cheapest project we’ve done. But when you compare the island to similar ones at Pottery Barn or Williams Sonoma, we’re looking at $1,000+ in cost savings. We’ll take it! Plus it’s built to our exact needs and specifications.
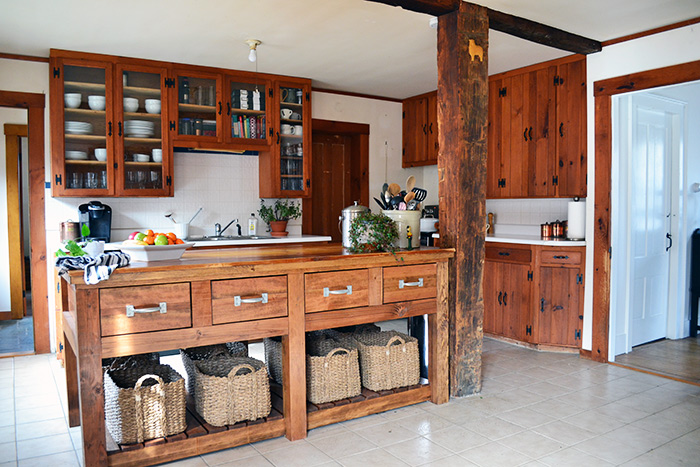
And that concludes our island-building saga. To catch up on the whole thing, you can read all about our island details or check out how we built it. It’s probably our last kitchen project for a while since we’re onto bathrooms and one big ol’ bathroom project is currently underway!


Angie, you are so lucky to have a husband who supports you in your dreams for a great home reno! Mine always has big plans but can’t seem to get his behind out of the recliner after work!!!
That island is phenomenal.