Warning…this post is loooooong! As in I’m about to tell a few too many bad jokes (ie…a man walked into a bar…ouch…get it?!) and a few too many bad puns (case in point…this post’s title). So hold onto your britches folks…we’re bringing you the whole kitchen beam shebang today. Boom….mic drop beam drop.
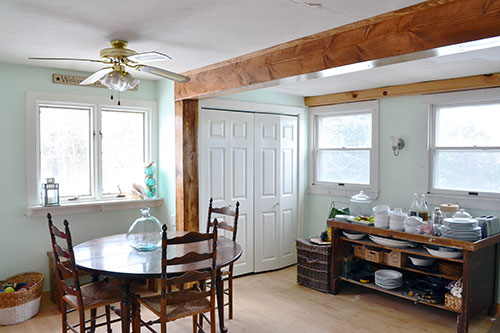
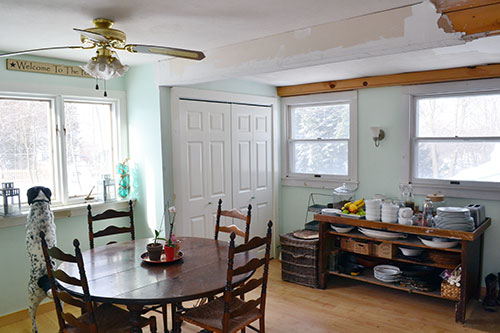
She’s a beauty there, eh?! But Tara didn’t always shine. I pretty much have THIS ugly image of the beam permanently ingrained in my brain (complete with a Goose photo bomb…naturally):
Way back in the day, the kitchen beam was covered in a plastic, faux wood paneling…along with every other wall surface of our house. We quickly ripped it down to uncover what was a legitimate kitchen beam.
Colby later decided (without Angie’s permission…shame on Colby…he’s learned since then) to cover the beam with sheet rock. So he sheet rocked it and mudded it and that’s as far as the kitchen beam ever got. I refused to finish it. It wasn’t my project after all. But I always envisioned covering it with framing lumber for a rustic beam look, bringing the beam down both walls to the floor. Fast forward four years…we finally started taking down the sheetrock and removing the closet trim so we could suit up beam up.
Goose helped demo. Actually, it was more like Goose found the ONE sunny spot in our home that just so happened to be right underneath the kitchen beam. He refused to move. And lay there giving us the stink eye while sheet rock bits kept falling on him. Poor Goose. It’s a tough life being a Goose.

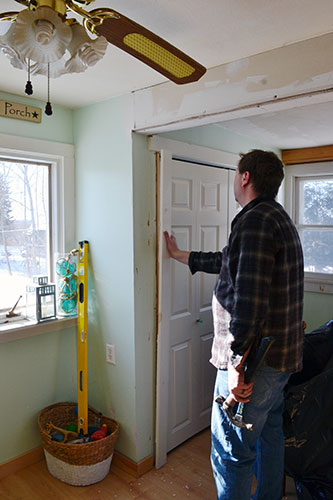
Back to the demo. Not only did we need to take down the sheetrock covering the beam, but we also had to cut into the ceiling sheetrock. Why? Because we love you ($20 to the person who can name that 80s TV show… not really…we’re broke…we just bought a boat…more on that another day). More like because our house isn’t square or level and is completely wonky. Thus, the framing lumber we would use to box in the actual beam would slide up behind the ceiling sheetrock so the bottom would be level and even, giving the illusion of levelness.

We had picked up three boards of 2″ x 12″ x 12′ framing lumber (about $50 worth) to use to box in the beams. The boxing process was pretty straightforward. Colby first cut and nailed in the side beams to the wall, leaving a gap just barely big enough to hammer in the bottom beam piece. The wall pieces helped hold the bottom piece in while we nailed and screwed it into the actual beam. And note the 45-degree angle cut there…that’s going to come into play momentarily.
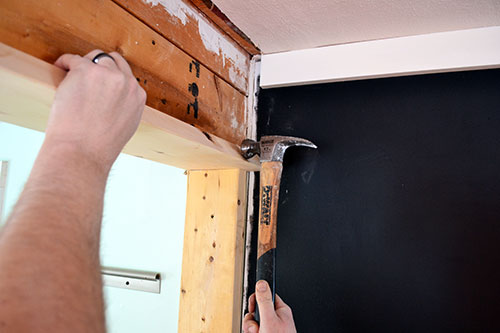
Before installing the side pieces of the beam, there was a bit of shimming to be had to make it level and square. So we nailed in a slim piece of pine to level out the beam.
Then it was a smorgasbord of caulking schmear applied to the 45-degree angle cut before stuffing the sides of the beam into the ceiling gap and nailing it all together.
My sincere apologies for not taking in progress pics of that step. Let’s just say we both had our hands full making sure the heavy boards didn’t fall on our heads. Anywho, we only temporarily nailed the framing lumber into the real beam to box it in, since framing nails really wouldn’t hold it all together super securely for the long haul.
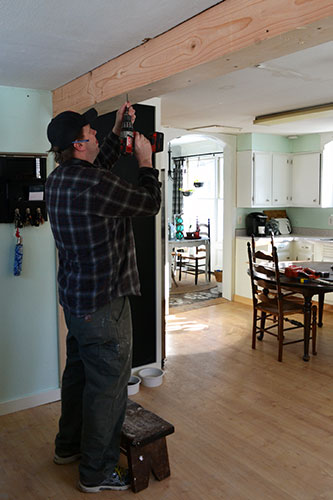
The final step in beam covering assembly was screwing it all together with some long sheet rock screws. The screw heads were totally, 100% visible at this point. But rest assured, to make the beam covering look like a real beam, we used some tinted putty post staining to cover them all up and make them blend in with the rest of the wood.
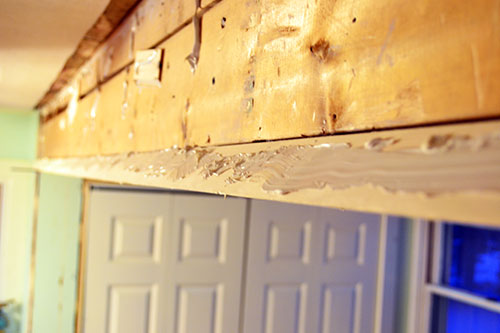
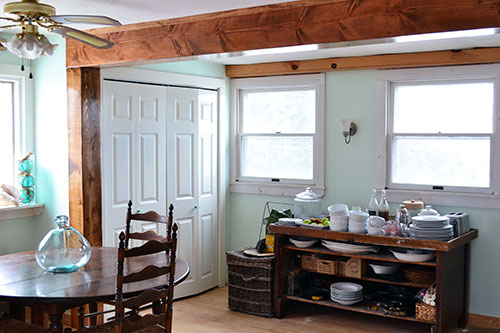
And that brings us to this stage of the game. A boxed-in beam with faux side beams coming down the wall.
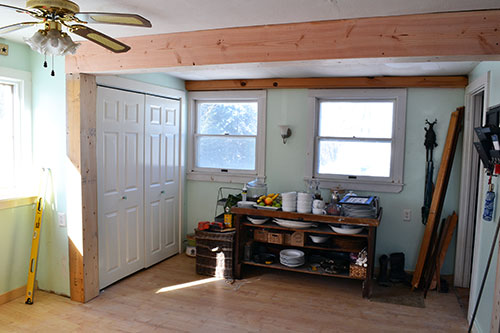
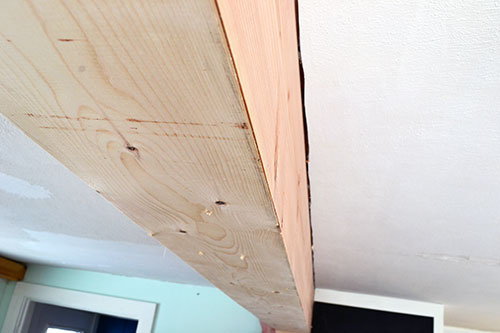
Here’s a closeup of the beam construction to give you an idea of how it looks. There was still a bit of a gap where the boards met each other at the 45-degree cuts. But once the beam was stained, the gap disappeared into the wood grain.
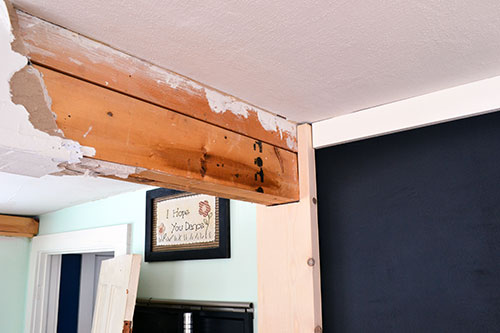
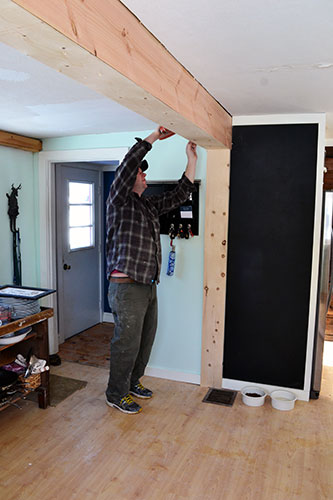
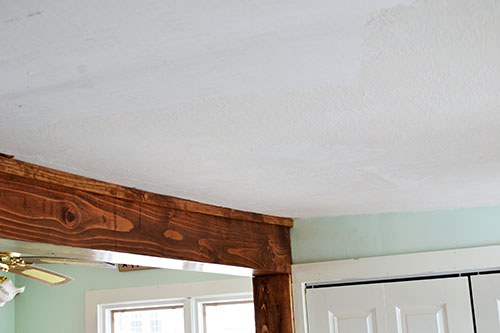
We still have plans for a major kitchen overhaul in the not-so-distant future. One where ceilings come down and cabinets get replaced and new windows go in. But we wanted the beam to be here for the long haul, hence why Colby cut into the ceiling to install it level and even like. But when the beam went in, it went into the ceiling in some areas but left gaps in other sections…like this:
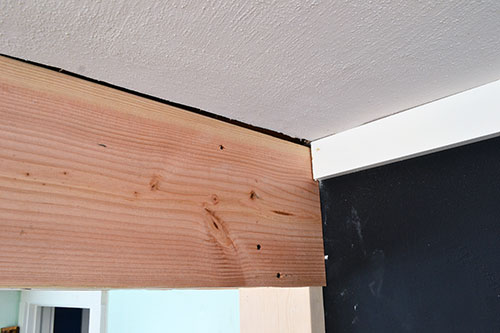
All it took was one 3/4″ x 1-1/2″ piece of pine nailed to the top of the beam to cover those gaps. So when we finally do remodel our kitchen, the top trim piece will come down when the old ceiling comes down.
Finally, it came down to finishing time. A quick sand with the orbital sander, a little staining (it’s our go-to stain Early American by Minwax), puttying, and polying. Which gave us a much improved and cuter-looking kitchen beam.
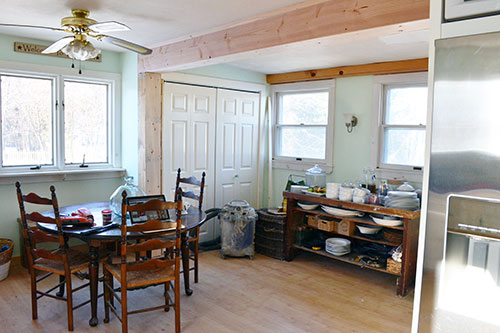
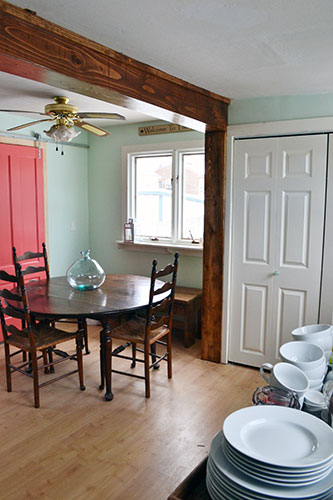
And from another angle (with a super secret pink door project in progress in the background…man do I have a lot to update you all on!):
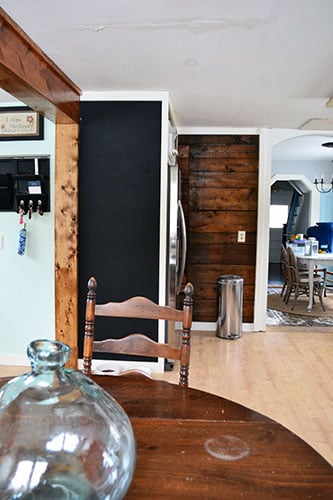
And one more angle, complete with our new chalkboard wall, for the cheap seats in the back:
Oh man, am I DYING to take down that ceiling! But I’m trying to hold out for when we tackle phase 2 of our kitchen remodel. Maybe a quick patch job and painting foray will help? Maybe?!
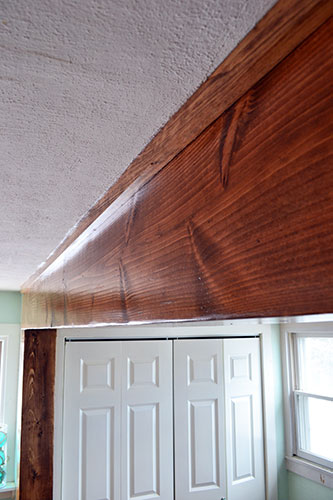
And I couldn’t finish writing about the kitchen beam without revealing to you the part of our kitchen ceiling/beam that Colby affectionately calls “the cat’s ass”. See how the trim curls up into the ceiling by the closet trim? It looks WAY curvier in person, believe it or not.
It drives Colby crazy, like certifiable crazy, although that’s a short trip anyway. While I dream about replacing or covering our textured ceiling Colby dreams about shimming and leveling it. But Colby could care less about the textured ceiling and I could give a rat’s ass about the cat’s ass. It’s so funny how we are sooooo at odds about what is craze-inducing in our home.
And with that, we cross another item off the Kitchen Phase 1 makeover list. My to-do list changes every day for this kitchen makeover so I’ll spare you yet ANOTHER to-do list for this space. But I’ve got laundry rooms, a cheap leftover wood backsplash idea, some ceiling patching/painting, a new kitchen light, ceiling fan painting, and a new kitchen light on the brain. But next, we shall chat about that pink door. Scratch that…the coral door. Colby would never let me paint a door in our home “pink” but “coral” passes the man test. Until next time…keep it classy.
Pssst…Oh man do I have so many exciting things to share with you guys. I’m sensing a ginormous brain dump in the coming days. Stay tuned! In other news, happy (almost) weekend everyone!

Laughing my ass off (or should I say my cats ass off)! Due to time constraints I unfortunately have had to unsubscribe to some blogs. I would never want to miss yours. I can only imagine all of the work that goes into writing a blog. I have seen the movie Julie and Julia and wheeww! The pressure. So thank you. I do feel like you guys should have your own tv show. Thanks again for the info and the laughs.
Why? Because we love you. M-O-U-S-E. Mickey Mouse Club!!!!!!
It looks amazing! I love it. It’s hard being Goose…he and my dogs should start a support group! Dogs of DIYers, they could call it. 🙂 I can’t wait to hear what’s up with the pink door!
This has been a big help to inspire our new kitchen’s beam and posts. Thank you for writing an informative and funny blog!
I love, love, love, that you two are knowledgeable at how to do this and then share it with all of us. Can’t wait to see the new house projects!