In all the guest bathroom, remodeling hullabaloo, I somehow managed to forget about blogging last week. Face…palm. Which is unfortunate because I waited a week too long to show you our bathroom wall planking and ceiling planking progress:
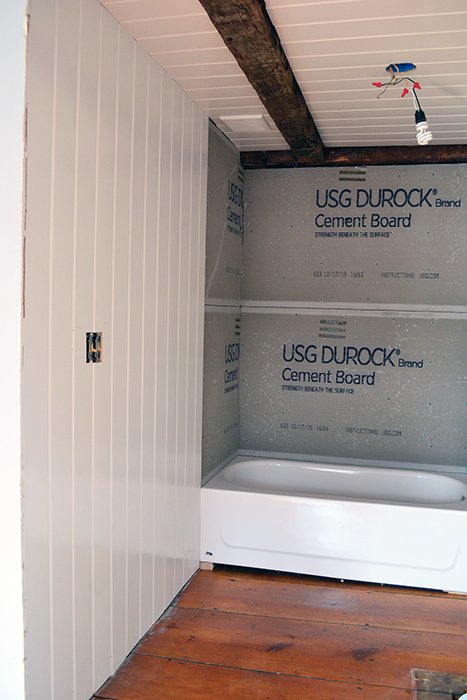
I know, right?! I feel like our Photoshop bathroom remodel plan is literally jumping out of the photo and coming to life!
I admit, going into this planking project I was a little hesitant because (1) I’ve never planked an entire room floor to ceiling and (2) I was worried that the off center beam situation would look strange. The verdict…I love it!

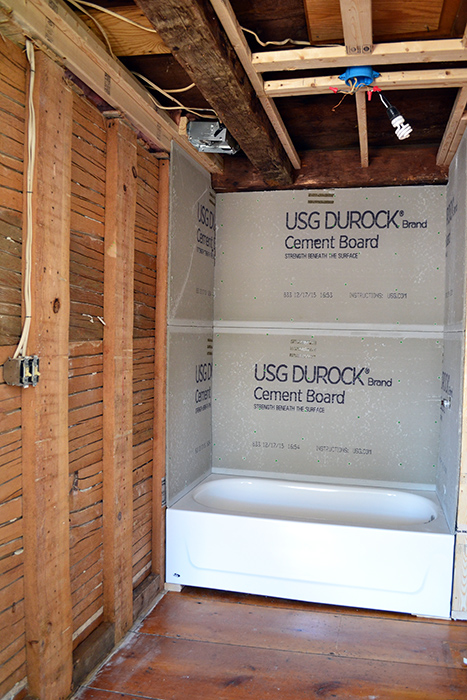
I didn’t do a very good job of putting together a “how we did it” tutorial. I’m lacking in the progress photo department. But alas, we’ve been there done that. Check out our ceiling planking tutorial from the laundry room remodel in our old home. Same story, different space. The tl;dr version: insulate, block for planking, pre prime and paint planks, cut and nail planking onto blocking one board at a time nailing the tongue section (of tongue and groove) to hide the nail holes. So here’s what we started with:
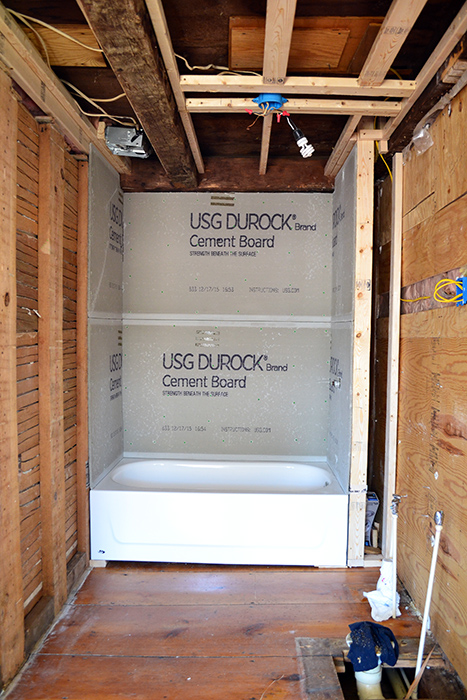
An empty shell. While Colby blocked the walls (and worked on the plumbing and electrical), I got busy pre priming and painting all the planks. We tend to buy the cheaper planking. As in we pay significantly less for tongue and groove, v-match pine planks that are covered in knots vs. the pricier clear (knot-free) pine. It’s essentially the same stuff but adds a little extra work to seal and prime all the knots. It’s nothing that a little oil based BIN primer can’t fix.
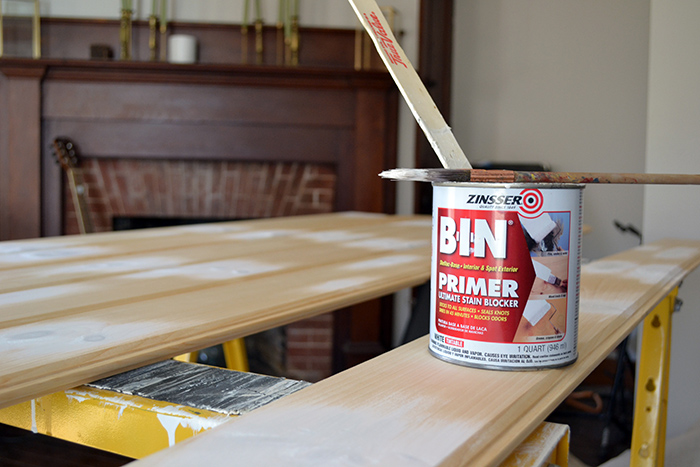
I love that stuff. Love that stuff so much. So by spending an extra $14 for the primer and a couple of hours priming, we saved ourselves about $150. Worth it. So I set up shop in our old living room (which we’re testing out the name “den” for the space…I welcome naming suggestions for a second living room) and started priming and painting.
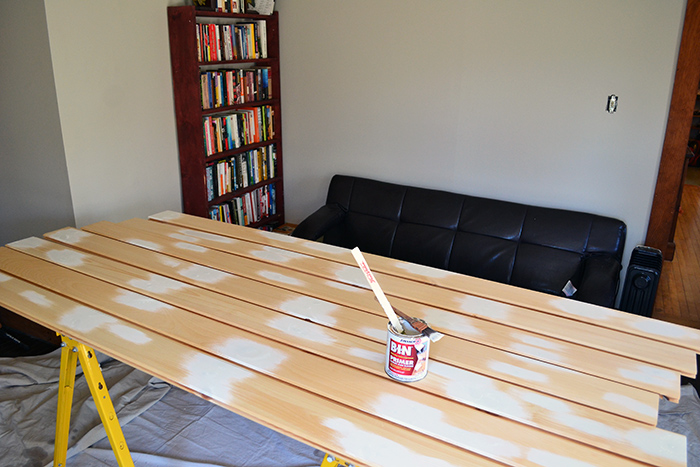
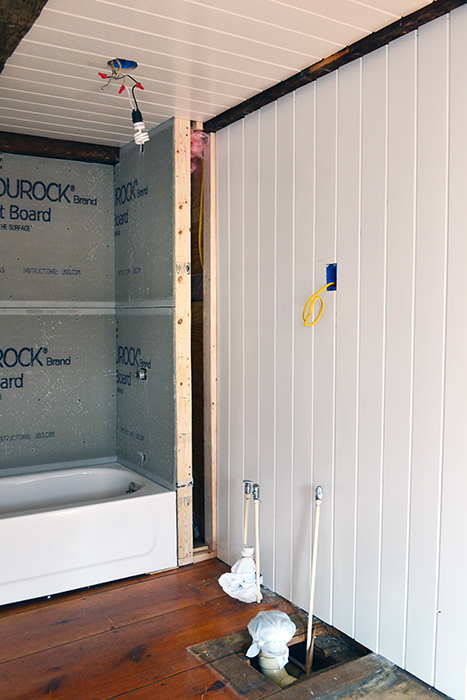
I slapped on two coats of the primer over all the knots before layering on two coats of water based, Benjamin Moore semi-gloss paint in White Dove, my go to white for the #campbellcompound. By the time I finished painting all the things, Colby had made some serious planking prep headway and was ready to start installing (please excuse the missing insulation and wall blocking for the planks in the photo below).
Board by board, cut by cut, nail by nail, the planking went in over the course of a few hours over a couple of evenings.
We decided to line up the planking. So the ceiling planking and the wall planking all line up. You can see it really well when you look at the left wall but it’s less noticeable on the right wall with the old beam exposed. We’ll eventually add trim, typically one of the last remodel steps, and we’re thinking we’ll add a plain old piece of pine where the ceiling planking meets the wall planking. But we’ll decide that later once it’s trim time.
I must confess that I’ve been loving the ceiling planking and wall planking combo in here so much that I’m seriously considering repeating this same treatment in the guest room. And also raising the ceiling a bit to expose the old beams. Perhaps our next project? Shhh…don’t tell Colby. He thinks he’s spending the summer fishing!
Next up on our bathroom remodel punch list, tiling! Smiling tiling is my favorite! I love it so much I asked for a tile saw for Christmas (thank you baby…I love my new toy!). Since we ripped down our first piece of sheetrock in this bathroom nearly a month ago, I’ve been pestering Colby if it was tile time. His usual response to my question, asked amidst a pile of construction debris with a tub on order and plumbing yet to be installed, “almost”. It’s been “almost” time to tile for far too long and I’m excited to say we rocked this bad boy out over the last week. I can’t wait to share the progress because…oh so pretty!
Lol, happens to us all! It’s looking so good 🙂
We called the second living room the “parlor”…with a heavy accent, like dahling 🙂