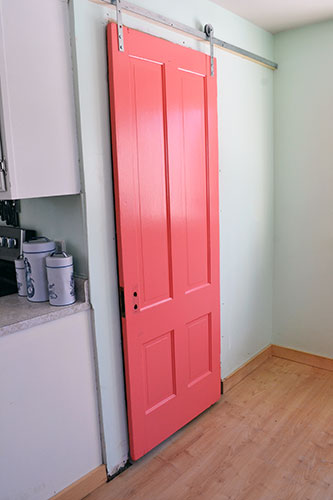
I believe in two kinds of vows when it comes to marriage…the wedding vows that you get up and recite in front of all your friends and family…aka…the pretty vows. Then there are the real vows. Colby and I have them. For instance, Colby vows that if we ever split up, he HAS to take the dog (“has to” not “gets to”…poor Goose) and to always take the trash out. I vowed to always fold the laundry and to not turn our home into Barbie’s Pink Dream House. But I found a loop hole…call the pink paint coral! Enter the DIY coral barn door to our laundry room. Please ignore the kitchen unfinished-ness…it’s a work in progress.
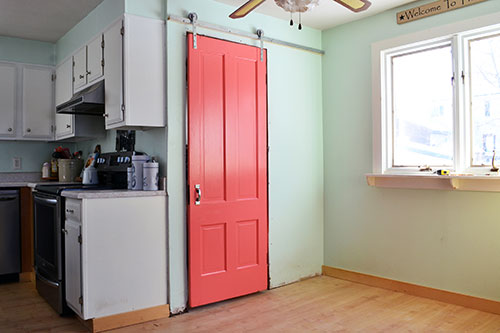
Our poor laundry room. It’s like a time warp in there. The only thing we’ve done to the space in the four years we’ve been here is take down the ugly curtains. Otherwise, it’s all 1970s in there baby! And it’s only enhanced by the state of the ceiling fan!
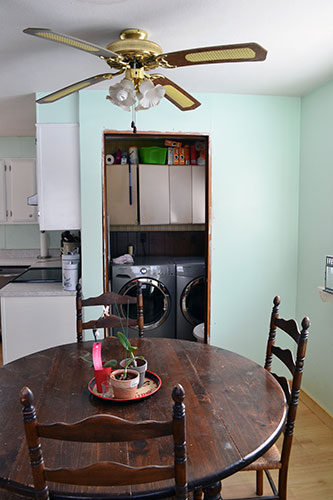
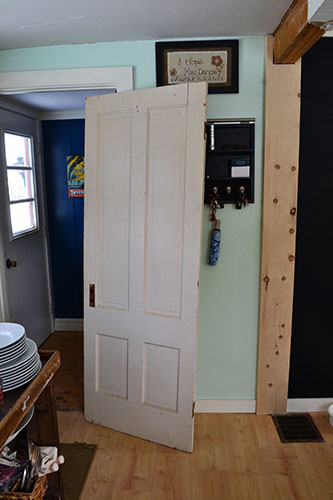
I’ve been DYING to redo the laundry room or at a bare minimum, cover it up with a new door. Enter our old bedroom door. We saved the door when we remodeled the second floor since it was one of the few non-hollow core doors in our home pre-renovations. I kept it because I’m a hoarder and dreamt of turning it into a sliding barn door.
I’ve seen barn door hardware kits out there. They’re nice and all, but man are they expensive! Like I need a second mortgage expensive. Like any true DIY-er I’m always looking for ways to save a buck (or $100) and Colby I crafted up a way to turn our old, solid wood door into a sliding barn door using about $20 worth of hardware from the Tractor Supply store.
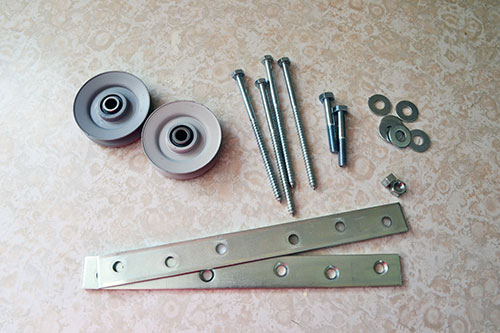
That smorgasbord of hardware turned into a pair of these (bolt, flat steel piece, washer, wheel, and nut):

Which later got installed on the door like this:

The only other piece we needed (not pictured above) was the track part of the sliding barn door conversion. We picked up a piece of 6′ flat steel which had to be trimmed a bit. I chose safety and bunkered down in the living room clutching the fire extinguisher while sparks flew in the basement. Colby cut the steel with the metal cutting bit on the Dremel.
The steel was the most expensive part of the project and cost a whopping $12 (compared to the $8 for the rest of the hardware). To make the track we screwed a piece of 1-1/4″ square pine into the wall studs (making a buffer with the wall) and screwed the steel to the pine.
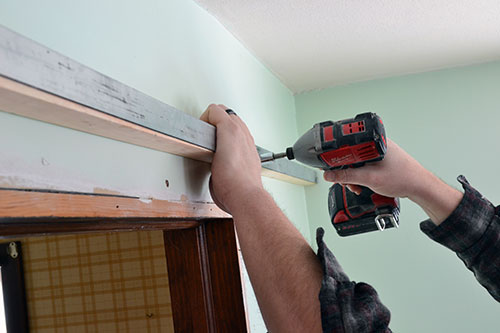
Note to fellow DIYers…to attach the steel to the wood, first use a titanium drill bit to drill a pilot hole through the steel into the wood. Then you can drill in hex head lag bolts into the pilot holes using an impact driver/socket combination. The hex head bolts are super heavy-duty, are easy to screw in, and also just look cool/industrial-like. And it’s all about the cool industrial look, right?!
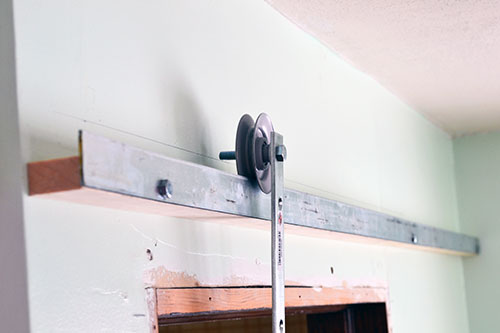
We couldn’t help ourselves. We had to test out the door…and assemble all the hardware…and hang it…
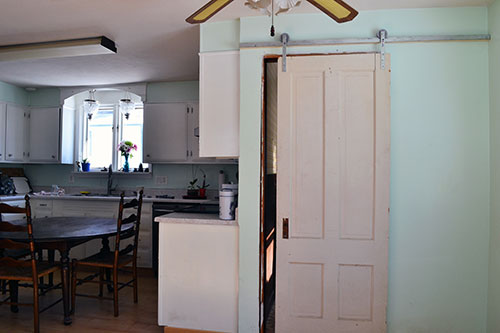
Even though we had to remove it all over again just to paint the door coral. The color is Sweet Melon by Valspar. I bought a quart of it late last summer to spray paint some of our outdoor furniture. But then it rained for 40 days and 40 nights…and then it got cold and snowed for 4,000 days and 4,000 nights and I never got around to it.
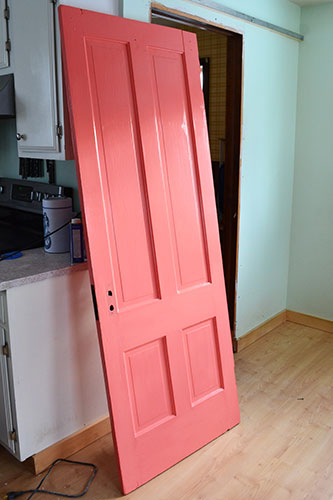
To attach the hardware to the door we just used a shorter version of the lag bolts that are holding the track to the wall. Apparently, this blog post is powered by Milwaukee…guaranteed tough. Milwaukee, if you’re reading this, I could use a new sander…wink wink nudge nudge!
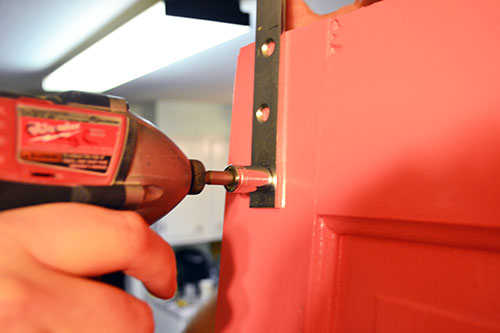
And rehung the door in all its covering-up-the-hot-mess-of-a-laundry-room glorious-ness!
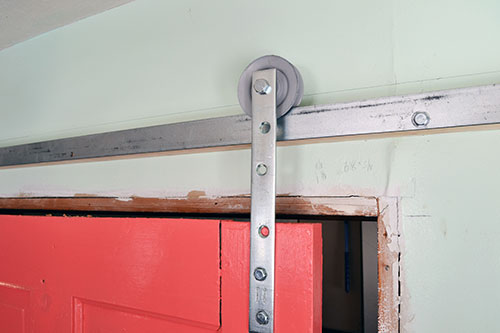
The door still needs to be trimmed out. And I suppose someday we’ll get around to painting and installing the toe kicks and kitchen baseboards. Yes…yes the baseboards are only sitting there. Not attached. Or painted. #doh
The final piece of our little door makeover was adding the hardware. I briefly debated filling in the holes where the old door hardware was with scrap wood and some wood putty, to make the space behind the hardware solid and seamless. But it somehow didn’t feel right. Like when Bugs Bunny would disguise himself as a vixen to distract Elmer Fudd. It just wasn’t right.
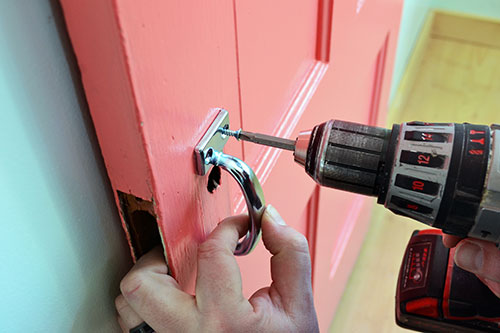
Recognize the hardware? It’s the same $2.99 screen door hardware that we used for our pull-out kitchen pantry drawers.
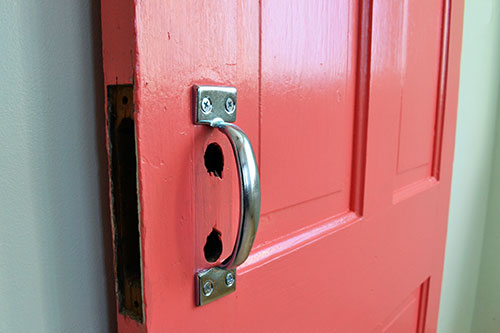
At this point, we thought we were done. Then we had this moment. You know. The one where you have the sneaking suspicion that something isn’t quite right. Kind of like a sense of impending doom just not quite as extreme. That’s when we realized that we needed a stopper. So the door wouldn’t just slide right off the track. It wasn’t anything that a small piece of pine attached to the track couldn’t fix.

And scene. Signed, sealed, delivered.
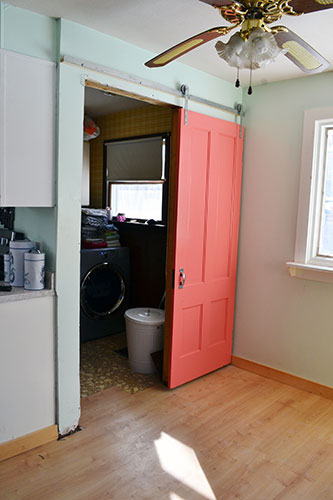
Kind of…minus the trim work. So we leave off this blog post in dramatic effect. Kind of like the end of a Grey’s Anatomy episode. To be continued. Cue up the eerie music and set your DVR blog reader for the next episode.
Pssst…I know, I know I’ve been teasing and talking about our big master bedroom makeover for the One Room Challenge. But this post has been just sitting in my WordPress drafts for a couple of weeks now. And I’m all about finishing things days, except apparently baseboards, so I couldn’t help myself. But have no fear! Bedroom makeover posts will be coming at you fast and furious over the next couple of weeks!


Love the color of the door against the walls. Haha, you’re so right about the vows. I was betting with my husband on something, I forget what, but if he lost he would hafta do the dishes forever. And he said, I thought I lost that bet the day we got married 😛 Hahaha.