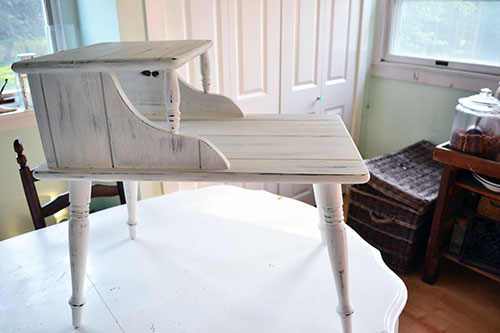
If there was such thing as “Blogger Scouts” I would totally be getting my “Annie Sloan Chalk Painting” badge for my inaugural chalk painting experience, making over our living room end table. Not bad for a first timer, huh?!
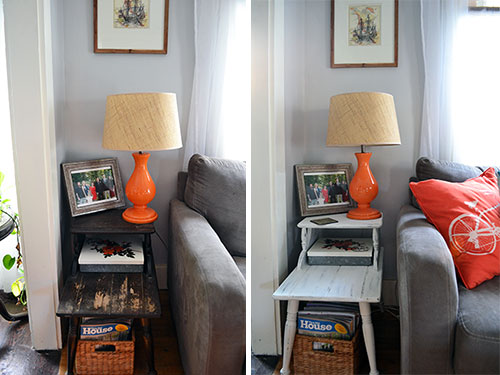
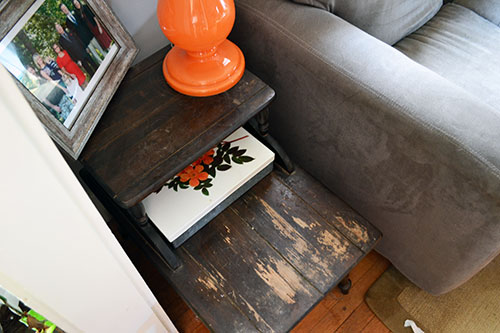
The old end table was in rough shape but still a keeper. I’m pretty sure it’s the one piece of furniture that I let Colby keep from his “pre-Angie” years. Well, technically he bought it about six months into our then infant relationship. It was a yard sale find at the neighbor’s house at my old apartment in Bangor. It was well worth the $5 price tag. But I wasn’t feeling the color in comparison to the other furniture pieces in the living room. I envisioned it a vision in white…not rough looking dark stained.
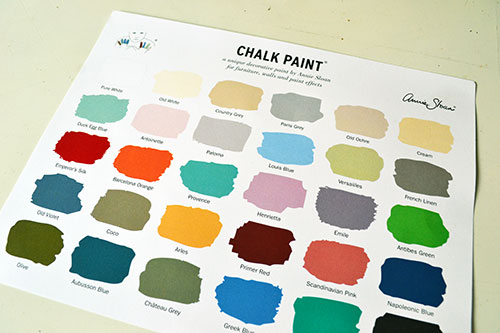
Ever since Haven, I’ve been dying to try out chalk paint. So I figured the side table would be the perfect piece to try my hand at it. It wasn’t a precious piece or a large piece, and would be the perfect project for my first go at chalk paint. Just in case I screw it up. So I whipped out the Annie Sloan chalk paint color chart, picked out “Pure White”, and trekked down to the closest Annie Sloan Chalk Paint retailer to us down in Nobleboro to pick up the paint.
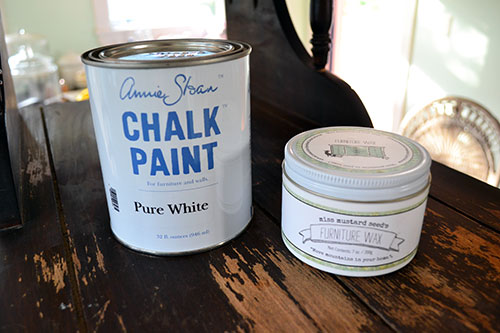
Not only did I pick up the chalk paint but also some white wax from Miss Mustard Seed’s paint line. The one rule to working with chalk paint is that you have to seal it in the end and you do that with the wax.
Here comes “Angie’s beginner guide to working with chalk paint”. You’re gonna want to write this down. Slap on some paint, slap on another coat of paint, distress away. That’s it.
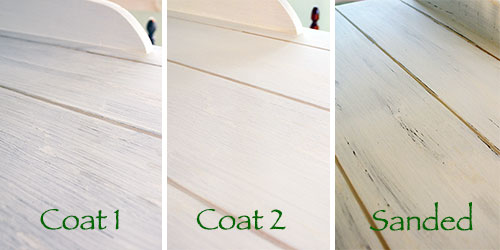
This is the beauty of working with chalk paint. You don’t have to worry about smoothing it out real nice or if you’re getting visible brush stroke lines, or if you’re dripping just a little bit. You don’t even have to sand or prep the work surface other than a little cleaning. It’s soooo quick and easy to use. The type A personality in me had a hard time not painting carefully and evenly since that’s what I’ve pretty much been trained, as a type A personality, to do. But once I let my hair down…ooooh eeeeeh, watch out!
I literally slapped on two coats of paint using a regular old paint brush (no need to buy those fancy chalk painting brushes) and then after it dried, sanded the whole piece of furniture down since I was going for that distressed look. I started by hitting all the high areas…like the edges, ridges around the table legs, etc. The beauty of chalk paint…if you mess up a little and sand too much off, just layer on some more paint and try again! Layers of paint blend seamlessly together.
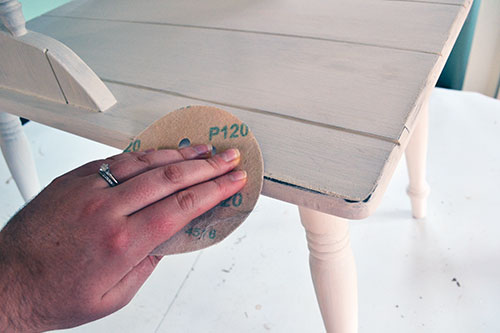
For our Etsy shop, we offer white painted distressed iPad stands. Distressing chalk paint is officially one thousand times easier than distressing latex paint. The chalk paint finish is nice and soft, easily manipulated with a piece of sand paper, and just flakes off in a cloud of dust. The latex however, requires extra sanding oomph and often clumps when coming off.
The final step of our Annie Sloan chalk painting adventure…the wax.
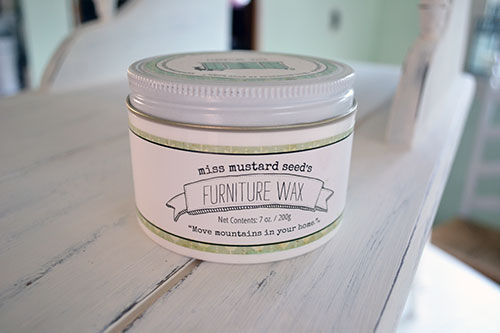
There are several wax or finishing possibilities out there including different wax shades (clear, white, dark) and oils (like hemp oil). But after trying a few samples at Haven, I was sold on Miss Mustard Seed’s furniture wax. I liked the color, it’s ease of use, and the durable furniture finish it gave to chalk painted pieces.
Using the wax was equally simple as using the chalk paint. It was a matter of using a clean rag to wipe the wax onto the piece of furniture.
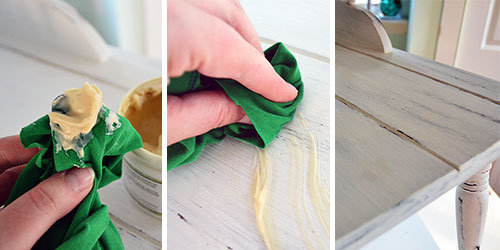
I ended up going over the entire piece twice, waiting a few minutes in between coats for dry time, to make sure I waxed all the spaces I needed to. In total, sanding AND waxing took a whopping 30 minutes to finish.
After about an hour of dry time, I moved the beer holder end table back into it’s rightful position next to Colby’s “spot” on the couch. #thegoodwife
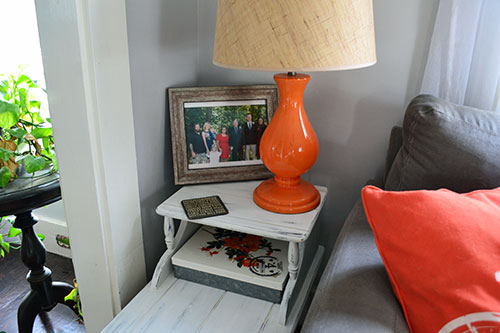
And soaked in the beauty of how the refreshed white end table plays off the breezy, white curtains with wood toned blinds. The living room is really starting to go down the beach cottage road. Oh…who I am kidding, we’re so far down that road we’re just about ready to turn back. Modern bohemian look time anyone?
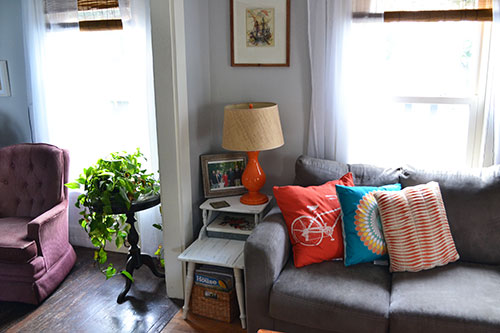
Here’s a closer view of the end table so you can really see the distressed edges on the legs and table surface.
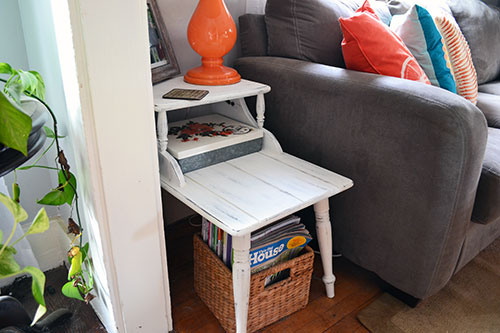
You know how when you’re slowly working on morphing a room into something just a bit more cohesive and more you? And you have that ugly thing? Then you make the ugly thing not so ugly or replace it with something oh so perfect? And then something else turns into the ugly thing?
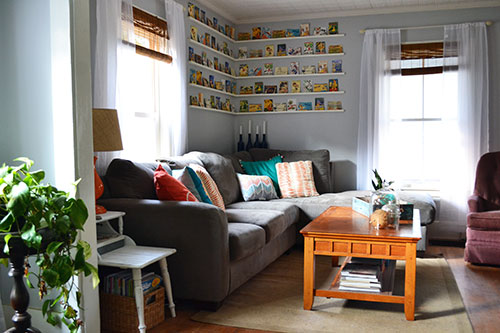
The end table used to be that ugly thing in our living room…until I painted it. Now it’s a toss up among the too-small-and-ridiculously-dirty rug, the yellow toned coffee table, or the pink-coduroy-like-hand-me-down chairs. Me thinks a new rug is in order, the coffee table is also getting a white painting makeover, and those chairs are getting slip covered (with drop cloths perhaps?!). But now that I have the chalk paint itch (not to be confused with other not-so-pleasant itches), that coffee table just might be next on my list. Or refinishing those 11 porch windows we started but have still yet to finish. Doh!
Pssst…Have you guys tried chalk paint? Did you love it? Hate it? Do tell! And does it make you want to paint everything in your house with it? Dog included? Oh Goose…..here Goose-ie, Goose-ie, Goose-ie!


That looks great! I’ve been wanting to try chalk paint for a while now—thanks for the tutorial!
And it’s sooooo fun! Try it! The best part is that you don’t have to worry about painting it “perfectly”.
I’ve been wanting to try milk or chalk paint for a while now but haven’t mustered up the courage. I wasn’t sure how the distressing and sealing would go. I’m so glad you posted on this, it seems much easier than I was making it out to be in my head.
So the distressing part kind of intimidated me too, but you really can’t mess it up. The paint comes off soooo easily when you sand and if you mess up or don’t like something, just add a little more paint and try again in 20 minutes! Now go try it!
What kind of sandpaper did you use to distress?
I’m so glad that I came across this! I’m getting ready to dive into my first chalk painting experience (wooden fireplace mantle) and this was a great read! Thanks!
Thanks! Here’s hoping your project turns out swimmingly well! I love the idea of chalk painting a mantle, that sounds gorgeous!