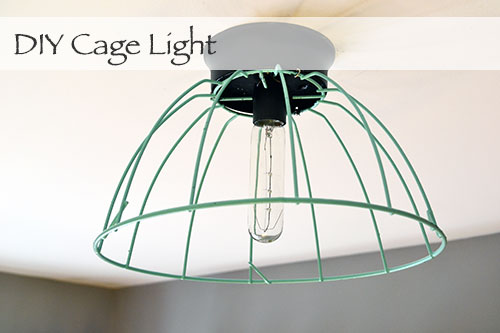
My current obsession these days has been all about the industrial look. Who would have thunk it?! Especially since I work full time in industrial distribution. What I’ve REALLY been jonesing after have been all those gorgeous cage lights. I love an old school looking, exposed light bulb, and those colorful trouble-light-esque cages surrounding the bulb. But the prices?! Have I mentioned that I’m cheap? Like a Ramen noodles every night kind of cheap?! Okay, maybe not that cheap, maybe more like thrifty. So when it came time to light fixture up in the Etsy office, I jumped on the cage light band wagon and DIY-ed my own version which cost a whopping $11.
And before you can truly appreciate the after of our gorgeous cage light, here’s the before.
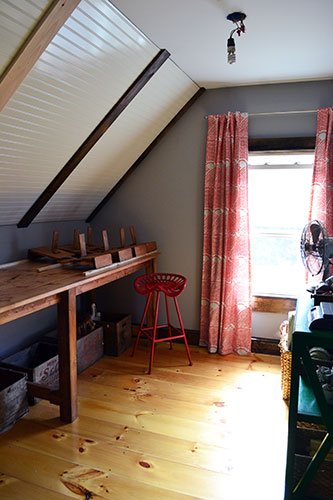
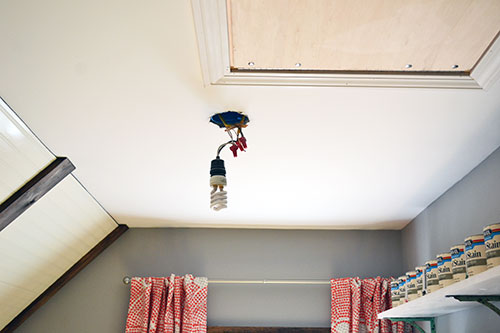
We call those lights “pig tail lights” and we tend to install them as a temporary light fixture while we’re working on ceilings (sheet rocking, mudding, or painting them) since they stay out of the way. But temporary in this space has turned into a seven-month long lighting solution that had to go.
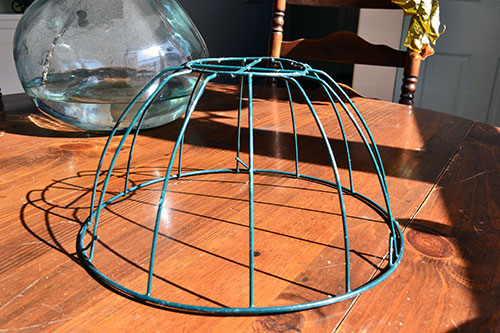
So when I came across a wire basket for $1 at our local thrift store, I absolutely couldn’t resist. From the moment my eyes fell upon it, I couldn’t help but think, “CAGE LIGHT”!
I had precisely zero point zero idea of how I was going to do it, but was adamant that it was going to turn into one sick light fixture! So I dragged the hubs to Home Depot for an all out search and destroy purchase mission for a lighting kit of some sort that we could attach the wire basket to. We almost came home with pendant kit until we came across this perfect little shade holder kit for a whopping $6.
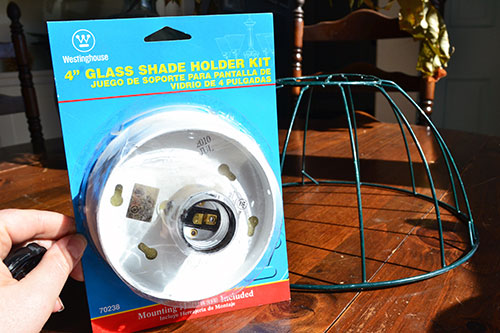
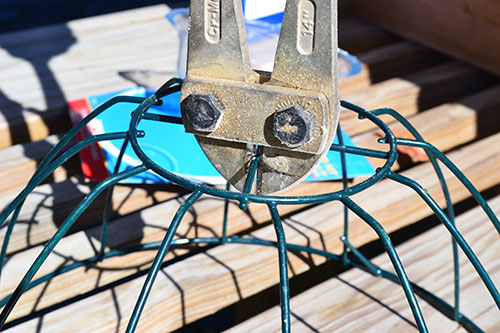
So home we came to get to work. The first order of business was attacking the basket. We had to cut the bottom of the basket out to make room for the light bulb and light kit to stick through it. Nothing a pair of wire snips couldn’t handle. We just traced the light socket onto the basket and cut away, making sure the opening we cut out was centered on the basket.
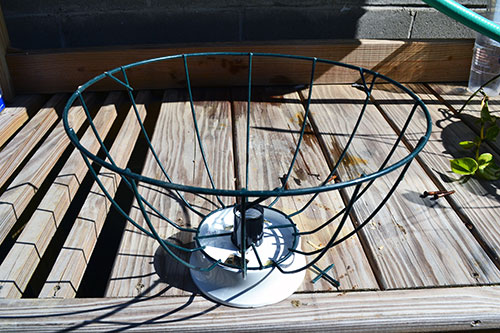
And took the light fixture for a little test run before painting up.
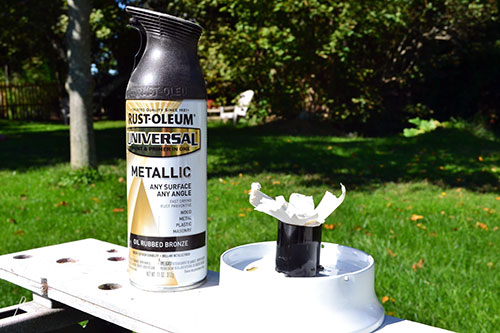
Then out came some left over oil rubbed bronze spray paint leftover from painting a slew of doorknobs in our house. I wasn’t totally digging the white, flush mount part of the light fixture so it had to go. My original intention was to paint it a a silvery color, but alas, I didn’t have any. And since there was plenty of ORB (oil rubbed bronze) to go around we gave the light a little ORB-ing.
And while we were at it, three a little turquoise paint into our paint sprayer and sprayed the cage as well. After both light fixture pieces were spray painted and thoroughly dry, our next step was assembly. Since we were fully on board with the work-with-what-ya-got train and were plum out of plain old wire, we used some flux (typically used for soldering) to attach the light base to the cage shade.
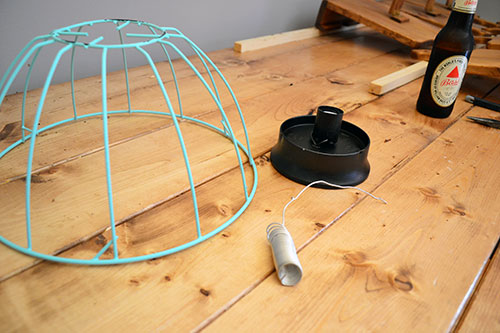
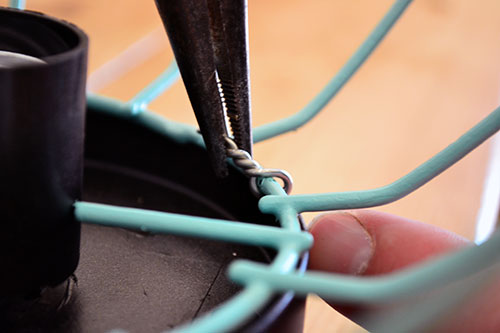
There were three holes in the light fixture base that was meant for attaching the light shade to. So we just snipped off a piece of flux, looped it through the whole, and twisted it around the wire cage using a pair of needle nosed pliers.
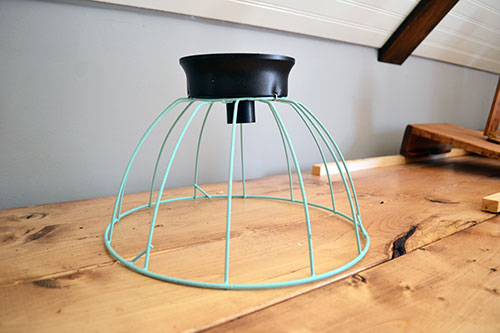
And voila…a somewhat assembled, DIY cage light fixture.
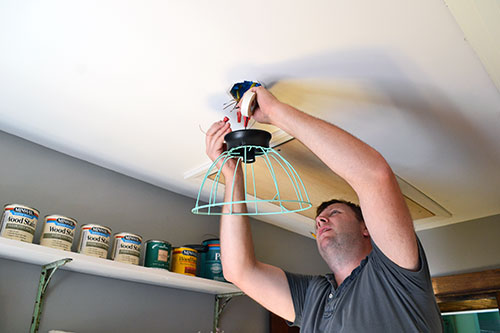
That was the easy part. The hard part…installation. After a short battle that I coined “Battle Royale: Colby vs. Light Fixture” (super creative, I know), Colby installed the light fixture. For some reason, the screws that were provided with the fixture weren’t the right size. I guess that’s what you get with a cheap light fixture. But after a couple beers, a few swear words, some new to me, the light fixture was in.
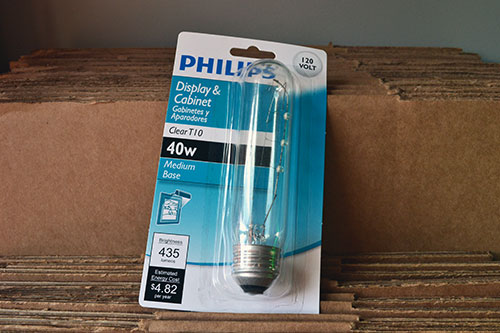
Since the light bulb was totally exposed, I couldn’t just throw any ol’ light bulb in it. I really wanted one of those Edison bulbs but since Home Depot didn’t have any Edison bulbs I settled for the next best thing, a cabinet display bulb.
And done. One DIY cage light fixture for our Etsy office space.
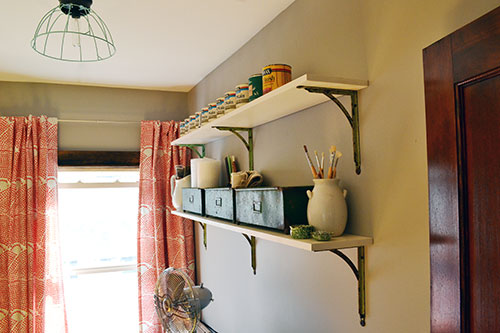
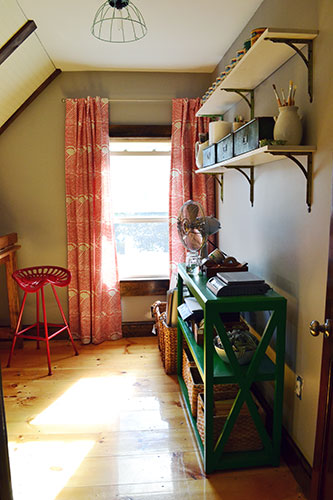
I know it’s hard to tell in these pics since the sun was setting and I was trying to squeak out these pics before losing all light, not just the good light, but I’m loving how the turquoise in the light fixture goes so well with the turquoise in the recently installed shelves. I’m loving the turquoise/green/coral color combo so much that I’m seriously debating spray painting the tractor seat stool the same turquoise color. Thoughts? Good idea? Too much turquoise? Is there such thing as too much turquoise?
Pssst…So I know that’s I’ve been totally MIA these days, but I swear there are good reasons. BIG announcement coming soon along those lines. I can’t wait to share it with you!


Angie, ‘sup girl?! I’m a semi-new follower, been stalking your rockin’ blog for at least a month now. Was that corny? Yes. Anyway, I love your cage light! I am totally on-board with your industrial love too. Turquoise is my fave color and no, you can’t ever have too much. Paint your stool! The one in your Etsy room. Anyway, I can’t wait for the big announcement! Are you pregnant? Moving? You can’t move, you’re not done with your house yet! Adding more products to your Etsy shop? My hubs is supposed to make me an iPad stand but since we have 2 little ones (3 year old and 7 month old) time for such fun is scare around here! I might just have to buy one of yours. He is the handy kind though. Anyway, I wanted to finally comment because I’ve been reading all your posts and I’m totally entertained by them. You seriously crack me up and also inspire me with the work you’ve done to your house. We have an old house too (93 years, colonial revival-4 square- with some Victorian features) and it’s a work in progress and I’m oh-so-jealous of the amount of time you have to work on yours. Anyway, I love your blog! Take care! Peace sister.
Missed your blogs lately. Love the cage light!! You two are soo handy, wish I could say the same. Have you finished the porch yet? Can’t wait to catch the next blog post. You always brighten my mornings!! Have a great day.
This is pretty genius! I love your take on the industrial look. It’s never too cold or serious feeling. Nice work!
Go for it with the stool…. it will tie in the turquoise, and no I don’t think you can ever have too much…. 🙂