We’re fans of exposing things around these parts. Well, let me clarify, exposing old elements of our home (sheesh…get your minds out of the gutter folks….although Colby sometimes…wait…I’m not gonna go here). So when we last left off on this little ol’ blog of ours, we left with a teaser of sorts and showed you the old wood sheathing that we exposed in our kitchen, as kind of an accent wall.
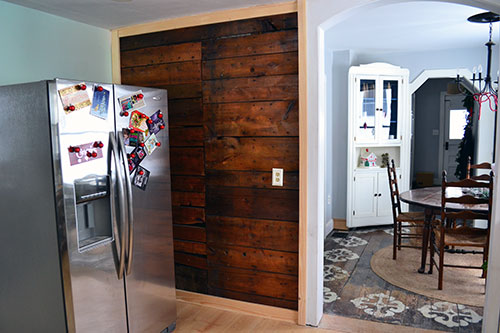
And today we’re here to get down to the nitty gritty of “how the heck did that happen?!” Let’s just say, it was a bit of an impulse project. We had a few more pressing duties to tackle, you know, like STARTING our Christmas shopping. So while I was supposed to be taking care of The Campbell Family Christmas, Colby’s Saturday project was to investigate what was going on in our kitchen (now that we have the final piece of our appliance puzzle, the new stove, we’re itching to start remodeling and planning the new kitchen). We know there’s some wonky electrical going on, our entry leaks like a sieve when it rains, and we’re DYING to start completely overhauling our kitchen. Before we could space plan the kitchen, we needed to know what we were dealing with structurally. Like what walls are load bearing and what aren’t. So in one of Colby’s attempts to check on our electrical situation, he revealed a sliver of the kitchen wall beside the dining room.
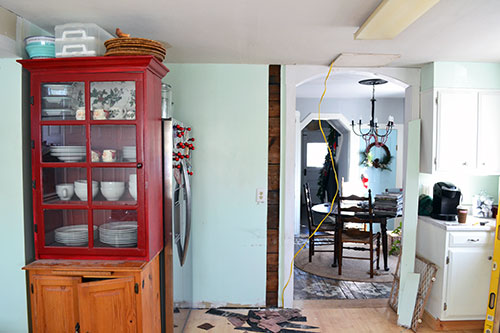
The original plan was to check on the wiring and cover the missing sheet rock up with a piece of “temporary” trim (air quotes temporary because what is intended to be temporary around our house tends to stick around like a bad brother-in-law). But when we saw the old wood sheathing behind the sheet rock, we both kind of looked at each other with a crazy eye, and decided we needed to expose it…ALL of it.
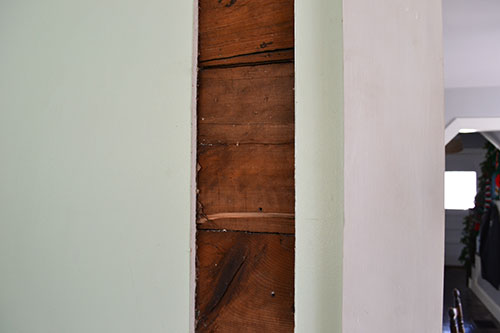
Our kitchen isn’t original to the house. It was an addition back in the 70s while the rest of our home dates back to 1910. So that old wood sheathing was actually the old exterior to the house. Technically it wasn’t the siding but an underlayment of sorts. Regardless, it looked cool.
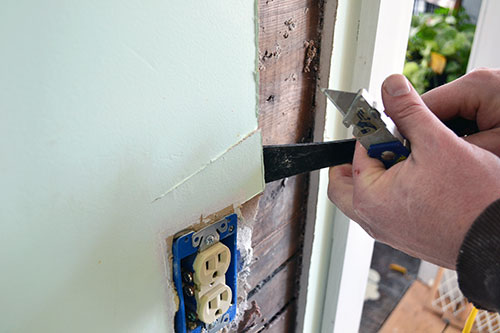
Operation Expose Yourself (Wood Sheathing) or #exposeyourselfwoodsheathing (glad we established what the hashtag for this project should be…phew) began. It really was a simple process. Demo always seems to be quick. It’s the putting it all back together again process that takes forever! We were terribly careful about removing the sheet rock as we weren’t taking down all of it including the trim, but just this wall section. So we carefully scored the sheet rock with a utility knife, along all the trim and around the outlets.
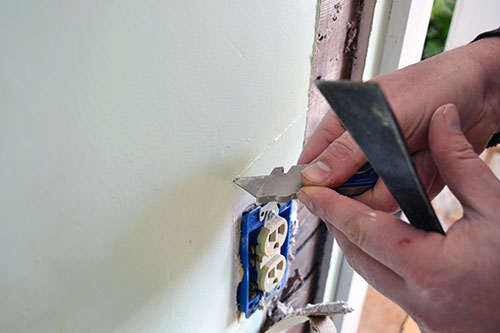
And using a pry bar, pulled the sheetrock away from the wall, breaking up the chunks as we pulled them off and bagging up the construction debris.
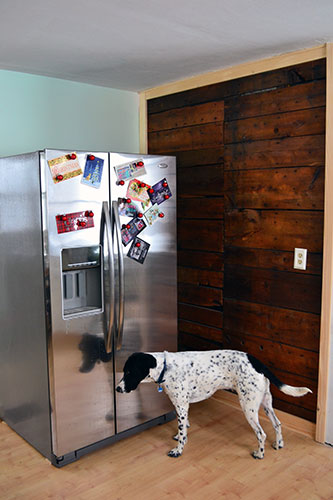
Goose even helped us out. Although, I’m sure he was just searching out errant cookies that may have ended up behind the fridge during a rambunctious round of cookie tossing.
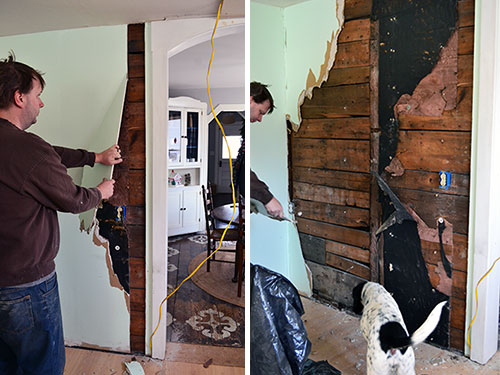
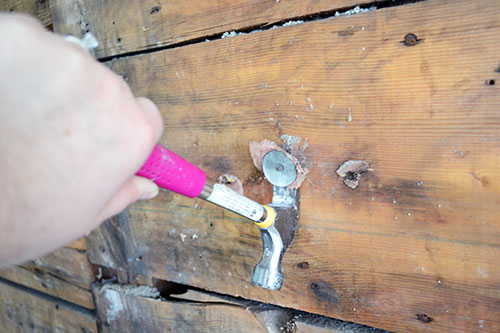
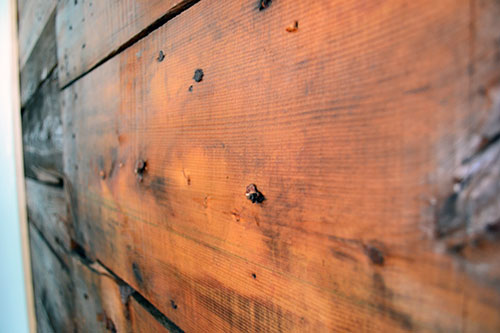
After all the sheetrock was removed, I went back over the wall and removed all the old nails, including these tacks meant to hold back exterior tar paper.
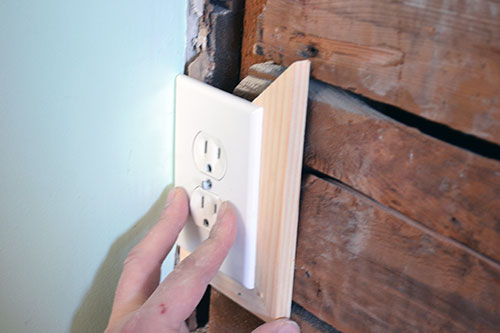
The only blip we experienced in #operationexposeyourselfwoodsheathing was dealing with the pair of outlets in the wall. Because we were removing an entire wall layer, both of the electrical boxes sat a bit too high. For one of them, we were able to cut and chip away at the wood wall enough to recess the box.
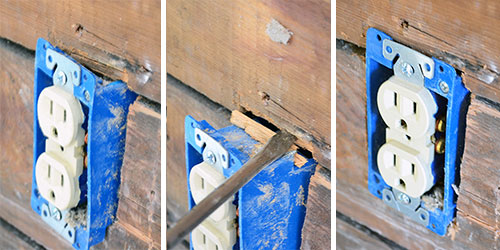
The second outlet was a little trickier since it was in a corner and over a stud (weird…I told you our kitchen was weird). To rectify, Colby just trimmed around the outlet using some scrap pine cut to the same thickness as the sheet rock. This allowed the switch plate cover to sit flush with the trim instead of sticking out 1/4″ or so.
With the outlets prepped, the last steps included tacking down any loose boards using the nail gun:
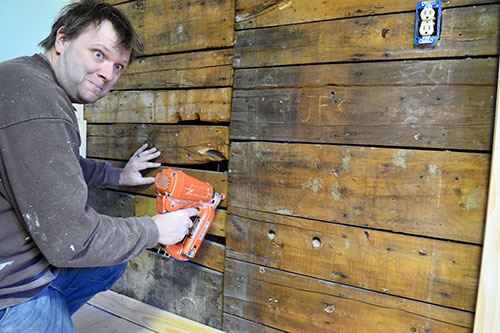
Why did I marry him again?! And installing some trim to hide the gaps between the accent wall and the other surfaces (wall, ceiling, floor):
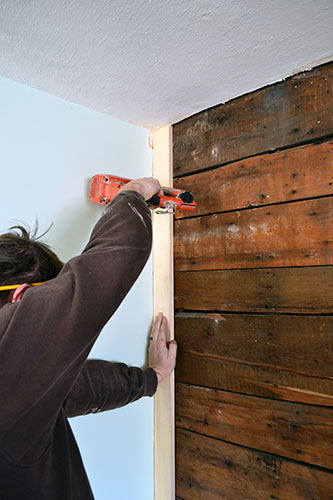
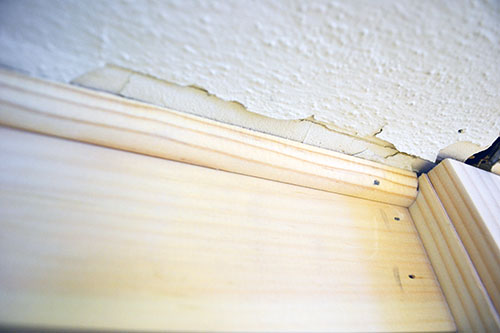
We typically just use simple 1″ x 4″ pine for trim but sometimes it isn’t enough #thatswhatshesaid. In the case of the ceiling trim, we added a piece of quarter round that we had leftover from other trim projects to help hide the slightly larger gap. And for the record, we totally know how much of a mess our ceiling is. I cringe every time I see it and strategically crop it out of most pics. It’s coming down someday…hopefully someday soon.
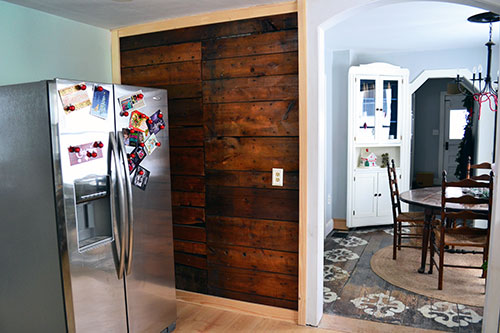
And voila…a trimmed up, exposed old wood wall. I love that it kind of ties into the exposed wood floor that we’ve got going on in the dining room which is another one of those “temporary” fixes that has been there for three years now.
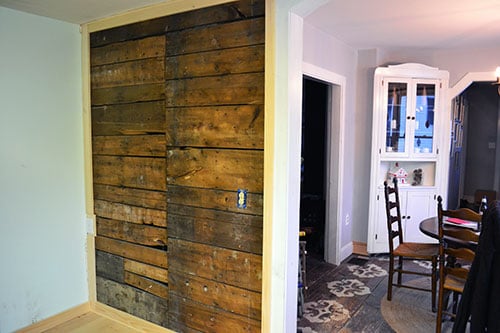
The old wood wall was a bit dirty and super dry. It lacked luster and I was 100% afraid that wood chunks were going to flake off into our cereal bowls stored near the wall and would mistakenly get confused for Corn Flakes. It happens. So I cleaned up the wall and gave it a coat of poly. You can see how the poly helps liven up the wall a little bit, giving it some color and brightness.
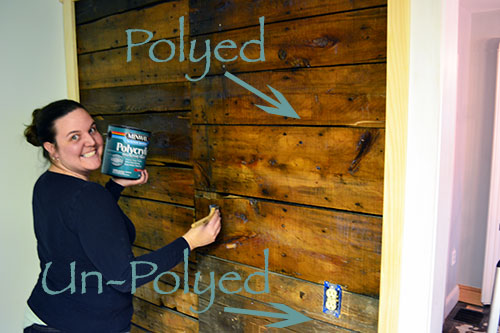
Here’s the up close and personal glamor shot:
And from afar with the refrigerator back in place (and Goose not giving it up in the great cookie search):
So now that we’ve exposed the wall, what’s next? Well, Pandora, don’t mind if I do open that box you have right there! Colby doesn’t know this yet (surprise baby!) here’s what I want to do (in list form…naturally):
- Take down the ceiling. I just…can’t…take it anymore. We hadn’t anticipated doing this but I think it’s time. Plus, it will help us determine whether or not we can take down the entry wall and the laundry room wall in our big remodel.
- Paint the kitchen gray like the rest of the open areas in our home (we used Baywaves by Valspar).
- Install the new kitchen ceiling (I’m dreaming of planking it kind of like this, this, or this)
- Finish painting all the baseboards in the kitchen along with the new, accent wall trim.
- Build in the refrigerator making some storage shelves above (possible painting the side of the built in with chalkboard paint).
- Build some pull out shelves for the 20″ space between the refrigerator and the accent wall.
We do intend to completely gut out our kitchen, change the layout a bit (we really want to open it all up to make space for a GINORMOUS kitchen island), and even install new cabinetry. So I’m trying not to do too much in this space right now or (knowing us) we’ll just throw away that lid to Pandora’s box and just do the kitchen now. But if we can break down the whole project into chunks (like replacing the ceiling now), that’s one less thing we’ll have to do later and helps keep our kitchen usable in the process. But we’ll see where we end up once we pick back up on this project, probably post Christmas. I’m notorious for changing my mind.
Pssst…Next week I swear I’ll have a few little Christmas-ie posts for y’all (am I allowed to use y’all when I live in Maine?!). Is it sad that I’m just getting around to my Christmas projects? Please tell me some of you are just starting your shopping and wrapping now too?


Ahhhh, this is so cool!! What a gorgeous accent wall! Love how you’ve taken it all off (re: sheet rock) and shown off what’s underneath!
I’m doing this in my bathroom – do you have any tips for how to clean the wood (in particular, in between the boards where there’s got to be 100+ years of dust)?
What kind of poly did you use? Was it tinted? Gloss or Matte?
Thanks!