This is awful. I had to stop and think for a second how old I was. I originally had written, “The 31-Year-Old Rub ‘n Buff Virgin” as a post title, a nod to a classic comedy, The 40-Year-Old Virgin. But then I paused, thought about it for a hot minute, and was like “I’m thirty-two…THIRTY-TWO?! Right? Maybe not (counts in head)….yup… thirty-two.”
But alas this blog post isn’t about how old I am (or my losing a year of my life along the way and coming to grips with my age) but about the fact that I’ve never used Rub ‘n Buff before until recently. I almost feel like I need to turn in my DIY-er card after that statement. Cutting to the chase, I used said Rub ‘N Buff on a light fixture, it didn’t turn out well, so used Martha Stewart’s gilding paint instead on a pair of new light fixtures for the hallway.

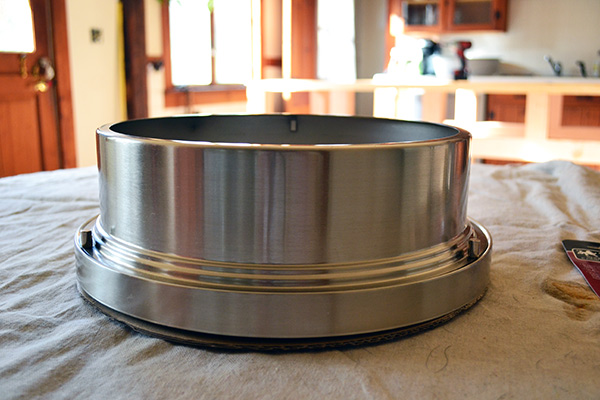
The light fixtures (we picked up two, one for each end of the hallway) hail from the Home Depot. The brushed nickel clearance light fixture scores were around $48 each. I’m not much of a fan of brushed nickel so I planned to paint them.

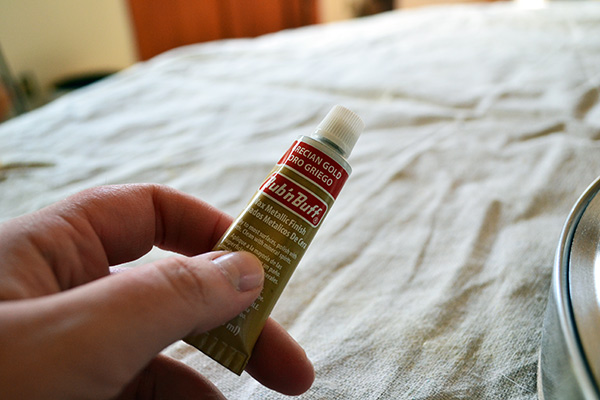
I decided to give Rub ‘N Buff a try. I’ve always heard such good things about it and wanted to give it a whirl. I picked up a tube of Grecian Gold off Amazon and applied it to the light fixture but I could not get it to stick to the light.

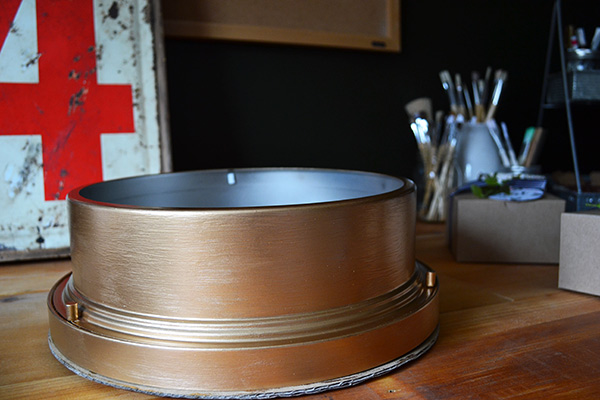
I applied the Rub ‘n Buff as directed and how everyone and their brother does it according to my obsessive-compulsive research before starting the project. But why was it not adhering? Did I do it wrong? Am I not privy to insider information on proper Rub ‘n Buff usage? I finally gave up, sanded off what did stick to the light fixture, and turned to an old standby, Martha Stewart gilding paint. Two coats later, a pair of gorgeously gilded lights.

Note the use of my new craft room and workbench?! I had used the same Martha Stewart gilding paint treatment on a light fixture in our old house and loved it so why not repeat it? I even had enough paint left over in that tiny little pot to paint both of these fixtures. That meant a five-dollar pot of gilding paint covered a total of three light fixtures.
And now for the before and afters, after installing the lights. The back side of the hallway before:

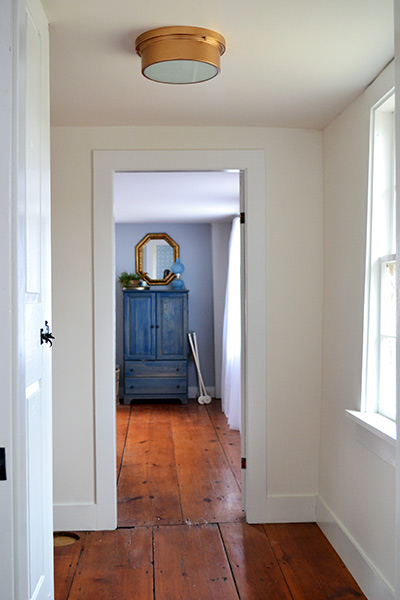
And the after with the gilded light fixture:

And a before picture looking down the hall to the front of the house before light fixtures (still sporting the original light although we never reattached it post-ceiling painting):

And the after shot:

I am DYING to find some curtains for the front window I just can’t decide what color/direction to go. Although there’s a pair of velvet, deep blue curtains at West Elm that I can’t stop thinking about. And one last aftershot from our bedroom looking into the guest bedroom:

These flush-mount light fixtures turned out better than I thought. As much as I wish we could install more substantially sized lights, the ceilings upstairs of our house are much lower compared to the downstairs so flush mounts it is. And for anyone who has ever sought out stylish, non-boob-style, flush mounts know, it’s not an easy feat. If I can find a few more of these fixtures, I may just pick them up for the bedrooms.


Ahhhh the search for the non-boob light. I have totally been there! Took me three years to find ones for my kitchen!
I know, right?! The struggle is real!