I feel like I never blog these days. Perhaps because I don’t?! Genius logic right there. But the lack of writing certainly isn’t because of a lack of projects given tonight’s blog post is all about a pre-Christmas, wrapping paper storage system project. No, it’s more like living life has prevented blog writing (which I do primarily on the weekends) and I certainly can’t complain. Like last weekend’s adventures in NYC during snowmageddon. Wouldn’t trade it for the world! We got to hang out in Times Square with no traffic (so eerie) and build snowmen in the middle of the street.
So onto tonight’s project and the beauty of a wrapping paper wall rack that Colby built for me primarily out of scrap wood.
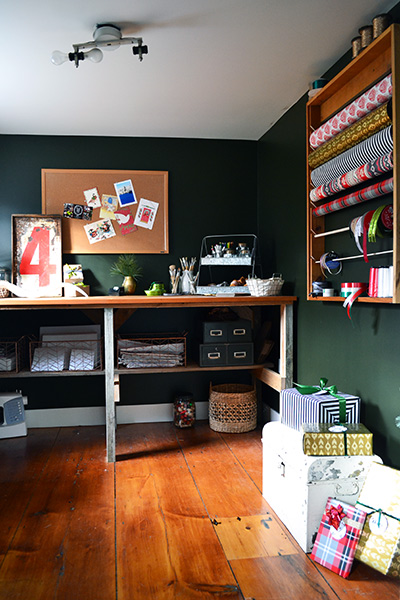
I wish I had a step-by-step tutorial for you all on how to build this, but I don’t. Colby builds too fast! #husbandoftheyearproblems One minute we’re purchasing dowels from the Home Depot and then I blink and he’s attaching this to the wall:
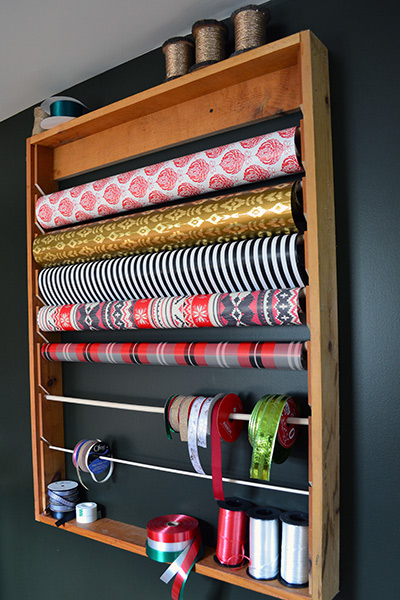
So here’s the gist of the project. We used (5) 3/4″, (1) 1/2″, and (1) 1/4″ dowels to use as ribbon and wrapping paper holders. The smaller dowels hold ribbon spools while the larger ones hold the wrapping paper. Those are the only materials we bought for the project, about a seven-dollar spend, since the rest of it was built out of scrap wood. The frame is a simple box, about 32″ wide by 36″ tall, glued and nailed together. If you look closely, you’ll see two vertical pieces of wood nailed inside the frame. Those boards were simply routed out, at a diameter slightly larger than the dowels, to hold the dowels securely. Then the whole box was screwed directly into the studs of the wall.
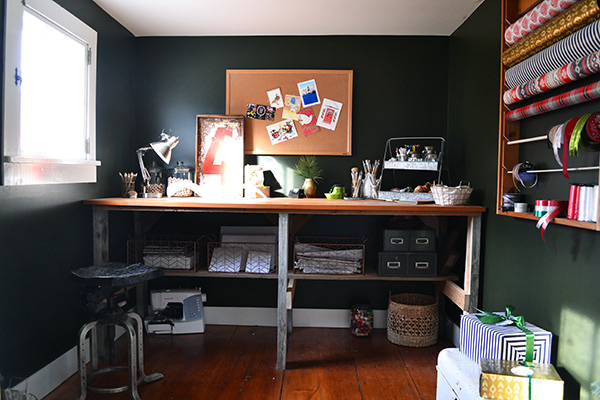
In retrospect, I wasn’t thinking when I added the ribbon storage part. It’s not practical since when I wrap presents, I tend to size up my ribbon by first wrapping it around a package and then cutting it to fit. That doesn’t work when you’re ribbon spool is attached to the wall behind you. I ended up taking the ribbon I wanted to use off of the rack so I could work with it on the bench.
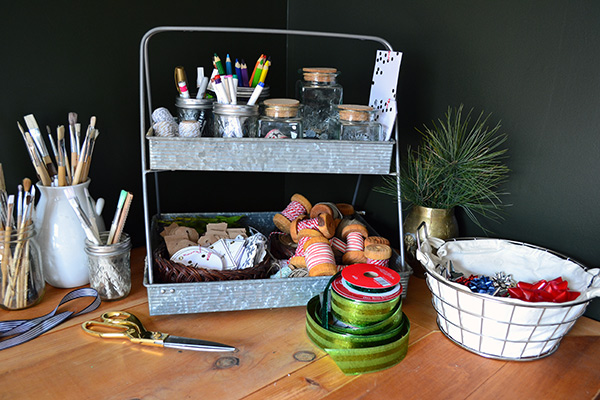
One of the reasons we powered through getting the craft room set up as quickly as possible after moving into the house was so we could have a dedicated space to wrap Christmas presents. Okay, and also to have a workspace to make giant messes in and not disrupt the living spaces downstairs. We had a craft space in our first house and adored having the mess-making space!

I set the whole craft room with the Christmas season in mind. I loaded up baskets and racks with wrapping materials so everything was right at my fingertips. I wrapped presents in here, hung Christmas cards in here, packaged up Christmas mint treat boxes in here, and even addressed our very own Christmas cards in here. It was a glorious space to have over the holidays.
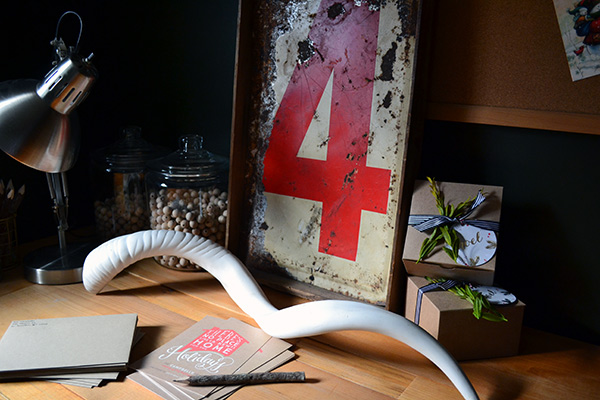
I wish I could say I’ve de-Christmas-fied the room but that would be a lie. It still looks like this. Very much so, dead pine branch in the vase and all.
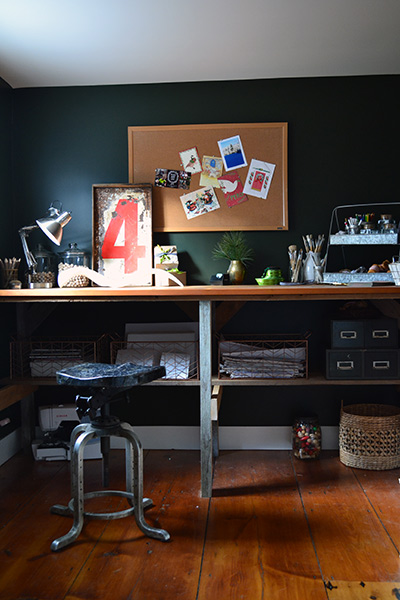
I’m itching to finish up the room and thankfully there are just a few minor tasks left to do. Like installing a new light fixture which I’ve already found. It was a freebie, dump find. Then maybe add some more storage solutions and accessorize it a bit more and we…are…done! Well, as done as you can be because what room is ever done?! Am I right, or am I right?!


Your Times Square experience sounds awesome! Been missing your posts, but glad to hear you guys are tackling life and having fun. Love the rack and also your wrapping paper choices are right up my alley!
Thanks so much, Whitney! You’re so sweet!
Where do you people find all of this cleverness. By the way, I have some wrapping paper that really goes with the house:)
That’s all you have to say…it goes with the house…we’re such suckers…haha!