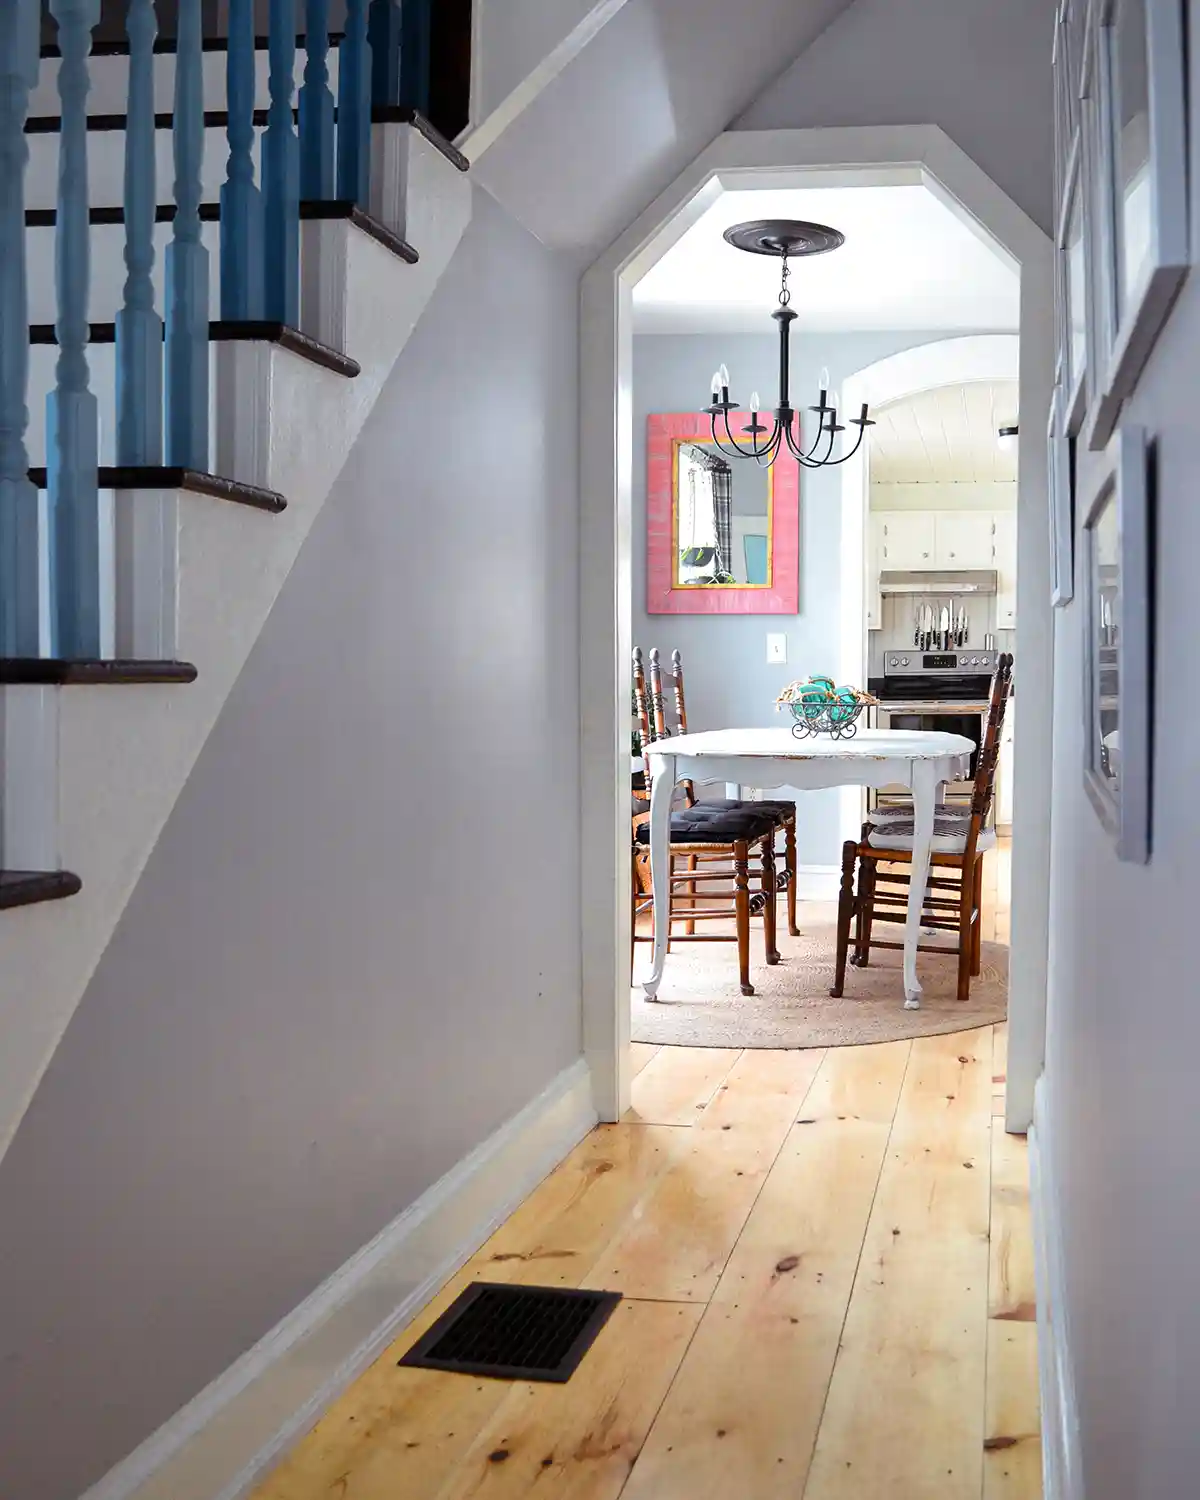
Some of my all-time favorite home decor projects are the sentimental ones. I’m a big believer that our homes should be a reflection of who we are, which means I’m much more interested in filling them with the things that matter than whatever social media has currently decided we all need to buy. Give me a house full of memories, weird little treasures, and things with a story any day.
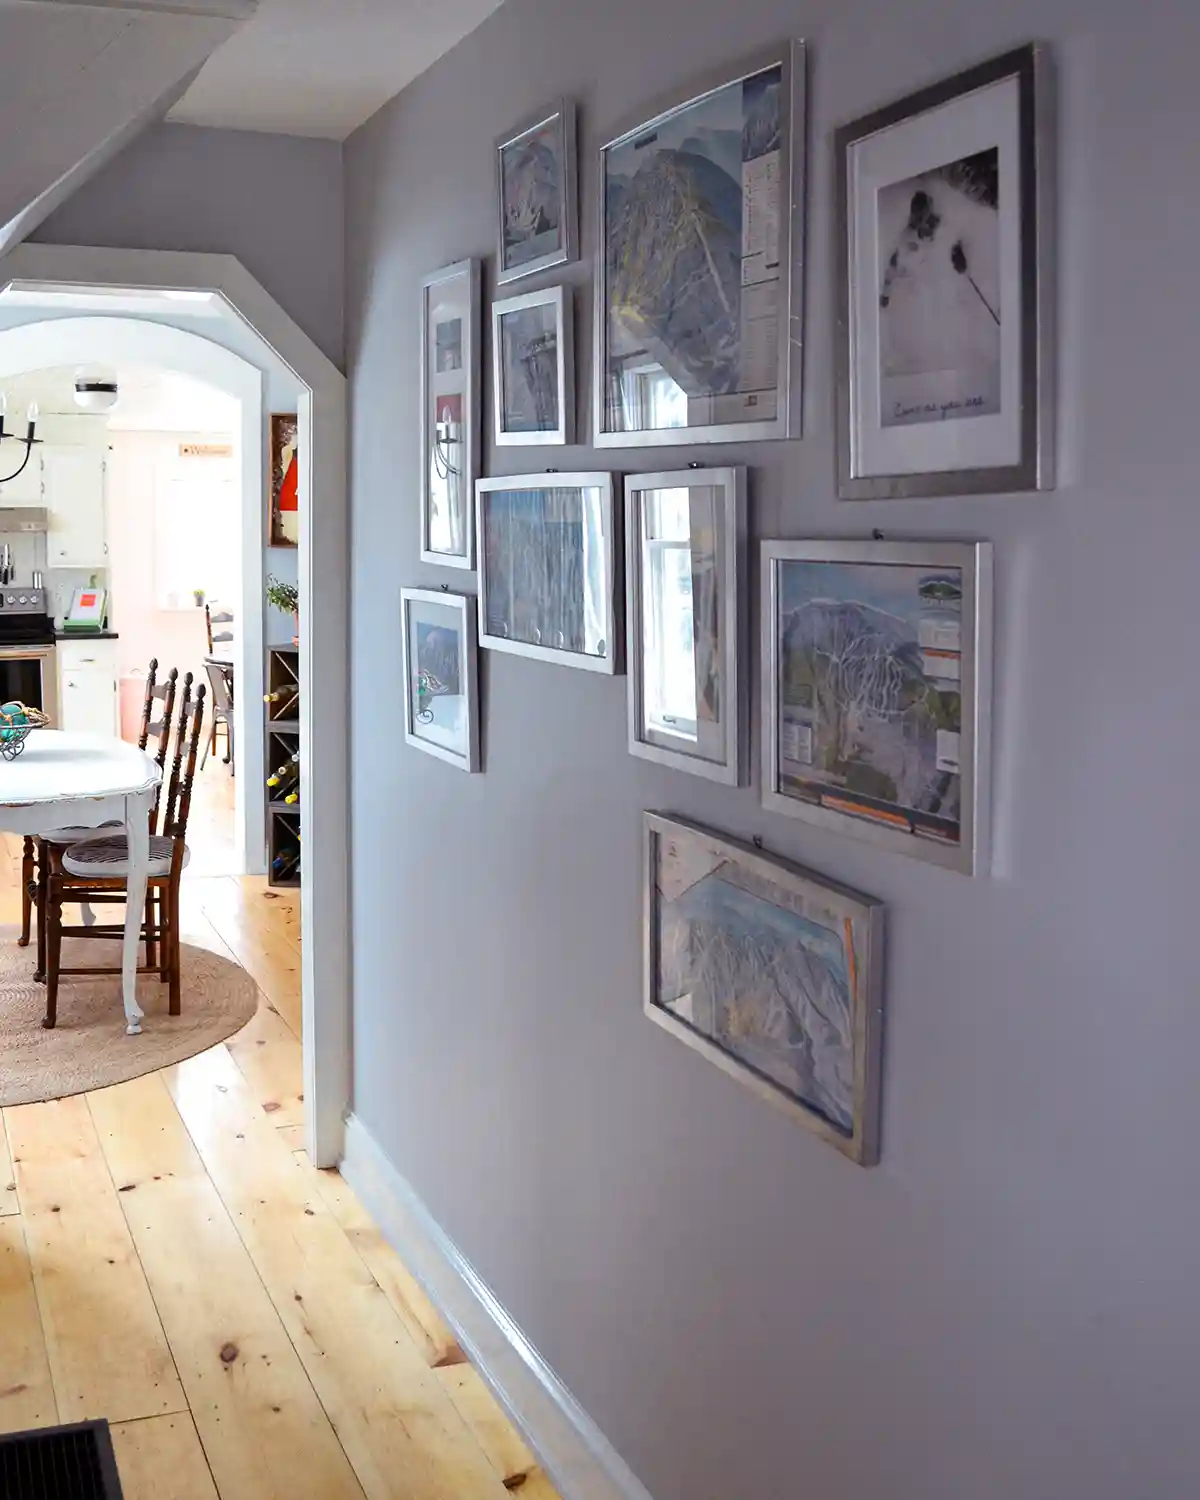
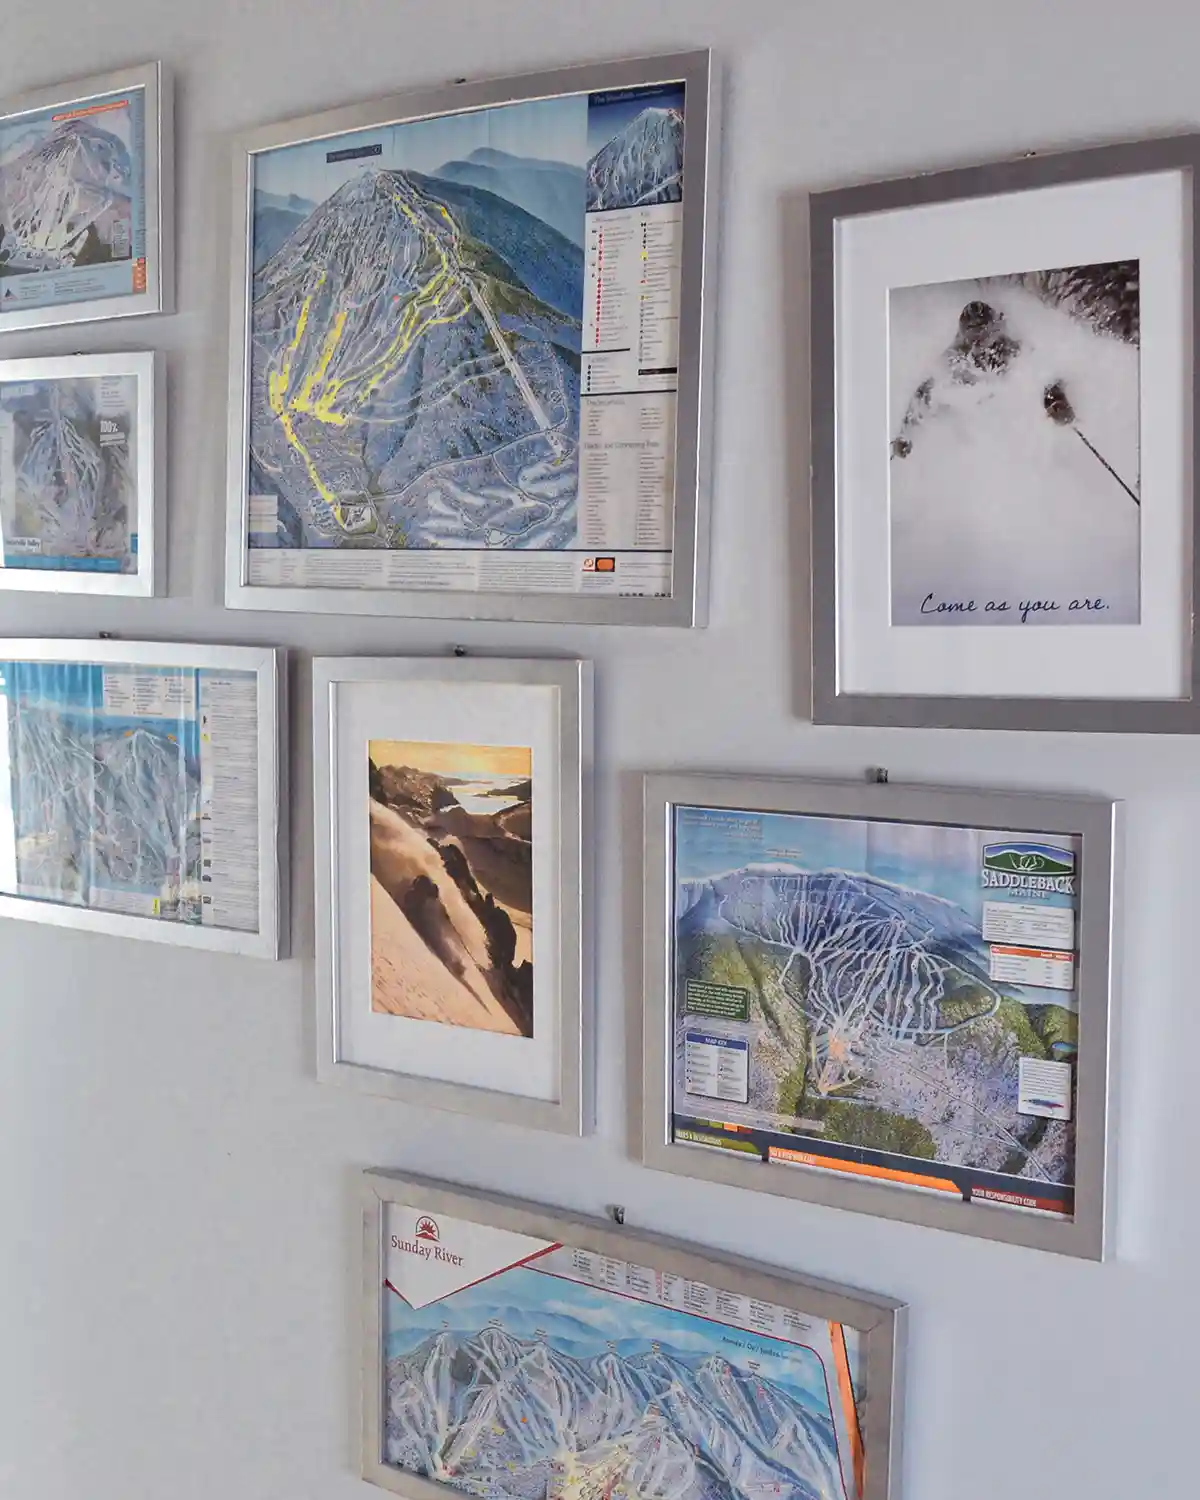
So when our first home needed some affordable artwork to fill out a long, freshly renovated hallway, I went shopping in the most Angie way possible. I dug through a box of ski maps that had been hiding in my home to make a framed ski map art gallery wall, because skiing has always been one of my things.
There are a few childhood hobbies that really stuck with me. One was making paper newspapers and collages, which, looking back, was apparently early training for becoming a content creator and running this website. Two was digging in the dirt. Playing farmer as a kid eventually turned into today’s backyard kitchen garden obsession. And three was skiing.
I was born on skis. (Not really. I started when I was three.) I raced alpine and cross-country throughout my school years, and these days I spend my winters working as a ski instructor at Killington Resort and Pico Mountain in Vermont. Smiling’s skiing’s my favorite!
Naturally, I had accumulated a box full of paper ski resort trail maps from all those years of skiing. And instead of letting them continue their important work of cluttering up space in my office slash craft room slash catch-all room, I decided to turn them into artwork.
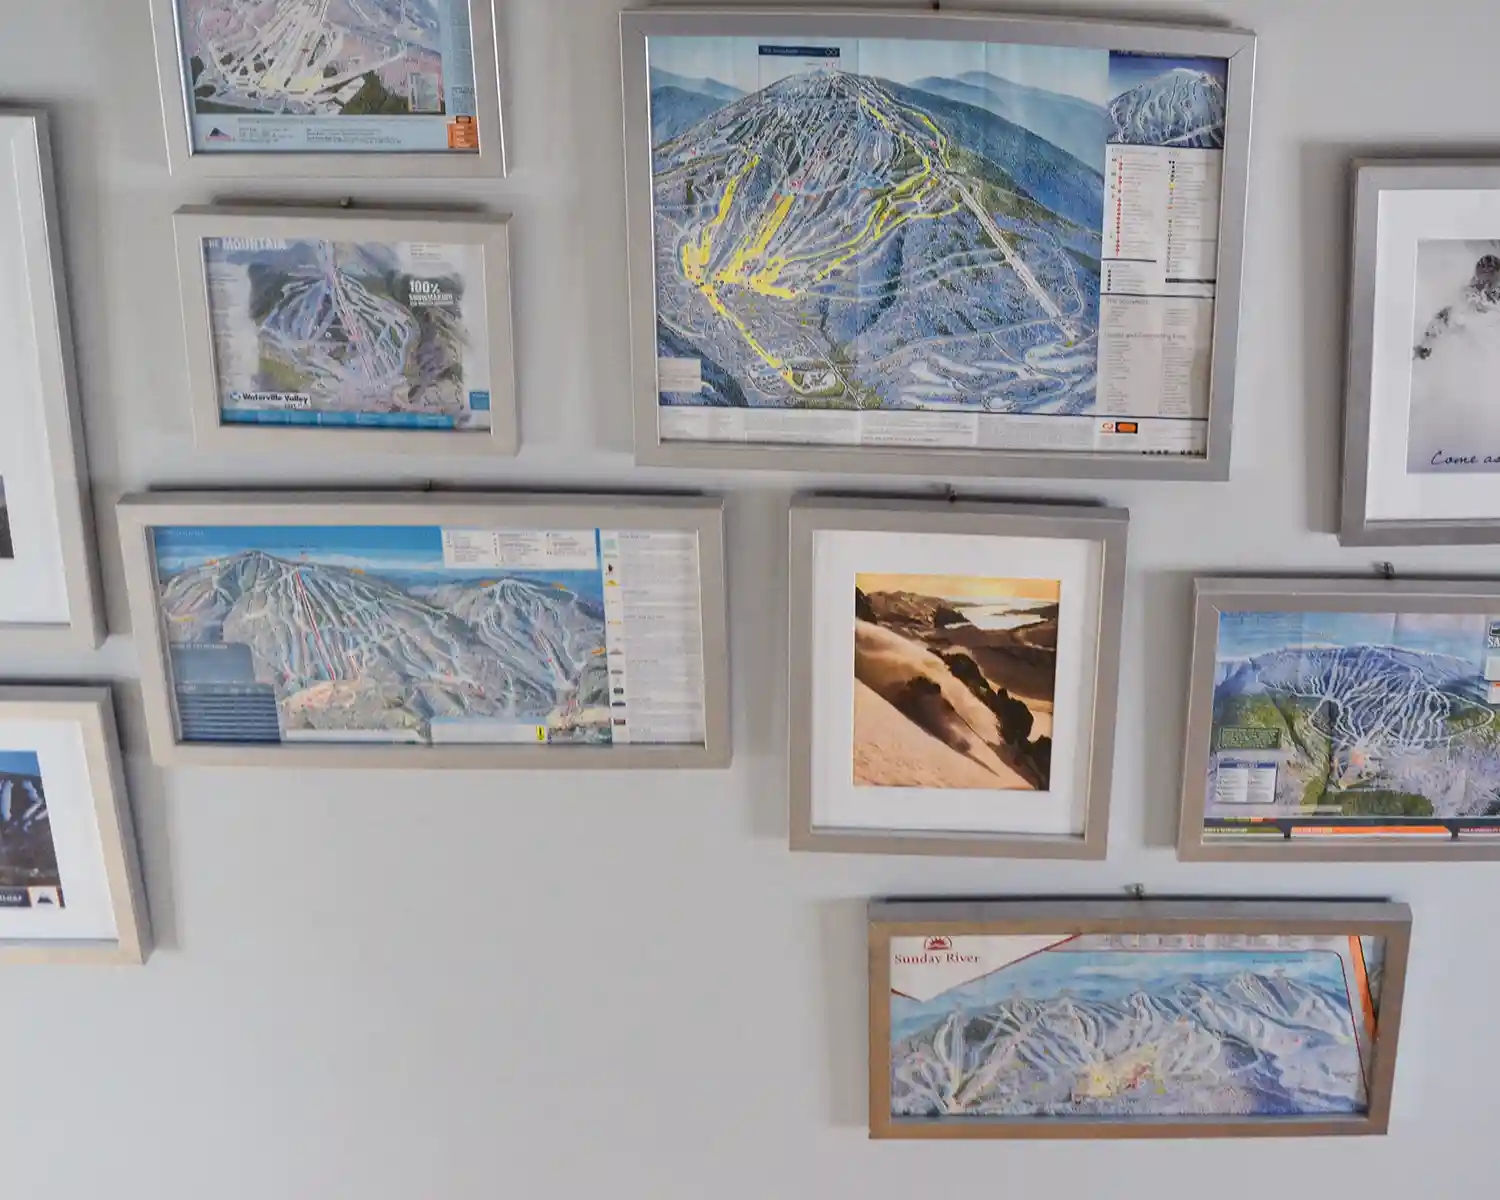
The gallery wall ended up featuring some of my favorite resorts in Maine. Ahhh, Sugarloaf, you will forever have my heart. Along with a few other extra-special places. I also mixed in some ski magazine art to fill out the collection.
I had grand plans to keep adding to the gallery wall as my ski adventures grew. And then, shortly after I framed and hung all those beautiful little paper maps, we sold our house in Maine and moved to Vermont, ironically to the heart of some iconic ski resorts from on my skiing bucket list.
It was so sad to make this project and then almost immediately move away from it. And then, to really add insult to injury, several of the frames broke when I dropped them down the stairs during the move. True to form, I was carrying too much at once. Did I learn my lesson? You would think, but no. I perpetually carry too much up the stairs.
Anyway, the surviving maps have lived to ski another day, and the idea is still one of my favorite ways to turn a cheap paper souvenir into something personal and pretty. So let’s make some framed ski trail map art and turn it into a gallery wall.
How To Make Framed Ski Mountain Map Art
The tools and supplies for this project are extremely simple. The biggest expense is a variety of basic white picture frames that roughly fit the maps you’re framing. IKEA and craft stores are the best sources for these items.
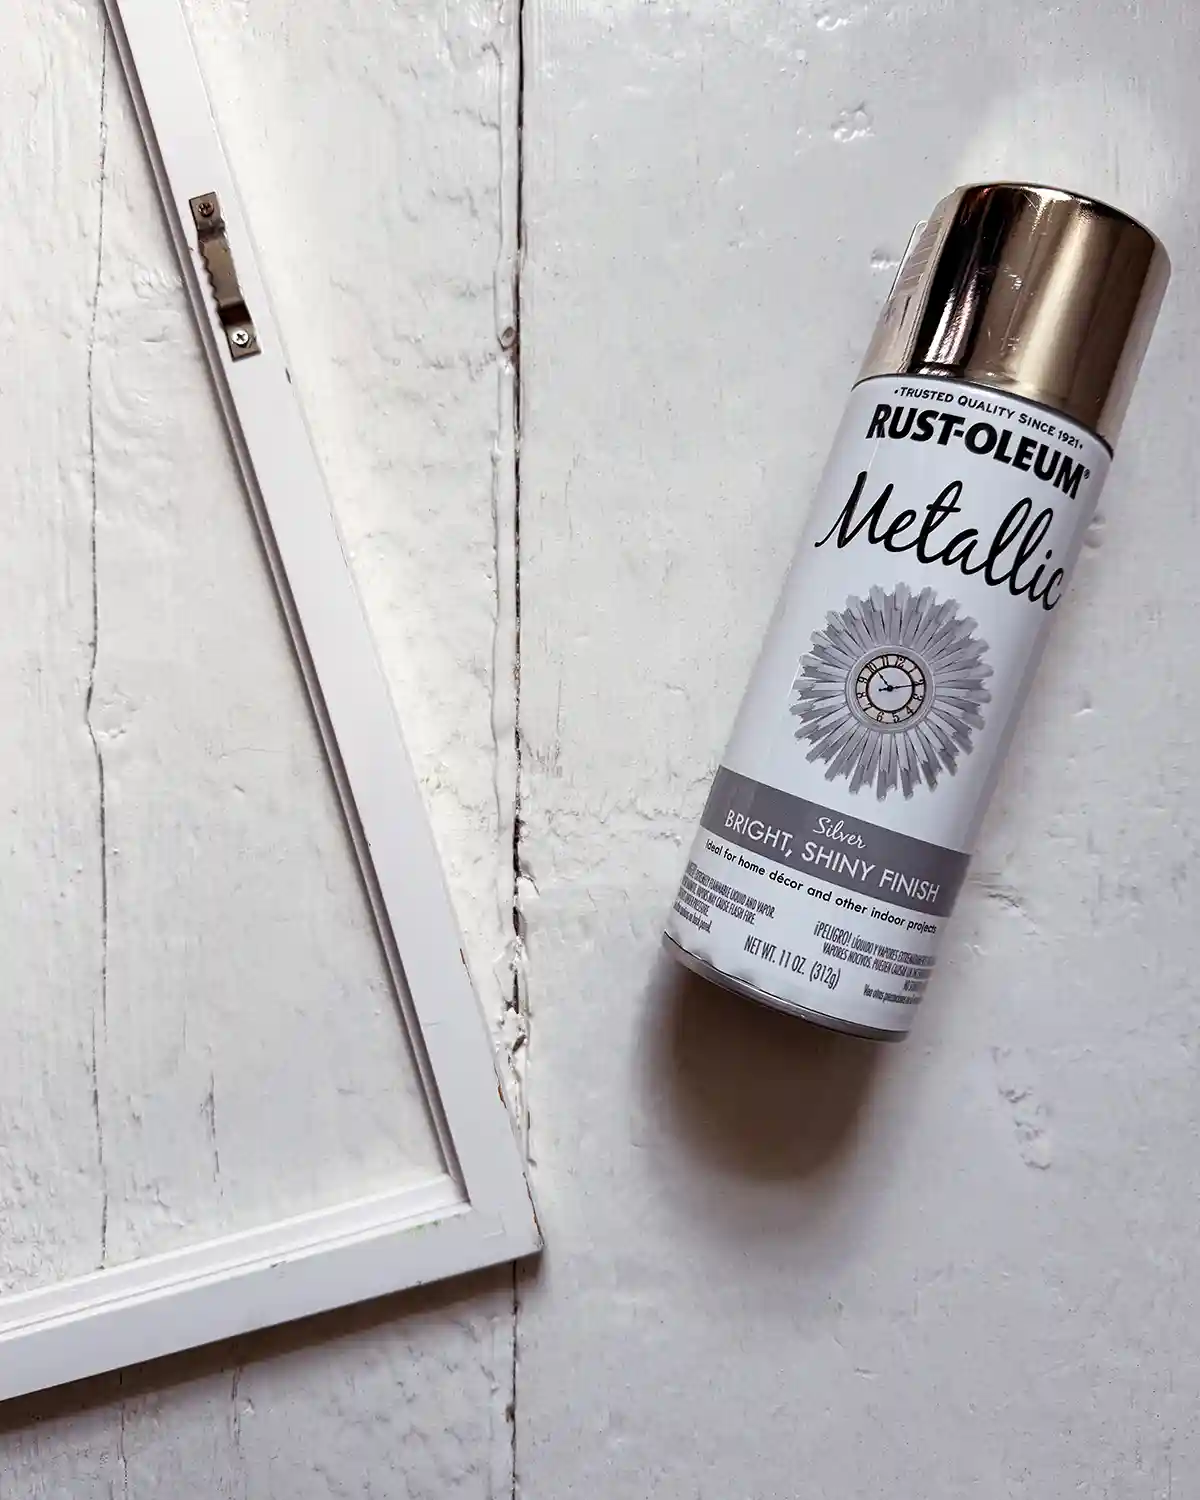
I chose to paint all my frames the same metallic silver, but to each their own. Choose the color that makes the most sense for your home, or you may choose not to paint the frames at all. I liked the consistency of all the frames being the same color. Not all the frames were the same color white, so painting them all the same created cohesiveness for the collection.
Supplies
- Variety Of Basic Frames (Michaels)
- Spray Paint (Amazon)
- Sanding Block (Home Depot)
- Scrap Paper or Newspaper
- Tape (Amazon)
- Picture Hangers (Amazon)
Tools
- Hammer (Home Depot)
Pair Maps To Frames
The first step is to make sure you have a frame for each ski map. Some of the maps, okay, ALL of the maps, are kind of wonky in size and require trimming to make them fit. Some fit with the picture frame mat, but most don’t.
Spray Paint Frames
Here’s the Reader’s Digest tutorial for how to spray paint picture frames. Remove the glass and the mat, push the metal tabs out of the way, rough up the frame surface with some medium-grit sandpaper, wipe the frames clean, lay them on cardboard or scrap wood, spray the frames lightly, repeat light coats of spray paint until fully covered, wait for each coat to dry, and let the frames fully dry before using. Whew! Perhaps I should do a full tutorial on this?!
Trim Trail Maps To Fit Frames
Once the frames are dry, I usually wait at least 24-48 hours before assembling them. Start trimming the mountain trail maps and framing them. If you don’t want to cut the maps, you can also fold them to fit the frames and/or the mat.
Frame All The Art
Slowly, one at a time, finish framing all of the art for your gallery wall. This may include a poster and some pictures, or magazine cutouts to fill out the ski area map art collection and add some extra visual interest. POWDER Magazine still publishes print magazines with amazing photos that can be used for inexpensive wall art.
How To Hang A Ski Resort Map Art Gallery Wall
Now that everything is framed and we have our collection, the next step is to arrange the gallery wall and hang the frames.
Arrange Frames On The Floor
Whenever I’m working on a new gallery wall, I like to first arrange all the frames on the floor. So find a big, open floor space that’s at least as big as the wall you’re covering, and start laying out all the frames. It’s like one big puzzle but one with more than one solution.
If you need help arranging your art, here are two of my biggest tips. Start with your largest frames first and space them out on the floor as anchors. Next, grab your smaller frames and piece them in between, varying the sizes and shapes around each placement. At the end, fluff. Move one a bit here and another a bit there until you love the placement of each piece.
Before you get ready to hang it all, grab a chair to stand on and get a more pulled-back view of the art mix. Adjust as needed.
Make Paper Mockups
I will forever be a proponent of making paper mockups of all the art in a gallery wall to make sure your art placement is exactly where you want it. I know they’re just small holes in the wall, but I would much rather tweak the location of paper mockups with tape than keep adjusting framed art with nails.
Newspaper is great to use for this step. If you don’t have old newspapers kicking around, use whatever scrap paper you have. Tape pieces together to make larger pieces of paper. Then trace each frame onto the paper and cut it out so you have the exact size and shape of each frame.
Arrange Paper Gallery Wall
Tape each of those frame paper cutouts on the wall in the same locations as you arranged the art on the floor. Once everything is taped on the wall, you can make small, fine detail adjustments to spacing until you’re happy with each print’s location in the mix.
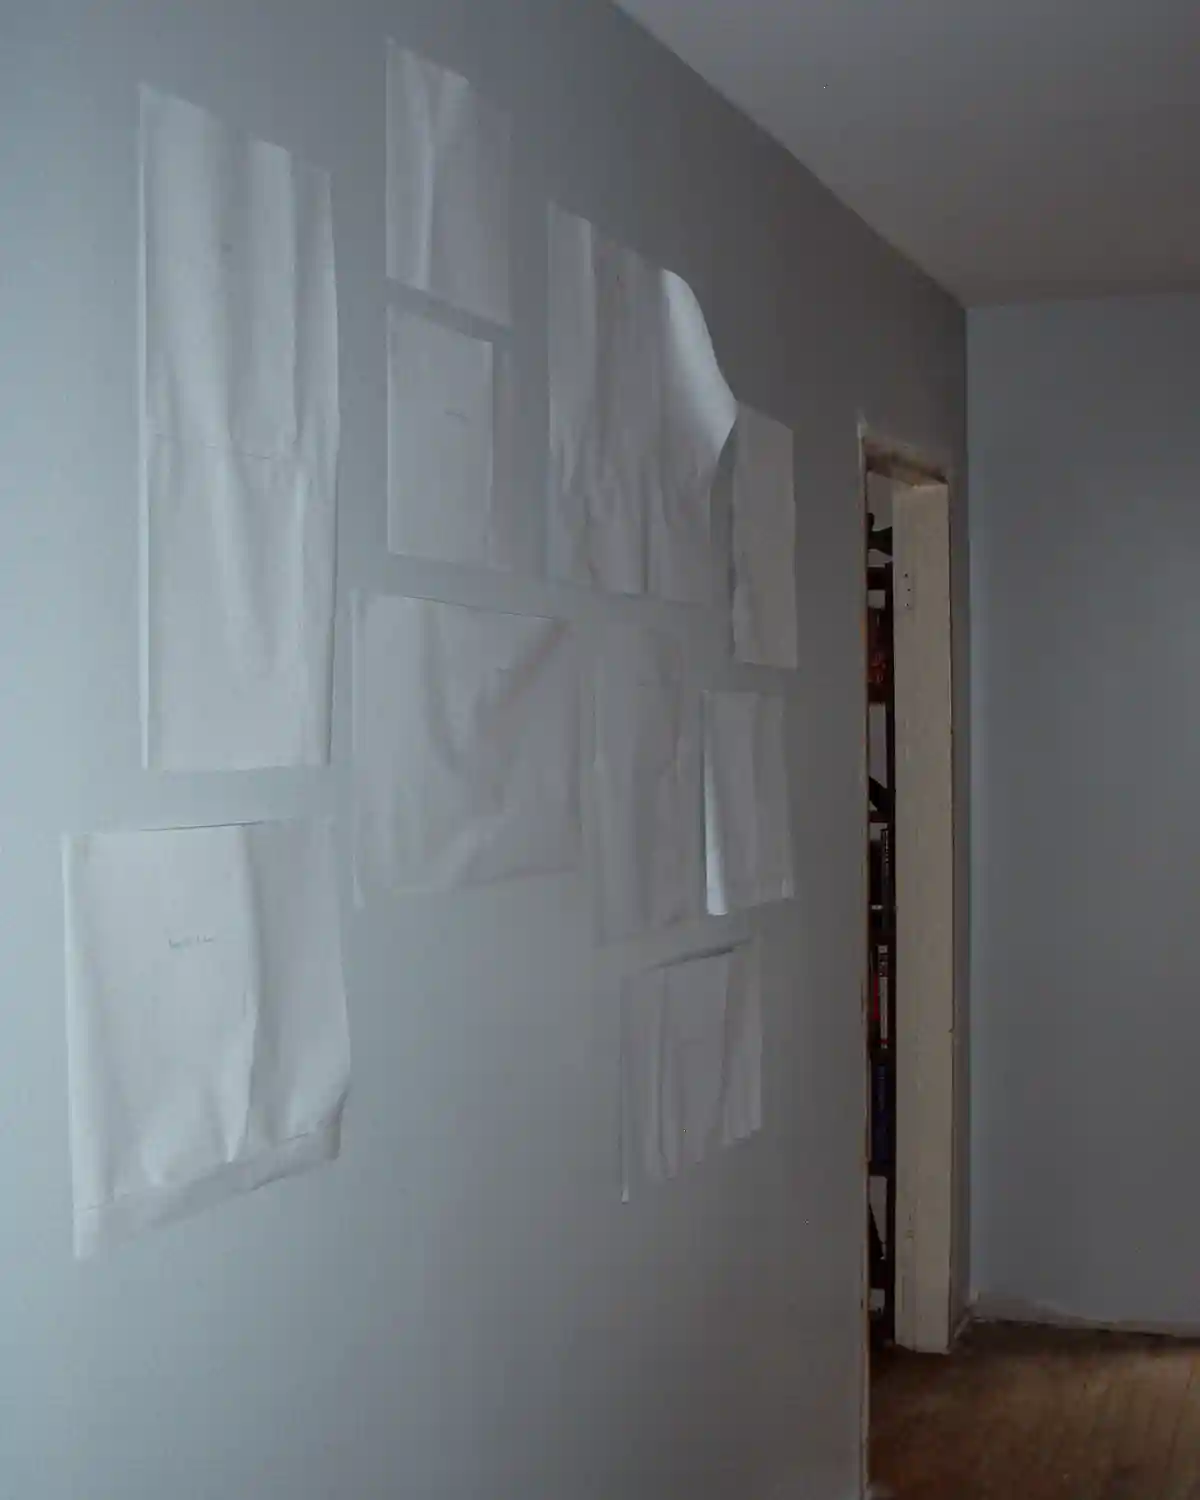
Please excuse the very old photo with my very old point-and-shoot camera. This was from back before I knew how to take photos, and our old house was very much a construction zone. Note the dust spots on the camera lens…doh!
Also take note of how high and low the overall gallery wall is and make adjustments. Is it too close to the ceiling? Bring the whole thing down. Is it not centered on the wall but you want it to be? Adjust. If you plan to expand the art collection over time, like I did, leave room for that too.
Finally, make sure everything is level. If you have an old house like ours, eyeballing it is okay since eyeballing looks more level than when the art is actually level. If you have a torpedo level or laser level, bring it out to help adjust the art placements.
Hang Each Picture
And finally, the last step. Using picture hangers and a hammer, hang the art. The beauty of having paper cutouts of the frames on the wall is that you can measure and mark each picture hanger’s location on the paper, poke a hole through the paper where the nail will go, which leaves a mark in the sheetrock behind it. Then remove the paper, and you know exactly where that picture hanger needs to go.
Working top to bottom, left to right, hang each picture in the collection until all the paper is gone and the gallery wall stands.
Ski On And Collect More Maps
And now we keep calm and carry on ski on, collecting more ski maps to add to our framed collection. Utah and Colorado may be calling my name right now. Breckenridge anyone?! I mean, we do have family in Park City. And Beaver Creek Resort has LONG been on my bucket list.
While this project suits me and my favorite recreational activity, adapt it to suit your family’s interests. We all have a box of something that could become an affordable art collection.
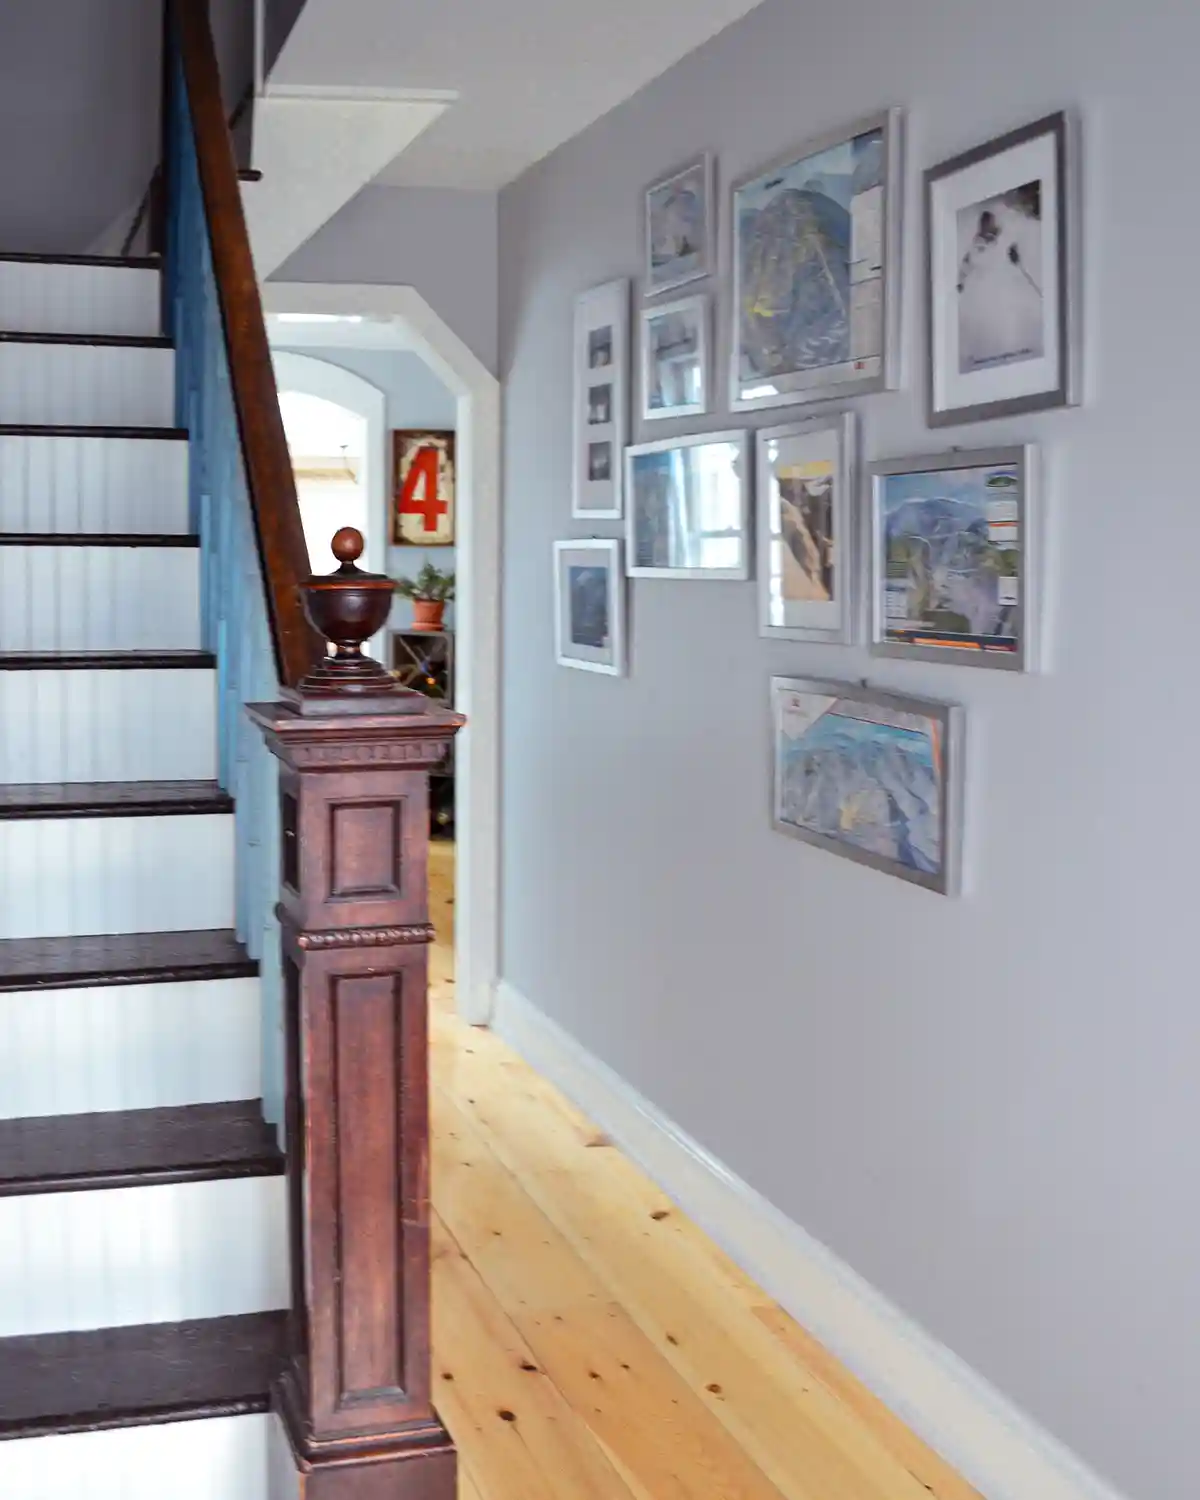
And can you imagine having an actual ski room and hanging all these maps in there?! I’m approximately nine point two million dollars away from affording a house with a ski room, but one can dream.
A whole room just for skis. Obviously, if I’m living in a nine point two million dollar house, I’ll also need a variety of ski kits for every possible condition because one set of skis is never enough. True story. Powder skis! Carvers! Something for ice! And every early season skiers’ must-have: rock skis! Oh, and something for those weird spring days when the snow turns to mashed potatoes. Although, if I’m being honest, I’d reach for those carvers any day. Santa, if you can hear me, I’ll take a pair of Stockli Laser WRT Pros in a 166.
Above the ski lockers in this completely fictional and wildly unattainable dream house would be map after map from all the places I’ve been. Keystone Ski Resort next to Copper Mountain. Arapahoe Basin by Jackson Hole. A few from the Lake Tahoe resorts hanging alongside my New England favorites like Mad River Glen and Sunday River. A whole wall of adventures, memories, and questionable cold-weather decisions.
Ahhh…to live the rich ski life.
Meanwhile, I’m over here working as a ski instructor so I can afford the ski passes that allow my family to actually go skiing. Which, honestly, feels like a pretty good version of the dream too. Maybe I don’t need the nine point two million dollar home with a ski room after all. I like my basement ski tuning corner that I share with the spiders.
Although I’m still going to want the skis. Santa?! Happy trails, everyone!
Pssst…Now tell me, what memorabilia have you framed?!?!