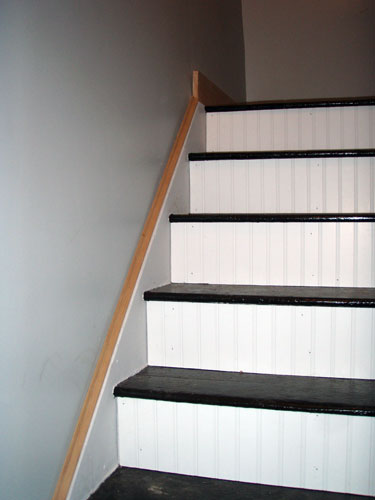
It should come as no surprise, but bead board and I are tight. We’re talking peanut butter and jelly tight, or Monica and Rachel tight, or Ben Affleck and Matt Damon tight. Yeah…that’s tight all right. If I could have it my way our whole house would be covered in bead board…bead board ceiling, bead board cabinets, bead board on the walls. But I know better. Instead I pick my battles and fight the good fight against the ugly that used to dominate our old house. My latest bead board obsession? Bead board staircase risers. I found a photo online once in passing and didn’t save it (this was “PP” by the way…that’s “pre-Pinterest”) and couldn’t seem to relocate it again. But let me describe it for you. It was this before/after combo picture that showed the world’s most disgusting staircase (second to ours, of course, before we started re-doing it) and the post painted/bead board-ed phenomenon of an after staircase. Of course I was sold and vowed to make our ugly staircase just as beautiful. So a week or so ago (and by “or so” I really mean about three weeks) Colby started measuring out the risers and attaching bead board.
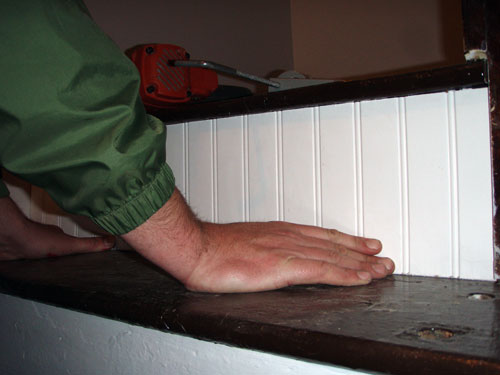
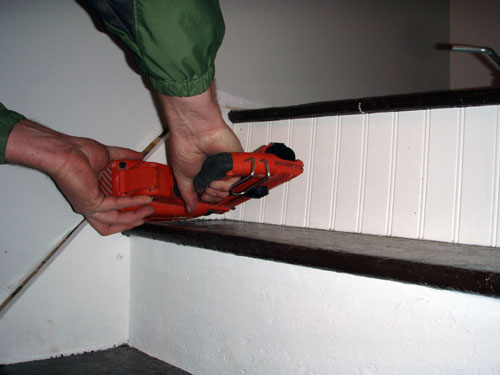
Our staircase is old, we’re talking 100 years plus here, so of course nothing was square, even, or easy. Each riser was a different dimension and shape. Granted they were all a rectangle of some sorts and generally the same size but some were a little longer on top than on bottom or a little higher on one side than the other. Thus, Colby painstakingly measured one riser at a time, running downstairs to the workshop to make his cuts after each measurement was made. Then he applied some construction adhesive to the back of each panel and Paslode-ed (my new favorite verb) the sucker right on top of our old, very distressed risers.
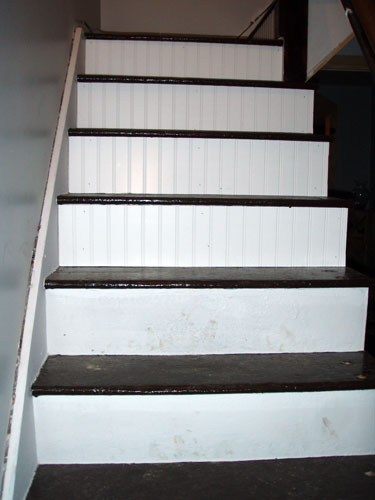
After just a few risers were installed the staircase was really starting to look good. And I mean REALLY starting to look good like use a cheasy pick up line and see where it gets you good.
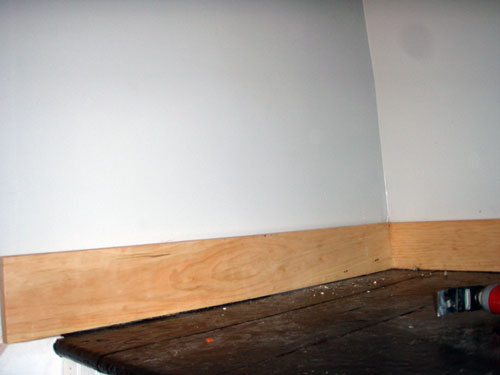
After Colby finished installing all sixteen of the risers, he even added a little bit of trim to cap it all off, first on the landing area here:
And also here:
Even without painting everything up bright, glossy white I’m loving how the staircase feels more finished. I’m quite excited to patch up the trim (now that I’ve recovered from 476 nail holes in the trim), paint it white and move on to balusters. Making progress. And because what blog post wouldn’t be complete without a little (or most of the time HUGE) to do list, here’s where we stand with the staircase re-do:
Remove the old balustersPrime the entire staircase with oil based paint to cover up all the nastinessPaint the treads a dark, chocolate brownCover the risers with bead board- Paint the bead board white
Install base cap and finish trimming out the staircase(there’s still about one more piece to go but this is pretty much done)- Prime and paint all of the staircase trim
- Sand down the railing and refinish it and the newell post…oh and fix/reinstall the cap for the newell post (it had a bit of an accident…there may have been a running down the stairs/grabbing it/using it like a pole/spinning situation that led to it’s breakage)
- Paint and install new balusters…we’re thinking cheap-os but dressing them up with an interesting painting technique…which we’ll announce later because I love to make you guys wait for it
Pssst…check out our first bead board project in the house back here where we installed it on the slanty part of the ceiling in our bathroom. It’s still one of my most favorite projects to date! And you can see our staircase progress back here.

