One of the first projects we tackled while renovating our first home in Maine was a 1970s bathroom remodel. While it was missing a shag rug, it was chock full of 70s-style charm. It was the only bathroom in the house, and we had this genius idea to work on it in the one-month period we had both an apartment (with a working shower) and the new-to-us house. The thought process: it would be so much easier to tackle a bathroom renovation while not needing to use the bathroom. I have so much more to share about how that went, but first, let’s take a little trip down memory lane and with a deeper dive into the state of the bathroom.
We shared a short snippet about the vintage bathroom feel in the full Maine house tour before remodeling, but here’s the full monty. Every paneled wall, light, and weird spot. Speaking of the walls…
The paneling in this 70s bathroom was all the rage from the late 1960s through the 70s. Fun fact: my grandmother’s bathroom sported the same high-pressure laminate wall paneling pattern. While it was great for Grandma, it was not the bathroom look I had dreamt of. Even Grandma traded it in when I was in high school.
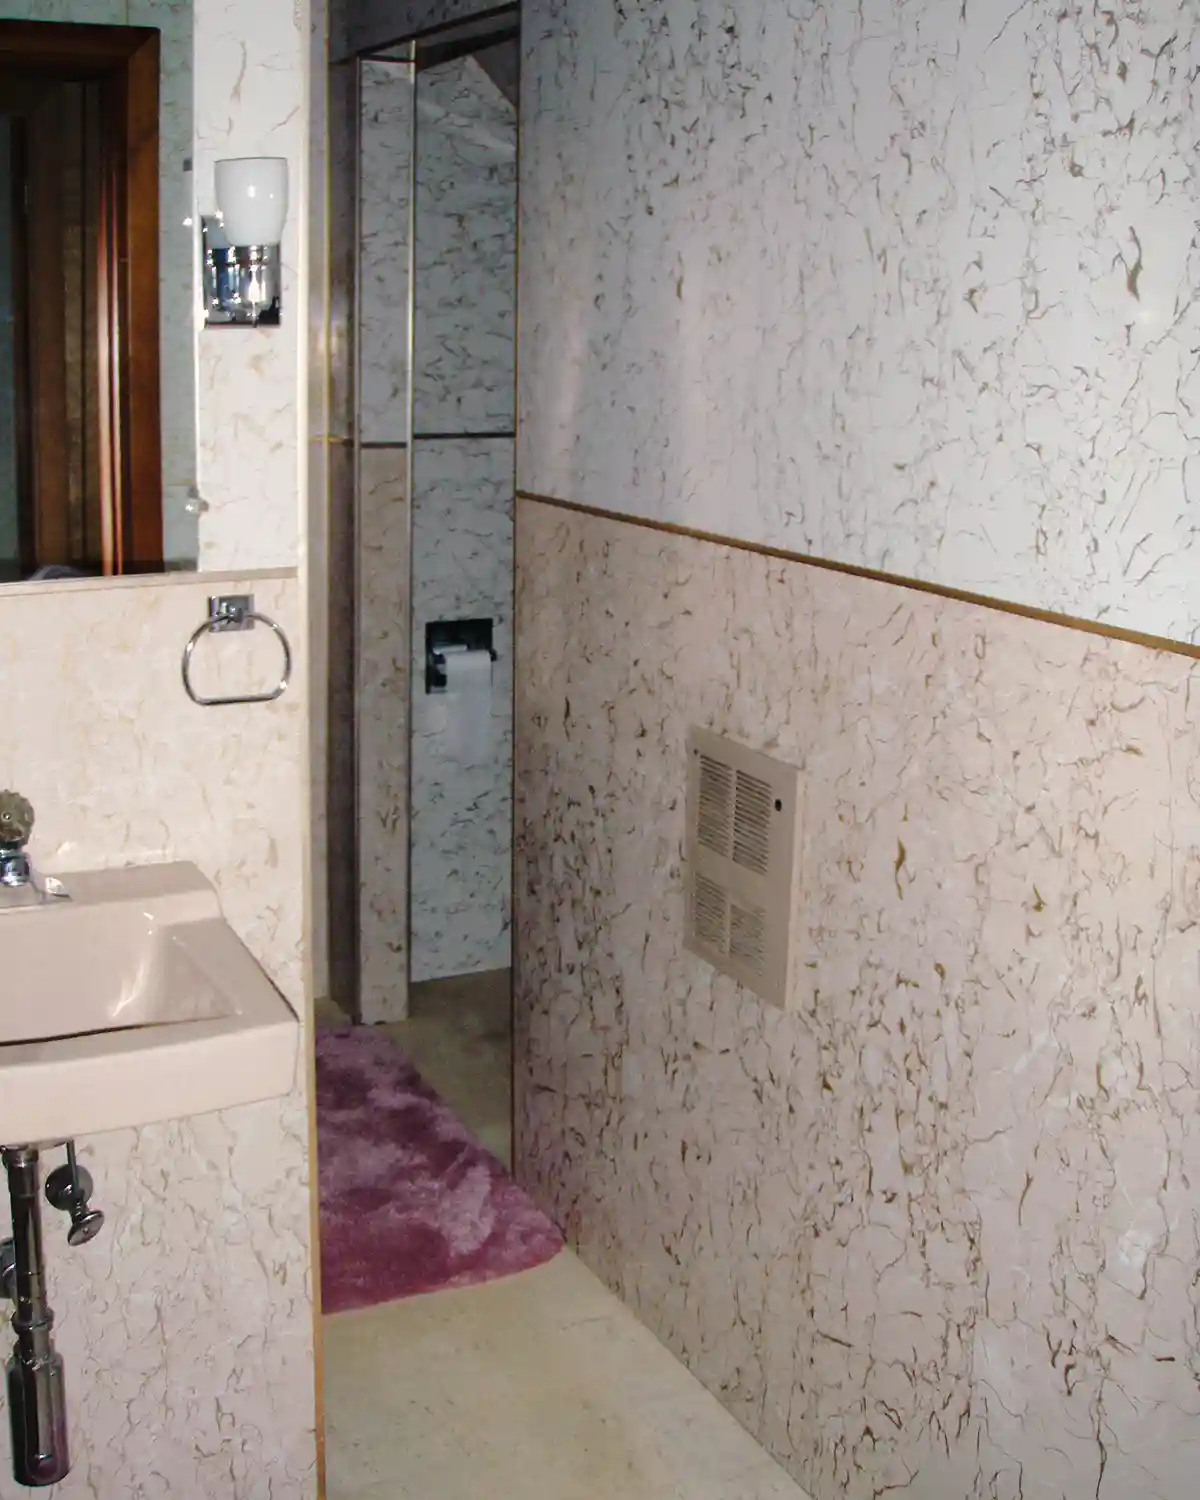
Full 1970s Bathroom Design Before A Renovation
The bathroom was incredibly small and cramped, in part because the neighboring closet jutted into the space. There’s not much room for storage, let alone moving around. The photo above is the best shot I could get of the bathroom in its entirety. I tried to include as much of the space as possible, but it wasn’t feasible given the layout and shape.
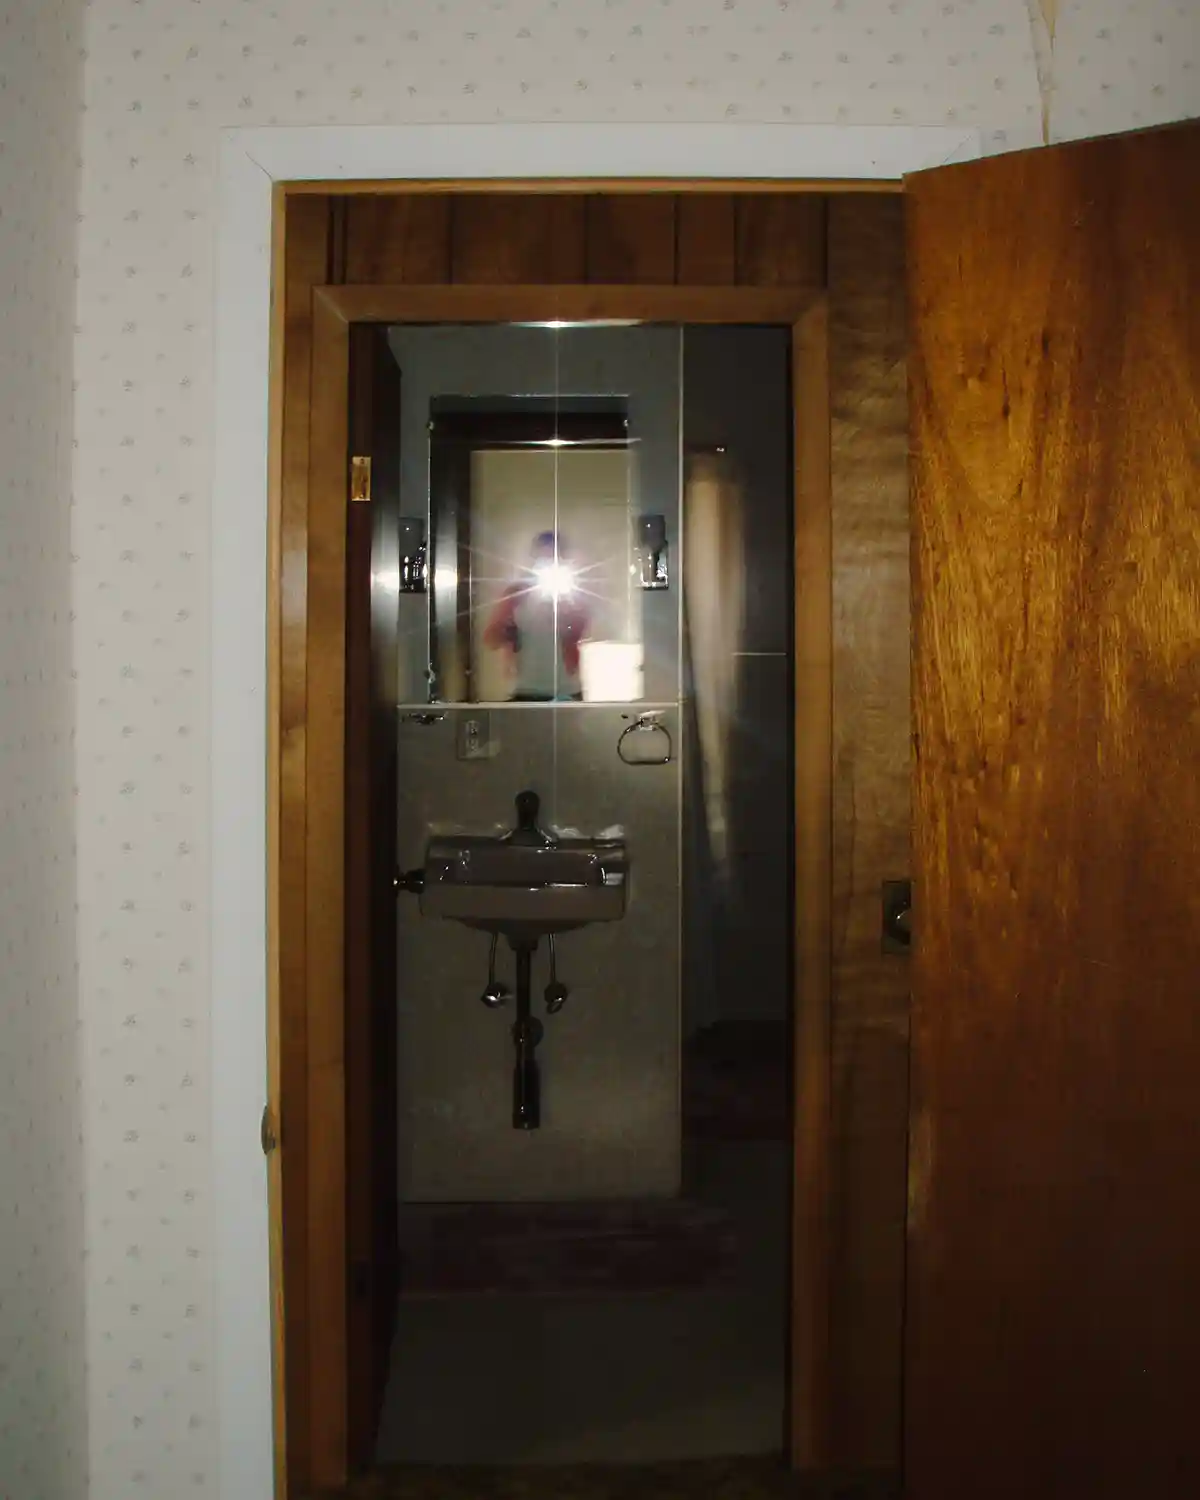
Here’s another view of the 70s bathroom. This shot is taken from inside the space that would become my craft room, looking across the hallway to the bathroom. The bathtub and shower are just on the other side of the sink, and the toilet nook is to the right.
The bathroom was dated and showed many signs of water damage. There were a few spots on the first-floor ceiling, just below the bathtub, that showed signs of water damage. The spots were dry when we purchased the home, but we still felt renovating the bathroom and ensuring the plumbing was solid and leak-free was a good place to start.
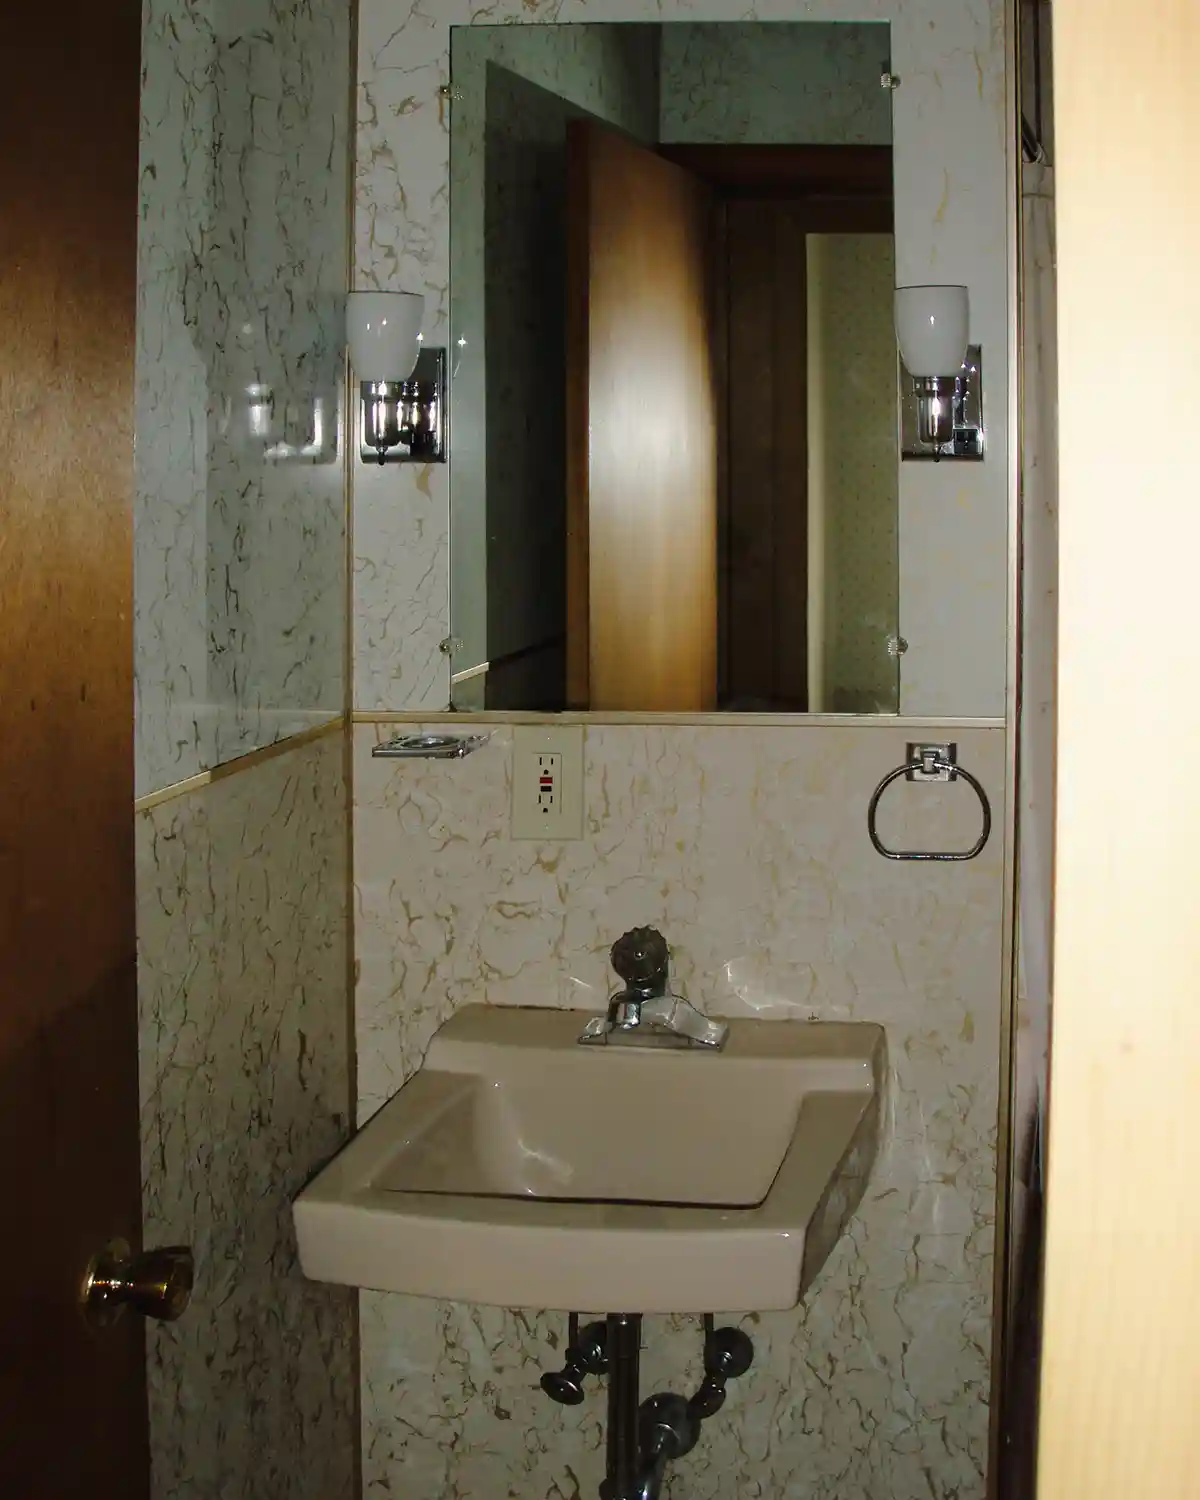
Vintage Sink And Light Fixture (Vanity Area)
While I didn’t mind the light fixtures, it would be nice to trade the wall-mounted sink for a bathroom vanity. Perhaps a mid-century modern one or something cottage-style to fit the decor vibe we chose for the home. But for sure, the new vanity needed a bit of counter space. This wasn’t the spacious bathroom for two that we hoped for, so we wanted to give ourselves as much space and functionality as possible.
70s Bathroom Pink Tub And Shower Area
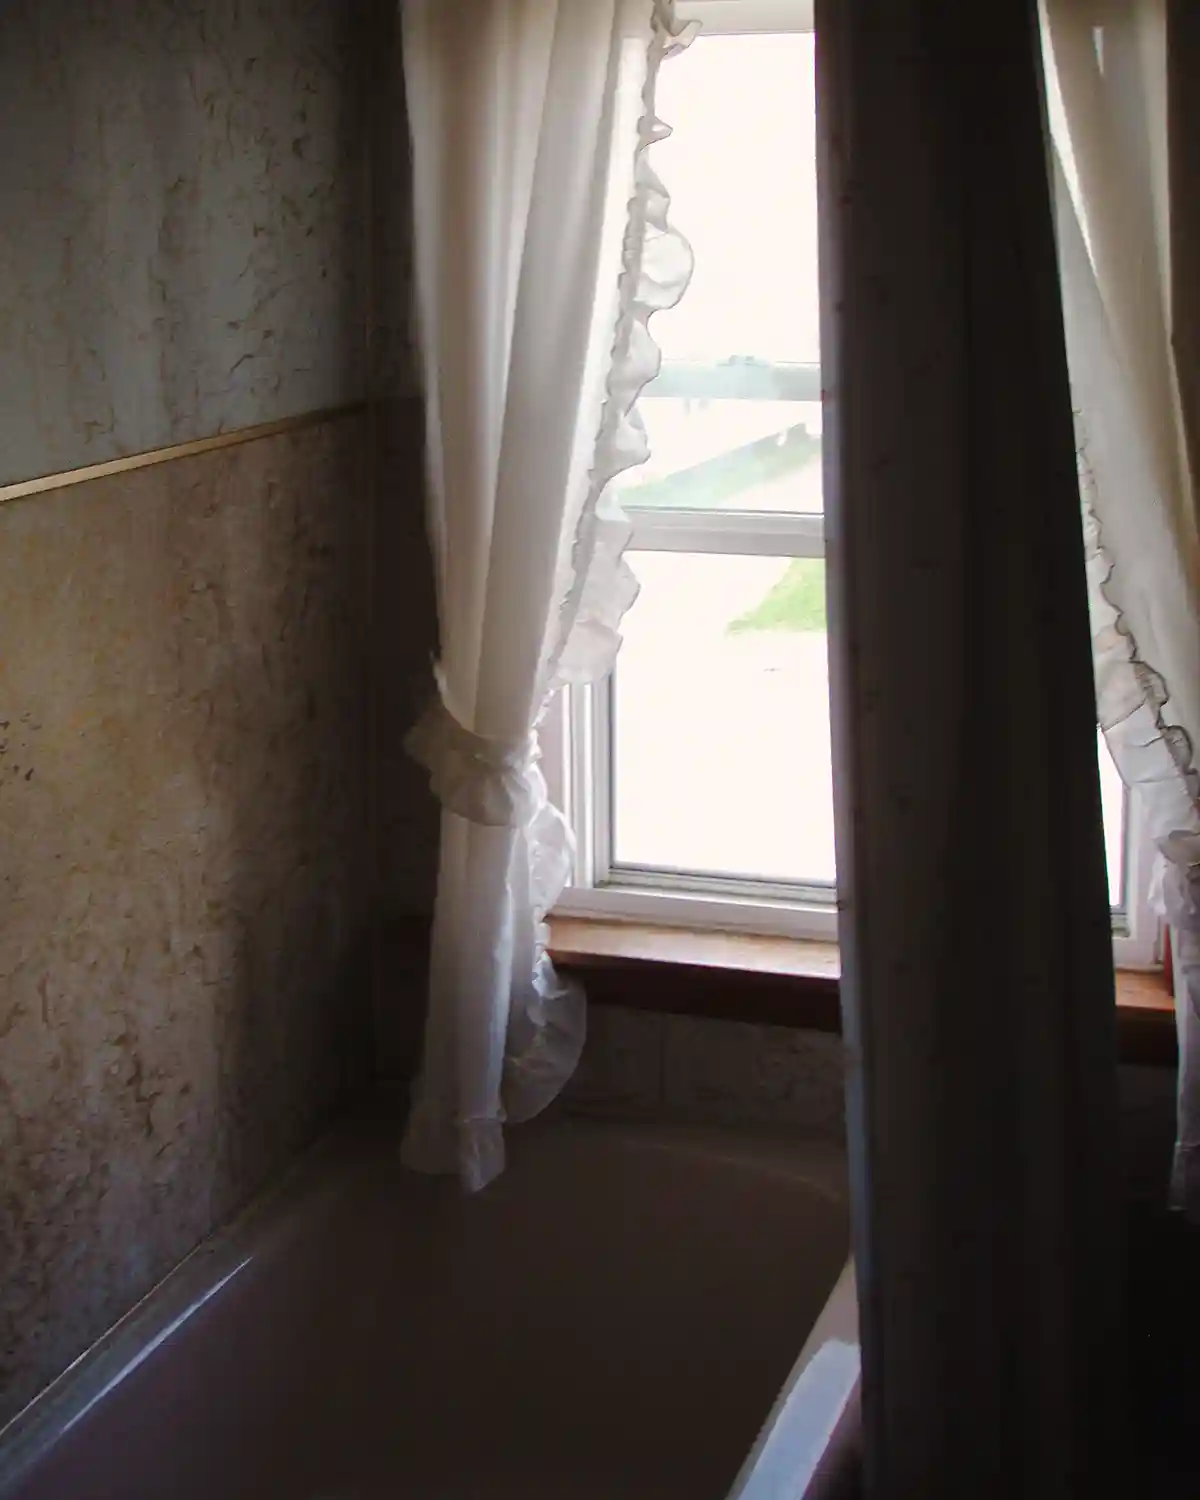
After going around the sink, you came to the bathtub. One of the biggest reasons to remodel this room so quickly is that I really didn’t want to shower in this bathtub. Between the mold and the flaking paneling, it was just not the relaxing, come stay awhile and take a bath, bathroom that I wanted for my first home. Plus, the shower head came out at my eyeball level, and I’m 5’9″. Colby is 6’5″, so I can’t even imagine how that would have gone!
Although I had a soft spot for the light pink tub in our original 70s bathroom. It was solid cast iron and vintage to the mid-century era when the room was renovated. Surprisingly, the tub was in decent shape. While it wasn’t my top color choice at the time, looking back, I have more appreciation for it than I did.

Here’s another view of the bathtub and the window that is partially in the bathtub. While I loved the natural light, I would prefer the light source to come from outside the shower.
Just on the other side of that wall is the neighboring guest room closet. It jutted into the bathroom a ways. After doing a little measuring and math, we learned that if we sacrificed the closet in our new bathroom design, we could move the tub over to be flush with the bathroom wall by the sink, and gain some extra space in the guest room. The bedroom would be closetless, which wasn’t ideal, but if we ever needed it as a kids’ bedroom or truly needed closet space, we could put a closet back in there. For now, shifting the tub away from the window sounded like a better idea.
Small 70s Toilet Nook
Just across from the bathtub, under the eaves, is the toilet nook. Let me pause for a moment while you pin this beauty to Pinterest for inspiration. I’ll wait.
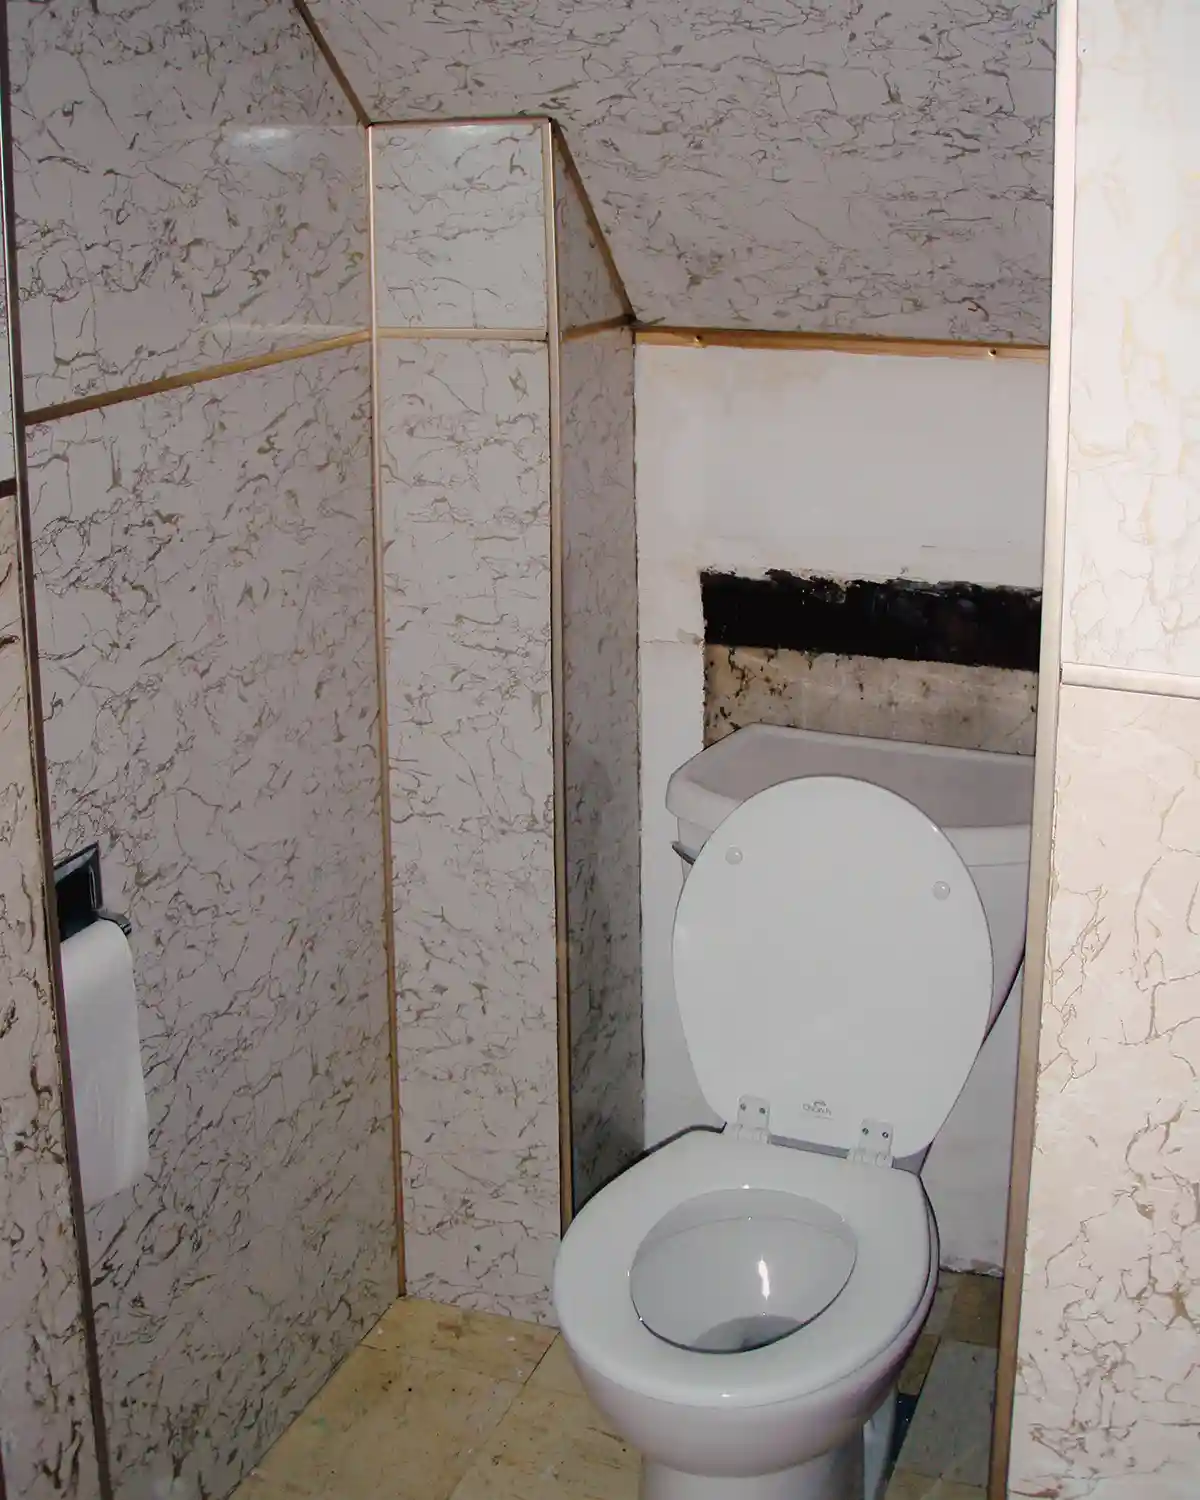
The nook needed some serious love, more than what the magic of paint could do. Like the tub area, the cased toilet cubby also showed signs of water damage. It had missing paneling, missing vinyl floor tiles, and even a decently sized hole in the floor to the framing below. The space was so unbelievably cramped. I had a hard time squeezing myself in there, so I couldn’t imagine how Colby would do.
Two things made the toilet nook extra cramped: the header and the storage cabinet. The built-in cabinetry, complete with ’70s wood paneling interior, was right beside the toilet. It was an awkward storage space, but in such a tiny bathroom, it needed something somewhere. So next to the toilet it went. At least if you ran out of toilet paper, you could grab an extra roll from the cabinet without having to get up! Look at me being all Suzy Sunshine!
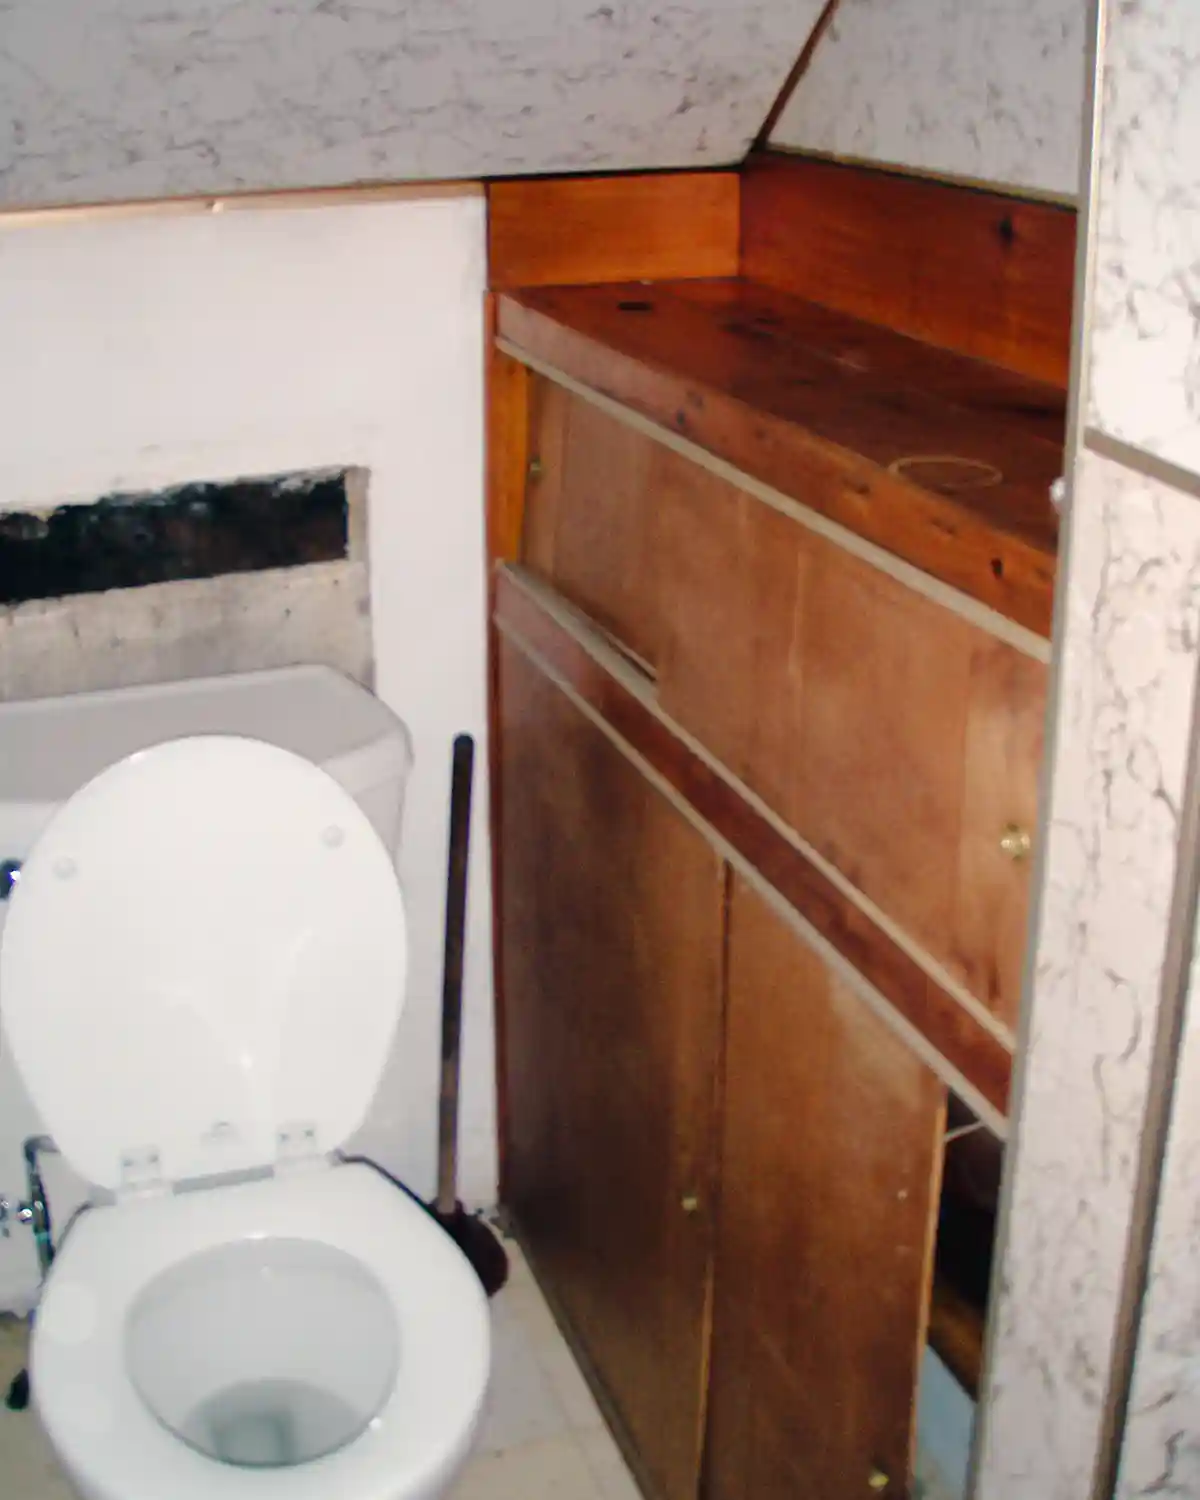
Basic Primary Bathroom Remodel Plans
On closing day, we brought over our first round of tools. Most importantly, a tape measure and graph paper so we could start drawing up plans and reconfigure the floor plan for a more functional design. If the goal was to renovate this bathroom as much as we could and make it usable for us upon move-in day, we had some serious work to do over the next four weeks. The very next day after closing on the house, most of this bathroom came out, and within a week, we installed new fixtures. But that’s another story for another day.
Today was all about the before details of our old bathroom in our first farmhouse fixer-upper in Maine. Stay tuned for the afters, including the bold countertop I immediately regretted and the tile option I also nixed, our makeshift linen closet (basically a glorified shelf), the coolest DIY mirror, turning a buffet into a vanity, and all the other project details coming soon! I’ll also explore how we tackled this project on a tight (aka low-cost, no marble shower floor or freestanding soaking tub for this bathroom) budget, and how we considered moving closer to family and made a paint color change after considering resale value. There was even a major magazine feature of our budget DIY project mixed in there! Spoiler: the magazine’s name rhymes with This Mold Mouse.
I have sweet memories of this bathroom makeover in our home renovation journey. It was where I learned how to tile and grout, installing white subway wall tile in the shower and classic hex tile on the floor, and gained so much confidence not only with renovating and complete remodels, but with flexing interior designer skills with bathroom decor, and color. And how to set aside what is trendy, chic, or what I “should” do, and let my creative ideas lead the way. I learned alot!
Of the four bathroom transformations I have worked on, this old one is still a favorite, from the bright white baseboards to the minty wall paint. I hope you check out the after tour. Did we finish before the 30-day move-in? Absolutely not, but we did make big progress, and five years later, when we moved out of the home, I missed this gorgeous bathroom (and my beloved Pottery Barn shower curtain) dearly.
