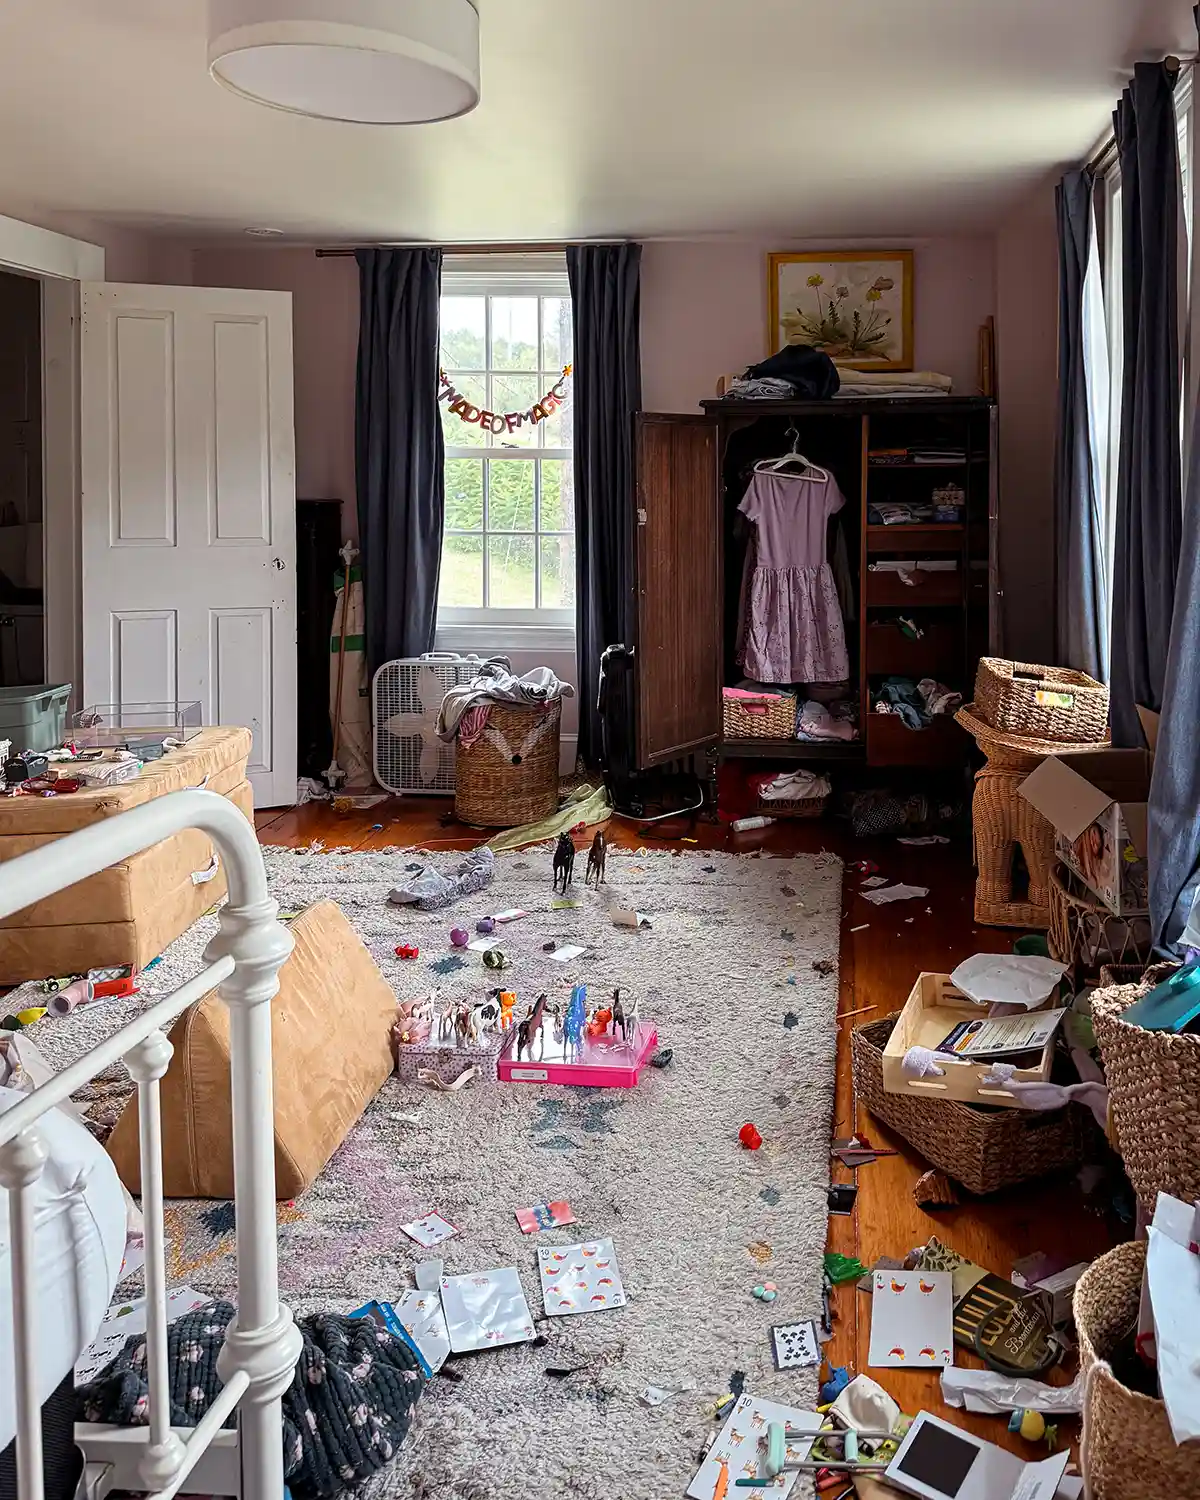
One of the challenges of having two growing girls share a bedroom is finding enough space for all their STUFF. Especially when said stuff includes an ever-expanding collection of dresses.
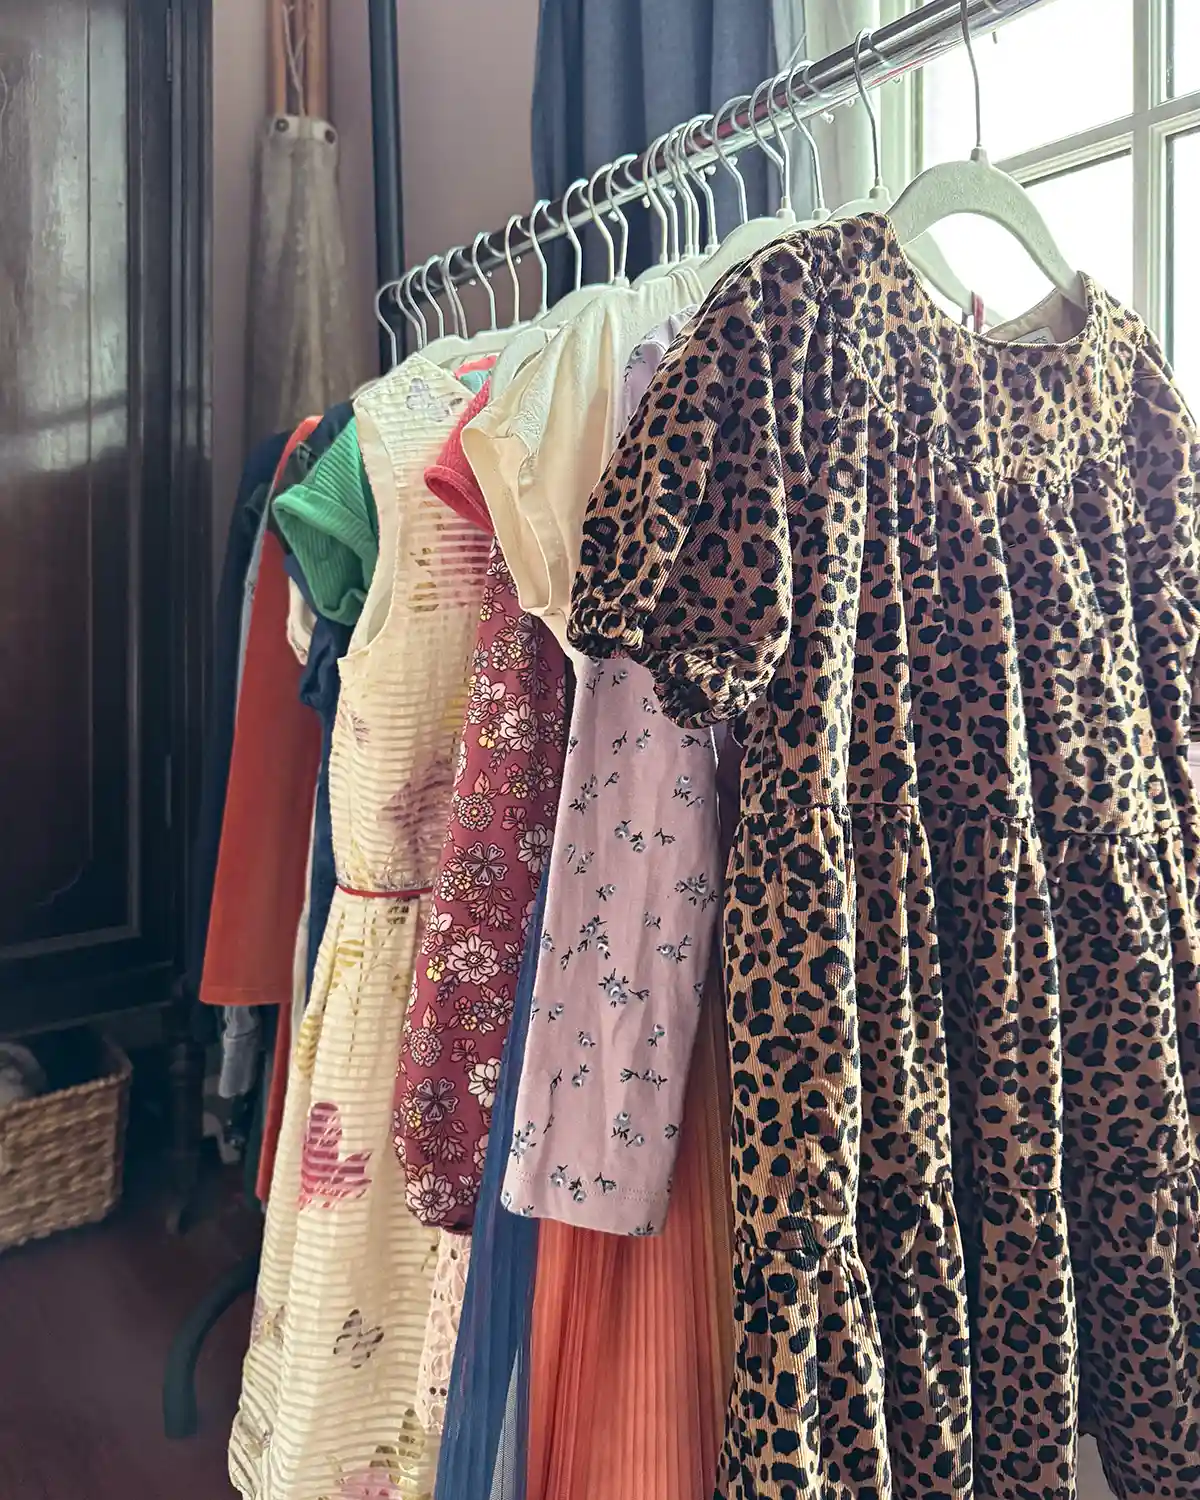
Our girls love dresses. They love wearing them, looking at them, and apparently, flipping through them on a hanging clothes rack like they’re shopping in a very tiny boutique. Which is adorable until you realize the bedroom has approximately zero extra square feet for a boutique. Unless we get rid of the beds…hmmm.
So when floor space is tight, sometimes you have to start looking up. Enter today’s DIY project: a simple DIY wooden clothes rack that hangs right on the wall.
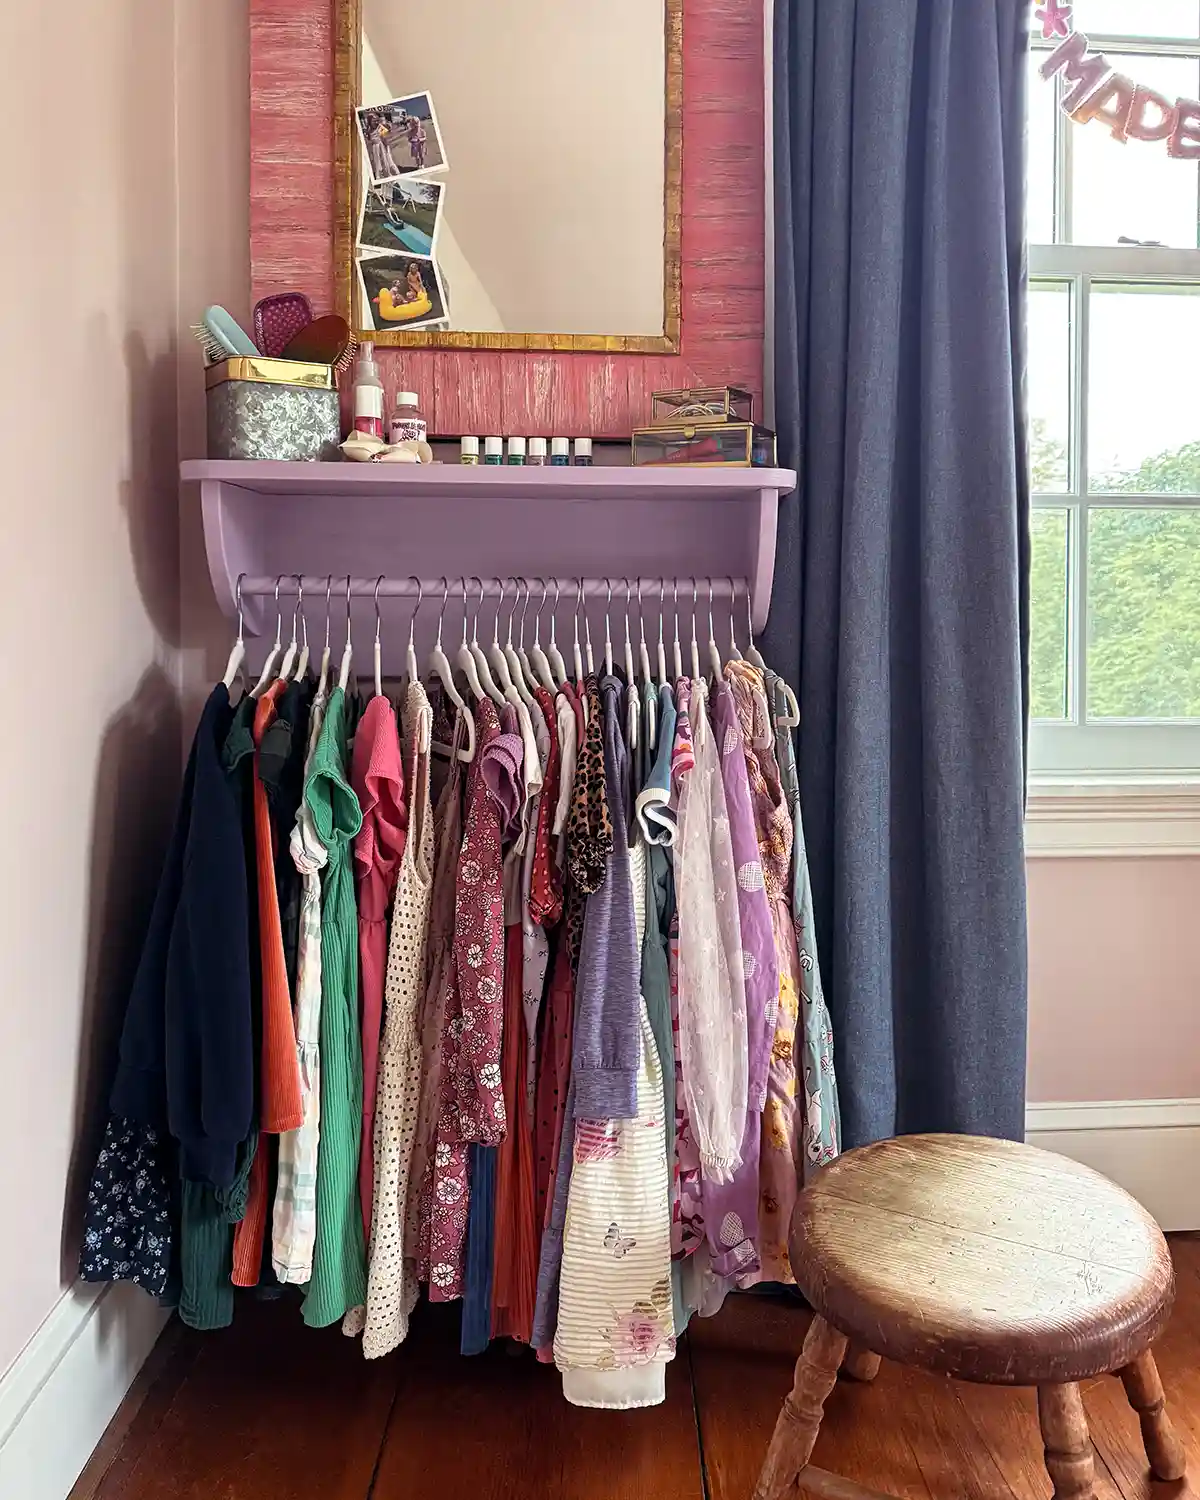
Our eldest daughter has a beautiful, vintage wardrobe (the basic furniture kind, not the magical Narnia kind) that somehow manages to hold her entire clothes collection. Our youngest, meanwhile, has a short dresser plus a couple of baskets tucked under her bed for out-of-season clothes. Absolutely zero closet space for her. This setup worked beautifully for a while. And then she hit preschool…
Her clothes got bigger, her collection got bigger, and somewhere along the way, she developed a full-blown love affair with dresses. Dresses are pretty much all she wants to wear these days, which makes me think perhaps we could downsize her T-shirts.
But I have lived with children long enough to know how this works. The moment I get rid of half her T-shirts, she will suddenly declare T-shirts as her favorite and the only acceptable clothing on Earth.
Instead of trying to squeeze more clothing storage into the furniture and what little closet space we already had, we decided to make better use of the wall space in their bedroom. There’s a particularly handy spot behind the bathroom door that’s easy to overlook, especially when the door is open. When the door is closed, a surprisingly large amount of potential hanging storage space is glaringly obvious, and it’s just the right size for our daughter’s dress collection. So that’s what we built: a wooden clothes rack that gives her dresses a proper home without stealing precious floor space.
In this step-by-step guide, I’ll show you how to build the wooden clothes hanging rack and hang it securely on the wall. This particular rack was sized for our kindergarteners’ size 5T/kids’ small dresses, but it’s easy to adjust for larger hangers, bigger kids, or even adult clothes.
Sometimes, the answer to “where are we going to put all these clothes?” is simple: THE WALL. Let’s build!
How To Build A Wooden Clothes Rack
If you do any woodworking, chances are you have most of the materials and tools on hand. We already had the supplies we needed for this easy project except for the dowel and paint, making this scrap wood project exceptionally budget-friendly. We used pine for this simple project since we had enough leftover from other projects, but another type of wood would be fine too.
Supplies
- 1″ x 10″ Pine Boards (actual size is 3/4″ x 9-1/4″)
- Pencil
- 7/8″ Wooden Dowel (Home Depot)
- Sanding Block (medium and fine grit) (Home Depot)
- GRK 2-1/2″ Trim Head Screws (Home Depot)
- Wood Filler (Home Depot)
- Paint (I prefer latex in a semi-gloss finish)
- Small Foam Paint Brush (Home Depot)
Tools
- Tape Measure (Home Depot)
- Square (Home Depot)
- Table Saw (Home Depot)
- Miter Saw (Home Depot)
- Jig Saw (Home Depot)
- Orbital Sander (optional) (Home Depot)
- Forstner Bits (Home Depot)
- Screwdriver Bits (Home Depot)
- Cordless Drill (Home Depot)
- Paint Can Opener (Home Depot)
- Paint Brush (Home Depot)
- Stud Finder (Home Depot)
- Small Torpedo Level (Home Depot)
Decide On Shelf Size
The first step is deciding what size to make your shelf. This is when a tape measure, some scrap wood, and the hangers you plan to use come in handy. When space is limited, especially when you’re tucking the shelf behind a door, dimensions matter. We played around with the depth, position of the hanging rod, and shelf width to maximize storage without impeding the bathroom door’s swing.
Ultimately, we decided on the following sizes:
- Shelf Length: 28″
- Shelf Depth: 9-1/4″
- Backer Board Height: 9-1/4″
- Bracket Height: 7-1/4″
- Bracket Depth: 7″
Cut The Backer Board
The first cut is the deepest easiest is always my motto, and the backer board is the easiest cut to make. Measure and mark your board length, using a square to keep things, well, square. Then cut the board using a miter saw. If the pine board you’re using is not the correct width, you may need to run it through a table saw.
Cut The Shelf Board
Repeat the step above for the shelf board. Measure, mark, cut (length and width; use a table saw if your board is too wide). But with this step, we’re going to round the corners.
Find something round; a spray paint can works great for this. Trace the curve onto your shelf board for the front two corners. If you want precise locations, measure and mark the edges of the board where the curve will hit. But if you’re less keen on perfection (raises hand), just eyeball it.
Cut the curves using a jigsaw.
Cut The Brackets
The brackets are essentially a square (or a wonky square where one length is a smidge longer than the other) piece of wood that sits inside the corner of the shelf and backer board. It’s slightly smaller than the other boards and curved. So first, measure and mark your pine boards at a size that will fit in the nook of the shelf boards but 2″ shorter. That way the bracket doesn’t come all the way to the edge of the shelf. Cut the square/rectangle.
Now cut the curve, which goes corner to corner. A larger round item helps for this step. Find something large enough (a larger paint can, coffee can, or mixing bowl would work. Trace the curve onto the board and cut with the jigsaw.
Cut The Dowel For A Hanging Rod
This step, cutting your dowel rod, requires math, and sometimes math is hard. You also need to know exactly where you want to position the shelf brackets. First, determine the shelf bracket spacing and measure the distance between the inside of each bracket. Then, add 3/4″ to that measurement, and that’s the length of the rod.
Why add 3/4″? A 1″ pine board is actually 3/4″ thick. We’ll inset the hanging rod into the brackets about halfway on each board, so that’s 3/4″ total that the dowel will extend into the wood.
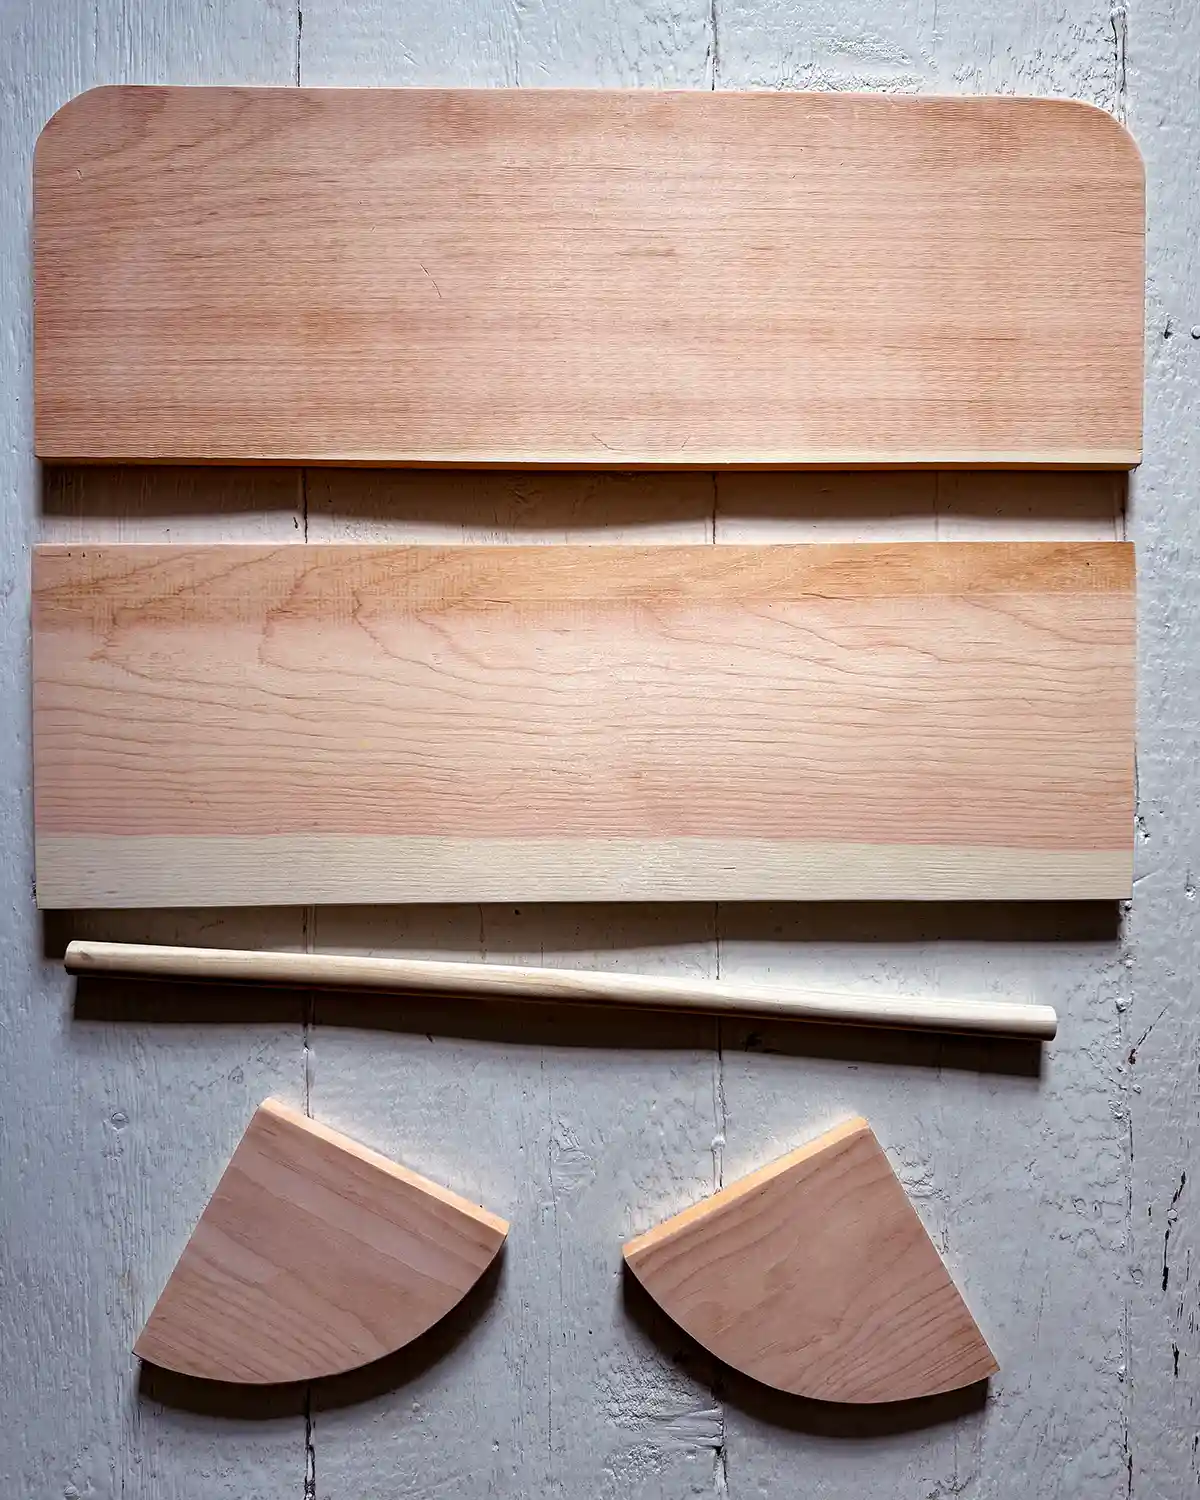
Here’s a visual of all the parts we just made.
Sand Everything
This is a great opportunity to sand everything smooth, especially the larger shelf boards, before assembling. Using an orbital sander and some fine-grit sandpaper (here’s a guide to sandpaper grits if you need it), give the boards a once-over. I also like to sand the edges and curves so everything has a softer edge to it.
Drill Holes For The Hanging Rod
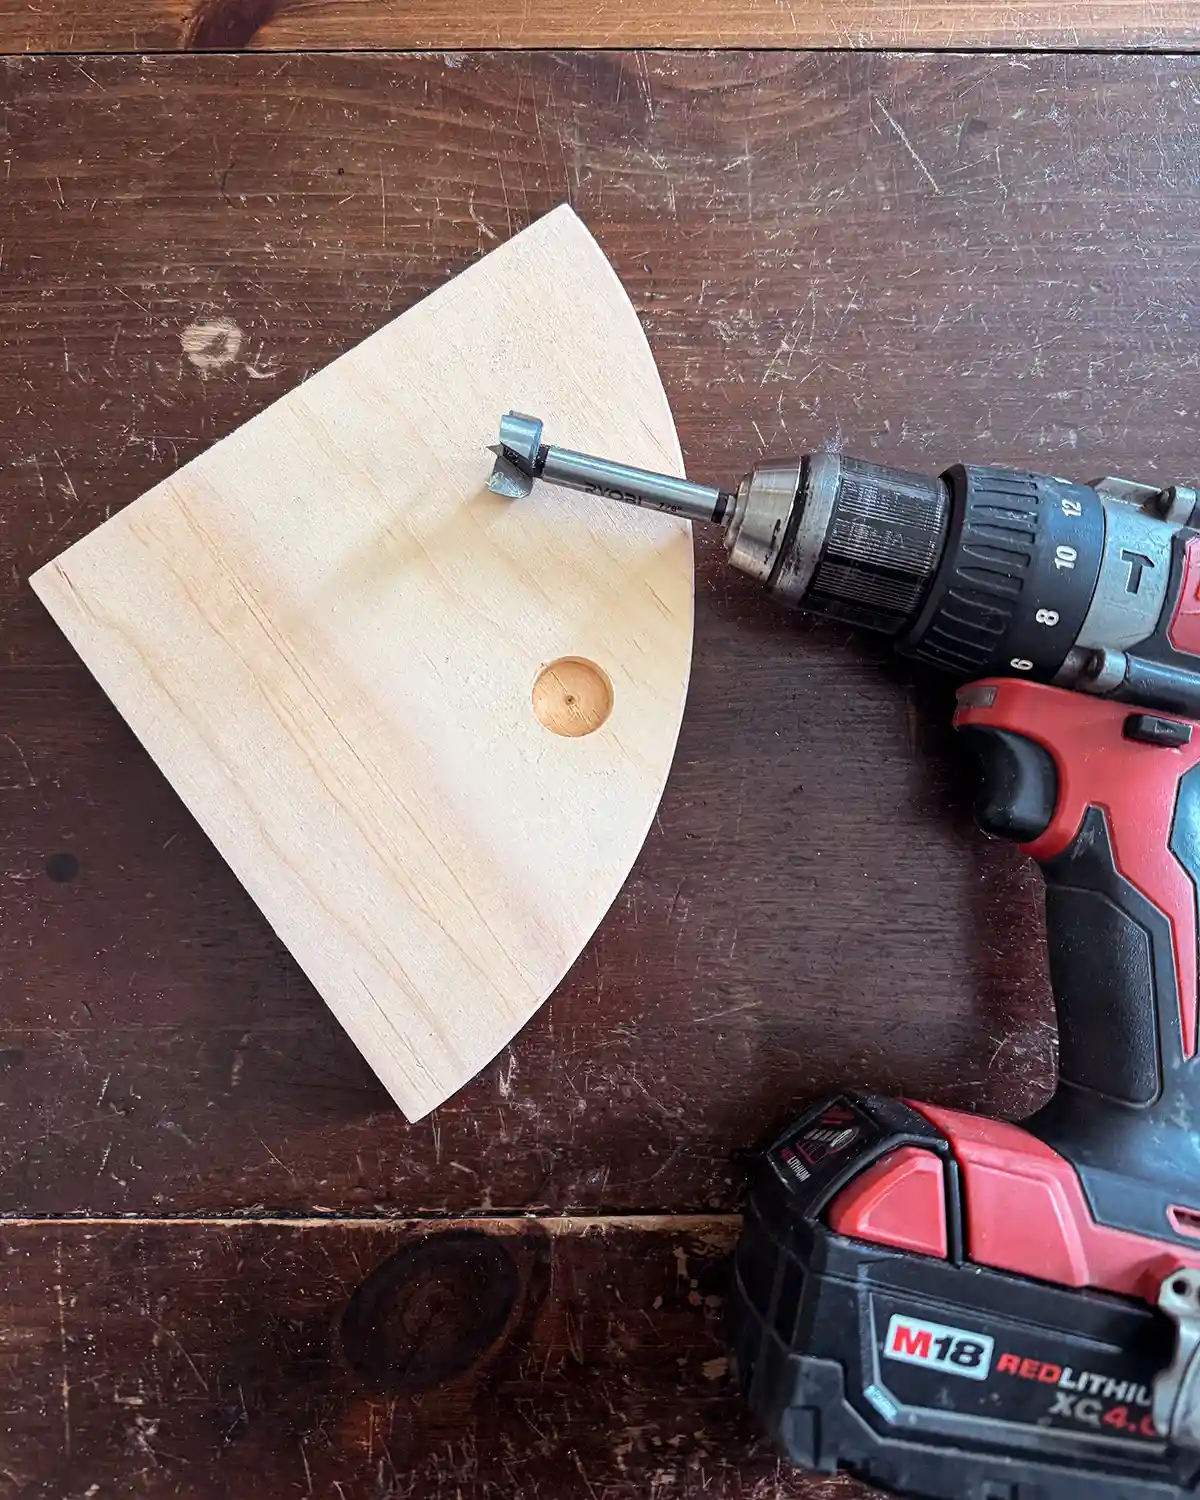
Next we’re going to drill the holes for the hanging rod. This was tricky for us at first because we didn’t know quite how to do it. We first thought of using a drill with a spade bit, but the point on the bit would end up going through the board. Then we thought of a hole saw with a drill bit, but that’s also meant to cut all the way through materials. After some research, I learned more about forstner bits and how they make flat-bottomed holes. They were the perfect solution, and thankfully I found a set with the size we needed at the home improvement store.
One word of advice with forstner bits. Technically, they are supposed to be used ONLY with a drill press because they require stability and precise depth control to create a clean, round, flat-bottomed hole. We used a regular cordless drill, which is a no-no. It was a bit challenging to maintain speed and get the right depth. But it can be done! It’s just not recommended.
First, choose the bit size for the hanging rod you’re using. The wooden dowel we purchased was 7/8″, so a 7/8″ forstner bit worked well.
Then measure and mark the position of the hanging rod on the brackets. We were working with a tight space and chose to optimize every inch we could. Thus, the location of the rod we chose is more towards the edge of the brackets and slightly down. This gave the hangers the most amount of space before hitting the wall. There was no way to keep the hangers from hitting the wall unless we made a deeper shelf that could have impeded the bathroom door opening.
When marking the location of the hanging rod, make sure each is a mirror image of the other. It helps if you position them on the backer board to get a visual of how it will look.
Once you have your spots, it’s time to drill. Using a cordless drill with a forstner bit attached, line up the pilot point with your mark, position the drill straight down, and drill halfway through the board. Before drilling the hole, we checked the height of the bit to the depth of the board and discovered that halfway through the board was about the height of the bit. That gave us a landmark to help decide when to stop.
One more word of advice: make sure you’re not doing this on your dining room table or other precious surface. Mistakes happen, bits go too far, and no one needs a 7/8″ hole cut into the top of their furniture.
Here’s the bit and the hole it cut.
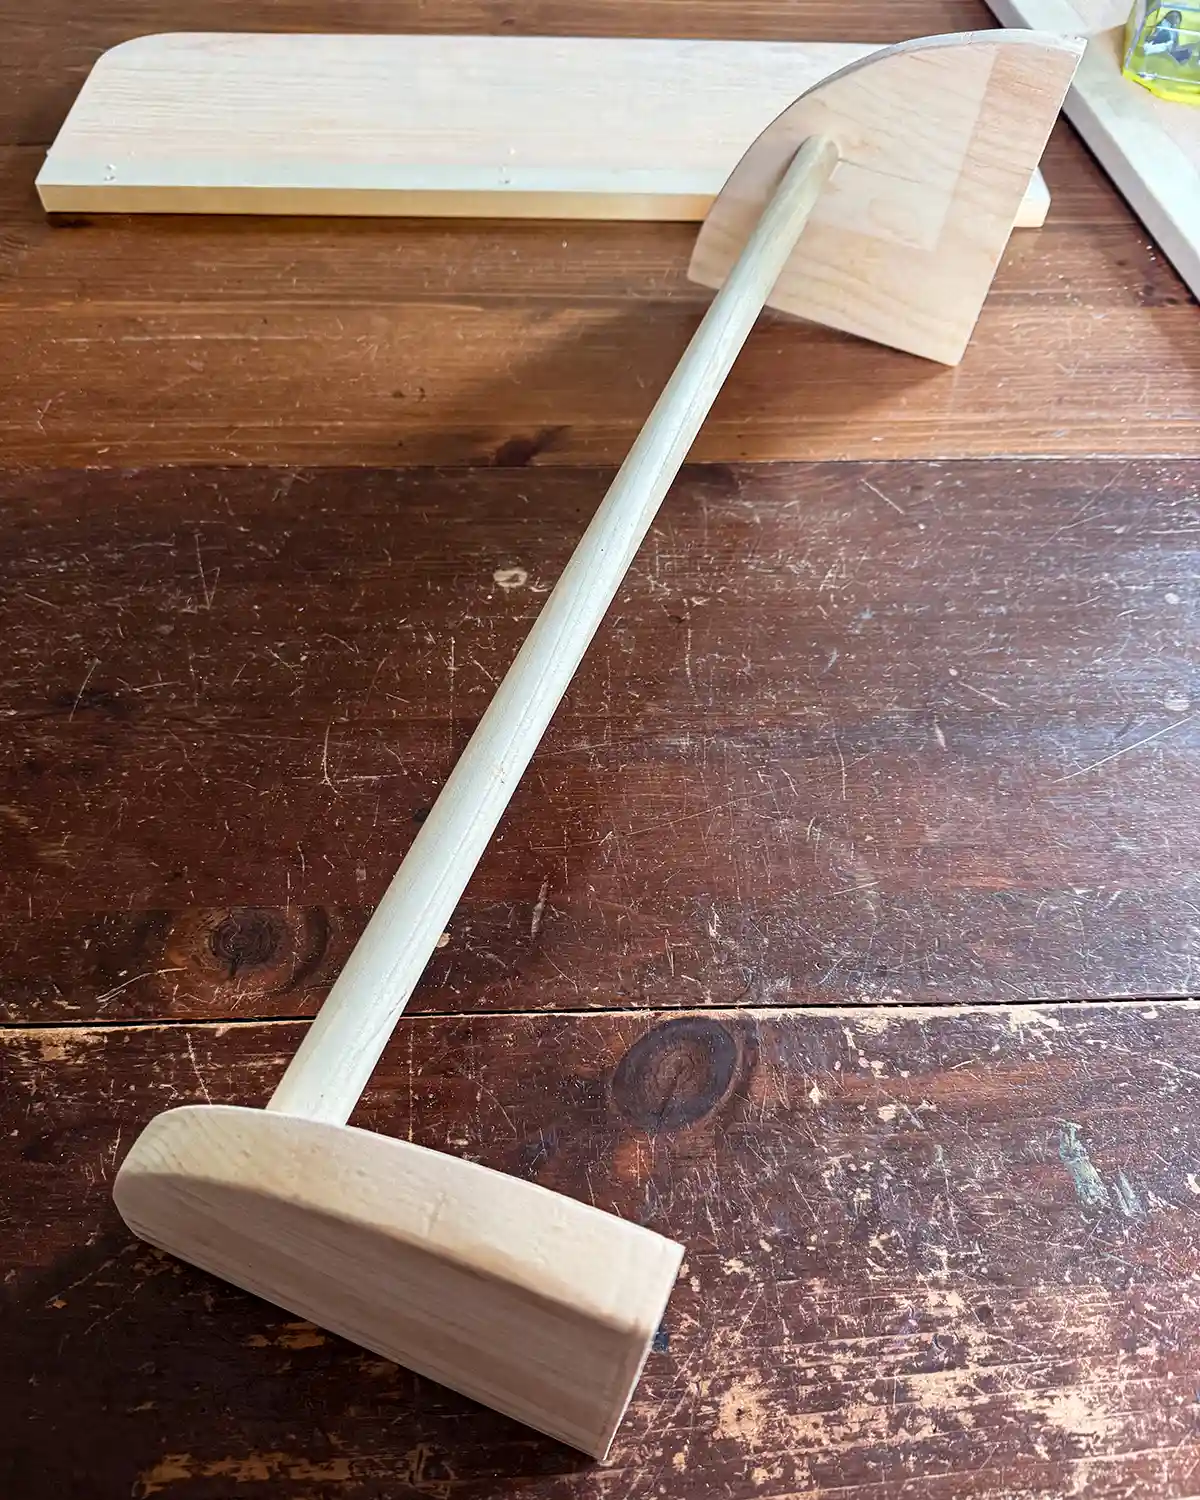
And here’s the hanging rod pushed into the newly drilled holes in the brackets.
Assemble The Shelf
At this point, the hanging rod is wedged into the shelf brackets, and it’s time to assemble the rest of the wood pieces. Take that bracket/rod combo and line it up on the backer board. The brackets are supposed to sit flush with the top edge of the backer board. Center the brackets on the board, like so.
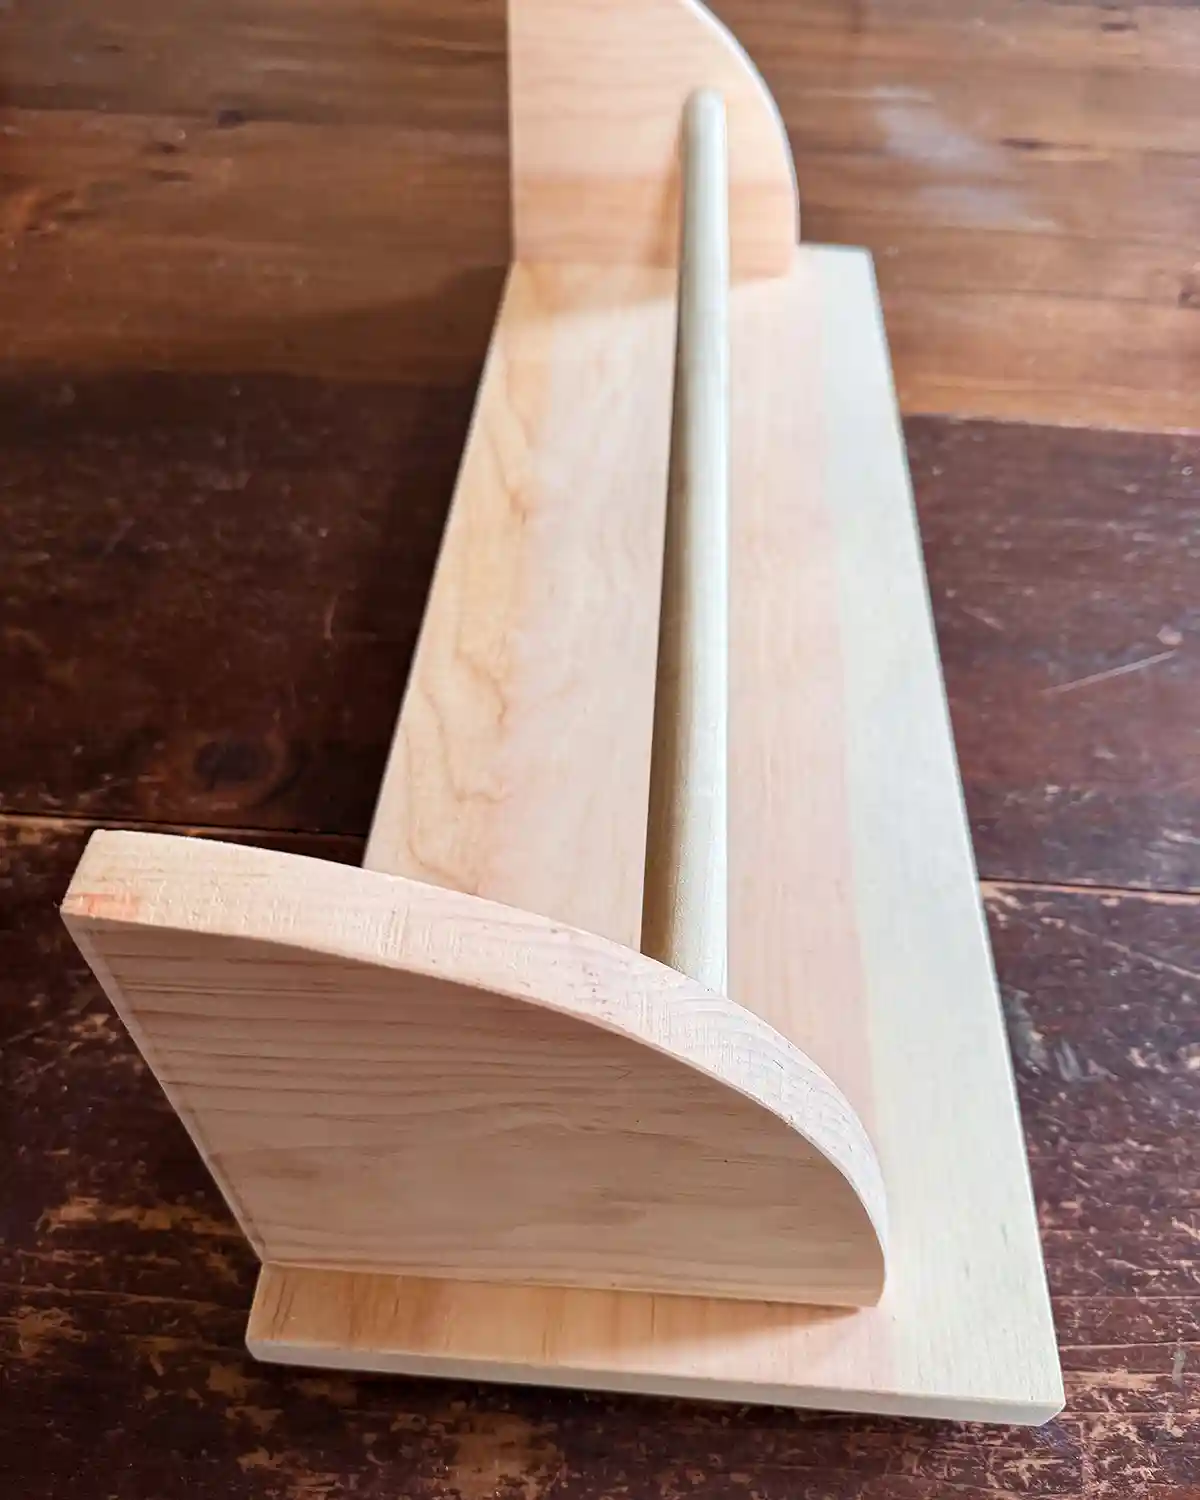
Screw the brackets to the backer board using the trim head screws. Make sure to pick a spot where the screws won’t go completely through the board. A couple of wood screws for each bracket piece is plenty.
A tip for assembling solo. Tip the board and brackets onto a table, like it was the shelf sitting upside down.
With the brackets attached securely to the backer board, next attach the top shelf. Line it up so the back edge of the shelf is flush with the backer board. Using the same trim head screws, screw one through the shelf and into the backer board, and a couple of screws into the shelf bracket. Like so.
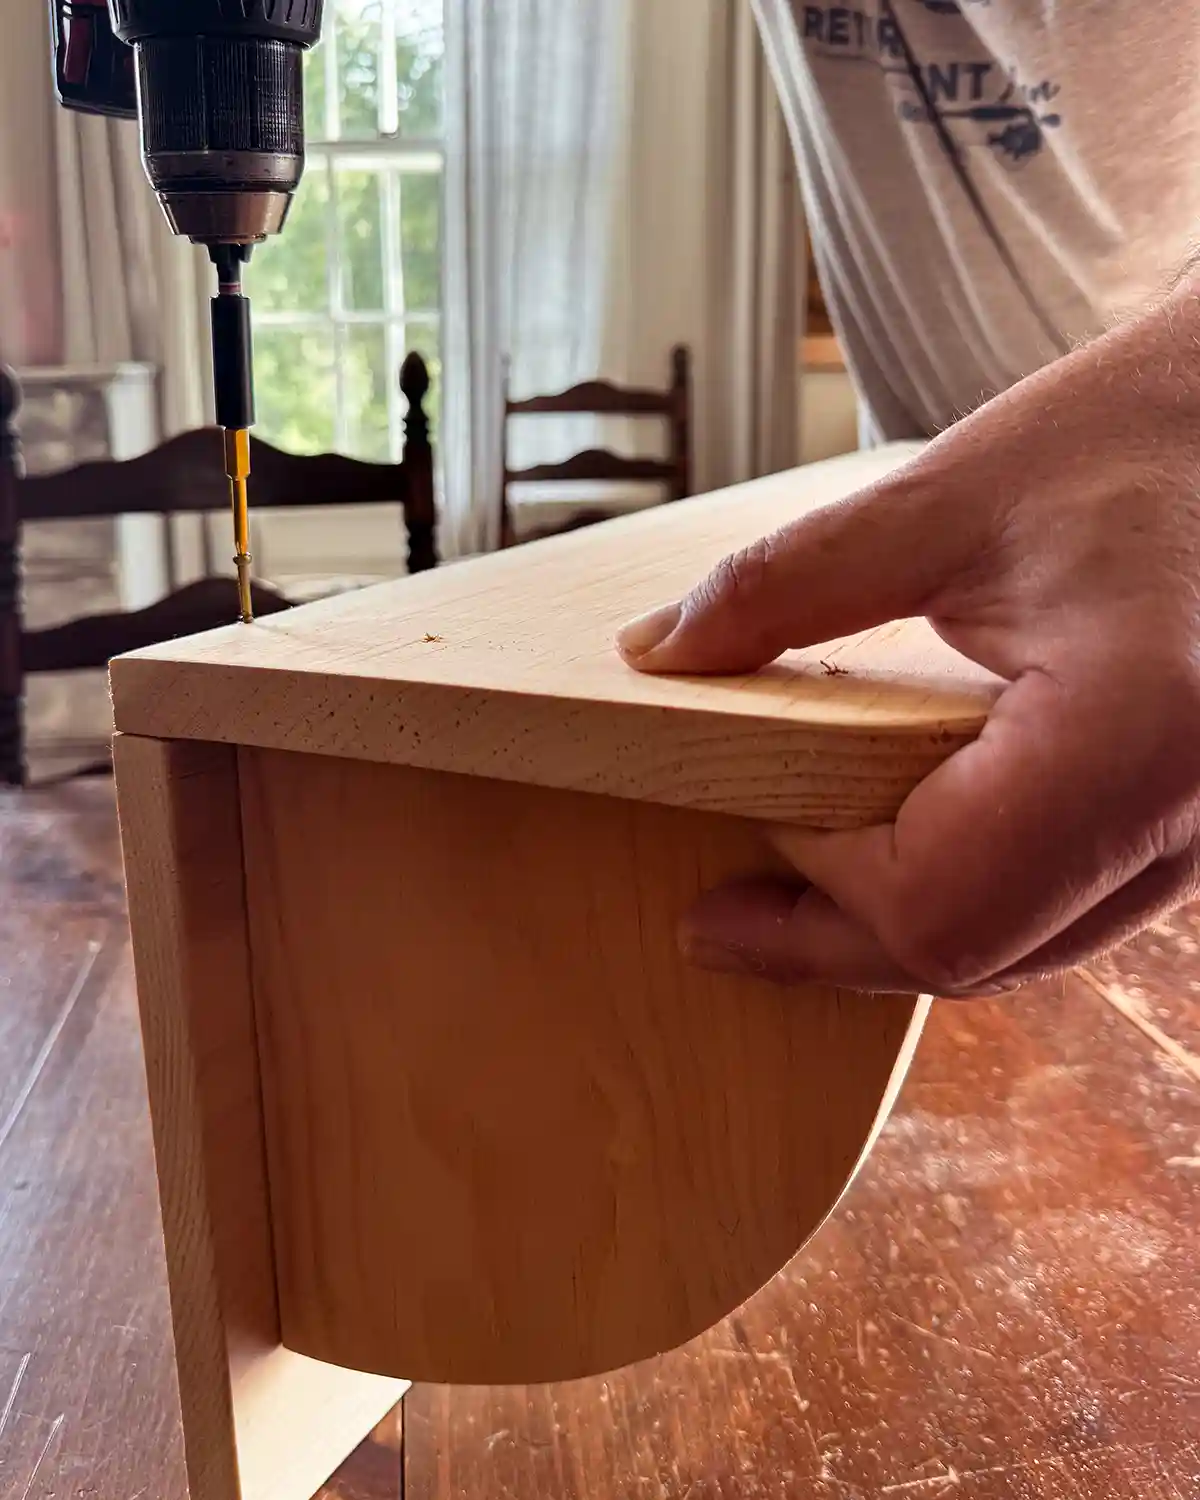
At this point, you shouldn’t see any gaps between boards. If you do, use one more screw to tighten things up so there are no gaps. Everything should sit flush together.
Patch The Holes With Wood Filler
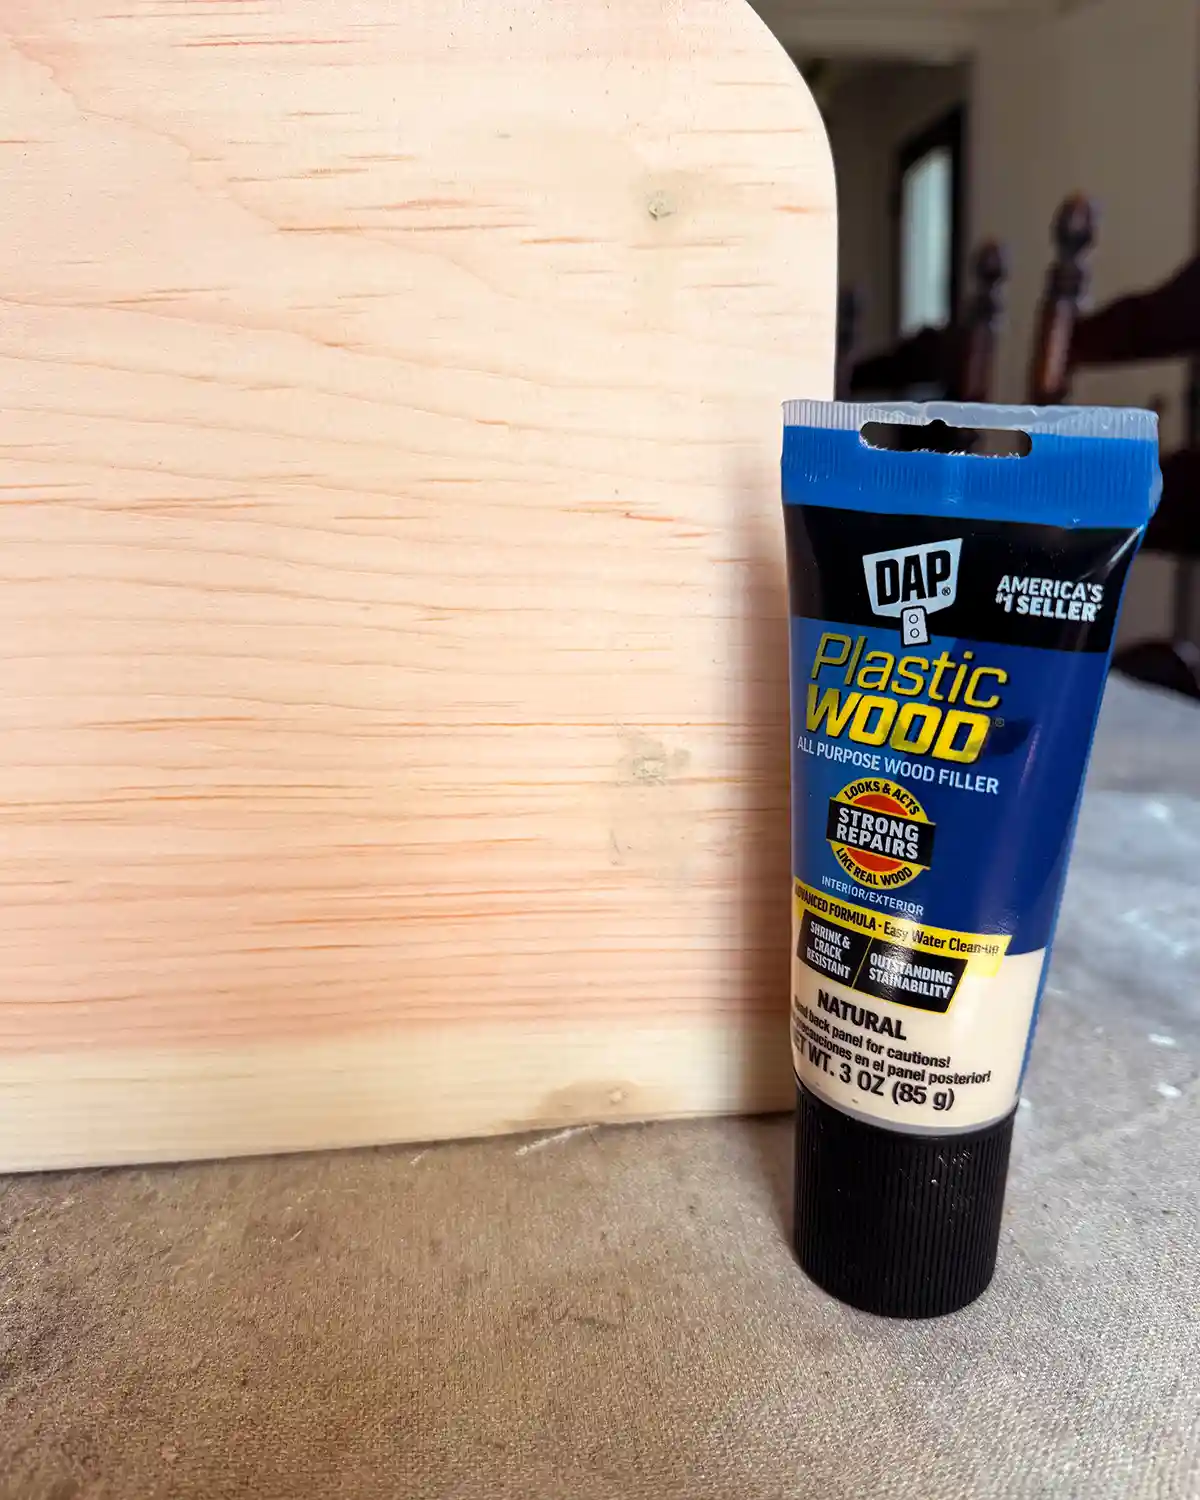
Once the shelf is assembled, it’s time to patch all the holes. Because of the way we assembled it, the only visible screw holes are on the top of the shelf. Use a basic wood filler to fill in the holes. Let the wood filler dry completely before using a fine-grit sandpaper sheet to smooth it down. If the patch isn’t filled, apply a little more before letting it dry and sanding again.
Paint The Shelf
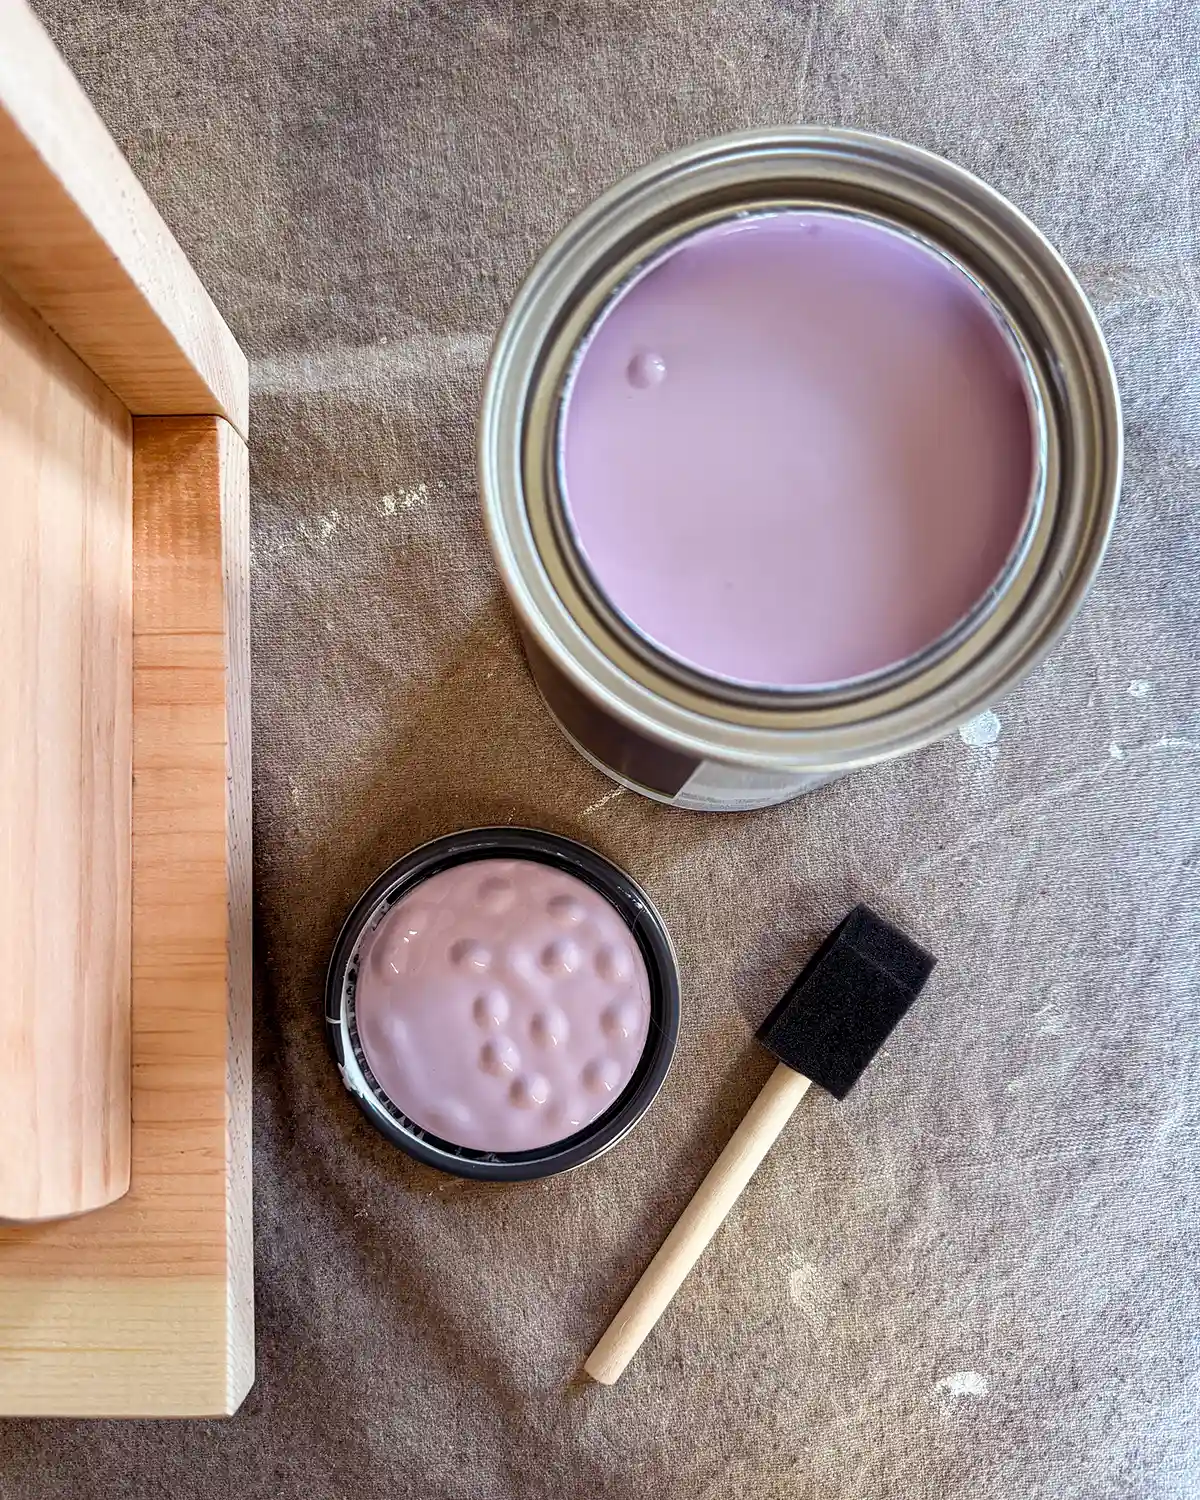
And now for my favorite part, painting the shelf. I’ve learned my lesson about choosing paint colors with the girls. Do NOT flat-out ask them what color they want to paint things. Give them choices. In this case, I pulled color options from their rainbow comforters. I asked my youngest, “What color do you want your dress rack? Yellow, purple, or blue?” to which she replied, “purple.” Then out came my trusty paint deck, and I picked a couple of warmer purples that look good with their pink walls. I gave her two options, and she chose her favorite. It took us five minutes, tops, which is a record! Plus, not only does my kid love the color, but I also find it aesthetically pleasing. Hashtag winning!
With shelf painting, I would highly recommend a cabinet-grade paint. Benjamin Moore’s Advance line is my favorite. It dries hard and is incredibly durable. The one caveat is that you have to wait 16 hours between coats of paint, and it has a 30-day cure time, which is essential to ensure a durable finish. I knew we (myself and the kids) don’t have that kind of patience and opted to use Benjamin Moore’s Regal Select line instead in a semi-gloss finish. This was one of those “good enough” choices. It also saved us some money because Advance is $$$.
One tip for painting anything cylindrical, like the hanging rod on this shelf. Use a small foam brush and lightly dip it in the paint. It gets better coverage than a paintbrush with bristles. In true lazy fashion, I chose to paint the entire shelf with the foam brush. I just didn’t feel like rummaging around in the basement to find my favorite brush. It worked, although slightly slower.
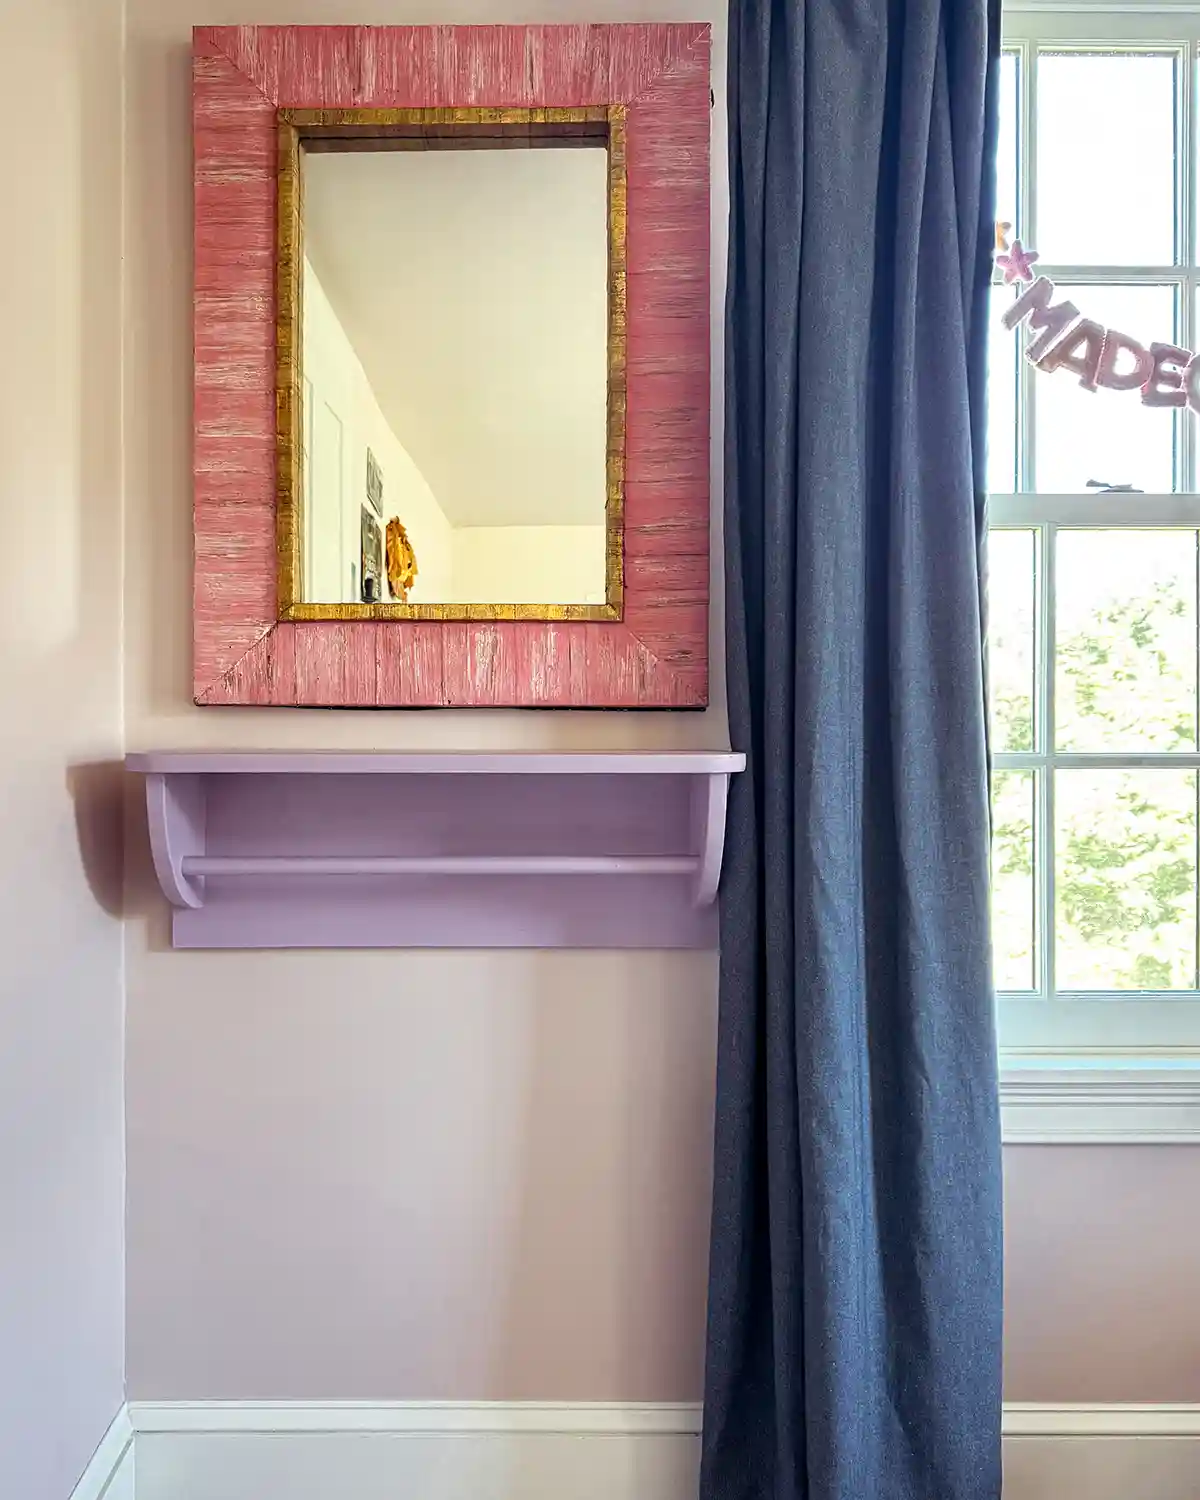
Apply two coats of paint to the shelf and rod, allowing the paint to dry fully between coats. For our shelf, we chose the color Purple Easter Egg by Benjamin Moore.
Let the shelf dry completely before hanging it on the wall.
Paint Alternative: Staining The Shelf
Another option would be to stain the wooden furniture piece and apply polyurethane. If this is your preferred method, follow the same steps above for filling the holes and sanding, but make sure the wood filler you choose is stainable. Then stain, let dry, and apply at least two coats of poly for a solid finish. Whether to stain or paint is up to you and your preferences.
How To Hang The DIY Clothes Rack On The Wall
Now that the shelf is dry, it’s time to hang it. Using a tape measure, level, and a pencil, measure and mark the exact position for the shelf. Find the studs in the wall (use a stud finder or the vintage knocking method), and mark those locations too.
The plan here is to attach the shelf directly to the wall by screwing through the shelf and into the studs of the wall, securely anchoring the wall rack. It’s helpful to mark the exact locations for the screws on the shelf backer board. You’ll want to attach the shelf to at least two studs and two trim head screws per stud.
Once you have your locations, with the shelf sitting on the floor, start pre-attaching one screw per stud. Be sure not to screw very far. You’re just placing the screws so it’s one less thing to hold while attaching the clothes rack to the wall.
Then lift the shelf to the wall, place the level on top of the shelf to ensure levelness, and screw the first screw into the stud. Adjust the shelf as needed for levelness and then screw the second screw into the other stud. These first screws will be up higher on the backer board, closest to the shelf board.
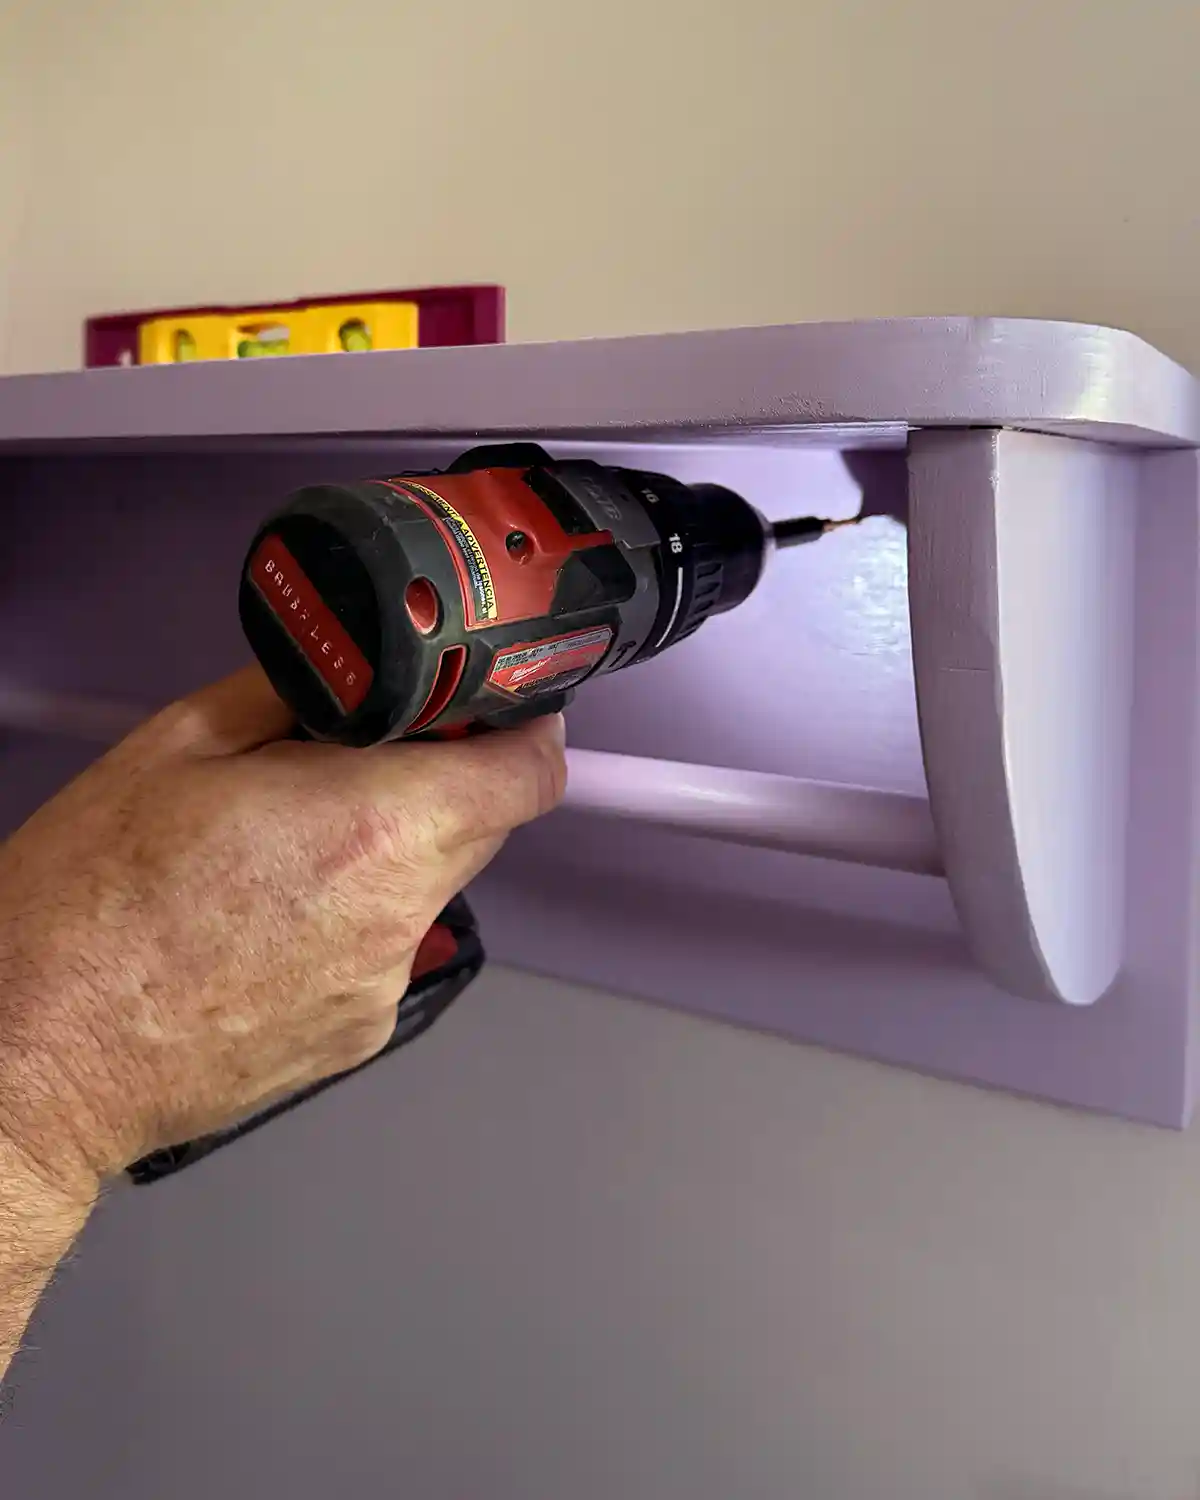
After the first couple of screws are attached, screw in a couple more down below to ensure the shelf is safe and secure on the wall. Here’s a visual for the screws attached to our shelf. Weirdly, we found three studs all close together in this section of the wall. Note the erratic spacing of the studs. Old houses are weird.
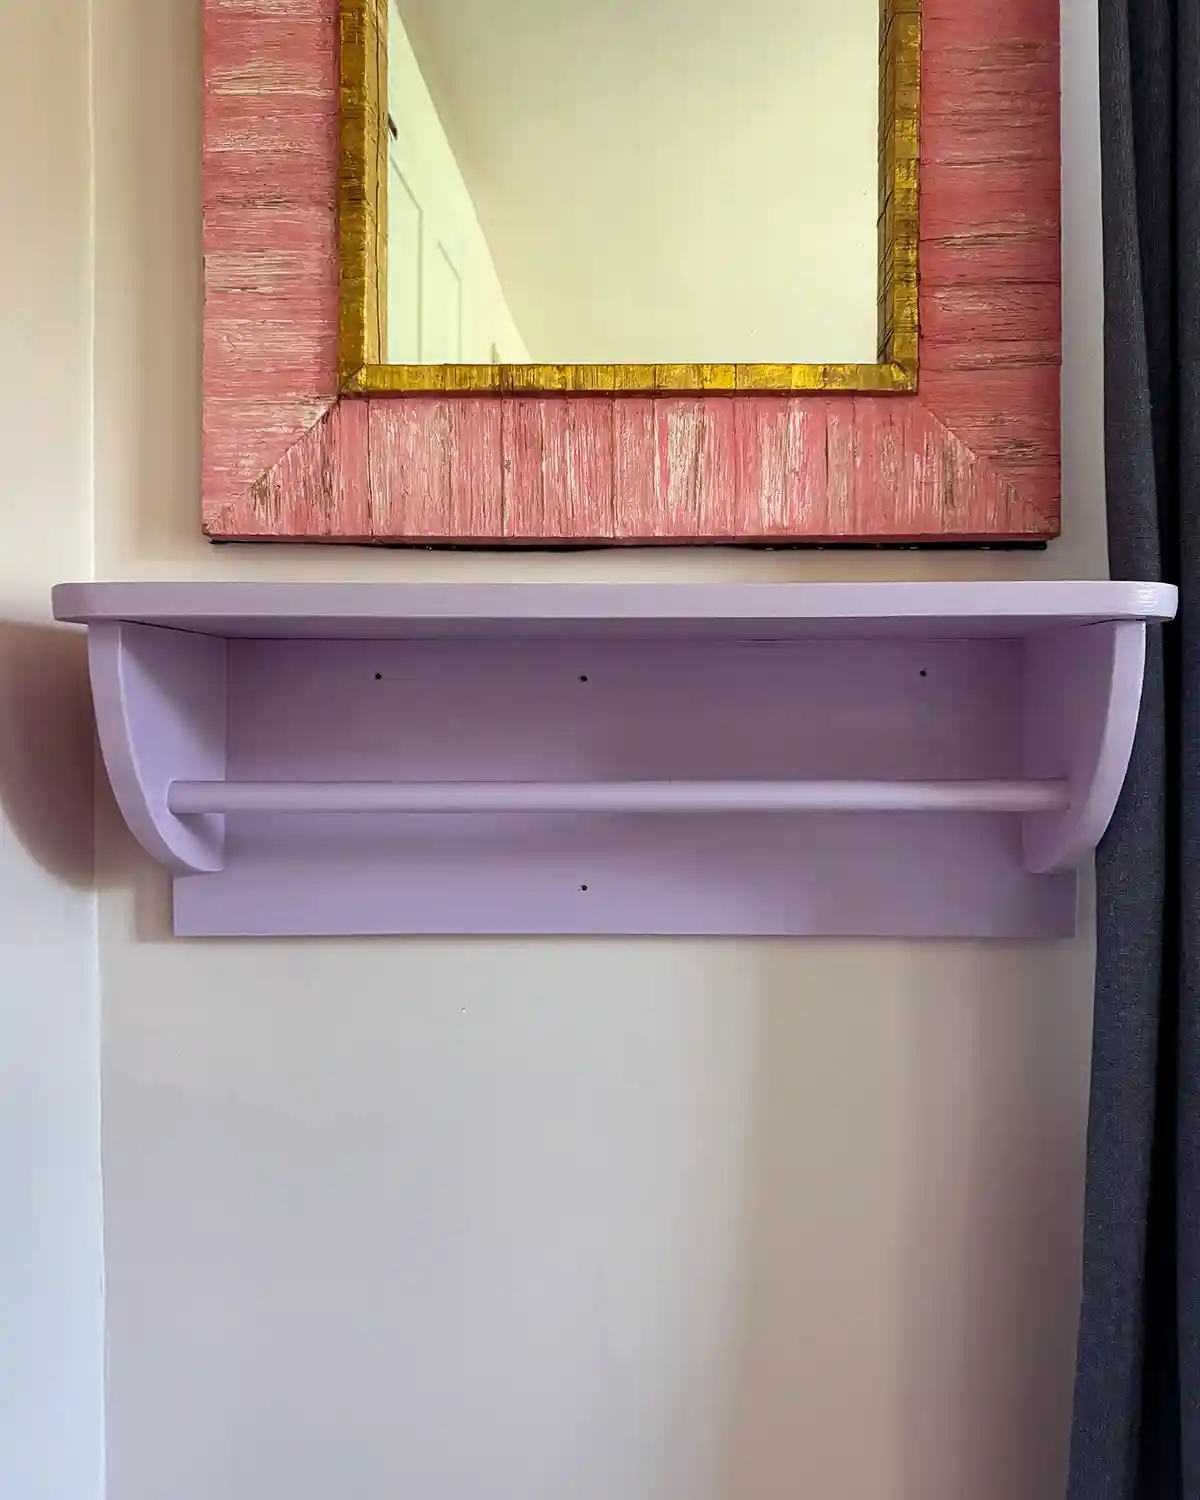
If you don’t have enough studs for the shelf, a combination of wall anchors and screws may help. But try your best to secure the fixture to wood studs if you can. The shelf is heavy once installed and organized. If you only use drywall anchors, it may not hold.
Next, fill the screw holes with wood filler, let it dry, sand it smooth with fine-grit sandpaper, and then touch up the paint. And done!
Style The Wall-Mounted Clothes Rack And Shelf
And finally, the last step: setting up the dress rack and the shelf on top. This is the part where my kids started to hang clothes and dresses while the paint was still wet (see…I told you a one-month cure time for paint wasn’t going to fly).
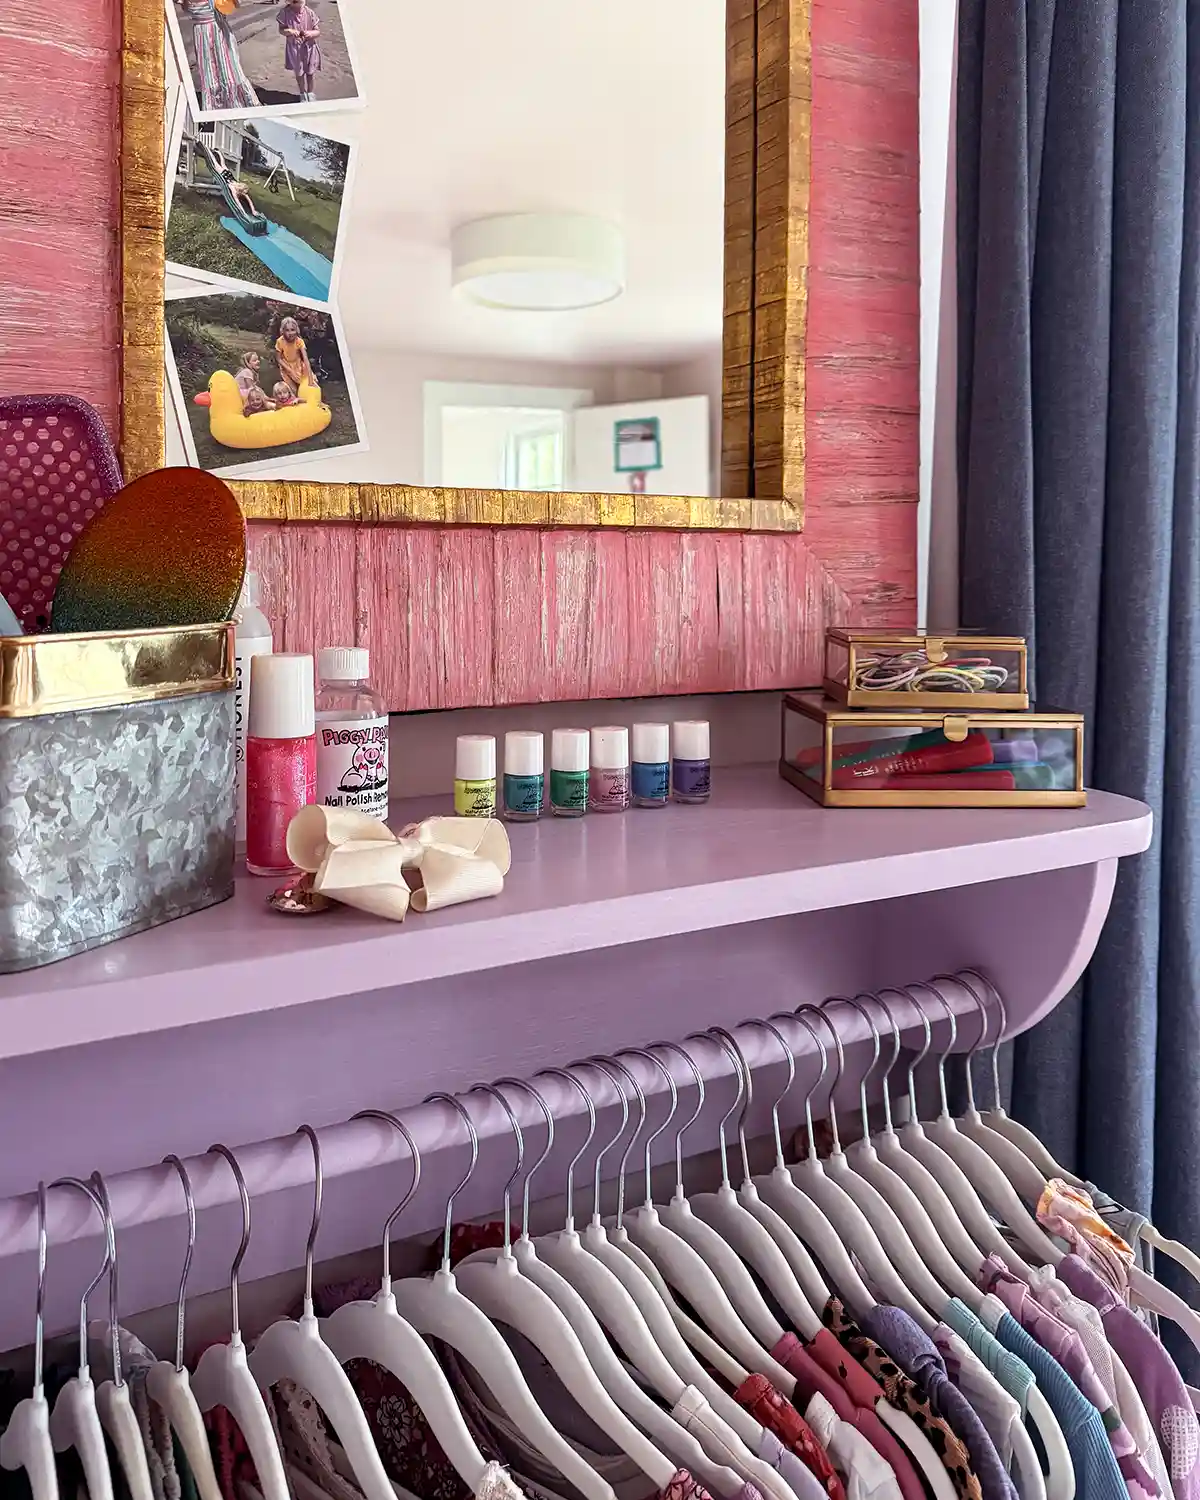
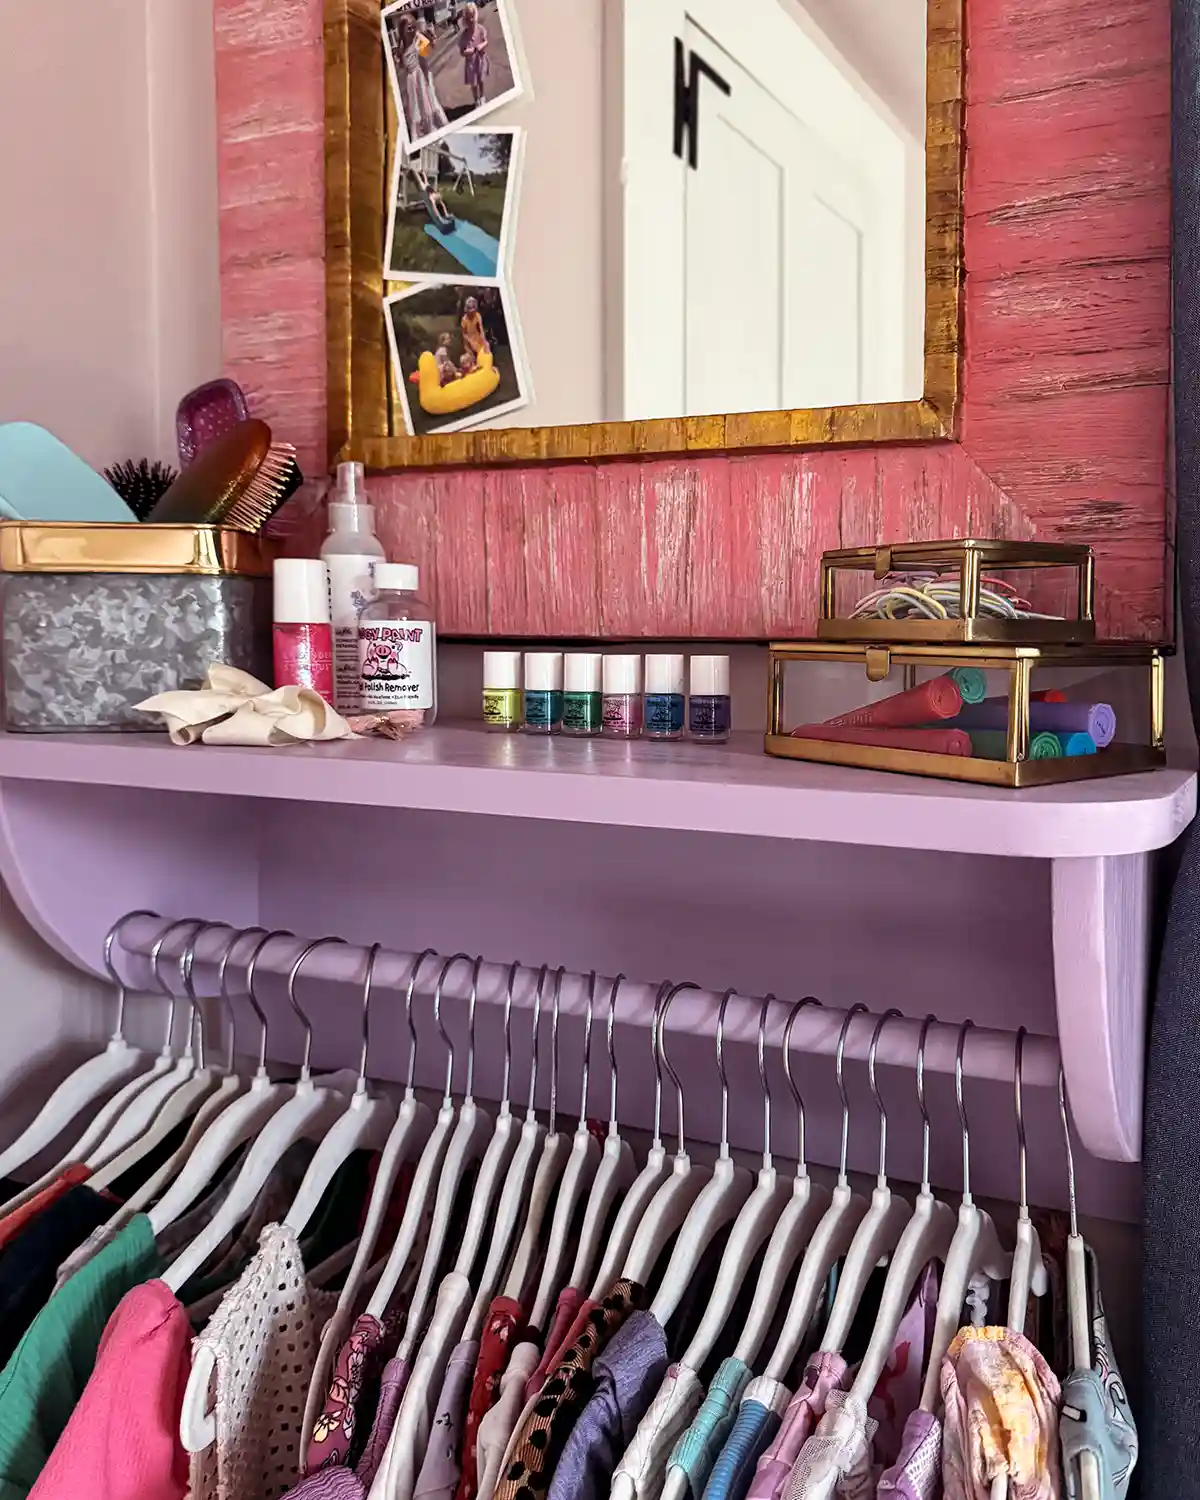
The whole point of building a DIY wall mounted clothing rack with a shelf in the girls’ room wasn’t just to give all those dresses a proper home. I also wanted the shelf for the things that somehow never have a home of their own. Things like hair brushes, combs, nail polish, hair accessories, hair crayons (necessary personal care items of the fashionable five-year-olds), and approximately 47 tiny things that disappear the second you actually need them.
We hung a mirror above the shelf too, so the girls can admire their outfit choices, hair accessories, and hair chalk color selection before heading out into the world. It’s just a smidge too high for our youngest at the moment, but her dresses are already almost skimming the floor, so we’re calling that a problem for Future Bea.
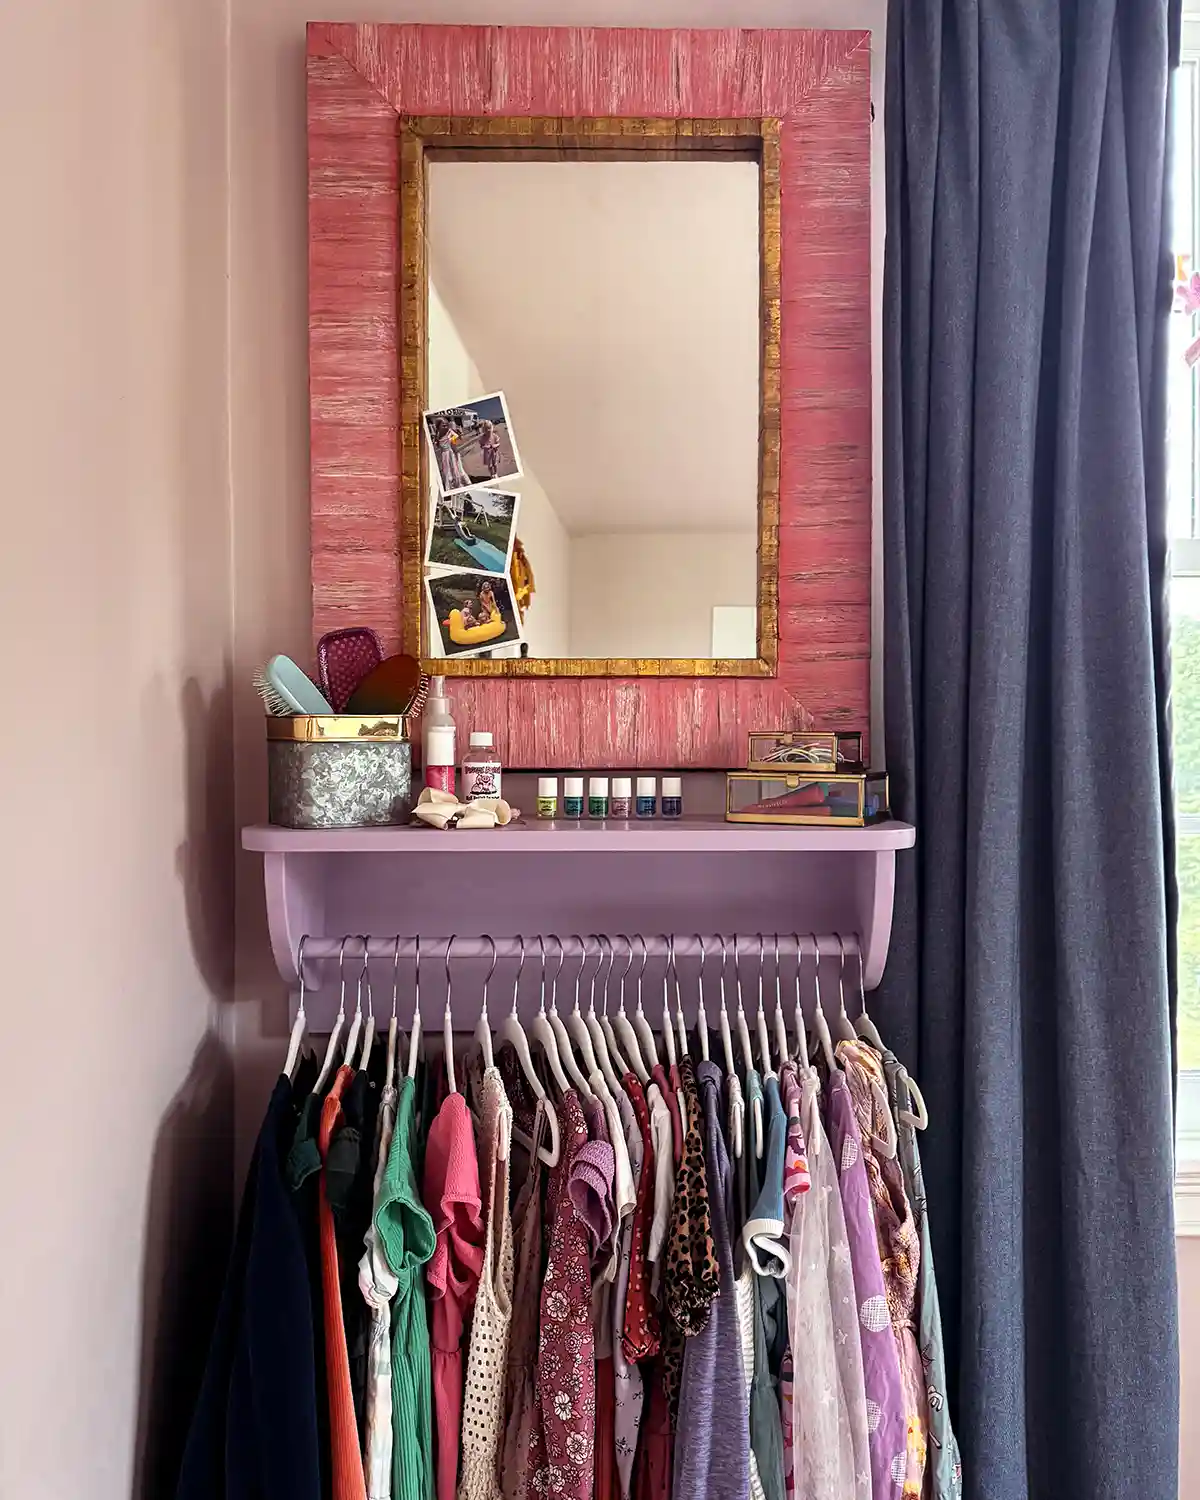
For styling the wood clothing rack, I kept things pretty simple. Dresses are on the hanging rod, hair accessories and brushes tucked onto the shelf, and plenty a bit of breathing room to expand if we need but also ensuring the girls can actually see what they have. And according to Bea, she needs more dresses.
The girls are excited about their new dress rack and shelf. It’s been particularly adorable watching Bea, our now five-year-old, thumb through the dresses each morning and carefully select her frock of the day. Except “the day” apparently requires several outfit changes. There’s the morning dress, the afternoon dress, and the evening dress. Sometimes there’s a “sleeping dress” (her term for nightgown), a “sports dress” (an athletic dress with built-in shorts), or a “swimming dress” (aka a beach cover-up).
That girl loves a dress. I’m not sure the laundry fairy (otherwise known as mom) agrees.
Despite the never-ending laundry, I kind of love that this little DIY wall-mounted rack gives all those dresses a place to be. It solved a storage problem, gave the girls a bit more independence when getting ready, and turned a previously unused corner of their room into something useful and pretty. In my book, that’s exactly what a good DIY should do.
Happy building, all!
Pssst…If you end up building this easy DIY clothing rack, do share. I love hearing about your projects! This DIY hanging rack would also work for making a clothes drying rack for wet clothes in a laundry room.
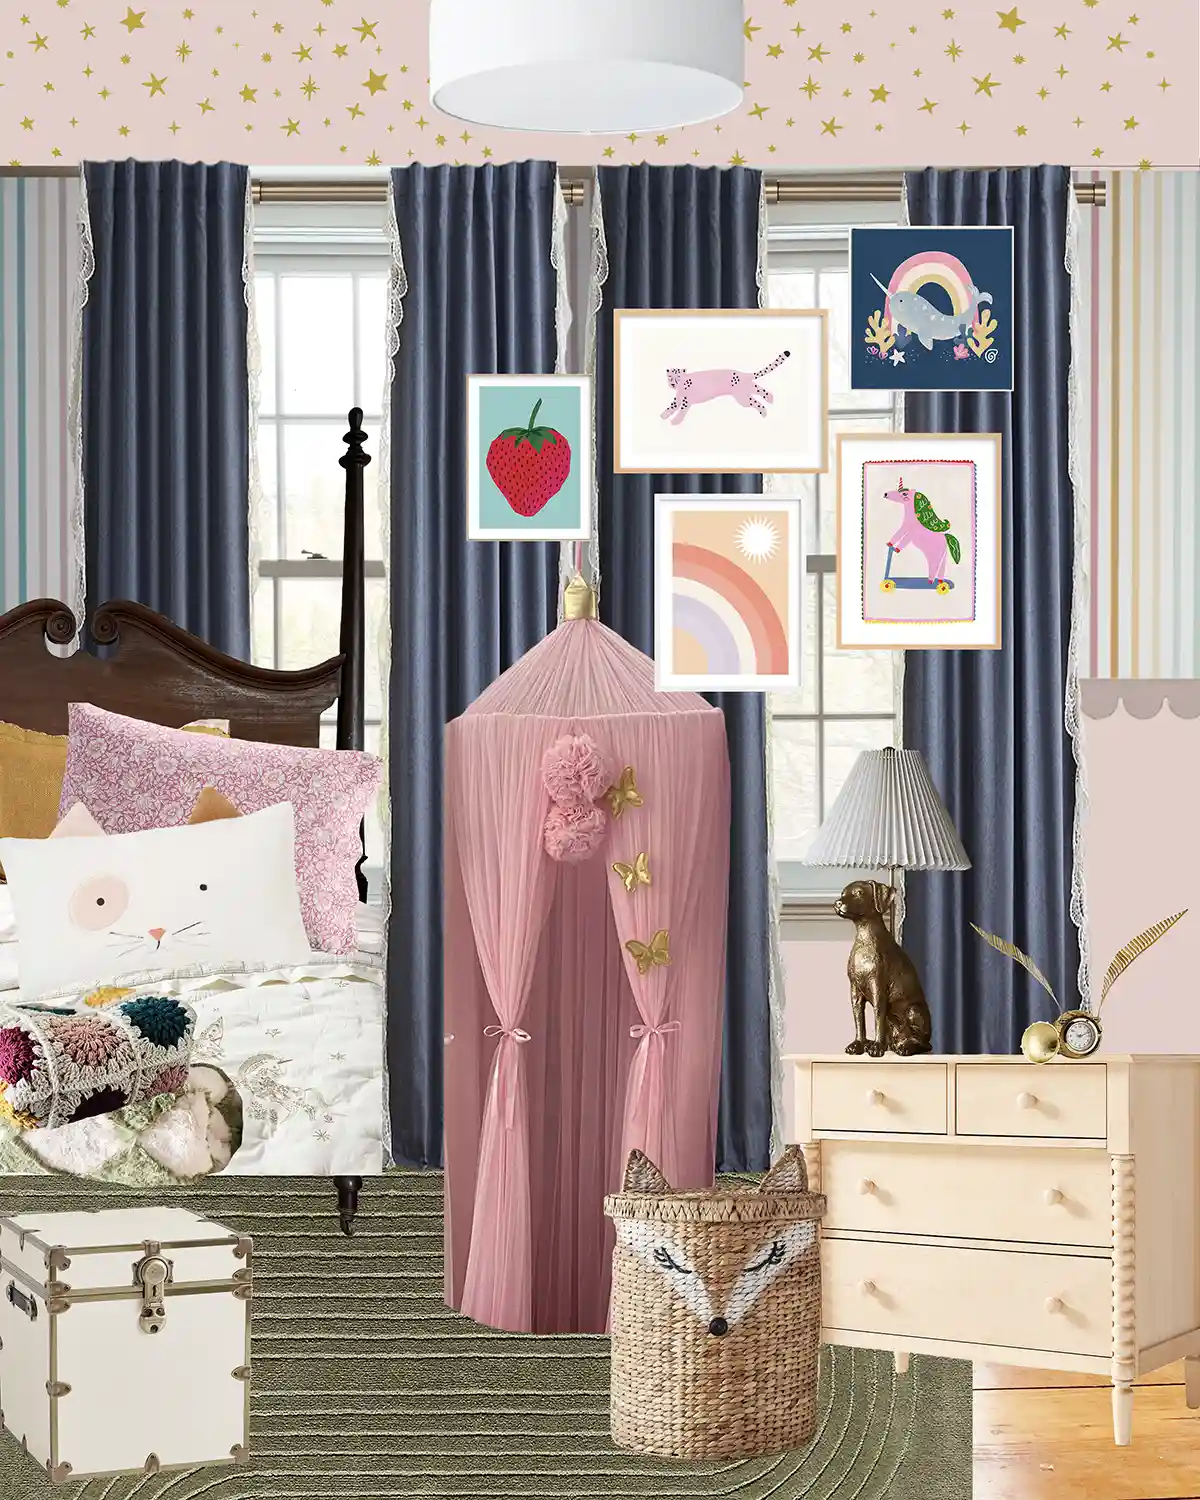
Psssssst…This brings us one step closer to finishing the girls’ room makeover. See the design plan here.