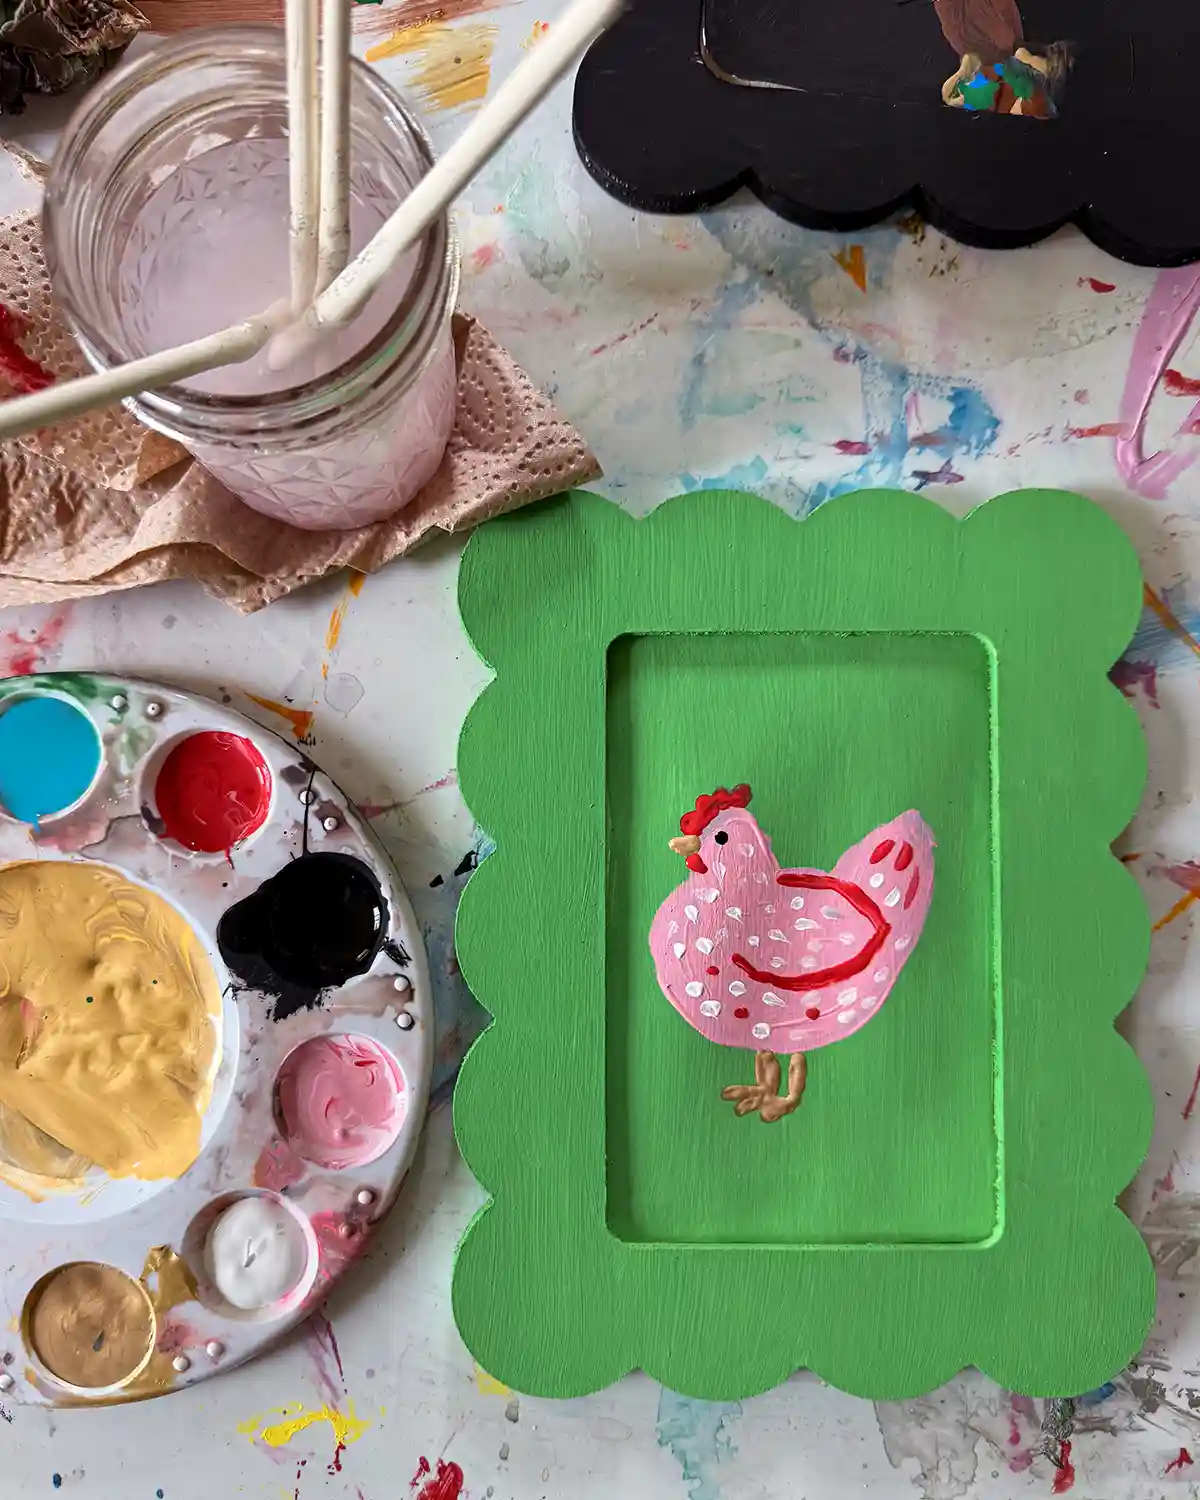
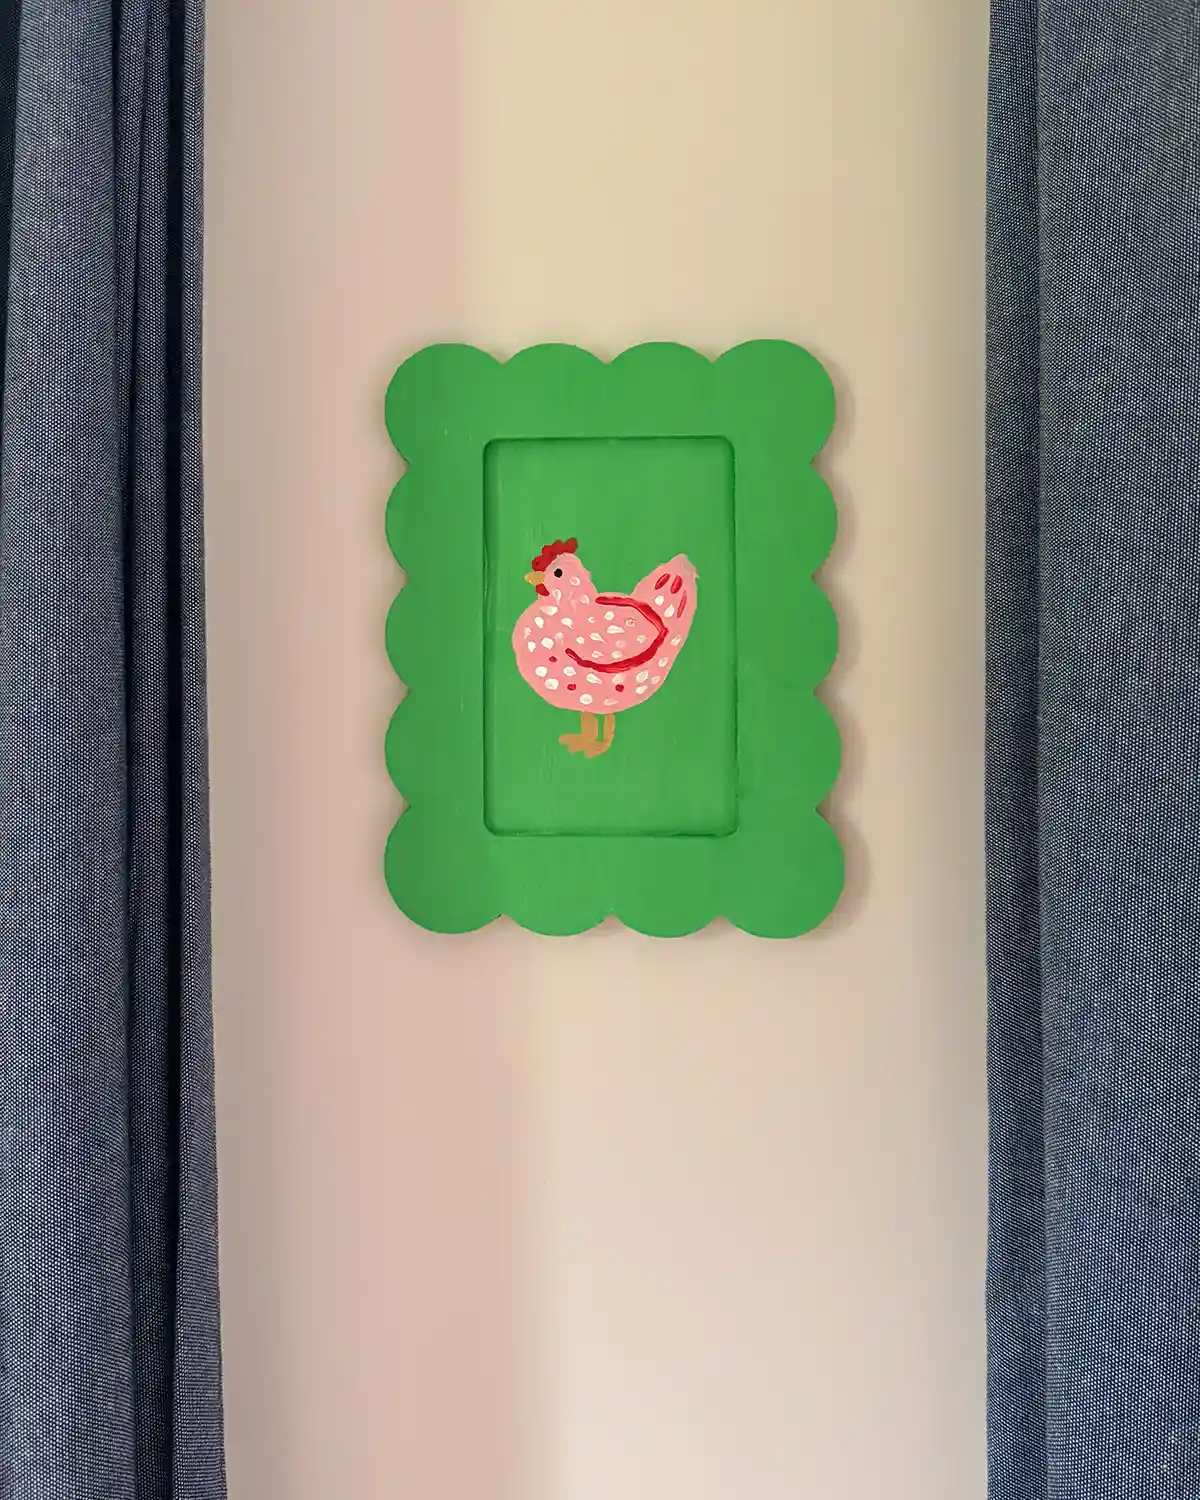
This summer, with kids just a little bit older (currently ages weeks-from-five and nine), I thought to myself, “Self, this could be the summer that we can actually do guided arts and crafts projects.” And spoiler alert, we have been! One such project we tackled together was to create a whimsical chicken art print as a family.
This summer has truly been a magical summer with the girls. I set out to have a 90s scotcharoo summer with them, and we have! There have been so many lazy days spent outside, (reusable) water balloon fights, pool days, lackadaisical river days, and (my favorite) craft days. I made ourselves a super loose schedule, more for me than for the girls, and on Fridays, we wear pink make something.
Most days, it’s making something to make something. But once in a while, I have the right supplies, and we make something a bit more guided. A few weeks ago, it was whimsical, folk-inspired chicken art for their bedroom. Because handmade is the best art for kids’ bedroom decor.
Whimsical Chicken Art Basics
So here’s the basic lowdown of this project. There are four hallmarks of this folksy art project that make it fun and whimsical.
One, we opted to paint the frame and the canvas behind it the same color. I believe this trend is called frame-integrated art or painted frame artwork. Something like that. But it’s a fun trend I’ve come across all over Pinterest. A few examples include these abstract pieces or this floral painting.
Two, it had to be colorful. Unleash those vibrant colors! However, I held this rule loosely. When your eldest is adamant that she wants her frame and background to be black, you let her roll with it.
And three, we looked up folk art chicken painting on Pinterest to help guide us. I’m not artsy enough to be able to envision a folksy chicken in my mind and bring it to paper. But I’m crafty enough to use it as a guide. For my hen, I used these chickens for inspiration.
How To Make Frame-Painted Kids’ Room Art
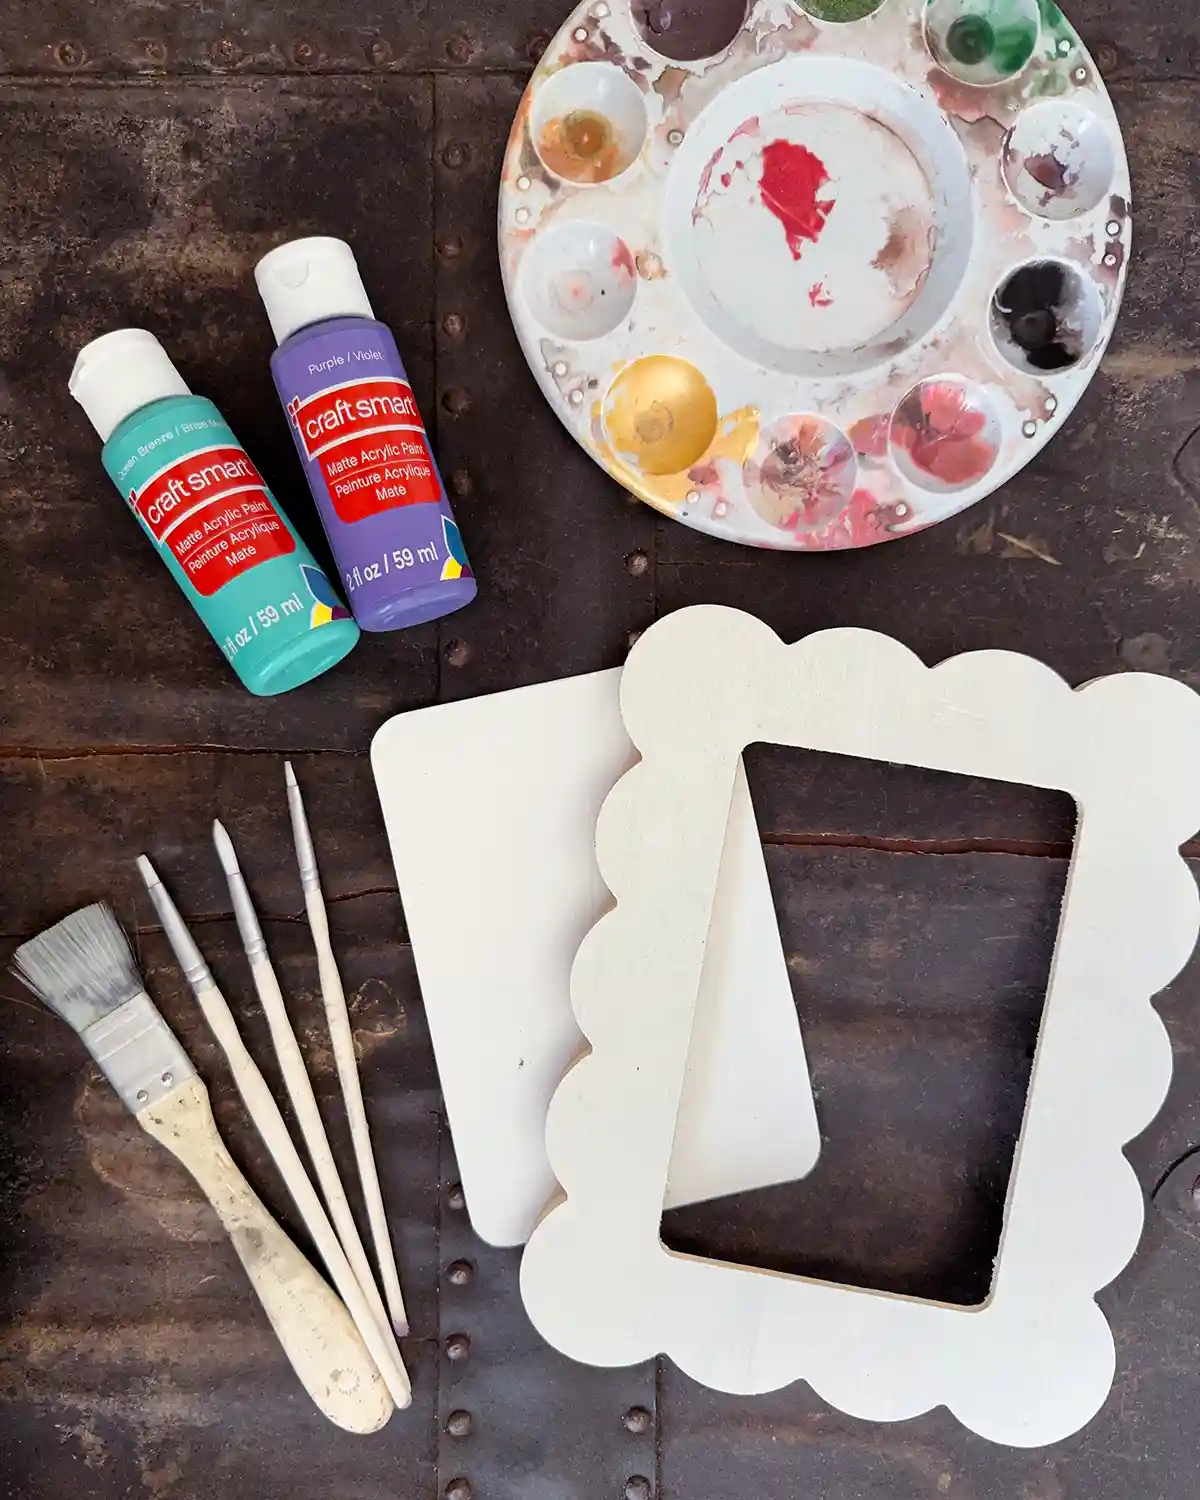
Tools
- Paint Brushes
- Water Cup (Ball jars work great!)
- Paint Tray
- Scissors
Supplies
- Watercolor Paper or Canvas
- Paint
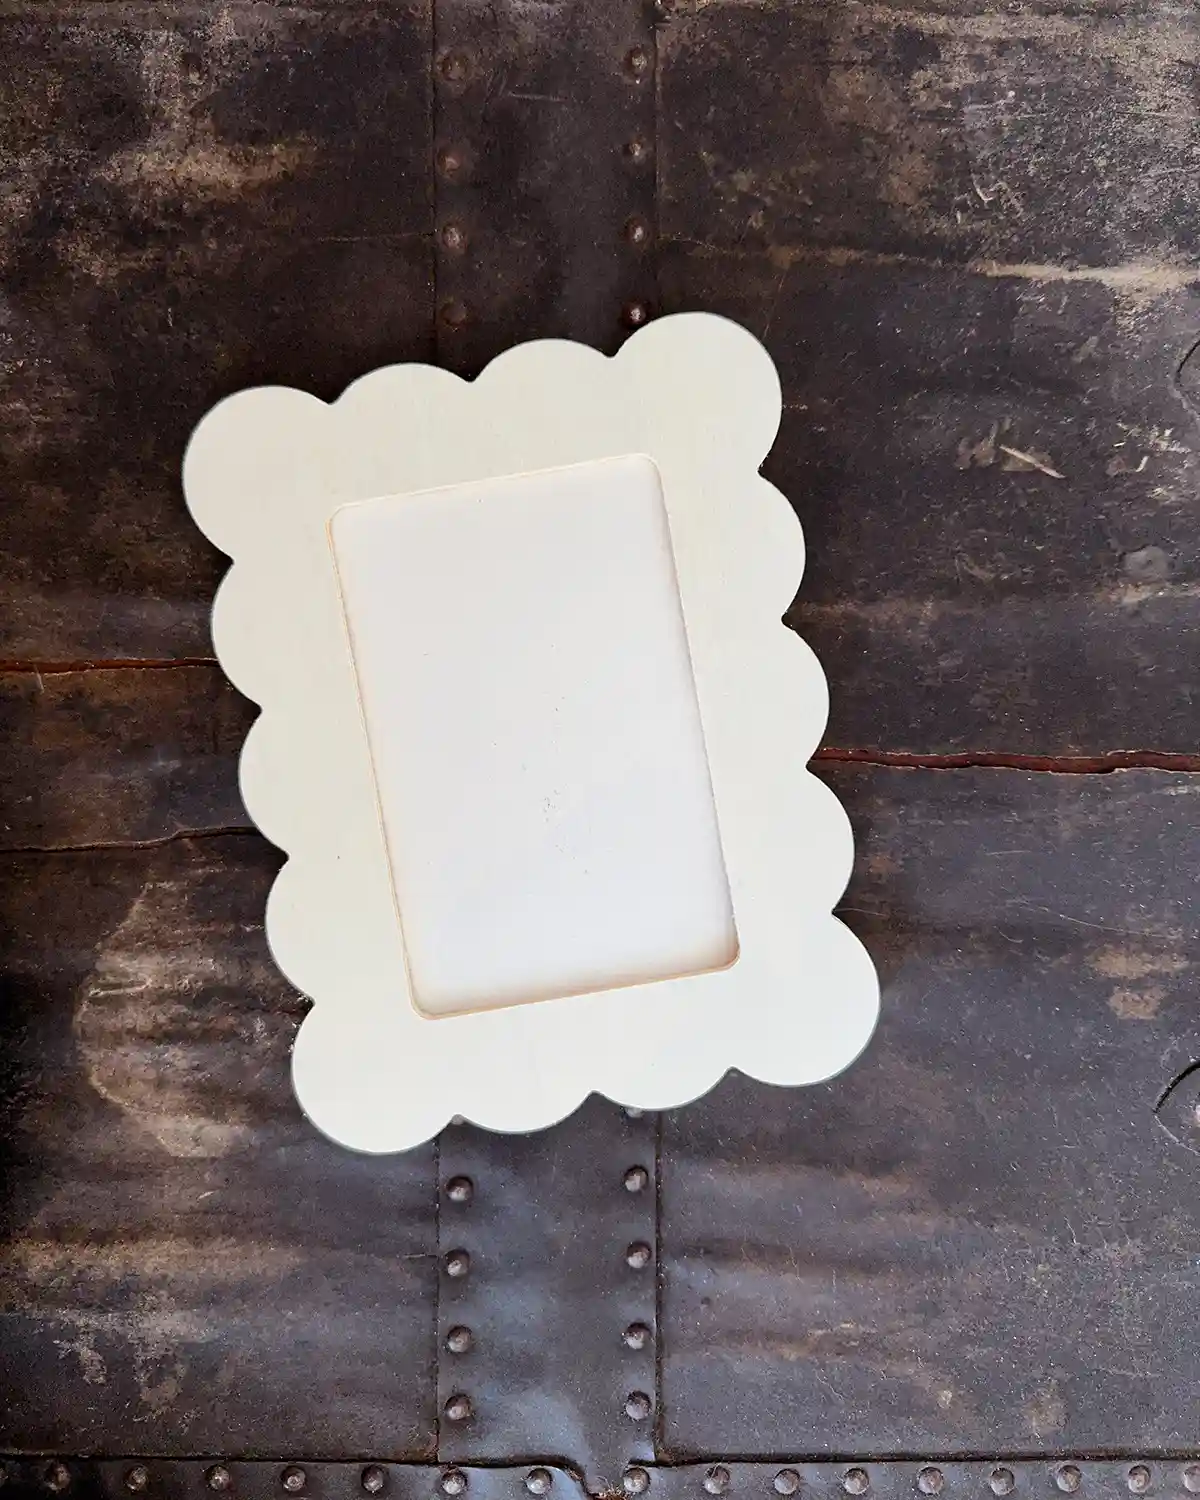
- Simple Wood Frame (we used this cheap 4″ x 6″ scalloped frame from Michael’s)
- Paper Towels
A word on watercolor paper vs a canvas. A canvas is 100% the better choice for this project. It doesn’t warp, is less likely to rip or get damaged, and will stay in place much better than paper. We chose to use art paper mostly because it was the cheaper option, and we already had it in our craft supplies. Many of the craft projects we tackle don’t have staying power, so I opted for more budget-friendly supplies.
Step One: Cut Paper To Size
If you’re using a canvas, skip to step two entirely. If you’re using art paper, this step is for you.
In this step, we’re going to take a piece of 8″ x 12″ paper and cut it down to fit the 4″ x 6″ frame. The easiest way to do this is to trace the piece of paper that comes in the frame. Then cut it out. Voila. Custom-fit paper.
Step Two: Prep Your Painting Area
Next, get your painting area ready and gather all the supplies. If you need to protect the surface you’re working on, say, the dining room table. Do that first. Once the paints come out, it’s all over.
Step Three: Attach Paper Or Canvas to the Frame
Before painting, you’ll want to secure the art paper or the canvas in the frame. Since we want a seamless look between the canvas and the frame, let’s assemble the two first.
Step Four: Paint Everything Your Background Color
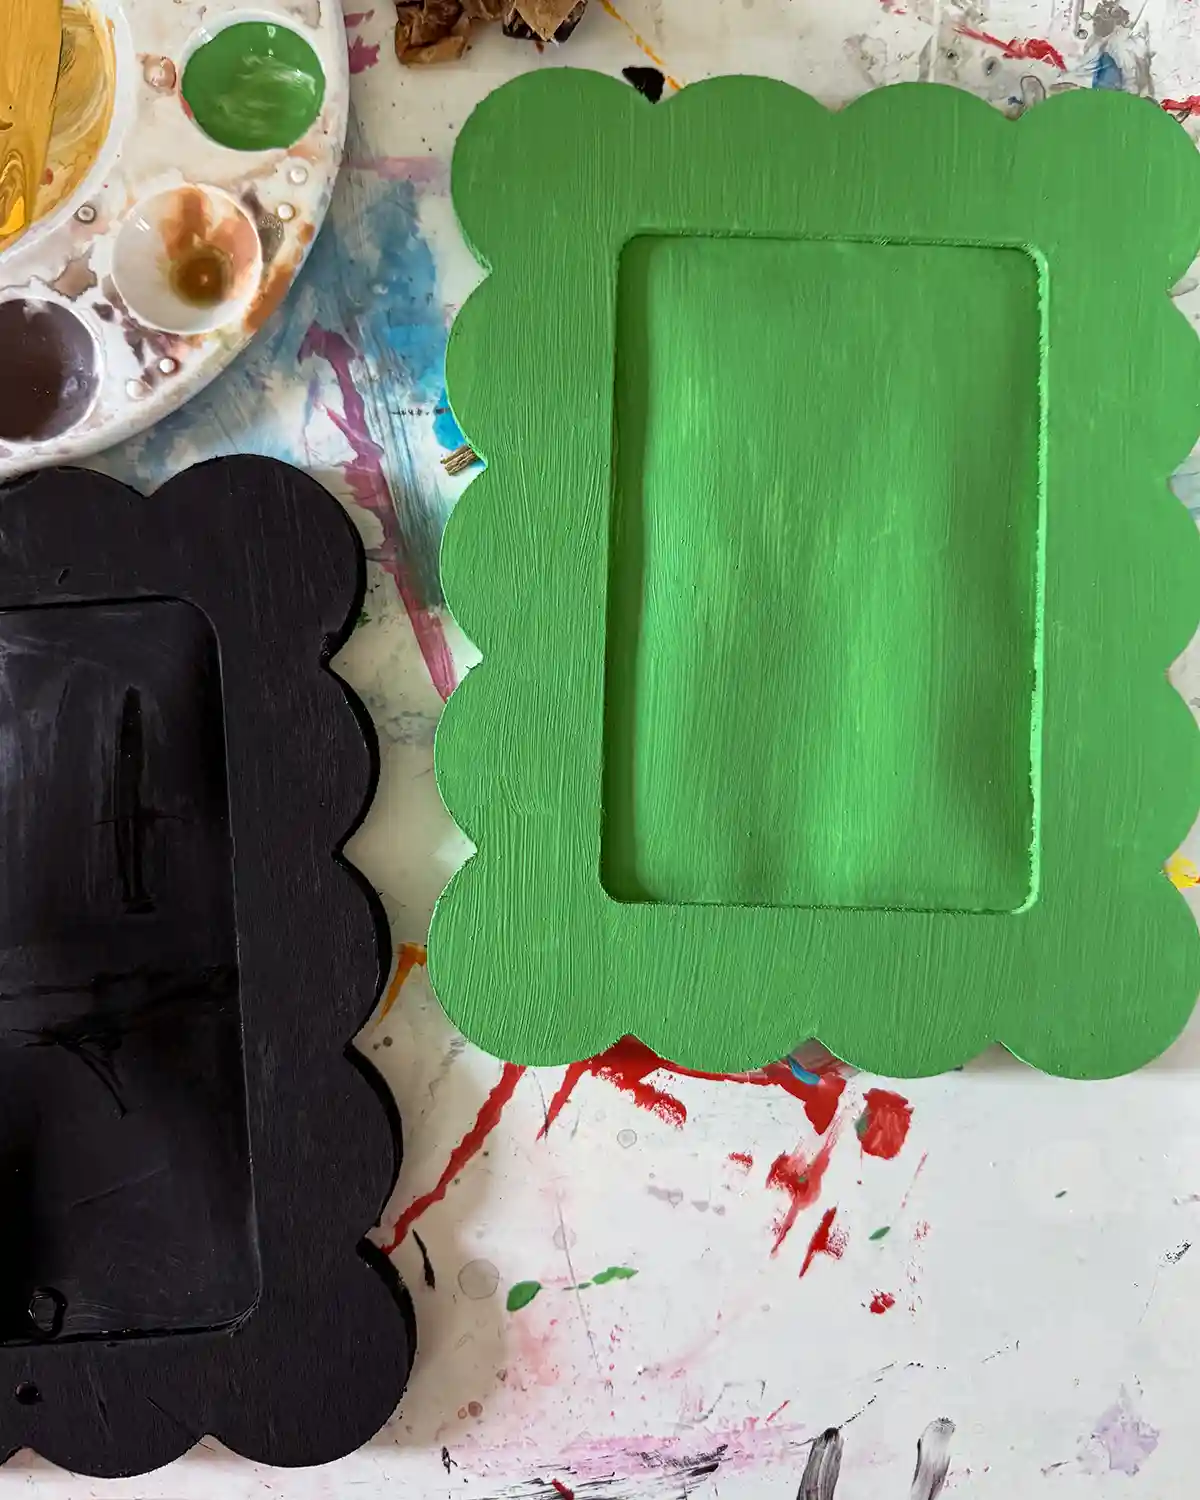
Choose your background color. I went with a bright green, my youngest chose gold, and my eldest chose black. Squeeze some paint into the tray and paint away.
It took two coats to get a really good finish, letting each coat dry in between. Be sure to paint the sides of the frame as well. If the project is sitting on a side table, it’s best also to paint the back.
Step Five: Paint The Chicken
Or fox, or horse, or whatever beast or fowl you choose. Just make the animal whimsical, maybe a little kitchy, and let your inner child take over the painting process. No worries if it looks like a wonky donkey. That’s part of the charm, embrace it!
Before you start painting the main character, just be sure that the background and frame are completely dry. If using acrylic paints, this doesn’t usually take that long.
Step Five: Hang The Kids’ Room Art
Hang the painting (or place it on a nightstand, whatever you choose) and enjoy your new decor.
The frame I used had a hole in the back for hanging, but I, like the frazzled mom I am, did not notice before painting. Naturally, I painted it upside down. Have no fear, 3M mounting strips (Amazon) are here!
Tips For Doing This Project With Kids
First, a disclaimer: the girls didn’t want me to share their projects with the internet, and I respect that. Respecting their privacy and wishes is important to me, and I’m perpetually trying to do better. So I shared mine.
When tackling this project, hold the rules loosely. If, instead of a colorful art print, they want a black background, it’s okay. And if they choose to paint something totally abstract instead of a chicken, but then paint an incredibly accurate rooster on another piece of paper (who knew they could do that at age four!), that’s fine too. The goal is to make something and encourage creativity.
Like most arts-and-crafts projects with kids, the process of gathering supplies, setting everything up, and cleaning up takes FAR longer than the actual project. That’s okay too. It won’t be like that forever, and in the meantime, it’s worth it. Not every week has an organized art afternoon. More often than not, I dump supplies on the table and wish them luck with what they create.
I also realize that this type of project is more for me than for them. And that’s okay too. I love making things with my children, and I want them to embrace their creativity and inner artist. Sometimes, mom has projects she wants to create or an idea to bring to life, and involving them in the process makes memories I want to keep.
Happy painting, everyone!!
Pssst…If you tried this project, please let me know how it went! Feel free to share in the comments!
Psssssst…And for you moms out there doing arts and crafts WITH your kids, I’m cheering you on. It’s not for the faint of heart, especially when (true story) suddenly the dog has a green streak across his side.