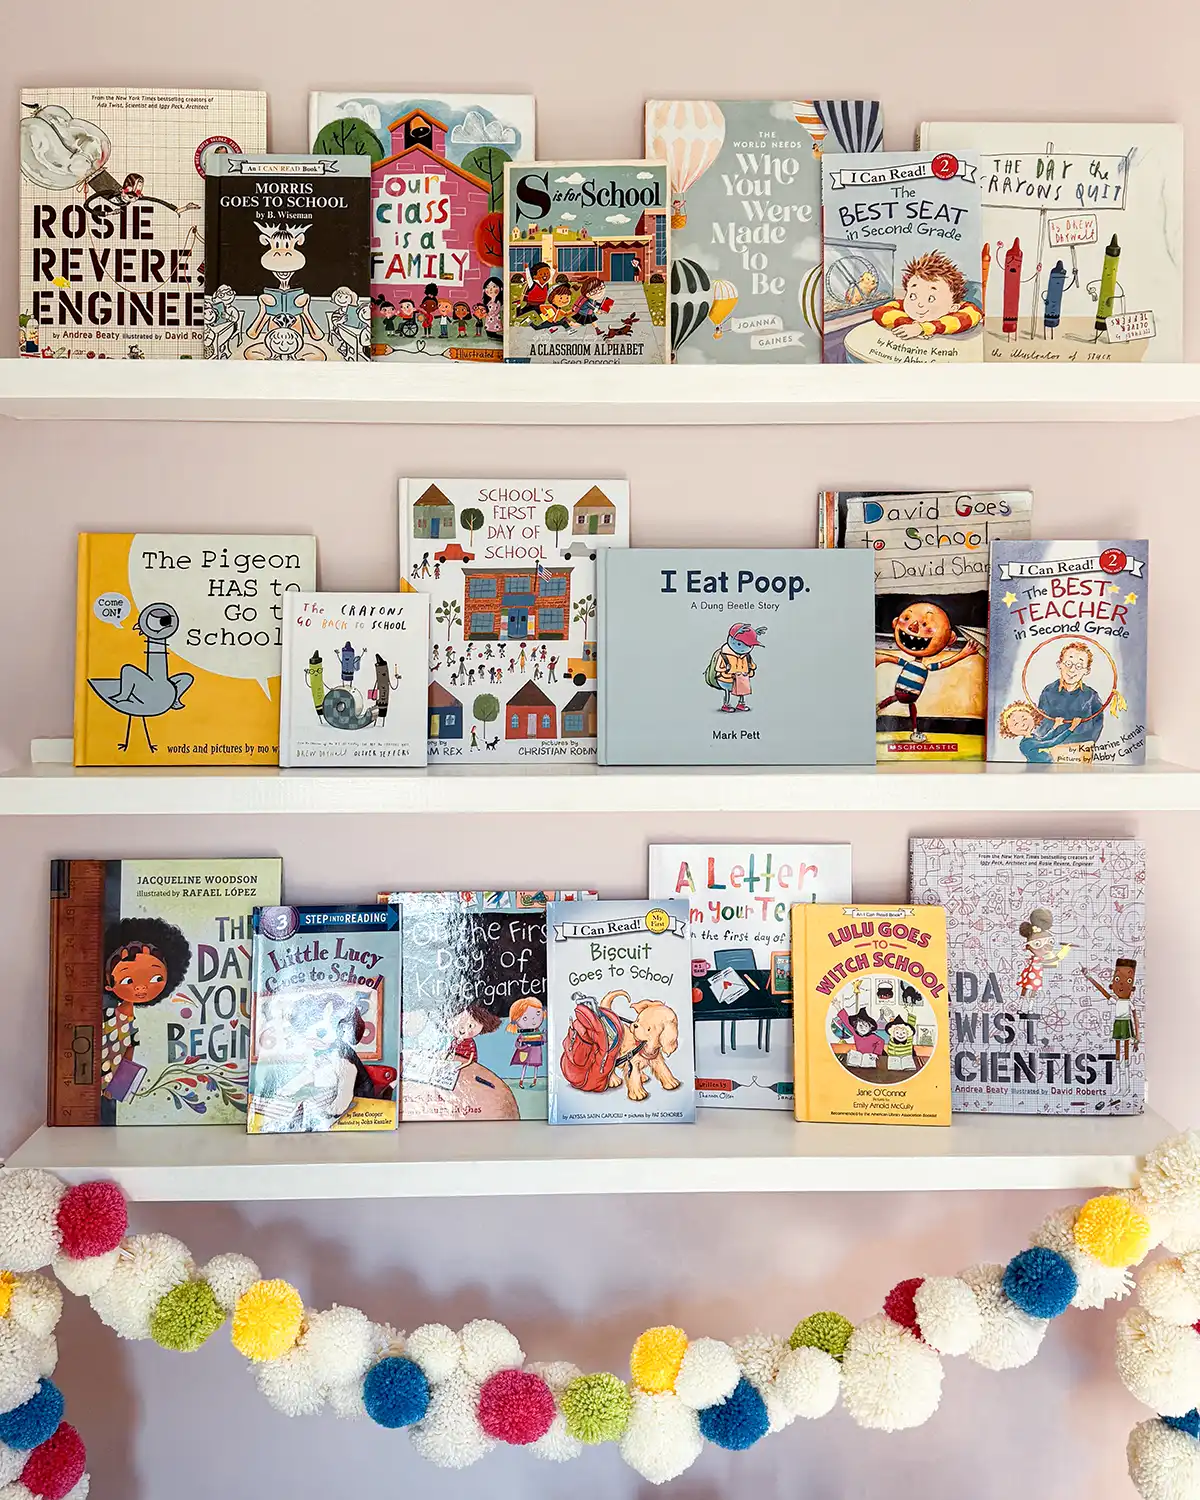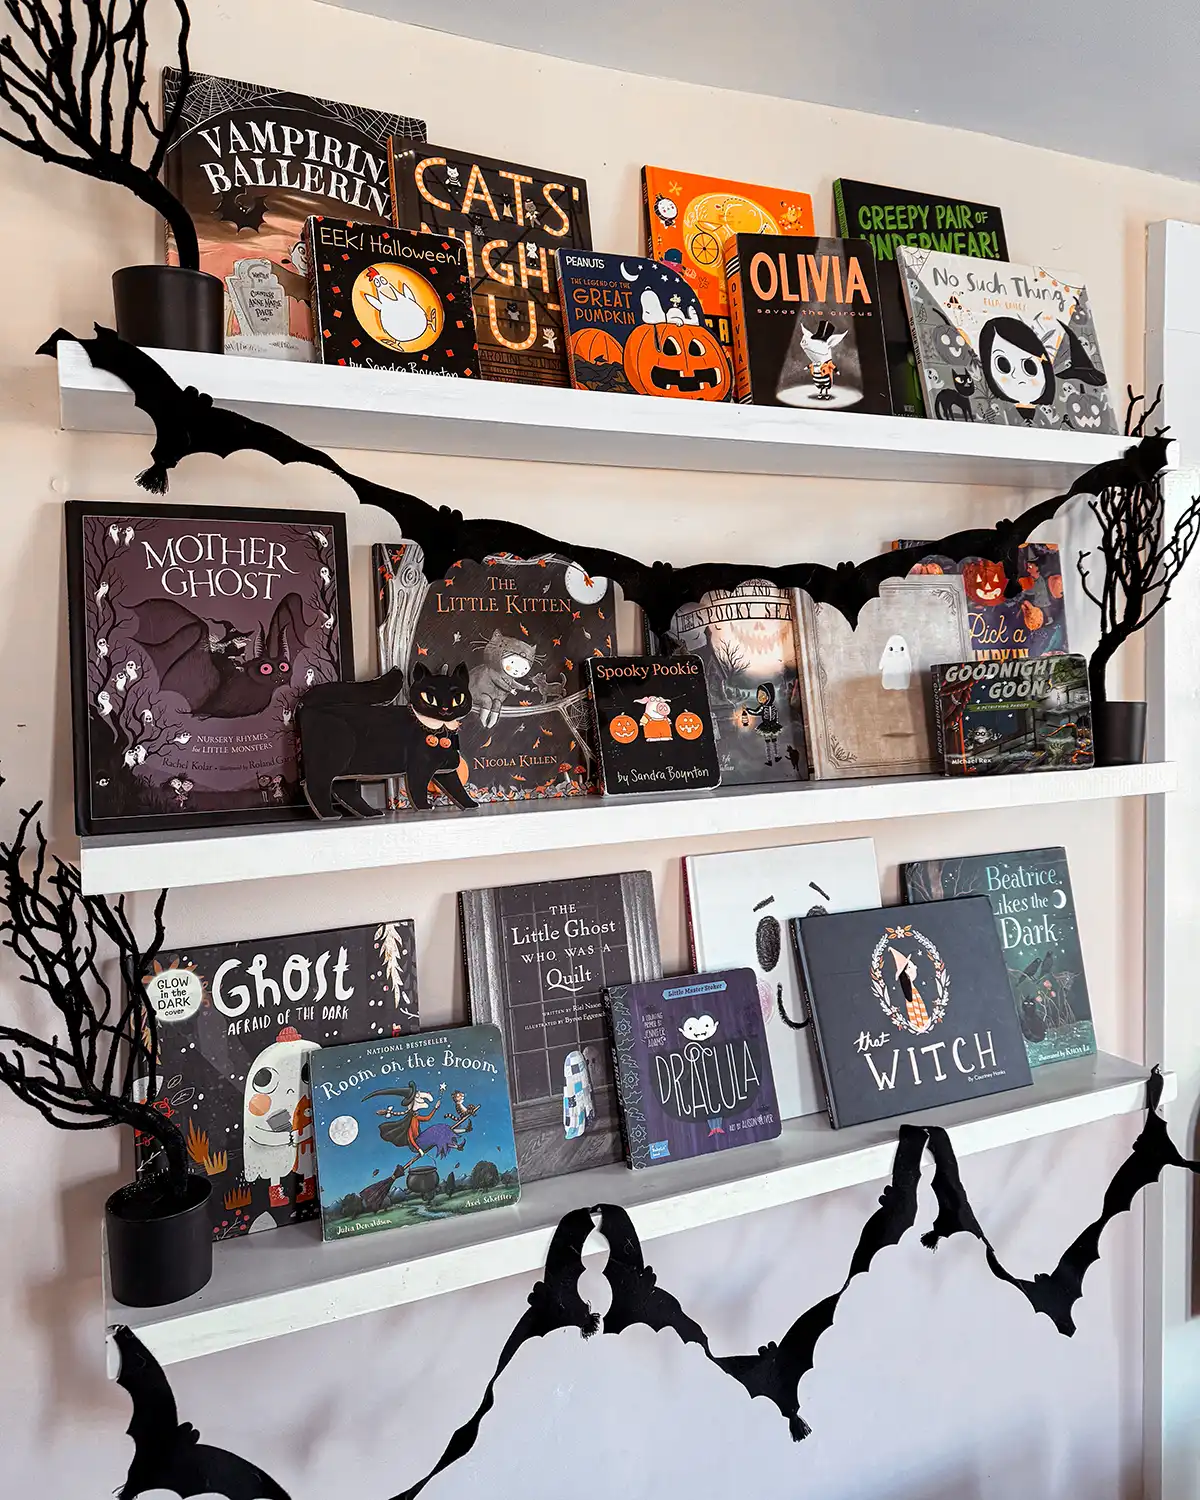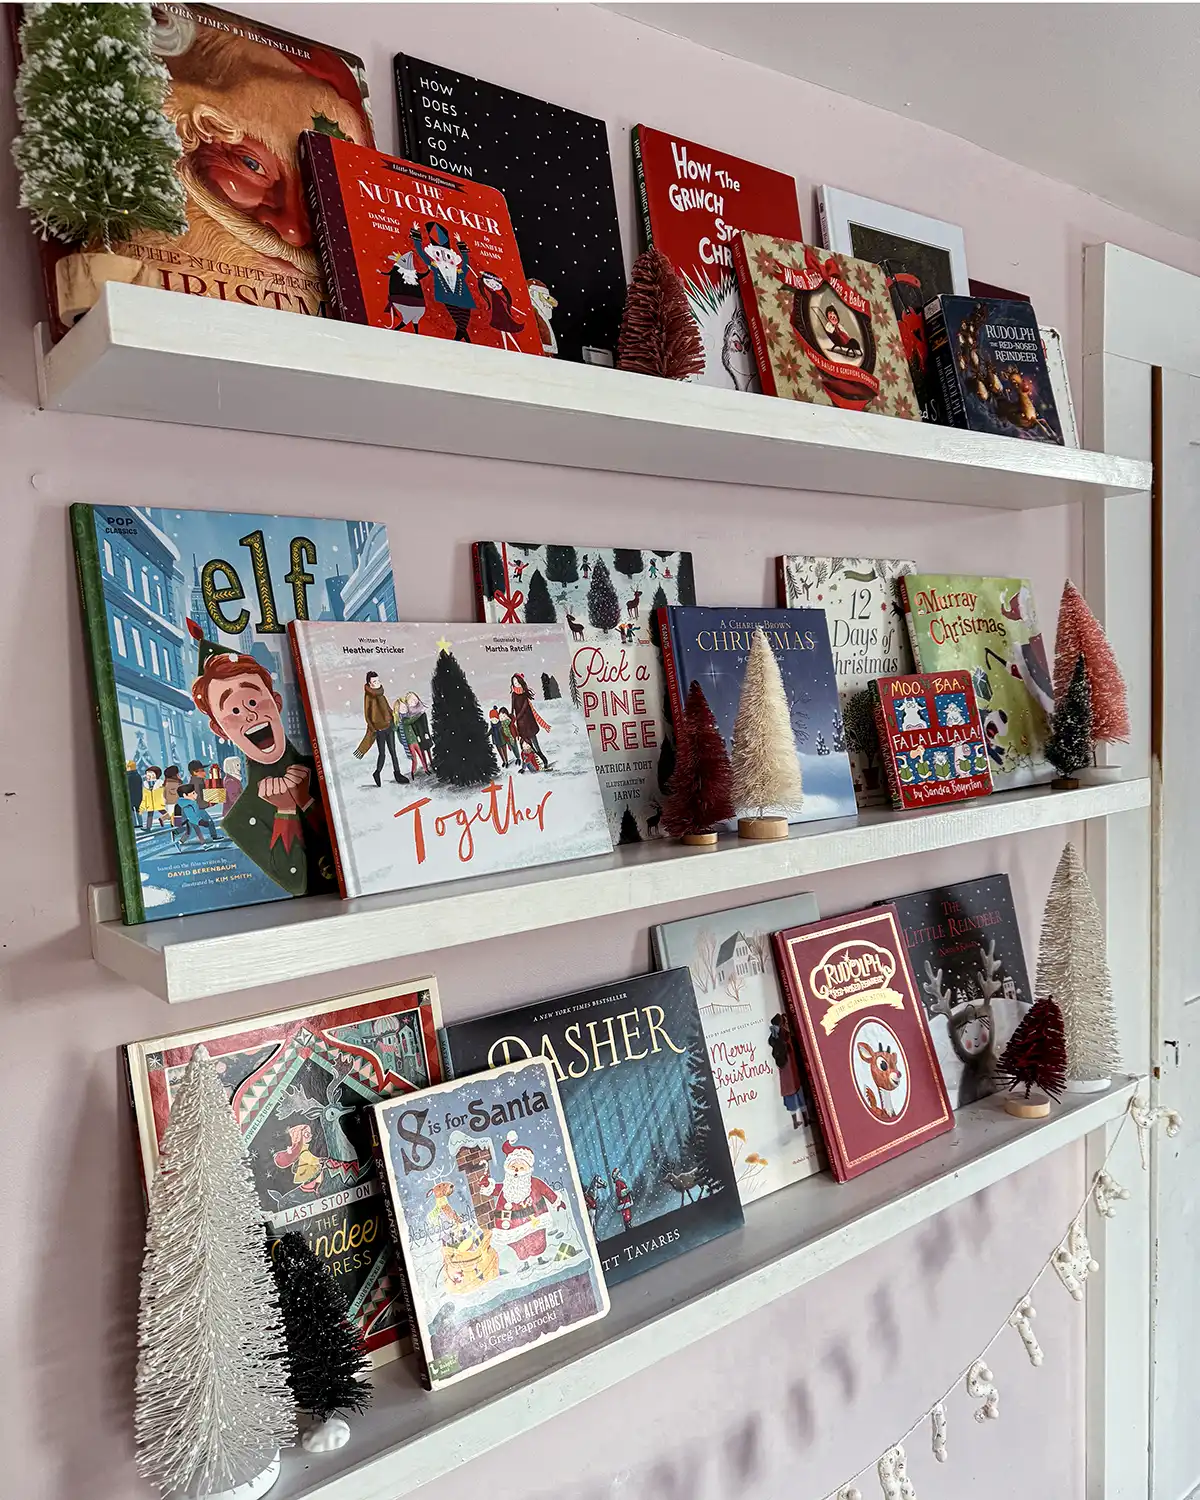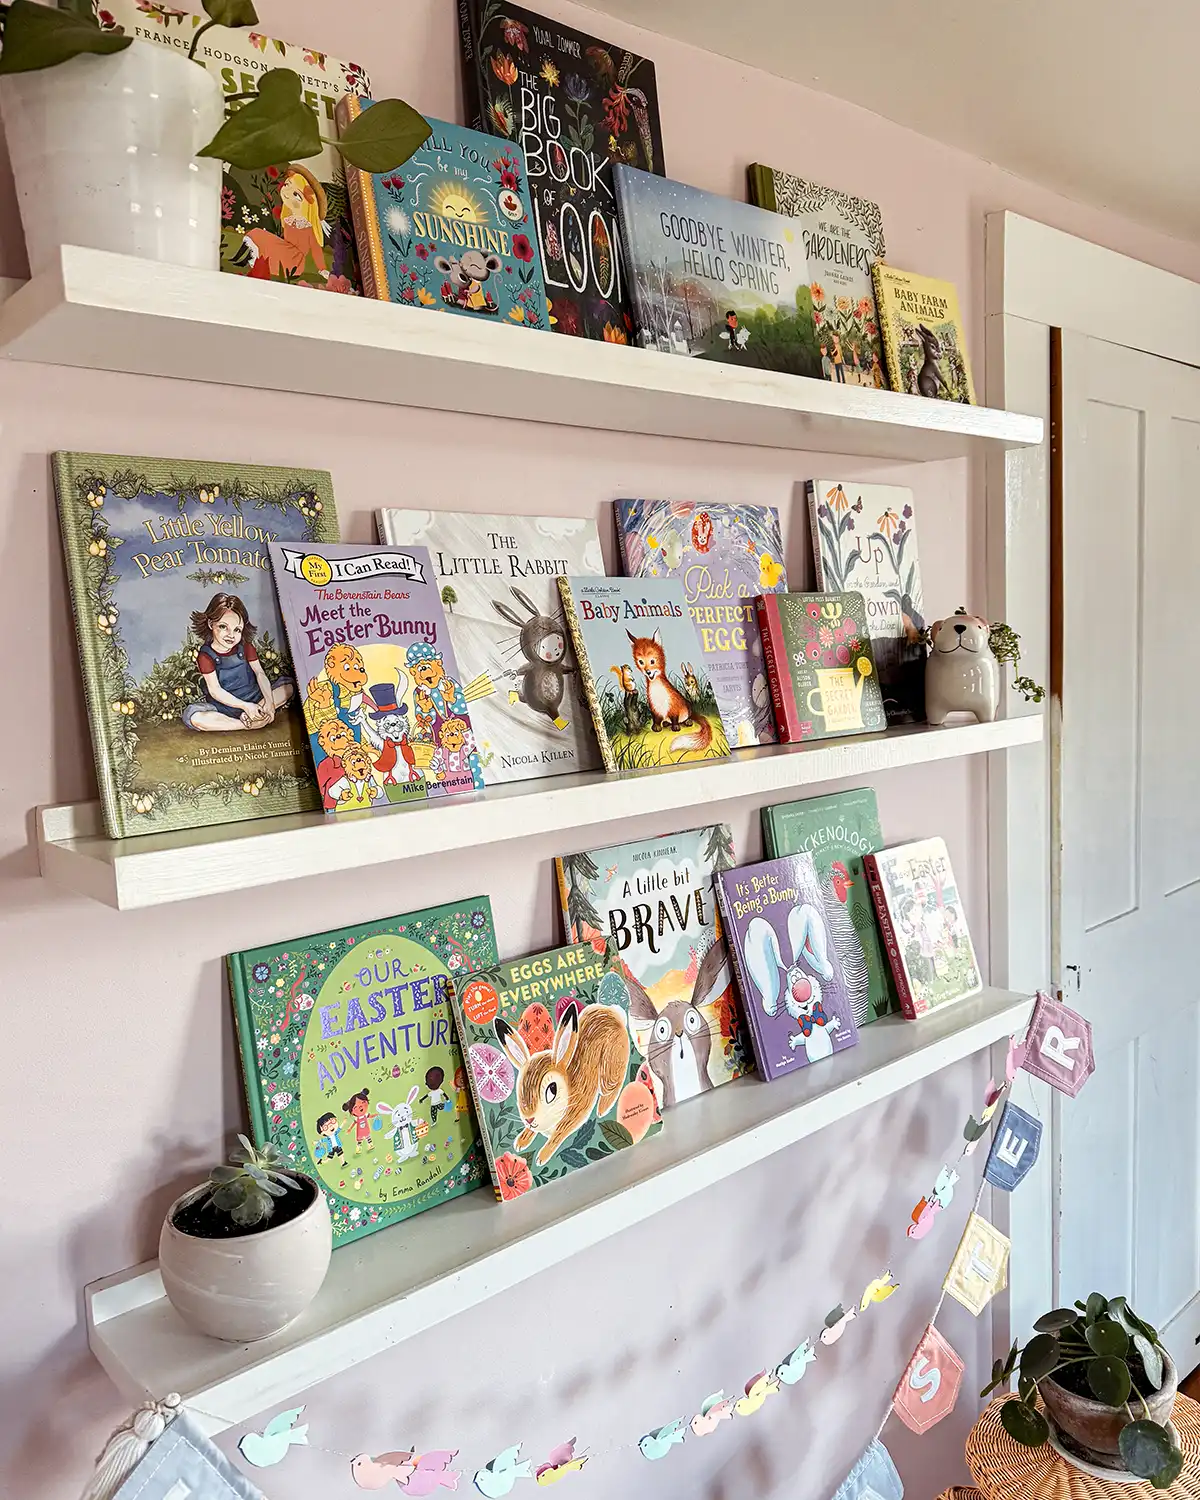
Love the look of those charming little book ledges in children’s rooms but not so much the price tag? Same. Or maybe you’re like me and want shelves that are just a smidge wider so they can pull double duty in holding favorite picture books eleven months of the year and an unreasonable number of bottle brush trees, tiny gingerbread houses, and other seasonal treasures in December.
That was exactly our dilemma a few years ago, and here we are building another set for a room refresh. So grab your tools and come along for the ride! This easy to build, simple DIY ledge shelf tutorial is perfect for creating kid-friendly book displays. But they’re just as happy showing off family photos, artwork, holiday décor, or whatever little treasures make your home feel like yours.
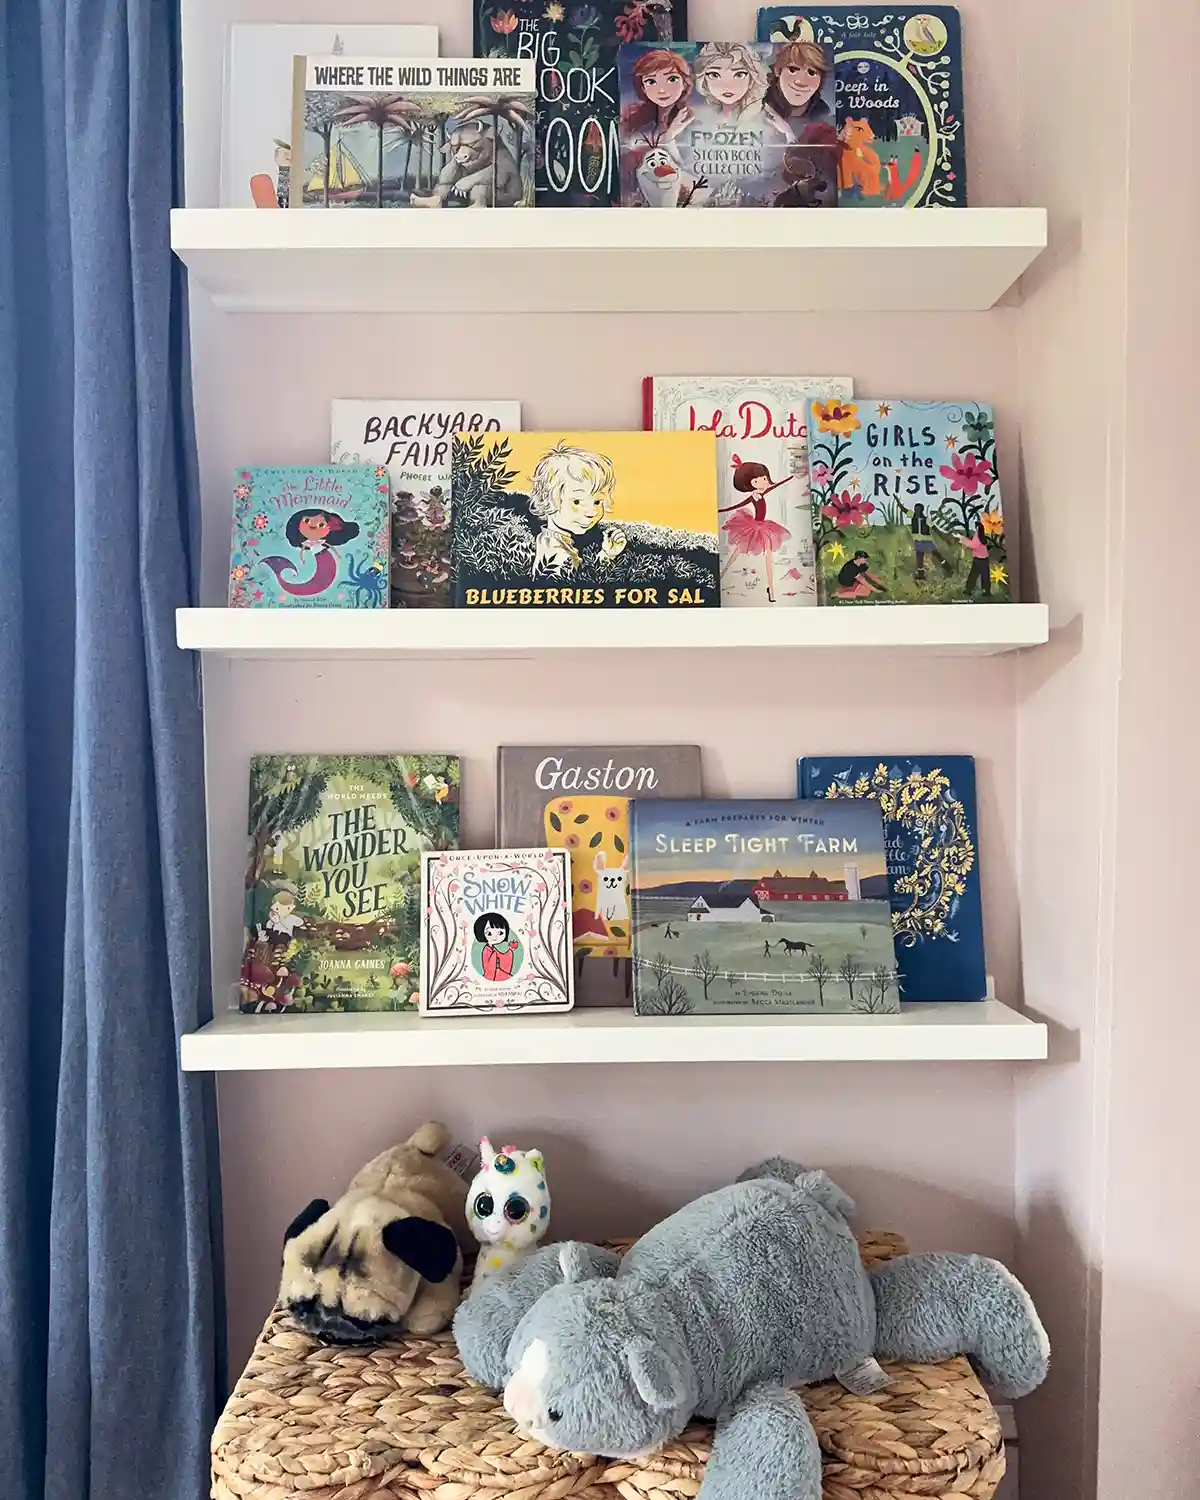
How To Make DIY Ledge Shelves
Supplies
- 5/4″ Pine (for largest shelf board)
- 3/4″ Pine (for the front and back)
- 2″ Trim Head Finish Screews (Home Depot)
- Sandpaper (medium and fine grit) (Home Depot)
- Sanding Block (medium and fine grit) (Home Depot)
- Wood Filler (Home Depot)
- 3-1/8″ Long GRK Construction Screws (Home Depot)
- Primer (Home Depot)
- Paint or stain color of choice
- Masking Tape (Home Depot)
For our project, we chose to prime and paint the shelves white. You could just as easily use wood stain and poly them. If that’s the route you choose to go, simply remove the primer/paint in this list and use wood conditioner, stain, and polyurethane instead.
Tools
- Tape Measure (Home Depot)
- Square (Home Depot)
- Table Saw (Home Depot)
- Miter Saw (Home Depot)
- Orbital Sander (optional) (Home Depot)
- Cordless Drill (Home Depot)
- Drill and Screwdriver Bits (Home Depot)
- Paint Brush (Aubuchon)
- Stud Finder (Home Depot)
- Box Beam Level or Laser Level (Home Depot)
Determine Shelf Size
The overall size of our original shelves was 48″. For the girls’ updated room, and for this tutorial, the overall size is 34″. The exposed shelf area, the space between the front lip and the back, is the same for both sets of shelves at 5.5″ deep. This is the space you’ll have for books and decor. The overall depth, the shelf space along with the front and back boards, is 6-5/8″.
Before we begin, it’s important to determine the size of the shelves you want for your room. The most important measurements are the length, shelf depth, and overall shelf depth (the shelf space including the front and the back of the ledge shelf).
For this tutorial, I’m using the measurements for how we built this shelf, but it is all customizable to your preferences and space. Need a longer shelf? Go for it, but use more screws to hang your shelf. Want a slightly narrower shelf depth? Or make the shelf deeper? That’s fine too. Adjust as needed.
The Cut List
We just need three boards, all of different sizes, to build these shelves as follows:
- Shelf Board: 5/4″ x 5.5″ x 34″
- Hanging Board: 3/4″ x 2-1/4″ x 34″
- Front Lip Board: 5/16″ x 1-1/4″ x 34″
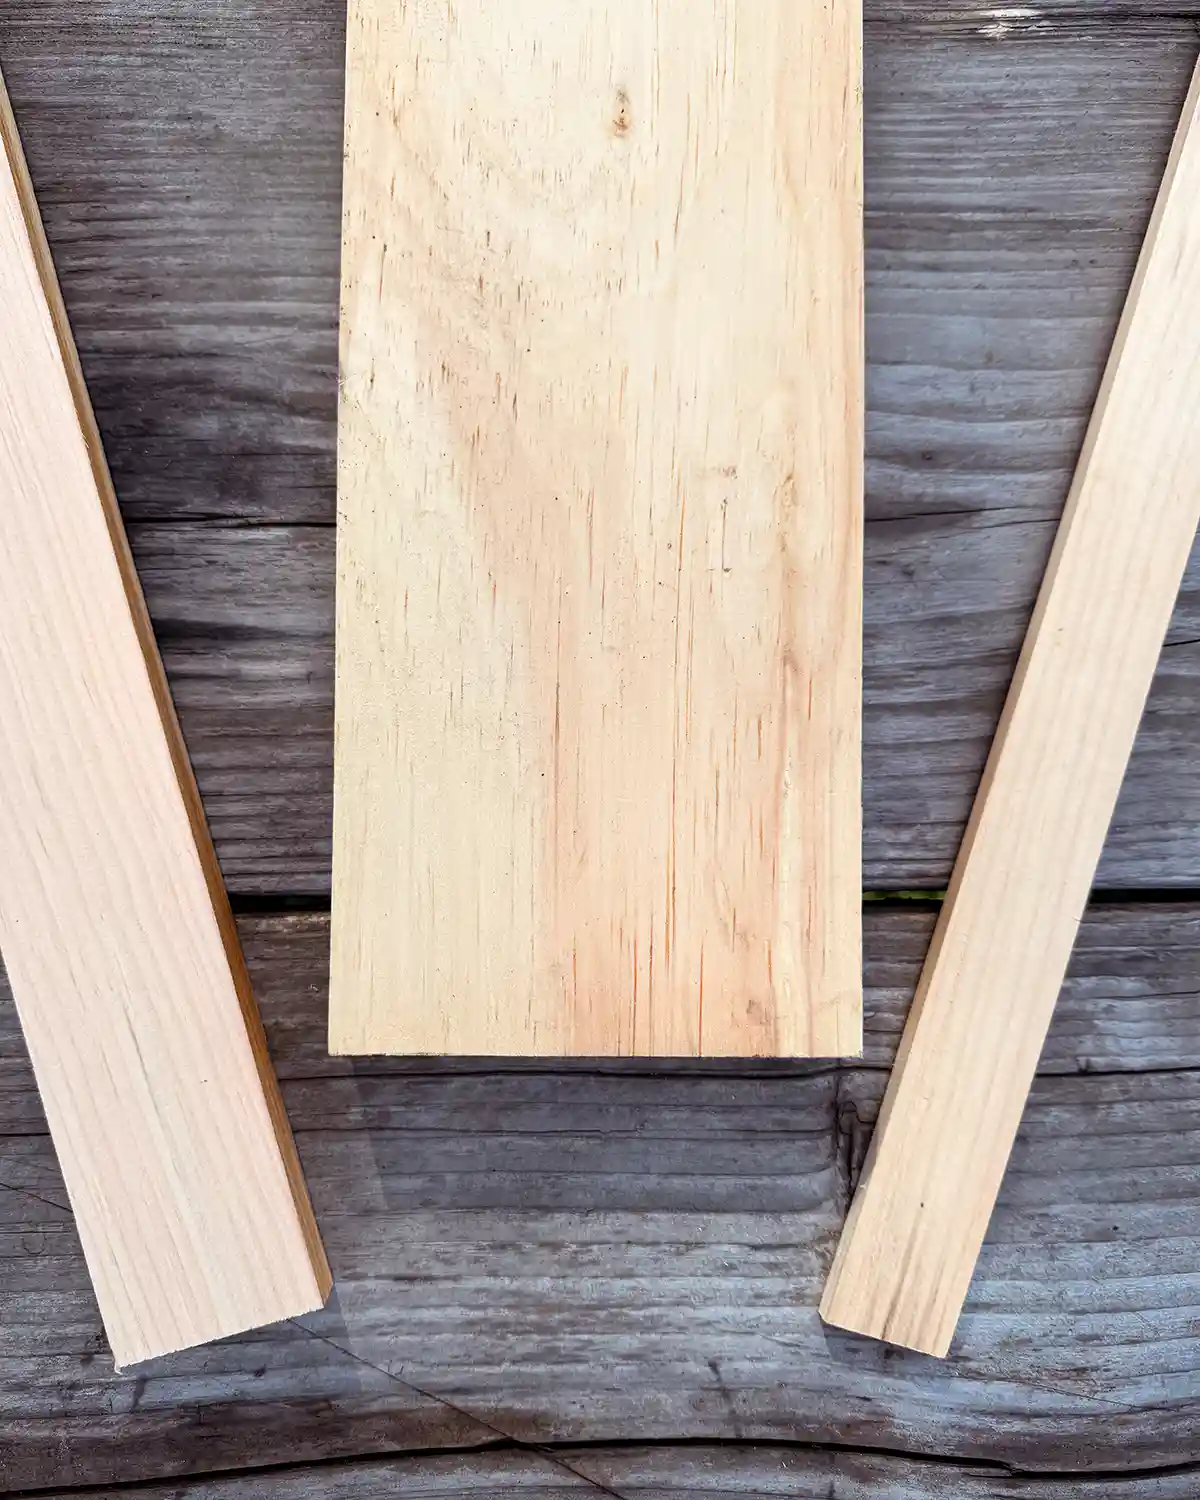
Cut The Shelf Board
The first cut is the deepest easiest. The shelf board uses the thicker, 5/4″ pine board. Using your tape measure and square, mark your cut lines. Make the cuts using a miter saw. If you’re making multiple shelves, batch cut as you go.
Cut The Hanging Board
This is the board on the back of the shelf that we’ll eventually use to hang the shelf. It’s the 3/4″ pine, and we’re going to first cut the board’s length, then the width. Measure and mark the length cut (34″) and use the miter saw to cut the board. Next, measure and mark the board’s width (2-1/4″) and then cut using a table saw. Repeat for the number of shelves you need.
Cut The Front Lip Board
This is the hardest cut, so we saved it for last, warming up with some easier cuts. To cut this board, we’re going to use the 3/4″ pine and first cut it to the desired length, then width, and finally depth. This last cut is the most complicated.
Start by using a tape measure and square to measure and mark the length (34″). Using a chop saw, cut the board. Then measure and mark the width (1-1/4″) and run the board through the table saw.
The last cut is ripping the board to the right thickness (5/16″). This is a trickier cut. We’re basically taking the 3/4″ thick board and cutting that thickness in half. The saw blade eats up about 1/8″ of the board.
Set the table saw’s guide to 5/16″ and run the board through. It is imperative, whenever you’re using a table saw (or any saw), but especially for this step, that you take all the safety precautions for your saw.
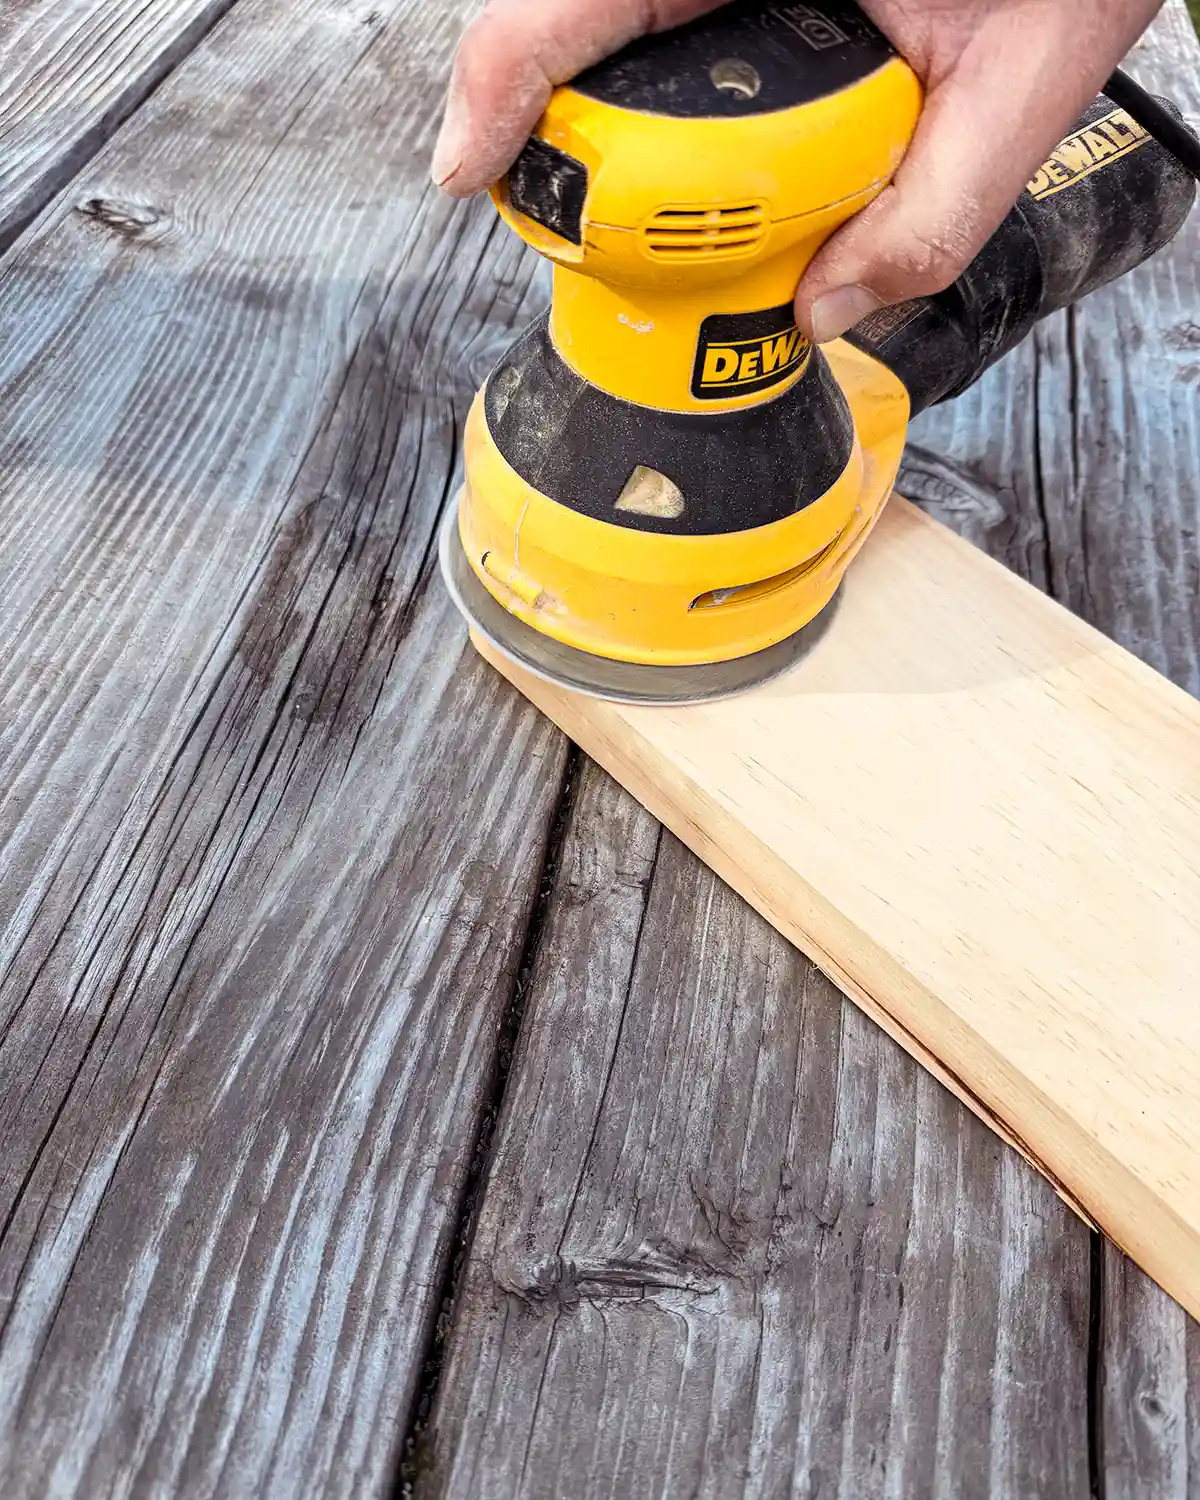
Give The Boards A Quick Sanding
If there are any super rough parts on the boards, now is a great time to give them a quick sanding. Start with a medium grit for rougher spots and finer grit anywhere you want the piece of wood smoother. Here’s a reference guide to sandpaper grits.
There will be another sanding round later, once everything is assembled. But sanding at this step is easier since there are no right angles to work around.
Assemble The Shelf
In this step, we’ll be assembling the boards into a U-shape. The thicker shelf board in the middle, the hanging board on the back, and the front lip in front. First, attach the hanging board to the shelf board by screwing three trim-head wood screws from the back into the board.
Then flip the shelf over, line up the front lip, and repeat. Screw three more trim head screws in through the front lip and into the shelf. Like so.
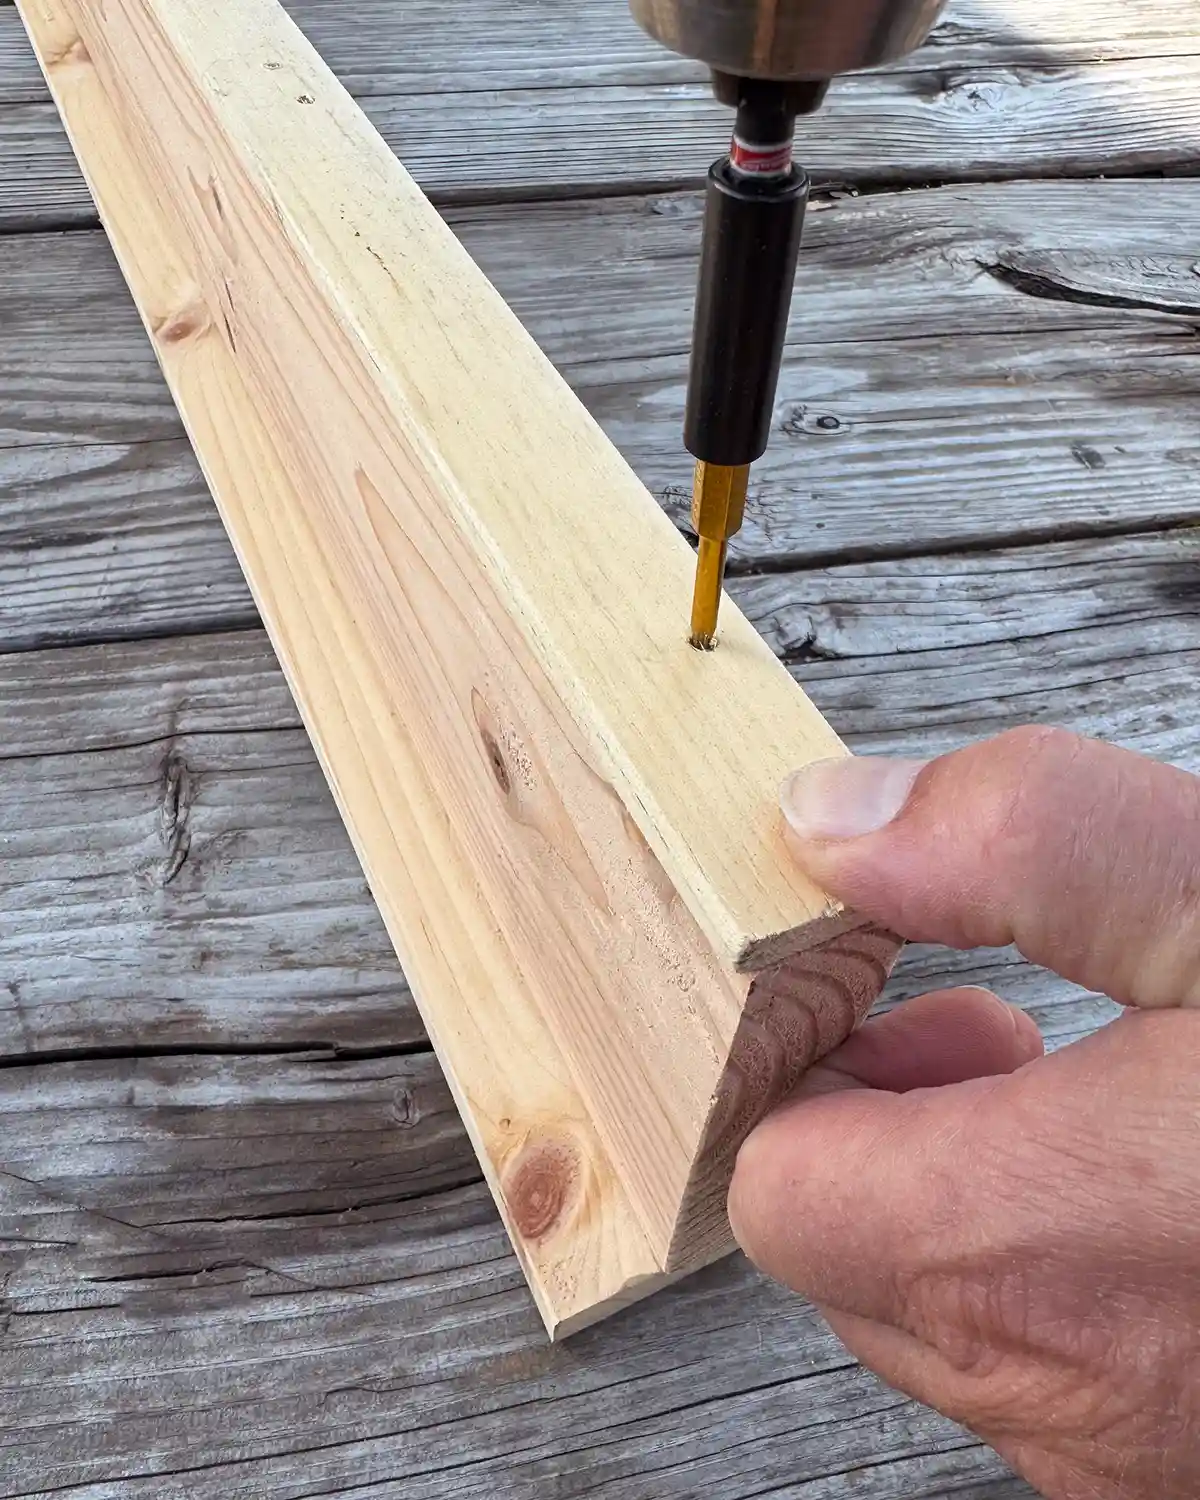
Alternatively, you could use wood glue, clamps, and brad nails to assemble the shelves.
Fill The Screw Holes With Wood Putty
Now that the shelf is assembled, fill the screw holes (or nail holes) with wood putty. Then wait the amount of time recommended by your wood filler product of choice. A stain matched wood filler is a good choice if you chose to stain this woodworking project. I often leave the putty to dry for about 24 hours.
Final Sand The Shelves
Using a combination of an orbital sander and a sanding block, give the shelves a final sand before applying the finish.
I like to use an orbital sander and a medium grit to sand the ends and bottoms of the shelves to remove unevenness where the boards come together and to also shape the hard corners and edges. But this is a preference of mine. I prefer the edges to be just a little softer and rounder, but shaping is totally optional.
After a rough shaping and smoothing with the medium grit, switch to a fine grit on the orbital and sanding block and smooth the whole shelf out. Make sure the wood filler is smooth, and there are no rough patches on the boards.
Paint or Stain the Shelves
And finally, prime and paint your shelves. For our project, I applied a stain-blocking primer with a brush, followed by two coats of Benjamin Moore Advanced Paint in semi-gloss. I love this paint for its durability. Plus, it’s not tacky in humid weather like some other semi-gloss paints. It does have a long cure time, though, so beware.
If you choose not to paint, go with your finish of choice for the shelves. Applying stain and poly would work well for these shelves. Whichever you choose, paint or stain, just allow enough dry time at the end.
How To Hang Ledge Shelves
Once the finish work on the shelves is done, dry, and cured, it’s time to hang. Because these shelves are holding heavy things, we want to be sure they are nailed into studs. Most homes have framing 16″ to 24″ apart, so as long as your shelves are at least 24″ long, you should be able to nail each shelf into two studs.
Find Your Studs
Start by finding your wall studs. Using a stud finder is helpful if you’re like me. If you’re like my husband and have the ear for it, you can also find them by knocking on the wall. Mark the wall where the studs are. Don’t skip this step and end up with a bunch of holes in the wall from trial and error (coming from personal experience).
Determine Shelf Placement
Next, measure and mark where you want your shelves to go. I like a nice, evenly spaced shelf positioning. Factor in any furniture or items that might be above or below the shelves. Also think about what will be on your shelves.
To help determine our shelves’ placement, I brought up our tallest book that I may put on the shelves and placed it on the top shelf. Then eyeballed a nice amount of space around it so it wouldn’t look like the book is smushed into the ceiling. That determined the top shelf’s placement.
Then I determined the bottom shelf’s location, thinking about any baskets or items I might want down below the shelves. After determining the top and bottom locations, I used the remaining middle space to evenly place the shelves.
Mark each shelf’s bottom location on the wall space with masking tape or painter’s tape to use as a hanging guide for height placement.
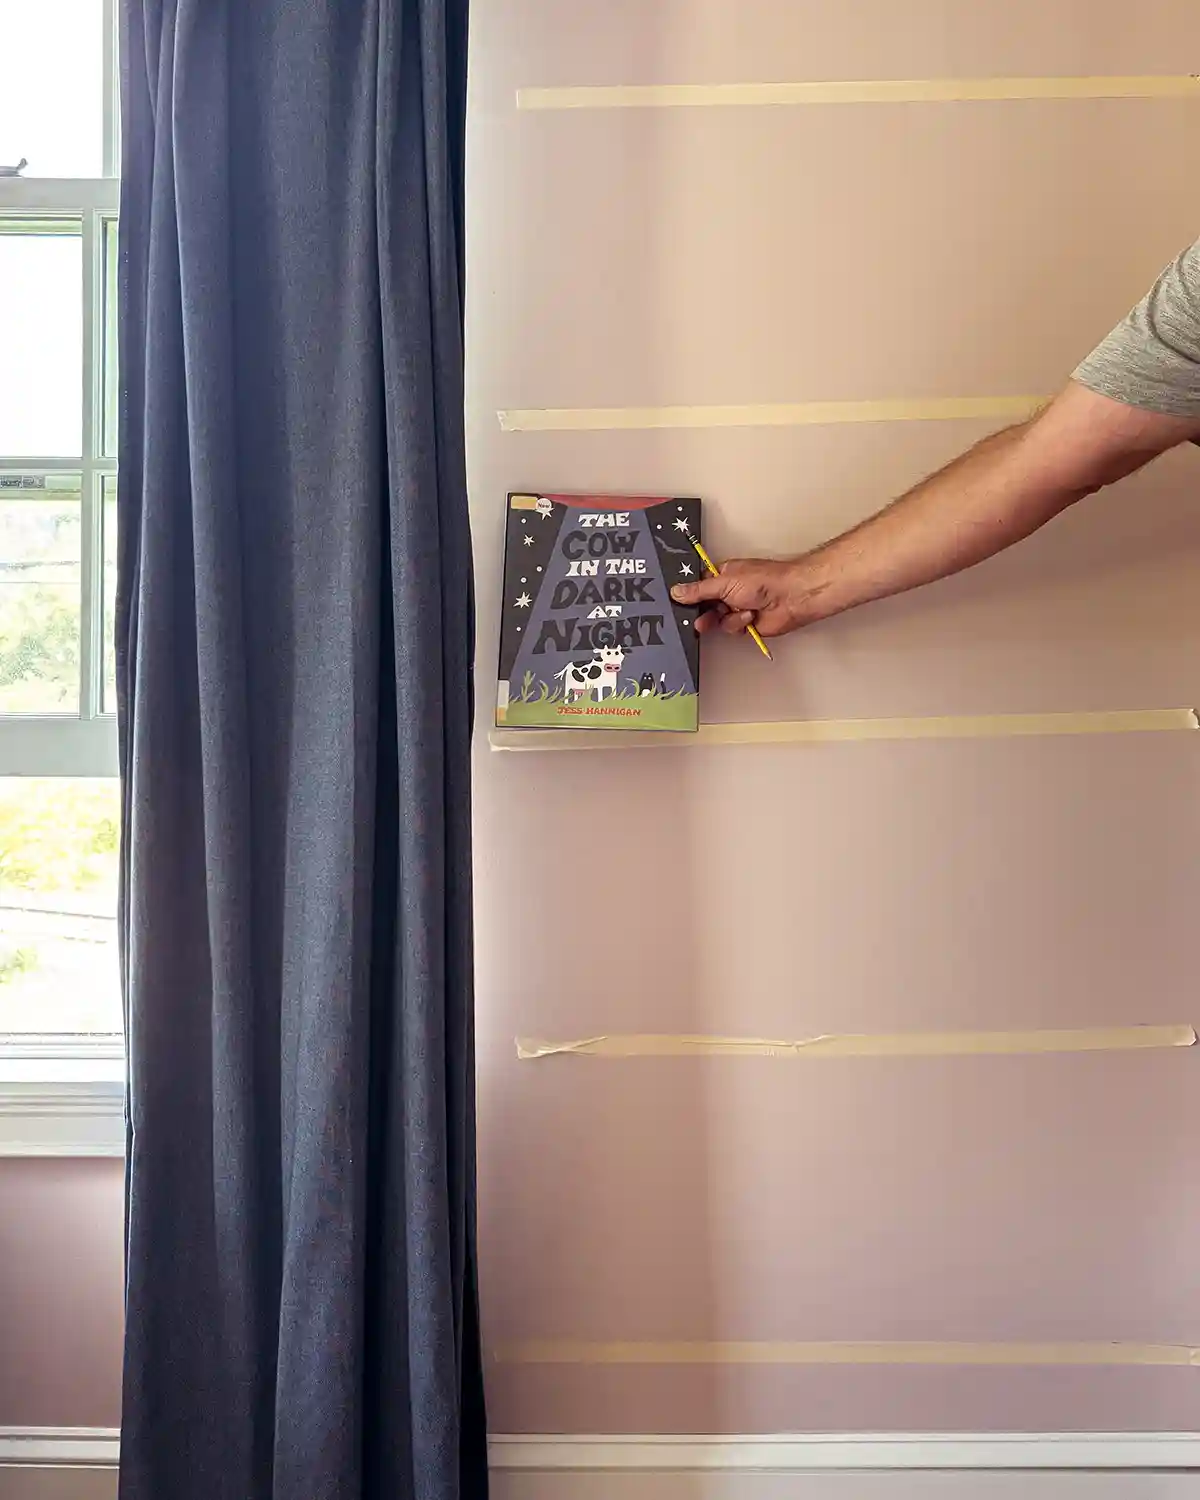
Let me pause to reflect that this was the moment I realized five shelves were too many for the girls’ room. In retrospect, marking the shelves on the wall and “testing” a few books would have been a good idea.
Hang The Shelf
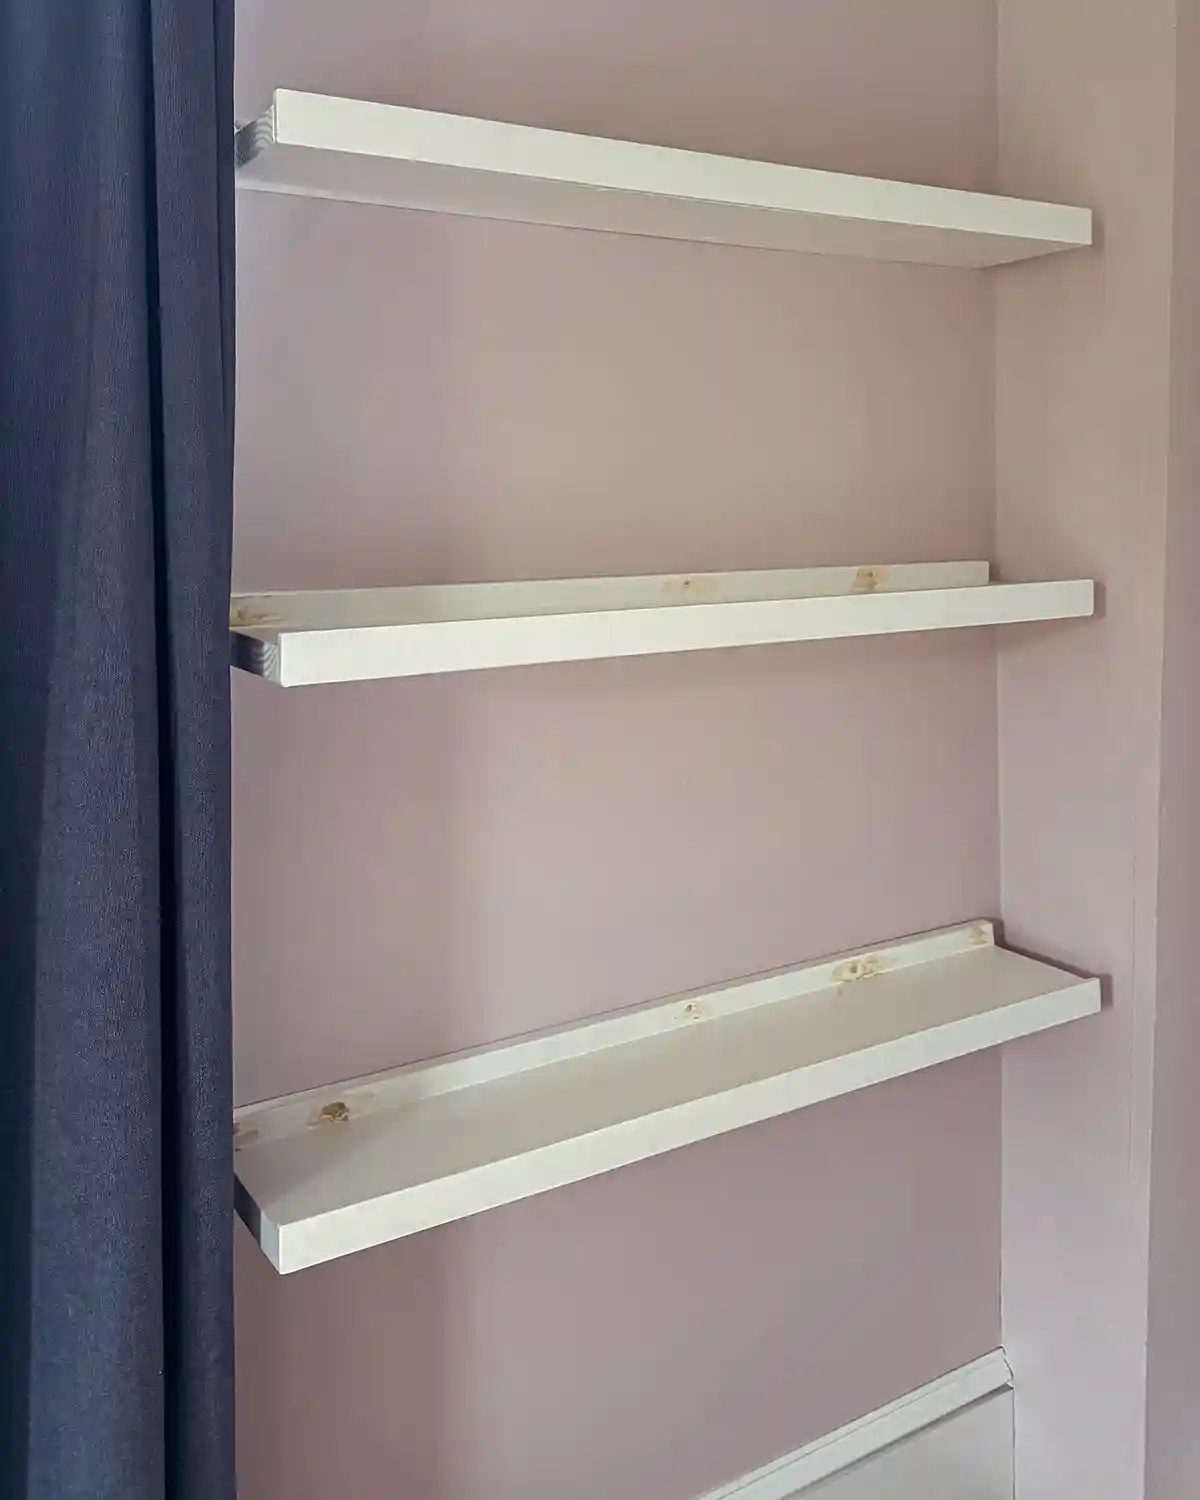
To hang each shelf, we are going to attach them directly to the wall and studs by drilling right through the shelf and into the support behind it. Just like we did when attaching the girls’ dress rack to the wall. You’ll need a level (box beam levels work great), pencil, tape measure, drill, drill bit (for a pilot hole), screwdriver bit, and screws to attach the shelf to the wall.
First, place a level on the first shelf and move it into position, lining the bottom of the shelf with your pencil mark on the wall from the previous step. Mark on the shelf’s back, hanging board, where the studs are.
Now, we are going to drill right through the shelf and into the studs. It helps to have a buddy for this part. Ideally, use a drill bit to make a pilot hole first to avoid splitting the wood. Choose a drill bit size that’s about 70-80% the size of the screws you’re using. Then, switch to a screwdriver bit and screw the shelf into the wall and studs. Voila.
Lather, rinse, and repeat for any other shelves you’re hanging.
Cover The Screw Holes
This final step is a to each their own kind of step. You can leave the screw holes if you wish, cap them, or fill them with putty and touch up the finish.
I went the route of filling each screw hole with wood putty, letting it dry, sanding it smooth, then touching up the paint. We did this with our last set of shelves in the girls’ room, and the screws were still really easy to remove when we needed to take down the shelves.
Set Up Your Kids’ Book Display
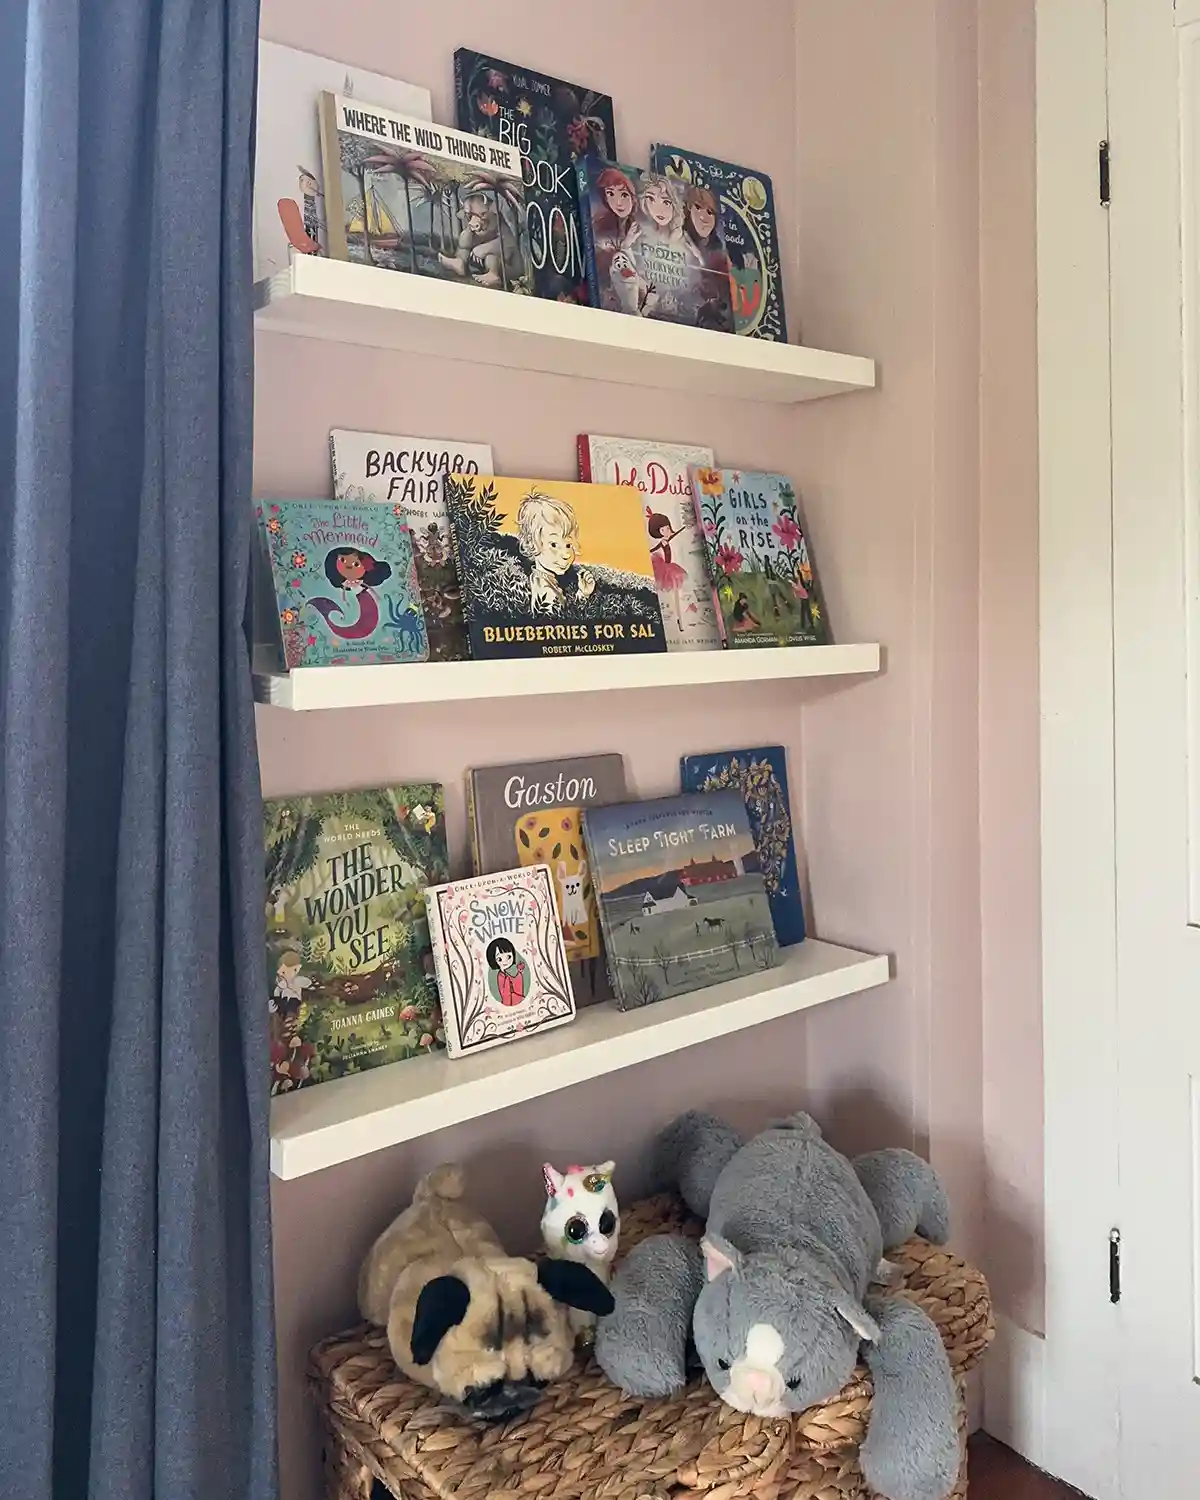
And now for the final, and decidedly most fun step of DIY tutorials: using the new space and setting up your kids’ bookshelf display. This summer, I read an article about the importance of book display shelves for young kids. I started this more for the aesthetics and thought it would be a fun way to rotate up seasonal and holiday reading. But lo and behold, it’s actually important to kids’ reading development.
I have also noticed a sharp decline in the number of books and amount of time our youngest reads since we took our original set of shelves down. Now I know that wasn’t a coincidence.
Picture Book Display And Collection Ideas
And now the fun begins: curating fun book displays for the girls’ bedroom, just in time for all the holiday books. They’ve been begging for Halloween and Christmas books to come out of storage for a while, so I’ve got some work to do. It’s not too soon, right?! And now to dive into Pinterest for some holiday home decor inspiration to dress up the book ledge shelves.
Pssst…Have you made ledge shelves for your home? Or have you also noticed reading habits change when you have/don’t have picture books on display in your home? Do tell! And if you have any questions about this ledge tutorial, don’t hesitate to ask!
Psssssst…While we did this tutorial for book displays, you could also use it for a DIY picture ledge project. Hmmm, maybe I’ll reuse those extra shelves we made to hang photo ledges in the hallway. I love it when a DIY project mistake becomes a happy accident.