About time I get around to the fence building post! Super blogger slacker reporting in for fence building post duty! We teased the fence building project a week or so ago with our raised bed building post. Complete with a teaser photo of that swanky new, built by our own two hands, not one of those pre-fab fence, fences. Say that ten times fast…I’ll wait.
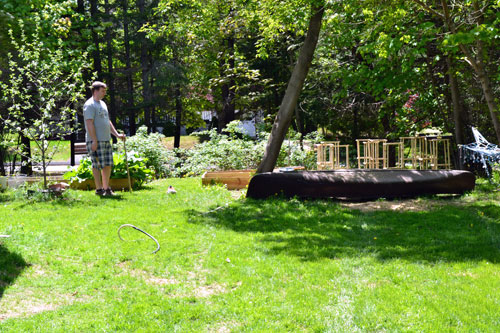
But we have yet to inform you on all the “how we did that”s. So without further ado, let’s dive into the fence building, shall we?! After the raised bed building and before the fence building, our back yard (the veggie garden zone) looked kind of like this:
Note the canoe as the Goose barrier between Goose’s run and the garden. He tends to either A) eat the plants (including rhubarb leaves which turns out are poisonous) or B) lays down in the plants. So on a complete and utter whim we decided to build a garden fence to keep the Goose out of the garden. Seriously, I was at Lowes picking out new plants for the planter box on the shed and ended up coming home with $200 worth of fencing.
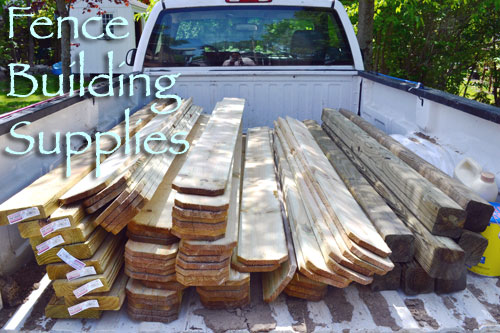
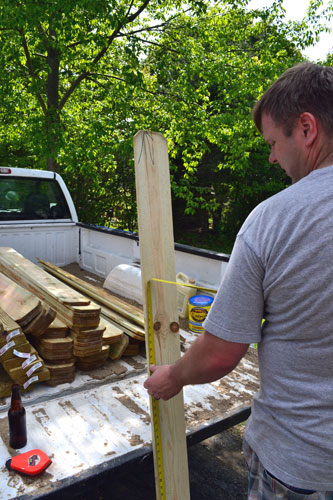
Our supply list for the project included (8) 4″ x 4″ x 6′ pressure treated posts, (8) 2″ x 4″ x 10′ pressure treated railings, and (60) 1/2″ x 5-1/2″ x 6′ pressure treated fence pickets. And just for reference sake, we were building a 48′ length of fence to span the width of our yard. We also came home with a box of 2-1/2″ exterior deck screws. The total cost for the project was about $200 for all the wood and the screws.
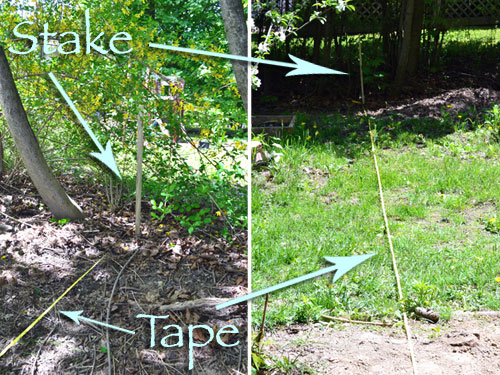
Our first order of business in the fence building process was measuring out the fence. We have one of those awesome, 100′ long tape measures which is perfect for jobs like this. So Colby staked out the fence ends and we ran the tape across the yard between the stakes.
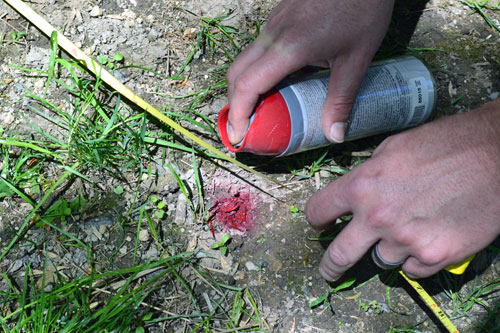
And with the tape resting on the ground, we used a can of leftover red spray paint to mark the locations for the fence posts. We went with 8 fence posts, 4 on each side of the gate, meaning we had about 10′ spans between each post.
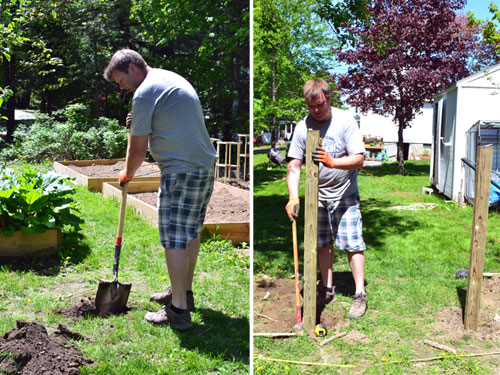
And then came the tedious (Colby job) of digging the fence posts and installing them. This would be the part of the project where I ever so gently ask Colby if we should be digging deeper holes to below the frost line and cementing them so they don’t move during the spring thaw. Colby gently reminded me that this was easier and he doesn’t mind fixing the fence each year. Fixing the fence in the spring will be another Colby job.
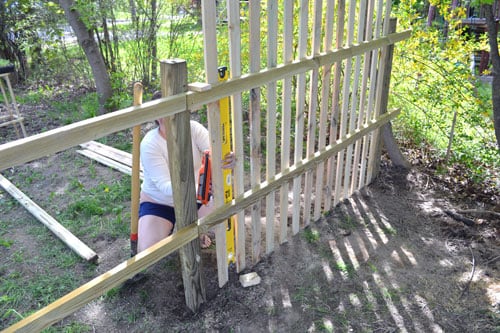
But Colby did spend a decent amount of time making sure that each post was level and spaced level with the other posts in the row. Post installation also included a decent amount of tamping the dirt around each post, which Colby did with an ax head, since we don’t have a tamper. We’re master improvisers!
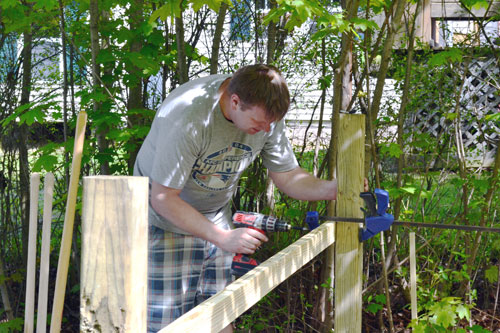
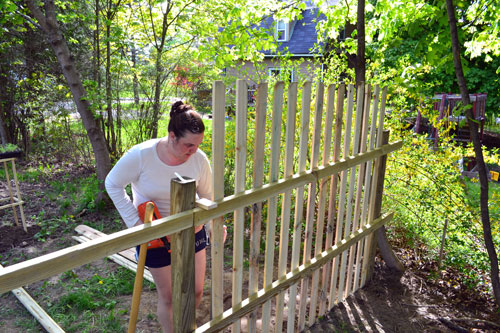
After the fence posts were installed, the next step was installing the railings. We needed two railings for the fence, an upper railing and a lower railing, which provided a surface to nail/screw the fence pickets to. To attach the railings, we first leveled each railing, clamped it to the post, and screwed it in using a pair of decking screws into each post. The railing ended up flush with the last post, but for the posts in the middle, ended up splitting the post with the other railing stemming off of it.
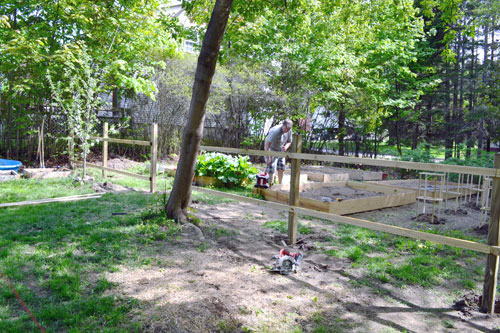
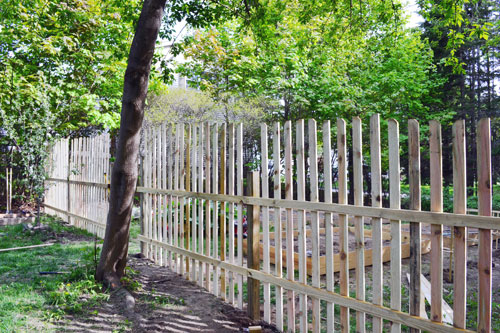
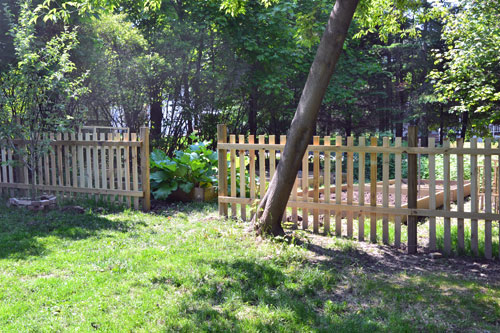
Now would probably be the time to explain to you our biggest challenge in the fence building process, the levelness of our yard. You can kind of see in the pic below that our yard is sloping downward from left to right. Thus, we had two options when building the fence. Do we also slope our fence so the railings run parallel to the ground and the fence pickets are all the same size? Or do we keep the fence railings, posts and pickets all level so to the eye the fence looks level and grows from shorter on the left to taller on the right? We ended up choosing the “looks level” method and we’re so glad we did. The slope isn’t great enough that our fence would look ridiculous this way, and once we garden in front of it, no one will ever know that the fence is about a foot taller on the right than it is on the left.
Now is where we got super crafty. When we first decided to build the fence, we were originally going to purchase a few of those pre-built panels from Lowes since they were cheap and easy. But they also looked cheap and easy. Then we came across these pickets, which were much taller than the pre-fab fence and wider too. Which meant that we could cut each fence picket in half and get two pickets out of just one board. We debated even cutting a little picket design at the top of each board but decided to just go with straight cuts.
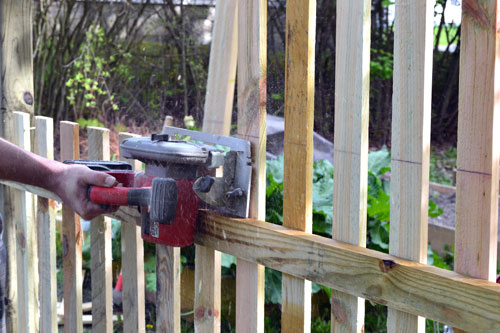
So while Colby cut each board in half with the table saw, I got to work installing the pickets. Armed with a Paslode nail gun and a spacer (an “L” shaped piece of wood Colby made me to use as a spacer…it hung from the railings to make installation/spacing easier), I temporarily tacked each board into the railing.
Making sure each board was vertically level as I nailed away.
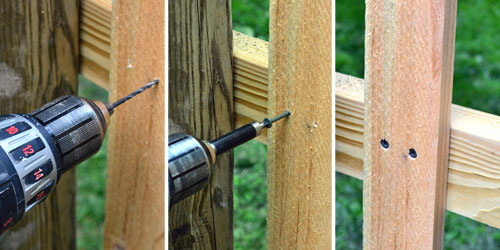
Later, after all the pickets were nailed into the railings, we went back over our work and spent some time screwing each picket into both the top railing and the bottom railing. First by drilling a pilot hole (which prevents the wood from splitting) and then drilling the decking screws into it. To prevent the picket from twisting, be sure to use two screws into both railings.
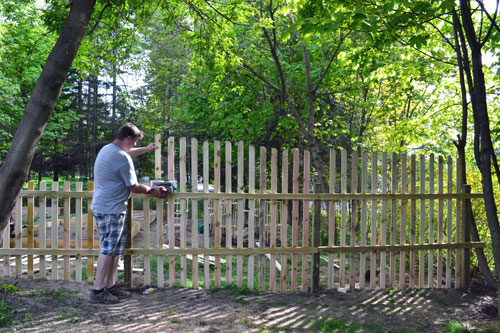
After attaching all of the pickets, the fence was looking extra tall and crazy…hmmm…kind of like Colby (sorry baby…I love you!). Can you see the height difference between the posts and the fencing?! Yeah…we had a little trimming to do.
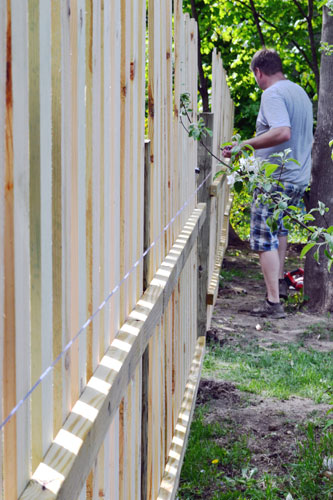
We chose a fence height of what our shortest post was and ran a chalk line across the entire fence, making sure it was level, and snapped the line.
Out came the circular saw and down went the fence pickets. Game day bucket fence pickets go boom!
We realized that the distance from the upper fence rail to the cut mark on the fence was almost the same as the width of the circular saw guide. So to make the job even easier, Colby rested the guide against the railing and just walked across the fence, cutting as he went.
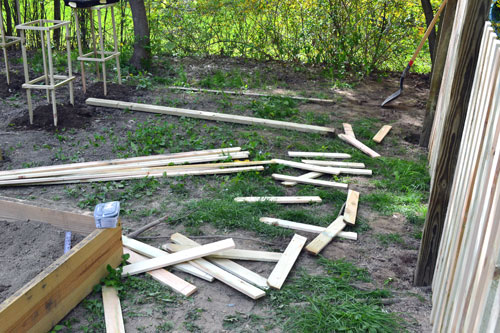
We were left with quite a few scraps, all of which we saved for future projects. After all, we are card carrying members of the wood hoarders club. We’re an illusive club…but always accepting new members. I envision making some planters and window boxes out of them.
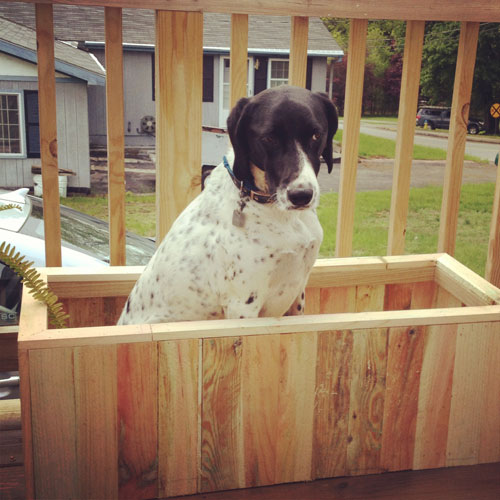
Actually…the Goose-in-the-box Instagram pic is one of those planters that we built out of the scrap wood. Poor Goose.
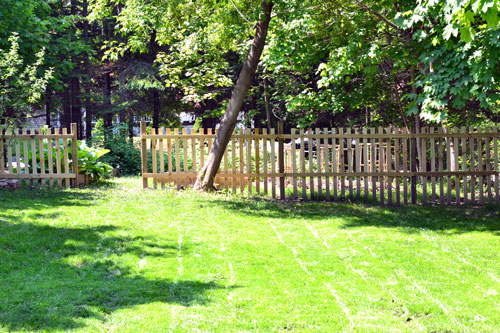
After trimming up the fence, it was starting to look like a real fence, protector of the garden from Goose shenanigans. We still need to build the Goose gate to really keep the pooch out of the veggies. But that’s another post for another day.
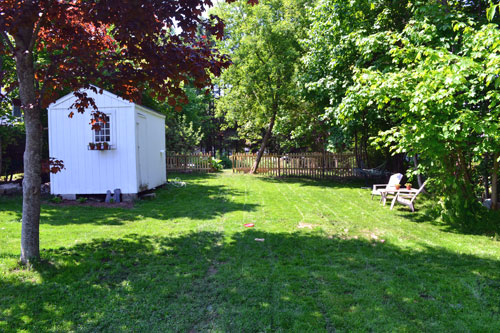
Here’s a shot of our back yard from our driveway looking back towards the garden and the new fence.
You can really see here how our yard slopes downward from left to right but how the railings and the tops of the fence pickets remain level and don’t slope with the yard. I eventually want to plant a flower garden in front of the fence and I’m hoping the garden will hide the bottom of the fence where the slope is really visible. Me and my black thumb are going to head to the local greenhouse this weekend to explore shade loving, rugged can’t kill ’em plants. AND ones that can withstand crushing Goose force as he naps on the plants. Okay…maybe that’s pushing the plant ruggedness.
Pssst…Happy almost weekend everyone! Any big weekend project plans going on at your casa?! Do share!

