After last week’s post about the struggles of DIY (but oh how we love it!), I wasn’t sure that we would ever finish this bathroom renovation let alone finish it in time for reveal day of the One Room Challenge. But after a couple of long nights and a renovation filled weekend, AHOY thar she blows matey!
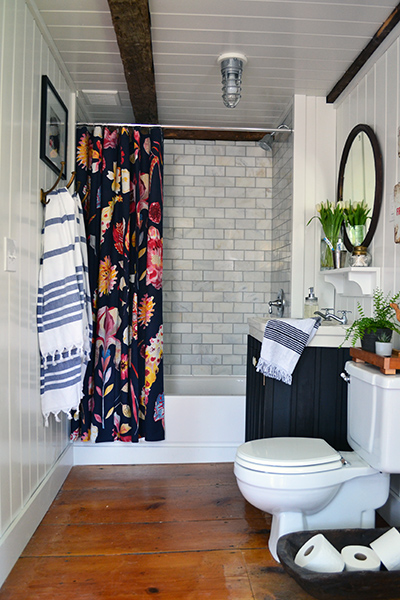
I am so, so, so happy with how this space turned out!
I think my favorite part of the space, which is hard because there are so many favorites here, is that we really mixed some budget items with some higher priced materials and accessories. Granted, our total all-in budget for this project is somewhere around the $1500 mark. Although we’re still making returns and sorting through receipts so a final number is coming soon. I know $1500 is still very budget friendly for a bathroom renovation, but there were some splurges mixed in with our usual savings/low budget route and I absolutely adore how the mix turned out. Next week I’ll have a complete budget breakdown, detailing out where we splurged and saved, but today is all about the absurd amount of photos of our new guest bathroom.
I can’t possibly go any further in revealing the finished bathroom renovation until you’ve seen where we’ve been. This guest bathroom renovation has been a labor of love for us. We turned a former half bath with two closets into a full bath sans closets in just six weeks. Brace yourself!
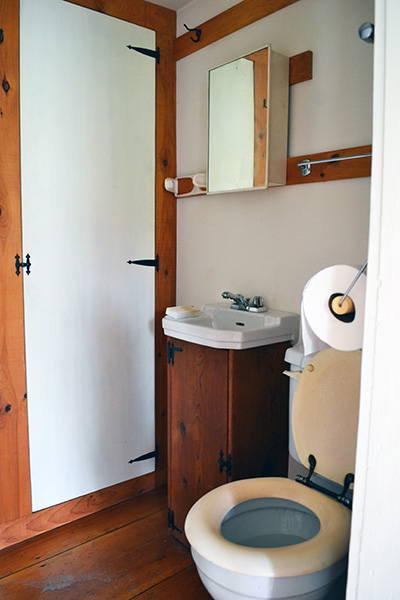
I warned you. Without further ado, let’s start the tour of this large space that totally requires a tour guide (note the sarcasm). Let me get my tour guide megaphone.
In case you’re catching up on the project, you can read about the bathroom demo with before shots, bathroom renovation plan, planking the walls and ceiling, installing marble subway tile, and grouting frustrations.
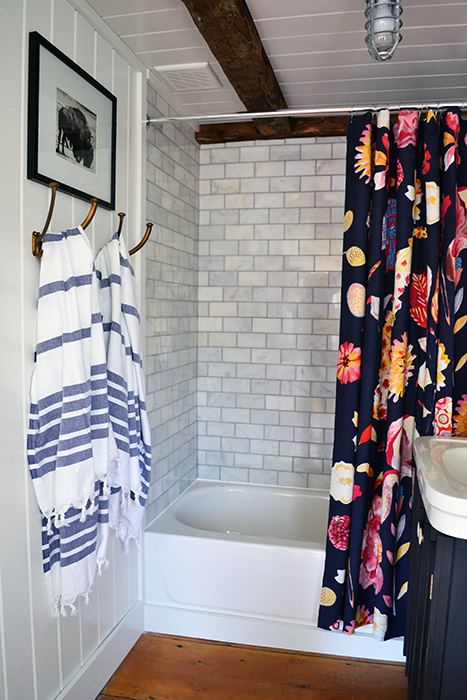
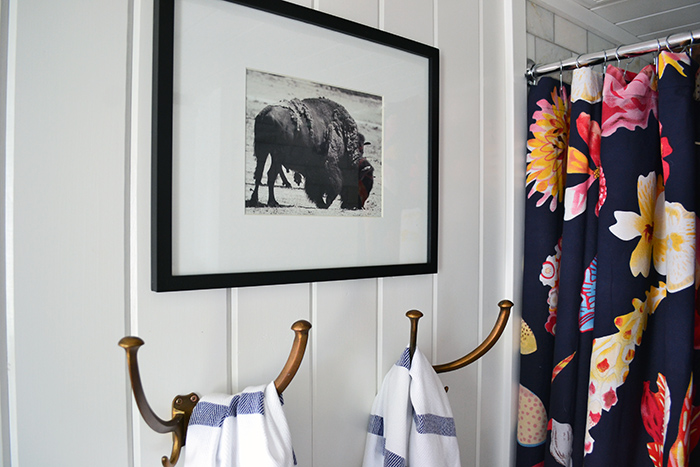
The left side of the bathroom is the towel hanging area. I found that pair of vintage hooks at an antique store in Burlington for $9 this winter and have been hoarding them for a bathroom remodel. It didn’t matter which one of the three potential bathrooms we tackled first, the space was getting these hooks. Hanging from the hooks is a pair of Cacala Turkish bath towels from Amazon. Our regular bath towels are in sorry shape and I’ve been dying to try these out for years. I may just need to replace all our towels with these! The buffalo art hanging above is a free stock photo that I downloaded and printed at Staples.
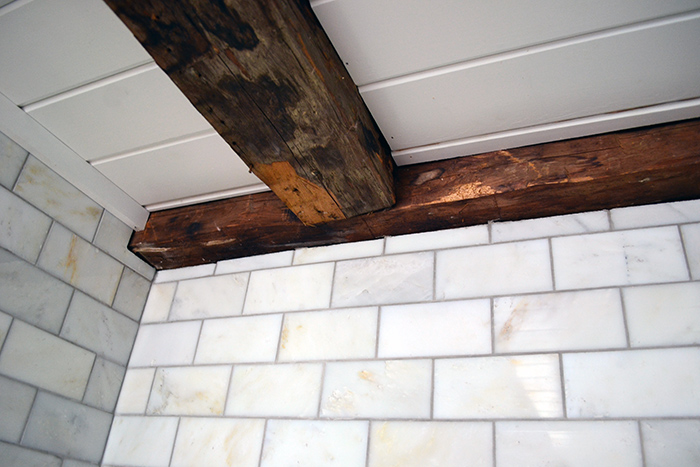
I still owe you guys a “grouting post” that’s not me whining about DIY struggles and why the middle is the hardest part of a project. Until then, here’s a closeup of the marble subway tile combined with an Oyster Gray unsanded grout, and the rustic wood beams that we found in the ceiling during demo. The combo here is why we splurged on marble subway tile. Plain white porcelain tile just wouldn’t have compared to this loveliness. I love how the beams bring out the warmer shades of the tiles.
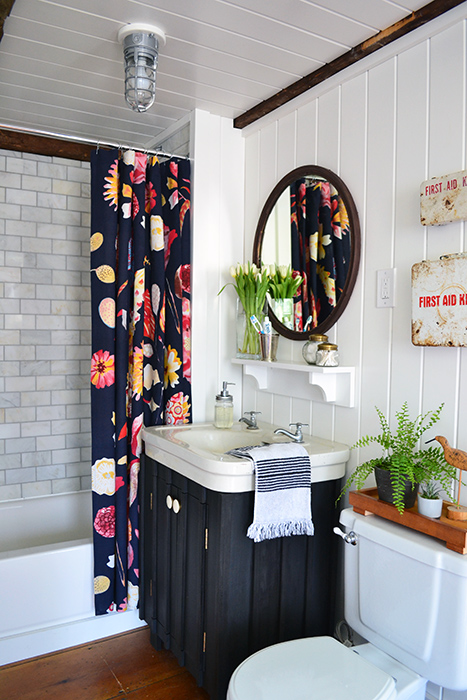
Then it’s off to the right side of the room with the vanity and toilet. Overall, we didn’t change much of the layout in this space. We put a tub where one of the closets was, installed a slightly larger vanity and scooted it a little closer towards the tub than the old one, and moved the toilet over a few inches where the other closet was.
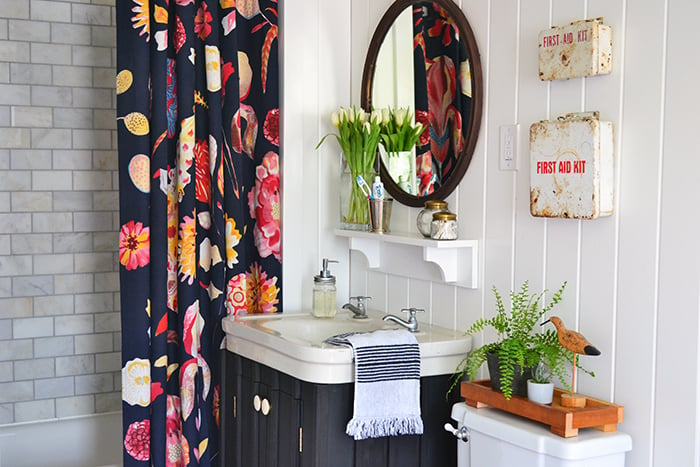
The vanity and sink combo in this space is literally some of our finest work. Not only is it adorable, but it’s all in cost is less than $50.
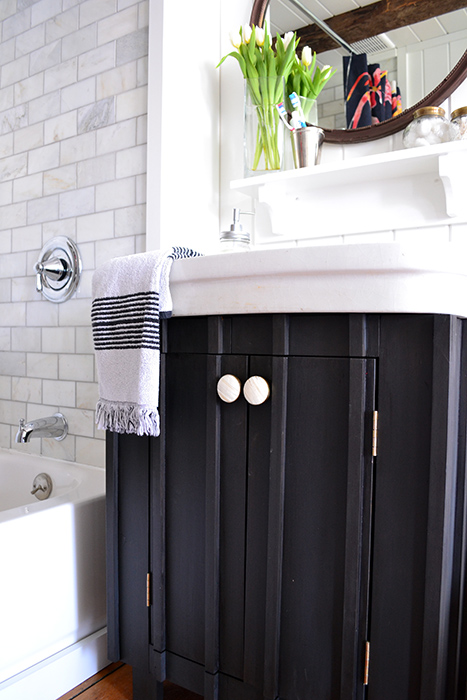
The vanity is composed of a FREE salvaged sink and a base made entirely out of scrap wood from old shelving we tore out of the dining room. The only money we spent was for the paint (it’s Annie Sloan Chalk Paint in Graphite) and hardware (knobs from Hobby Lobby and basic hinges from Home Depot).
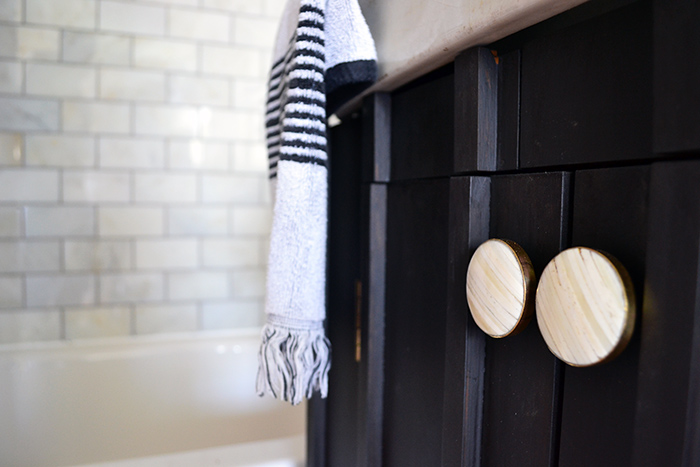
The sink still has some issues that we’re working out (more on that later) and some missing pieces that I’m hoping to find tomorrow picking through hardware bins at Brimfield, but it looks good and that’s what matters, right?!
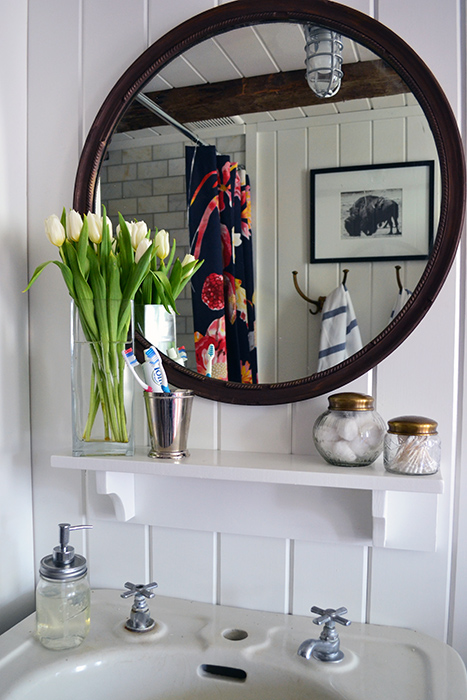
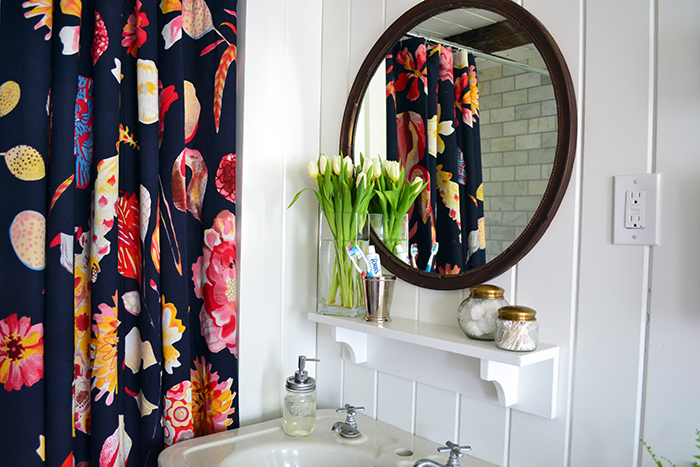
The mirror is another major save and is a $1 flea market find from last summer. It was chipped and missing some chunks, so I refinished it with Rub ‘N Buff in Spanish Copper.
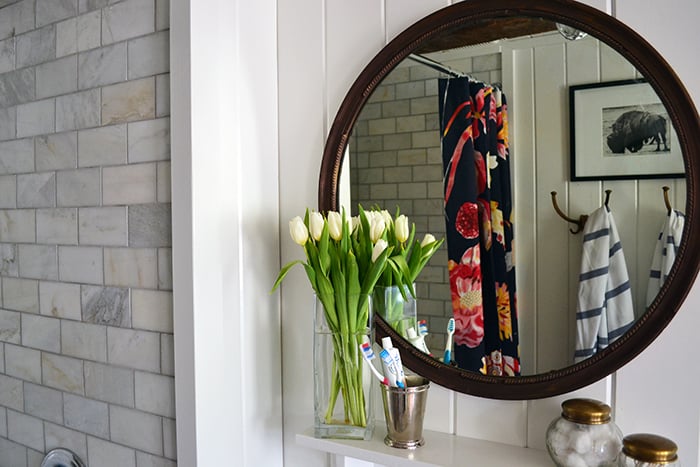
Someday I may replace the mirror with something less about-to-fall-apart, but for now I love it’s charm and the character it brings to the guest bathroom.
Just to the right of the vanity is the toilet. We ended up using the toilet that was already in the guest bathroom we just did a little refinish work on it. When we first moved into our home, we had some serious hard water issues. We’ve since installed a water softener but this poor toilet had some serious hard water damage. Thankfully, some bleach and elbow grease cleaned up most of the hard water stains, a new toilet seat modernized the toilet (boo to wooden toilet seats!), and a new handle/toilet lever combo made it functional again. Looks like new!
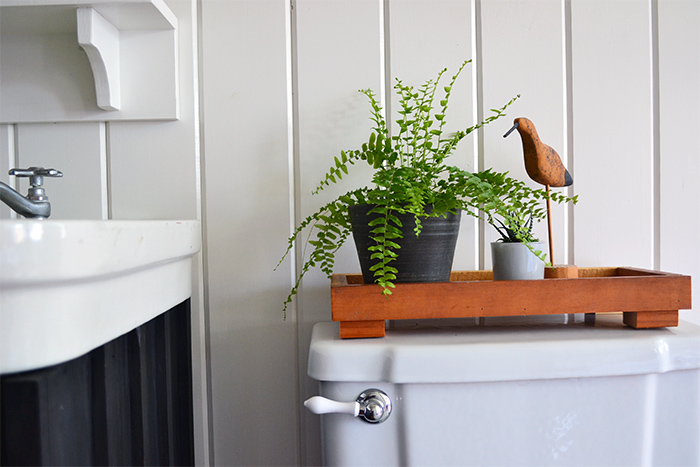
I have to tell you the story of that little tray on the back of the toilet. Late last night…and by late I mean 8:00 pm because I’m clearly not a night person…we were installing everything in the bathroom and I finally got to start decorating it. The white shelf above the sink wasn’t there and neither was the little wood tray. The bathroom felt naked (pre shelf and tray). So naturally I panicked and sped off to Walmart/Home Depot/TJ Maxx and any other place that was open, to look for a tray or shelf for said naked spaces. No luck. On my way home I called Colby about my failed attempt and saw the DIY light. I asked him to build me a rustic wood tray with feet just a smidge smaller than the toilet back and a shelf with brackets for over the sink. It’s a 35 minute drive from the shopping facilities to home and by the time I walked in the door he had built both. So on the record, my husband is officially amazing and a bathroom decor hero!
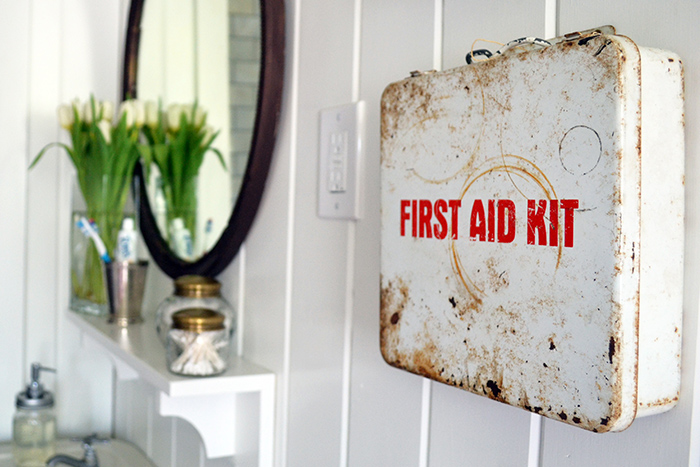
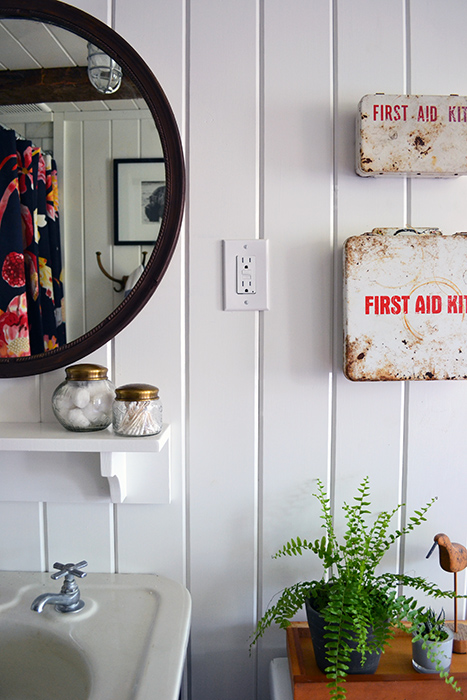
I know I already said that smiling the high/low mix is my favorite part of this bathroom renovation, but it may be those vintage first aid kits hanging above the toilet, complete with vintage first aid kit supplies. While I may toss the 40 year old bandaids and saline and replace with fresh supplies, I couldn’t resist their vintage charm when I spotted them at this great shop in Burlington, VT called Barge Canal Market. The kits bring so much soul to the bathroom. More soul than you could ever find at large retail establishments…I’m talking to you Target although my decor-loving-heart sings for you too.
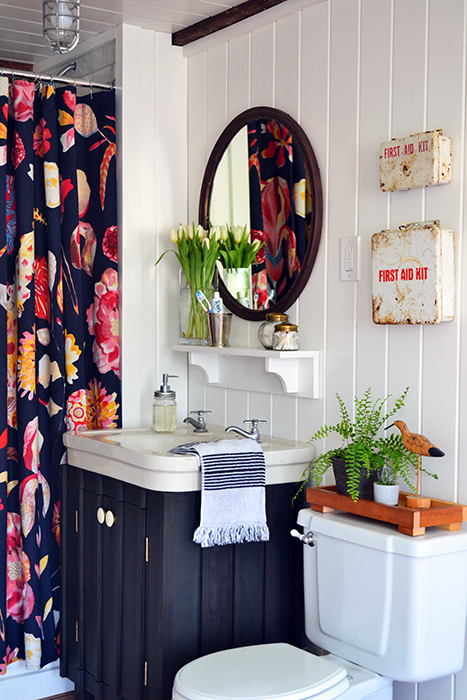
The Anthropologie shower curtain is the biggest splurge decor wise clocking in at $70 (after coupon). I had been drooling over that shower curtain for a long, long time so I sprung for it not knowing which bathroom we would tackle first or which bathroom the curtain would end up in. I justified the splurge since (A) our old shower curtain suffered a very unfortunate bleach accident during our move, (B) the Anthro curtain could truly be the color hero of the bathroom, and (C) I had a rare Anthro coupon.
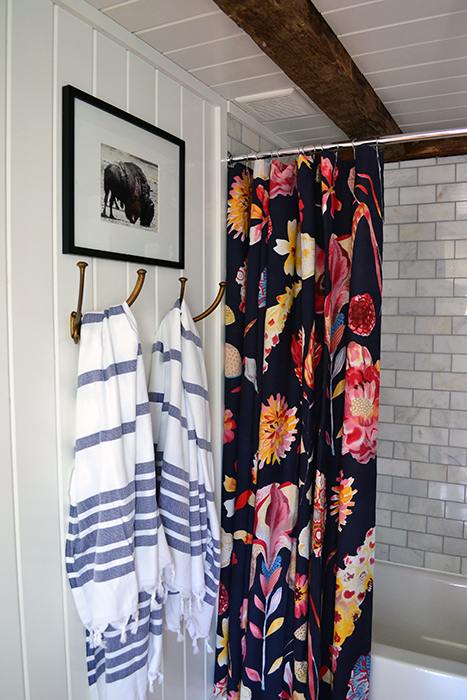
We still have a little bit of tweaking to do in the guest bathroom. Mostly things that we forgot about until late last night. Like a shower curtain liner. Some things that need more time to fix. Like ordering a different fitting for the shower head so the plate behind it can actually slide over the neck. And some things that we just totally messed up. Like breaking and losing parts to our old spring loaded, corner shower caddy. But we’ll take it. We’re about 95% there.
As I was photo editing these bathroom renovation photos, naturally I was thinking about the next project. Always thinking ahead! Honestly, I want to capitalize on the guest bathroom project and spill out into the guest bedroom. The bathroom is so, so small and lacks good storage. I’m already scheming ways to add some bathroom storage (for towels, extra blankets, soap, candles, and other amenities to encourage guest-ing at our house) to the much larger bedroom space. Stay tuned.

We still have a few more posts about the bathroom renovation to write. Like a how-we-did-it on the bathroom vanity, a grouting tutorial, and a complete budget breakdown. But until then, we’re soaking in the finished (almost) bathroom renovation.
Pssst…thanks all for stopping by! And to all my fellow One Room Challenge participants, how did you guys all do?! Loving your new spaces but glad the sprint is over?! I hear ya!


Angie, gorgeous!! I love it so much. The mix of old and new is so perfect. I can’t even pick what my favorite part is, it’s all so great!
Beautiful! I love it! You two did some amazing DIY!
I love this! The mix of marble and the wood is so beautiful!
Oh my goodness, it looks amazing!! Great job!
Love this transformation! Beautiful space. 🙂
This is one of my favorites so far. Simply the cutest transformation. New Follower 🙂
such a fun space- i love the splash of color in the shower curtain!
Incredible, Angie! Just incredible! The before to the after… I mean, wow. I think splurging on the Anthropologie curtain was a good choice – the pop of color and pattern is so fresh and fun!
What can I say except you guys ROCK!!!!!!! It’s beautiful; awesome job!!!!!!
That vanity and sink is just the best! I love how you made the colors come together so well to achieve the look! The curtain looks lovely – so glad you had a coupon to cut down on some of the expense for it!!
I love everything about your bathroom. Its so beautiful. Great job!
Wow, you did an amazing job! I love the wood beams and that shower curtain is so pretty.
Love the tiling, ceiling and those awesome vintage tin boxes!!!!! Congrats and CHEERS to us for another room done!
OH MY GOSH! This bathroom is incredible! The shower curtain is killer, and all the other vintage, thrifty pieces you added are so amazing! Wonderful job!!!
I love all the details in this space. From the ceiling – wall treatment to the tile…all the details are amazing!!! Well done!
I love that shower curtain! The whole bathroom is adorable! Great job!
– Jaclyn
Wow… just wow.
Wow. That room has come a long way! I love all your budget-friendly finds. And those first aid kits add so much character.
Wow – turned out great! All that hard work installing the marble tiles paid off; now time to enjoy the space 🙂
I want this shower curtain so bad but can’t find it anywhere 😩
I can’t find the shower curtain either.
Sadly, the shower curtain is no longer available. We bought it from Anthropologie and shortly after purchasing it I think they sold out of them and didn’t bring them back. I haven’t seen this curtain since (such a shame because it’s such a great pattern!).
Sadly it’s no longer available! Shortly after we bought it, it disappeared from Anthropologie’s website.
Hello from Southern Vermont! Love the bathroom! And that shower curtain has me swooning! I wonder if that fabric comes in curtains or a wallpaper!? Do you know who made it??
Ooooh…you’re in Vermont too?! Exciting! The shower curtain is made and sold by Anthropologie and as far as I know, they only used the pattern for the shower curtain. Sadly, shortly after we bought it for our bathroom it was no longer available and hasn’t come back since.
I’m so in love with this! Any tips on hanging the first aid kits?
Unfortunately I don’t have great tips on hanging them. It was so simple to hang these particular metal boxes because they had hanging tabs on the top so we just had to screw right through the holes and into the wall. But if they were just metal boxes without the hanging tabs, I’m pretty sure I would have just screwed straight through the back of the metal box and into the wall, starting with a drill bit meant for drilling through metal and then finishing with a sheet rock screw to hang it. Hope this helps!