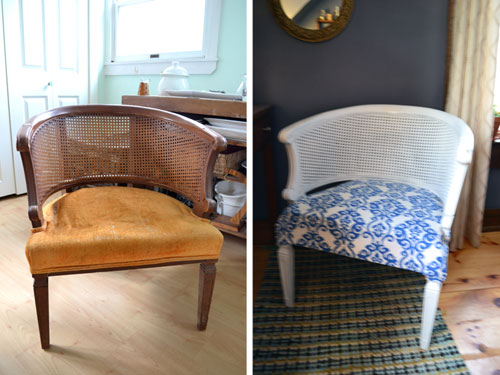
So let’s pick up right where we left off. Yesterday, I revealed the new chair for the craft room, which was a remade $5 thrift store chair find.
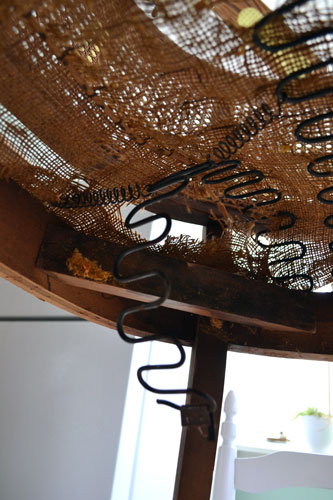
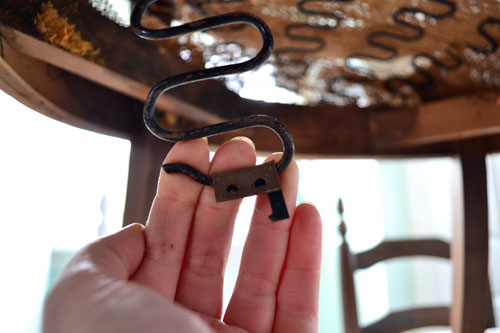
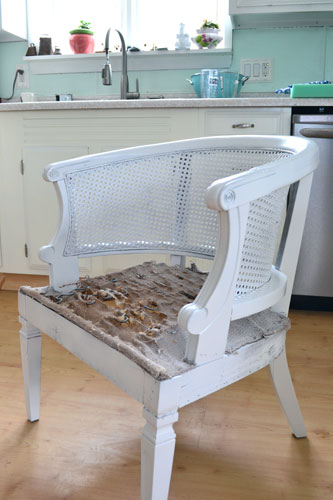
But didn’t show you how I did it. Well, today we’re going to rectify that…a little bit…starting with the spring. The chair had a broken spring, which was one of the major reasons why the chair was so cheap! Can you see the broken spring poking through the bottom of the chair?
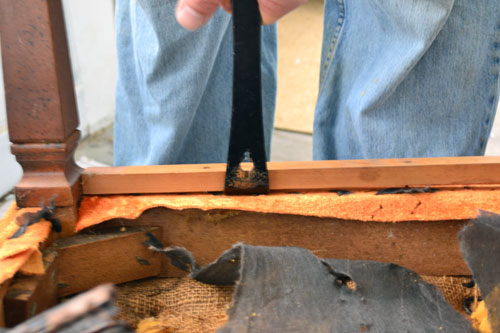
But before we could fix the spring, we need to un-upholster the chair. Which included a little crow bar demo.
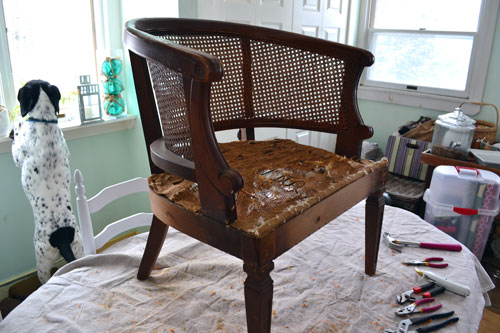
And a couple hours or ripping and tearing and removing every shred of that hideous seventy style fabric. The staple pulling was the hardest part. They were so old and brittle that they wouldn’t come out of the wood and would break off leaving staple shards ripe for hand cutting. But we used an arsenal of utility knives, pliers, needle nose piers, and (when all else fails) hammers to take care of all those staples. (Note the Goose photo bomb…he was protecting the house from evil squirrels).
With all the upholstery fabric and padding removed, the chair spring was revealed in all it’s broken glory.
Turns out that a small piece of the metal that was nailed to the chair frame broke off. Nothing a handy hubby and a little nailing work couldn’t fix. Of course Colby fixed the spring right up…some might say he “nailed it”…har har har. Sorry.
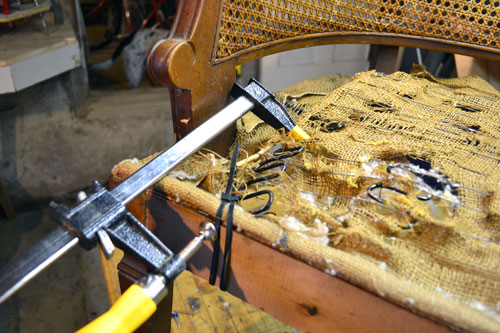
Down to the shop the chair went where Colby worked his magic. His first step in spring fixing was getting the spring back into place, which is much harder than it looks. Springs have the incessant need to “spring” so Colby started off by zip tying it to the frame.
The zip tie almost brought the spring into the right spot so Colby could nail it into the frame. It just needed a little extra oomph…kind of like that 5’2″ basketball player trying to dunk. It just couldn’t reach and needed a little assistance.
Enter the woodworking clamp, which pulled the spring into the right spot.
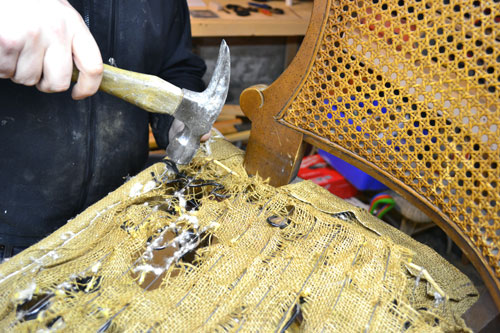
With the clamp and the zip tie holding the spring in place, Colby used an electric drill to drill a couple of pilot holes into the chair frame. The chair was a hard wood, meaning just nailing in a pair of leftover roofing nails into the chair frame wouldn’t work too easily. The nails needed some help starting into the wood.
Then Colby just pounded in a couple nails into the chair frame, properly securing the frame.
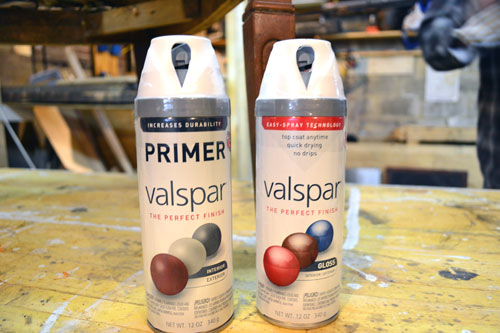
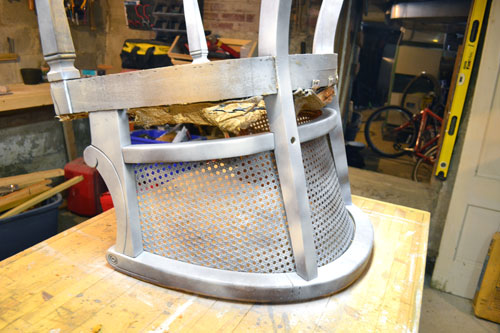
With the chair spring fixed, it was painting time…booyah. And I armed myself with a couple of cans of Valspar spray paint and primer in white.
I’m thankful Colby doesn’t mind my spray painting furniture in his man cave workshop. You know…since it’s about two degrees outside and snowing. I can’t wait for spray painting season summer.
After three thin and even coats of the white spray primer followed by three thin and even coats of spray paint, the chair was painted.
The next step was upholstering the chair which was a whole other beast of a project. I’ll save the gory details on that one until tomorrow. Let’s just say that on Sunday I cracked a beer at 11:30 and vowed to have the chair upholstered by 12:00. Four hours later, I finished it.
Pssst…So how about you guys? Find anything at a thrift store that needed a little help but was soooo worth it? Or completely underestimate how much time a project would take? I do that FAR too often!






I have a chair that has vertical springs in which 2 of the springs have broken into. I would like to know how I can fix this.
So Helpful!