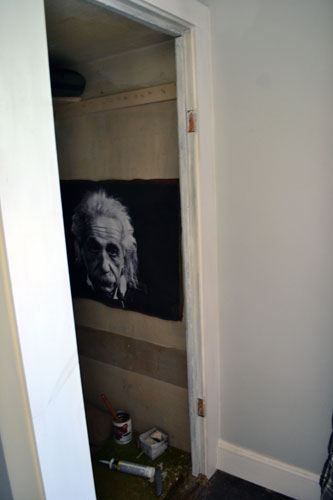
We’re just going to keep this little “how to fix old stuff” train right on rolling through. Yesterday we talked about how to restore old hardware and today we’re going to dive right in and do the how-to-fix-old-trim post. But first, let’s say hello to our basement dwelling friend, Mr. Einstein, who’s hanging out by the trim we’re about to fix. Colby doesn’t like my Einstein poster so he was banished to the basement.
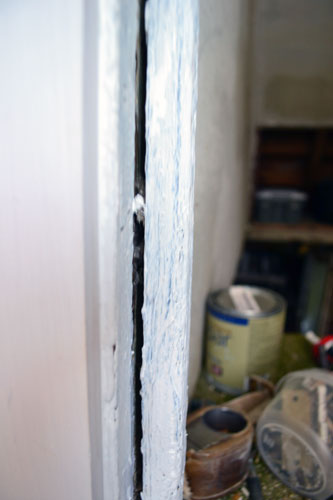
Colby and I have fixed our fair share of old trim in this old home of ours, and one thing that we’ve learned in the process is that it makes it so much easier to see what you need to fix if you first clean up the trim and give it a coat of primer. It’s amazing how just one coat of primer makes it easier to see areas that need fixing and areas that you might have thought needed fixing but just needed a little bit of paint. In our case, a coat of primer revealed some serious gappages going on where the basement door casing was pulling away from the wall.
So I channeled my girl Ana White and grabbed some tools and got to work fixing our old trim. The first step…pound in the trim using a hammer. Sometimes the trim just needs a good pounding (haha…that’s what she said…sorry…for some reason when I use tools it makes me feel like a 13 year old boy).
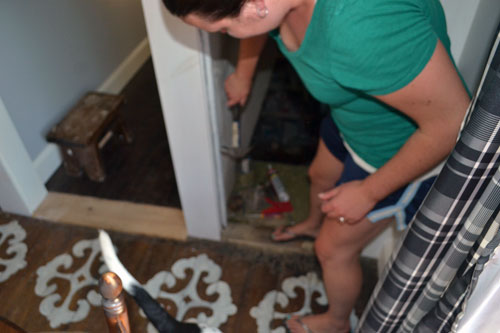
Then I brought out the big guns…and by guns I mean the nail gun.
And sorry about the blurry-ness going on up there. Colby is working on his camera skills while I’m working on my tool wielding skills. It’s like some weird role reversal thing is going on in our house. Colby has even been…gasp…cooking! Now if he starts doing the laundry…and liking it…I’ll know we’ve got a twilight zone situation on our hands. Anyway…using the nail gun, I tacked the trim with a few nails, securing it to the wall. In lieu of a nail gun a simple hammer and nails works fine.
The hammering and nailing combo made huge strides in repairing the door trim but there was still a minor gappage going on.
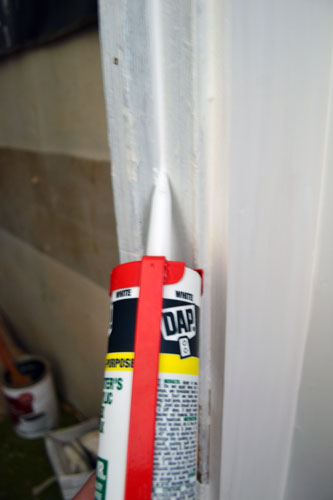
A gap of this size can easily be fixed up using a tube of caulking and a caulking gun. You just layer on a thin bead along the areas you’re trying to seal up and then run your finger down the seam to smooth it out, Holmes on Holmes style. He’s got a thing for caulking. And tearing things apart.
So after pounding in the trim, nailing it, and caulking it, the trim was starting to look much more respectable.
Now it just needed a few coats of glossy white paint to match the rest of the trim in the room. And confession incoming…the trim along that side of the wall had never been painted, only primed. Doh! So I took a little time to catch up on that nagging project and painted the trim…hence why this project was taking so long to complete.
Have you noticed I’m trying to put my mug into more pics in these posts?! It was one of my blog-o-lutions for 2012. But it has proved most difficult to do since in most pictures I’m sporting my signature smile:
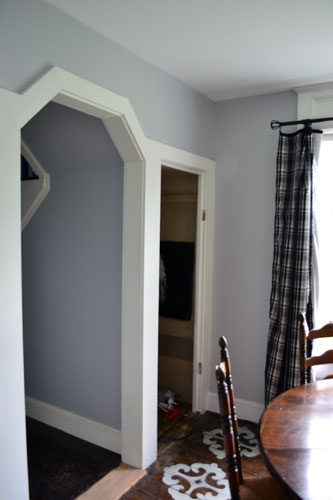
God help our wedding photos! Not cute nor one of my prouder moments. I just can’t help it…when there’s a camera in my face I feel the need to show you ALL of my teeth. They are pretty teeth after all. So after a couple coats of paint, the basement door trim in the dining room was really starting to shape up.
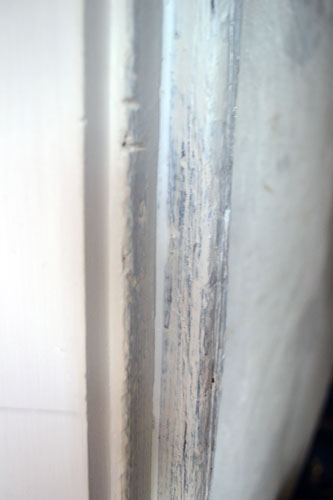
And here’s a closeup of the trim so you can see the old trim (on the right) vs. the new trim (on the left).
Big, BIG difference. You can tell the old trim has taken a serious beating over the years. It’s full of dents, flaked off pieces, holes, and serious dings. But I wouldn’t trade it for the world. I love old trim and I think it gives an old home some serious character. It ALMOST makes me want to take some chain, or nails, or a hammer to the new trim to make it all beat up. Or I’ll just teach Goose to attack the trim. That would work too. He has done a number on some of the window trim in our house trying to chase squirrels!
Okay, now that we’ve talked trim can we just talk about how ridiculously awesome Ana White is?!
I’m not gonna lie, I pretty much want to be her. How badass is it that she builds furniture and houses, and jewelry boxes oh my! She’s like the DIY version of Angelina Jolie in Tomb Raider…or Mr. & Mrs. Smith. AND she can go from pumps to Carharts in 2.1 seconds flat! She’s my idol! Hence my new found infatuation with power tools. So far I’ve mastered the multi-tool, orbital sander, belt sander, impact driver, and now nail gun. Saws still intimidate me. Give it time.
So now we’re waiting for all the trim paint to dry up and really harden before installing the completely re-done basement door. Hopefully by Friday we’ll have the door back in place…woo to the hoo let the celebration begin!
Pssst…You can catch up on all our door refinishing projects here when we painted the door blue and here when we restored the old door hardware.







I’m so proud of you for actually doing things around your house that need doing. I have been terrible about fix-its around here. I’m not handy, and I have no patience. 🙂
On the upside, it seems you’re taking some good strides toward getting the house ready for wedding company! Yay!
Haha! That’s totally my motivation…wedding. You’ll see…it will happen with you too!
You are a caulking goddess! Do you just use your finger or a fancy tool to smooth it? I bought the fancy tool but end up using my fingers but I think I cut the caulk tip too big so mine always comes out extra fat and sloppy looking. I love caulk though. For older homes when things don’t see to sit right or there are cracks and gaps, I just caulk it, no lie! Old Town Home recommended a caulk called Big Stretch or Super Stretch or something like that, apparently it can stretch up to 2 inches without cracking, especially good for wood that contracts and expands with the heat. Which kind did you use? I think I just used DAP.
DOH I see the DAP now in your photos!
Hahaha!
Whoa! That stuff sounds so cool! I might have to try it. I’ve noticed in our bathroom that the gaps have expanded and the caulking not so much. Awesome tip…thanks so much!