With a certain someone’s 2nd birthday just days away, it’s time to create one of my favorite birthday traditions. The giant number photo collage.
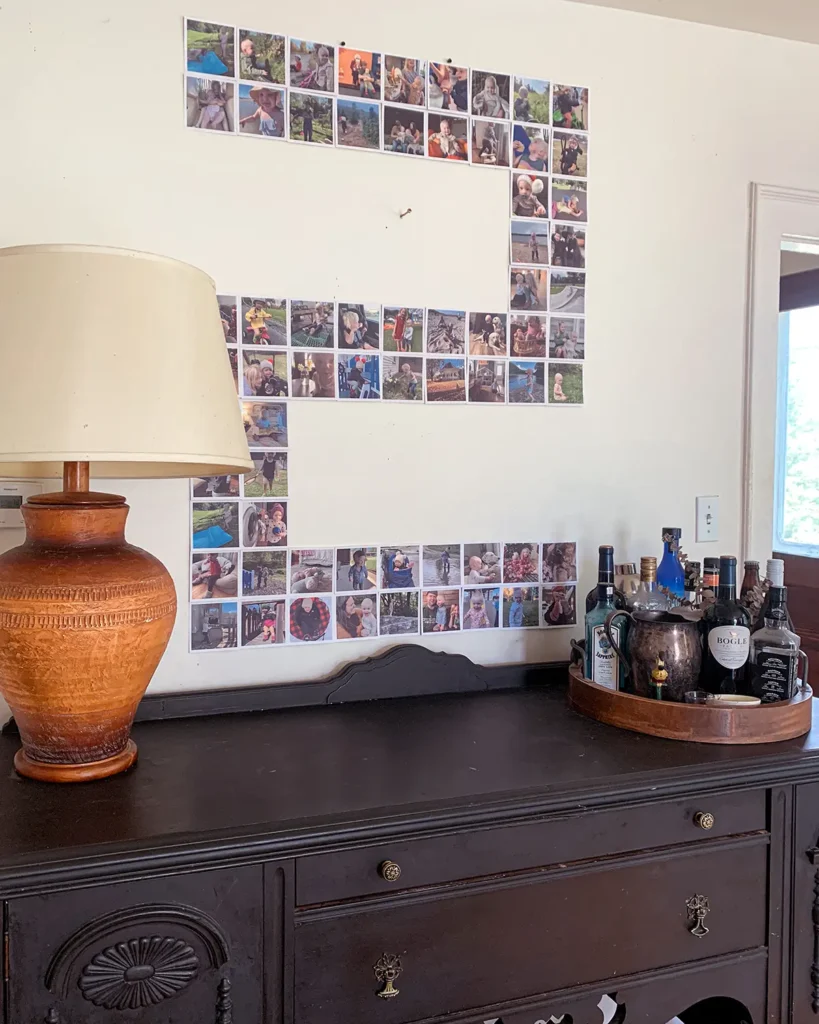
I’ve put this birthday year photo grid on the wall of our dining room every year for each of the kids’ special days. It’s so much fun to make so today, let’s make the number collage together.
Here’s the dining room on a regular day, where the number photo collage will go:

Supplies List
The supplies list for this project is super minimal:
- Square Prints (I use Parabo Press for mine)
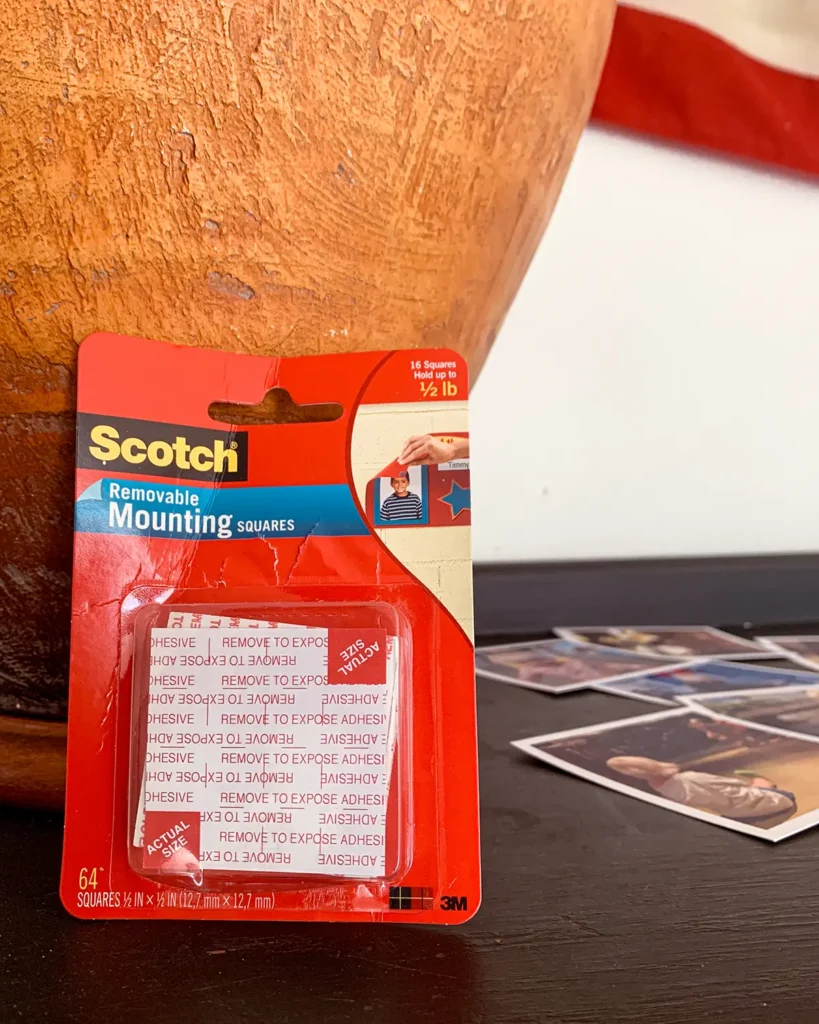
- Removable Mounting Squares (Staples)
- Tape measure
- A level or laser level can be helpful, but not necessary
Select Your Photos
This is the hardest part of the whole process, sifting through all those memorable moments and choosing photos.
For each birthday photo collage I’ve made, I only use pictures from that year. So when Rowan turned one, I only chose pics from her first year. When she turned two, I selected images from year one up until her 2nd birthday. You get my point.
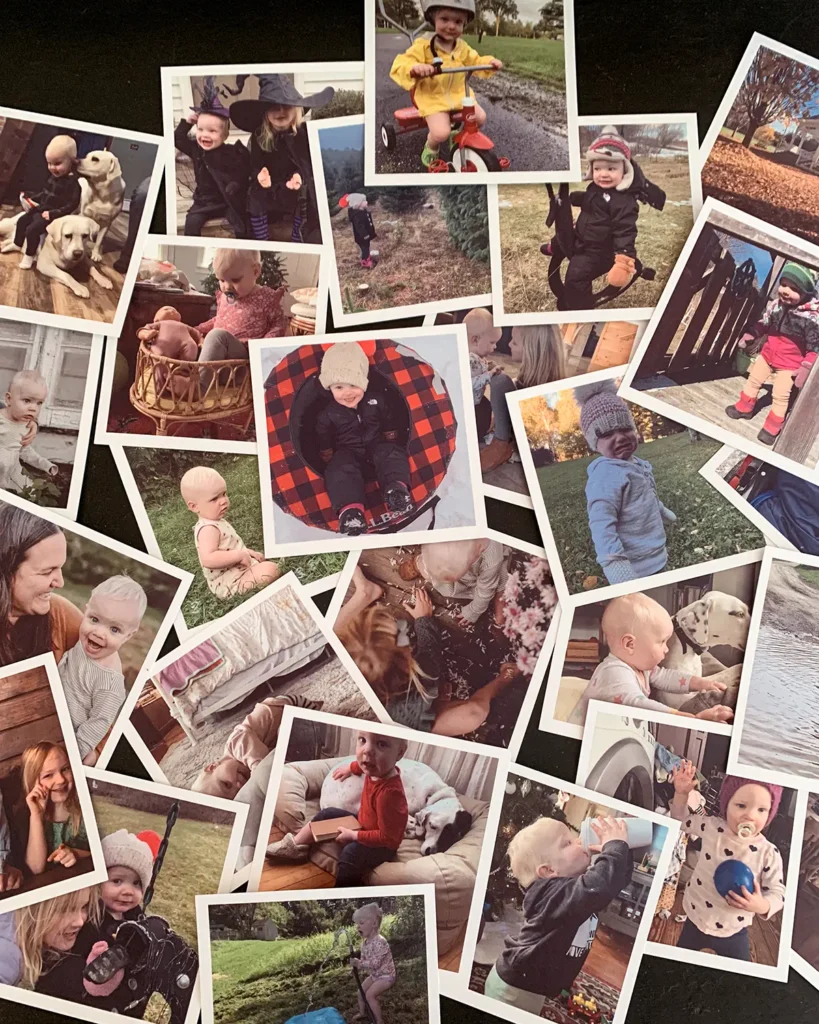
Since all the photos of our kids live on our phones in a shared album, I sifted through them all and added all the ones I liked to a “birthday” album. I always select WAY more photos than I need. I like to place an order for around 100 prints. Typically, I only need about 50-75 prints, depending on the different photo numbers (or different shapes and picture letters) I’m making. What can I say, I’m a girl who likes to keep her options open!
After I’ve picked all those top-notch photos and popped them into an album, I weed through them to get the number down. It’s so hard to pare down the images. So so hard. But eventually, I got that album of 200 photos down to a reasonable 100. Then it’s time to order.
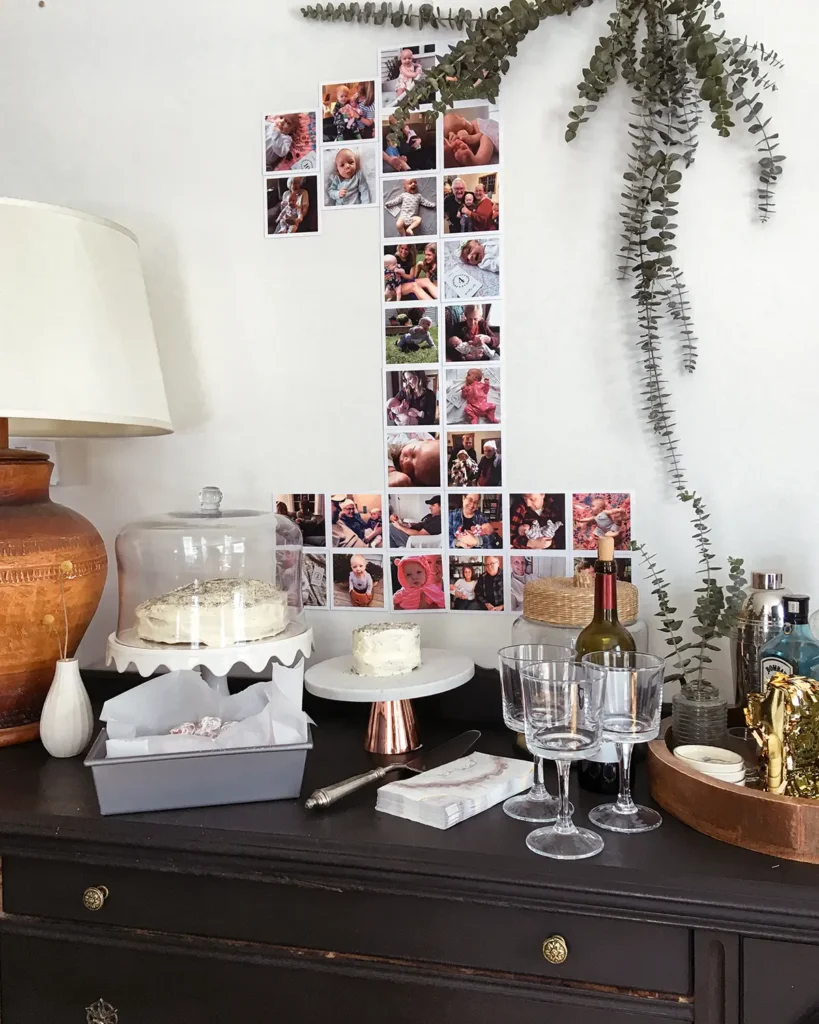
The first number photo collage I did for Rowan’s first birthday:
Order Square Prints
There’s something about the square prints that creates an easy shape of a number. I don’t feel like 4″ x 3″ or 5″ x 7″ prints would create the same type of number shape collage as the square prints do. For the size of photos, I always order the 4″ square prints with a white border from Parabo Press.
Why I Love Parabo Press
Oh how I love thee, Parabo Press, let me count the ways! I have ordered quite a few photo prints from there, including the family photos hanging above our vintage steamer trunk in the dining room. Here are a couple of (non-sponsored) reasons why. One, they are a small 100% women-run company in Wisconsin. Two, the prints are eco-friendly. The thick matte paper used for their square prints is certified by the Rainforest Alliance Program for FSC Standards. (Insert mic drop here.)
Parabo Press Prices
The prices at Parabo are also pretty reasonable. To get a pack of 20 square prints it costs $10. Then, every additional square print you add to your order is $0.25. If you sign up for emails, they often send coupons for discounts, promotional materials, and free shipping. I almost always take advantage of the free shipping coupon option.
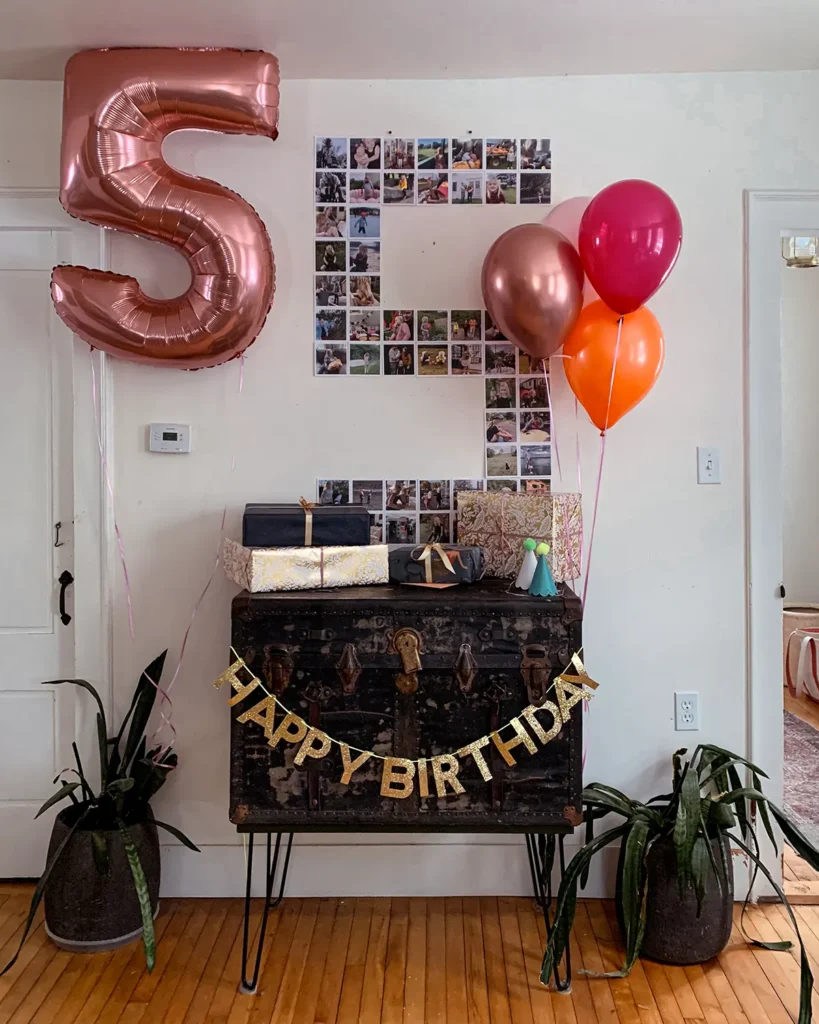
Rowan’s fifth birthday number photo collage (also note our ever-shifting dining room setup):
Parabo Press Shipping
Parabo Press’s printing and shipping time is also relatively quick, especially considering the prints are traveling across the country from Wisconsin to Vermont. I ordered these prints on August 17th and they arrived on August 25th.
However, I do usually pay extra and upgrade to expedited shipping. Mainly because expedited shipping is the only option that includes a tracking number. I’m also a girl who likes her tracking numbers!
Cropping Photos
One BIG tip when ordering square prints is to double-check the framing. It’s happened so many times. I’ve uploaded all my high-resolution photos to Parabo Press and hit “add to cart” without double-checking where the photos are cropped. The auto feature to crop photos is super helpful but I always seem to end up with someone’s head cut off. Often mine, go figure! So check those square print crops.
Determine Number Photo Collage Layout
With a box of photos in hand, it’s time to determine the layout and get that photo wall up. Let me pause here while you ooh and ahh over the adorableness that is Beatrix’s second year.
The first step is to determine the height and width of the number photo collage. Measure your wall space and get an idea of how much space you want the photo grid to take up. I like mine to go pretty much from the top of the dining room buffet to just below the ceiling, and from the lamp to the beverage station.
Next, start laying out photos on a table to create a photo collage number shape. It’s helpful to lay the tape measure on the table as well to remind you of your size constraints as you build your shape of a number.
The square prints are kind of like pixels. Think of your custom shape (be it a number, letter, or even a heart shape collage), as to what it would look like on a computer zoomed way in. An easy way to determine your number shape is to search “pixel numbers” on Google. There are lots of layout options to choose from. Use those images like collage templates. You can even search for other shapes to use as a photo collage template, not just a number.

Once you have your number collage laid out, now is a great time to adjust the photos in the collage. I like to vary the photos by season, others in the photos, age (which is most noticeable when the birthday girl is younger!), etc. I love a personalized photo collage and this is a great time to tweak the photo selection before hanging it on the wall.
Once you’re happy with your number photo collage and the photo layout, now’s the time to hang.
Hang The Number Photo Collage
Hanging a photo collage is like a gut check for your personality type.
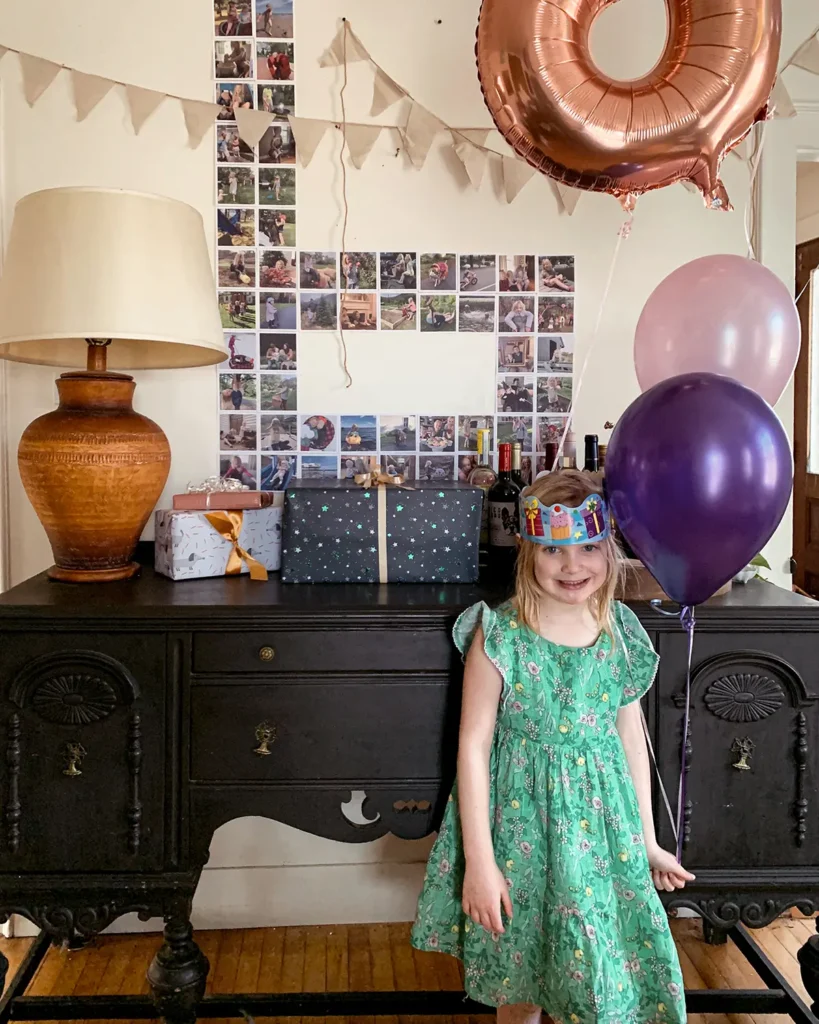
In my earliest days of creating a number shape collage for Rowan’s first birthday, and as an enneagram 1 (which explains EVERYTHING), it took me hours. Measuring to make sure it was perfectly centered, breaking out the laser level, perfectly aligning each and every square, and readjusting to make sure each square print was perfectly aligned with its neighbor.
Now, I realize no one notices if it’s a little off-kilter so I go with more of a wing-it approach. Rowan’s sixth birthday collage:
Number Photo Collage Hanging Supplies
The supplies needed to hang the photos are pretty straightforward.
The one necessary supply is an adhesive to attach the photos to the wall. I love the 3M removable mounting squares for this project. They’re small, budget-friendly, and don’t damage your walls.
However, there was one year when I left the photos up for 6+ months. I won’t incriminate myself any further than that and refuse to reveal the actual number. When I took down the photos, the mounting squares didn’t damage the walls but they did damage the photos.

Other supplies that are helpful are a level or a laser level.
Start At The Bottom
To start hanging, I take the bottom middle image and hang that first. It’s the only photo that I take time to make sure that it’s centered horizontally and is level. Because I’m using square prints, if the first image is lined up just so, and every image thereafter is carefully butted up against the other images, everything should stay even and level.
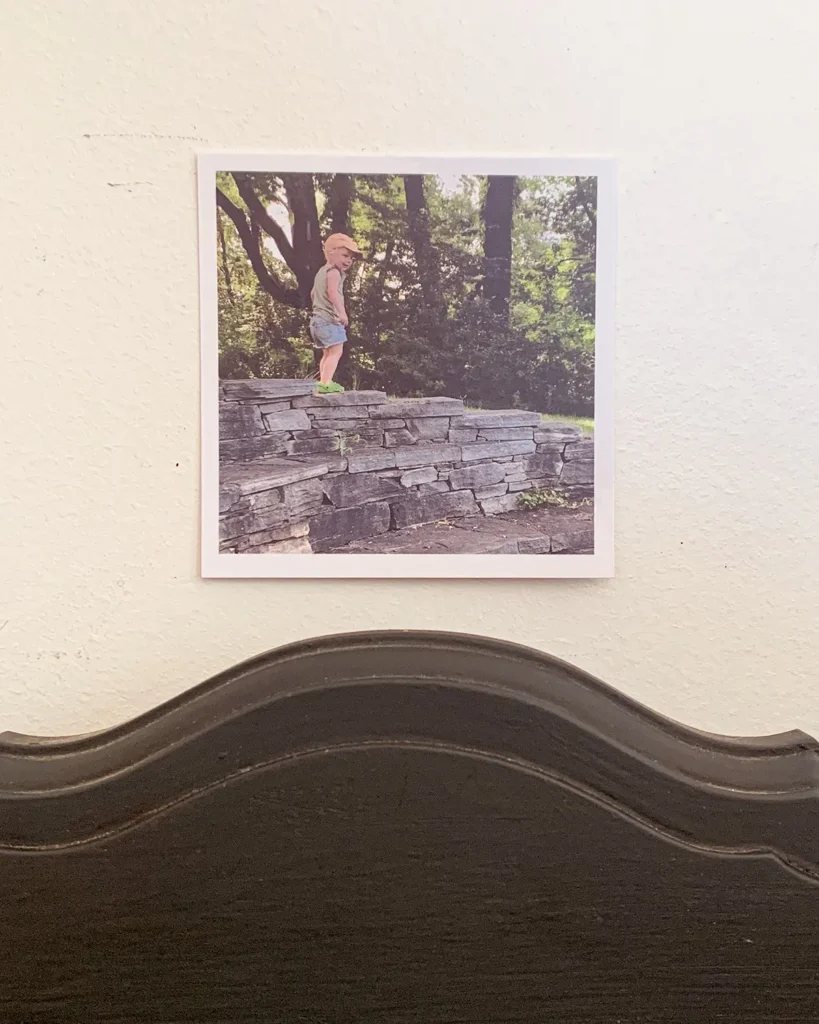
After the first image is hung, continue working across until you have a great base.
And Work Your Way Up
Once you start at the bottom, just work your way up. Novel approach!! Just one mounting strip at a time and one photo at a time. Work your way up until you get the grid spacing and number picture collage that you imagined.
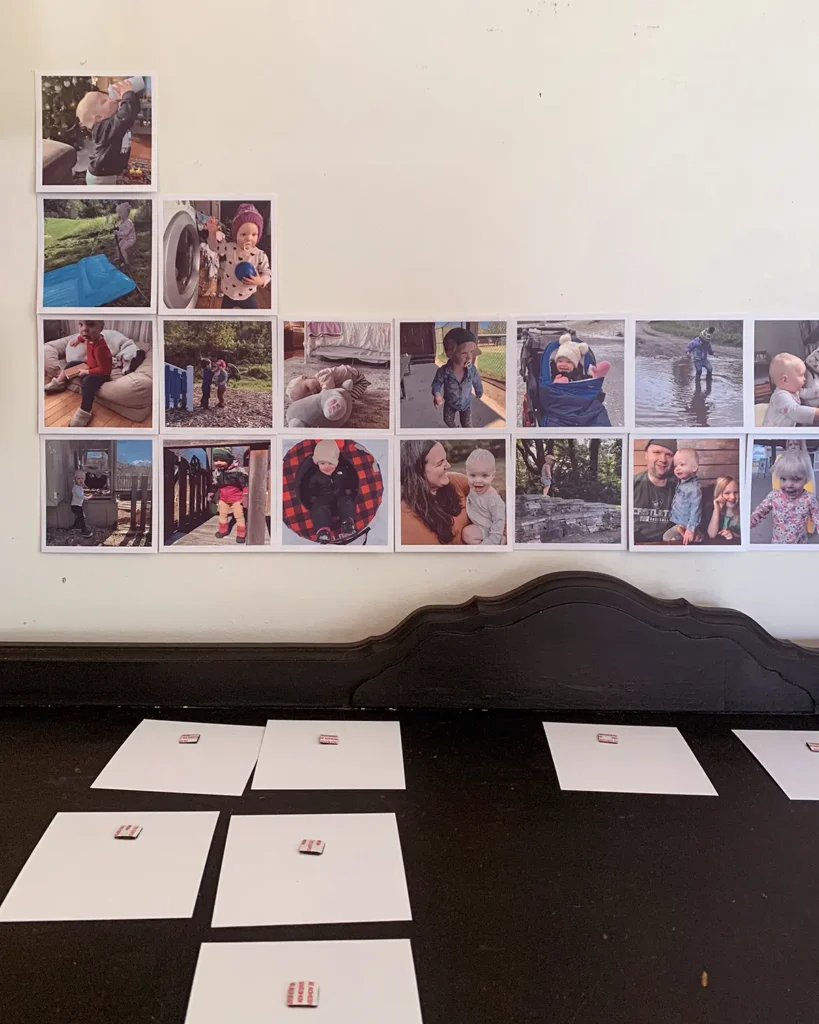
And scene!
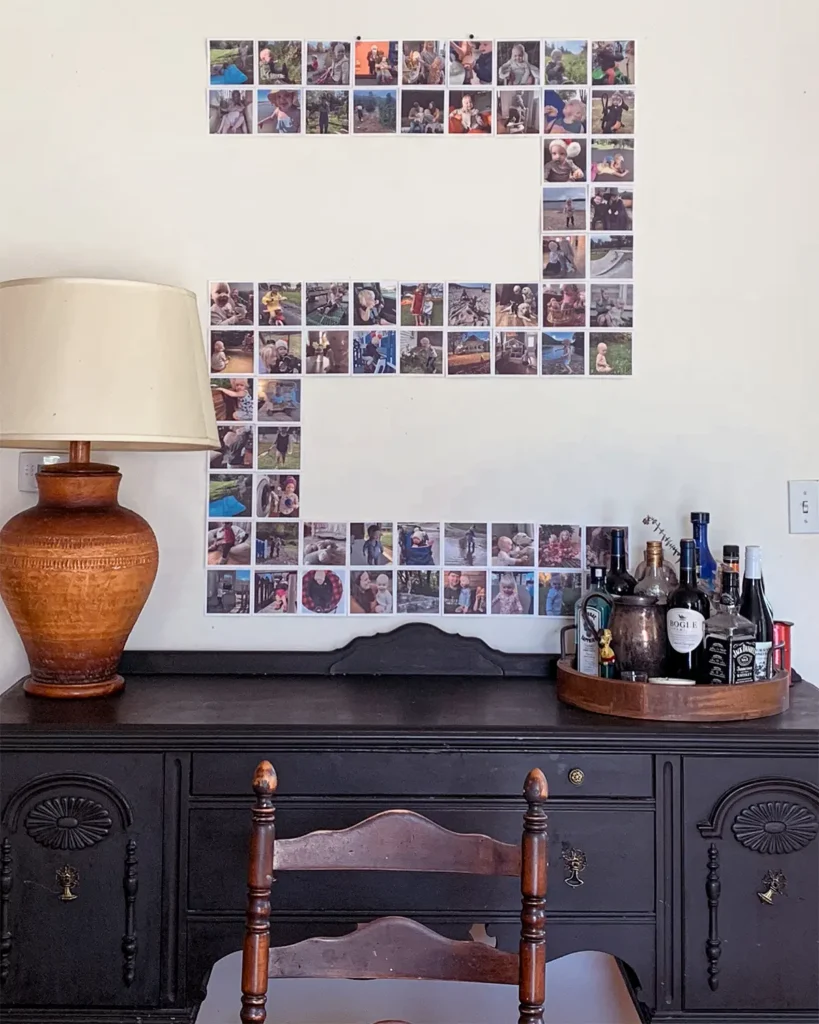
Number Photo Collage Birthday Tradition
I absolutely love creating this number photo collage for birthday parties. It’s been such a fun tradition and I look forward to it every year. Our friends and family do too!
There was one year that I skipped photo collage making, during the height of the pandemic when I just couldn’t get myself to pull it together, and I was so bummed about it ever since. It’s always the sweetest little birthday gift for our children.
Birthdays aren’t the only celebration or event where you can create a photo number collage (or letter shape, logo shape, custom shape, etc.). Other memorable moments to break out that inner photo collage maker include retirement parties, anniversaries, a senior night, celebrations for athletes or sports enthusiasts, or other special occasions.

You also don’t need to wait for special occasions. Do something like this for home decoration or creative art. I’ve often thought about recycling all the square photos I’ve collected over the years to create a giant collage as bedroom wall art in our daughter’s space. It would be neat to make a letters collage for her initials.
And with that, it’s time to really crack down on second birthday party prep. One piece down and SO many more to go. This year’s theme… “berries.”
PS…So tell me, because I love a good tradition, do you have birthday traditions that have become a non-negotiable in your home too?!


It was beautiful!
Thank you Patty!! So glad you came!
We have 3 birthdays coming up- I love this idea!
Awww…thanks Sadie! It’s a family favorite for sure.
I love this idea! It’s so thoughtful! I love collages but had never thought of presenting them this way. I’ll definitely have to try it!
Thank you! If you do try it, you’ll have to let me know how it goes!
This is such a fun and memorable tradition. The photo collages come out so cute and perfect for each birthday celebrated!
Awww…thank you so much for the sweet comment.
This is a really cute idea and looks easy to do.
Thank you Susan!!
This is such a unique idea! I have never seen this before. I plan to send this to my daughter. I love the idea of this collage for birthdays. She may want to use for my grands.
Thanks Ann!! It has for sure been a grandparent favorite at birthday parties. Let me know if she tries it!
I’m going to do this for my wedding anniversaries! This is great 😊
Oh that’s such a sweet idea! I honestly never thought of doing it for myself (others’ anniversaries, yes). That would be fun! I’ll have to do that as well. Let me know if you do it.