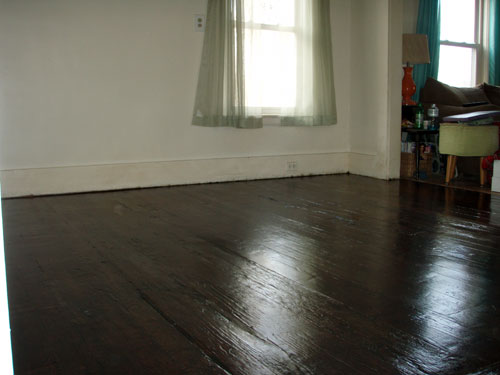
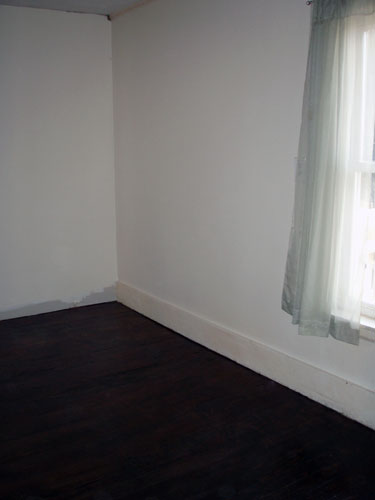
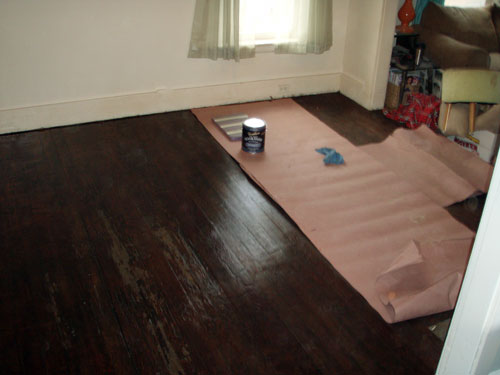
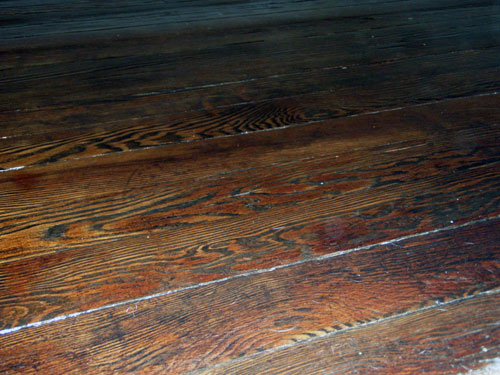
We’ve had someone very special come into our lives this week. Someone we’ve cared for and loved and spent ALOT of time with. She’s pretty awesome…I’m not gonna lie. Let’s meet here. C’mon. Colby and I are pleased to introduce you to the new parlor floor:
Oh…it’s just so beautiful. Especially when just a week ago it looked like….earmuffs….crap. And how about a view from the living:
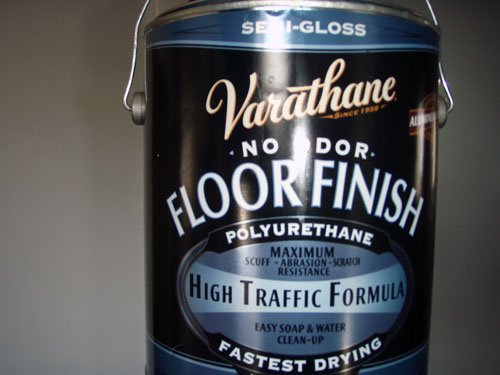
As mentioned back here, we spent a few hours last Friday night sanding and then about another forty minutes or so applying a dark walnut stain to our previously icky, oak floors. While the sanding and staining process went really quick, the polying process was slightly slower. But after a few rounds of polying the dining room floor back here, I had it down to a science. Before I digress and go into the how-to-poly-floors-according-to-Angie…aka…by-no-means-is-it-the-proper-and-traditional-way-to-go-about-it, let me introduce you to the perfect partner to our oak floor…the Varathane brand water based floor poly in semi-gloss.
First, I have to admit this stuff wasn’t cheap at $46 per gallon. But I will also admit that it was worth every penny. This is the third different kind of floor poly that I’ve used and by far is the best one yet. I researched it online before purchasing and it came highly recommended for being durable, easy to cleanup, odor free and fast drying. And after using it I would also recommend it as being durable, easy to cleanup, odor free and fast drying. In fact, it was so fast drying that a coat was dry in under two hours. So here’s how floor polying by Angie goes:
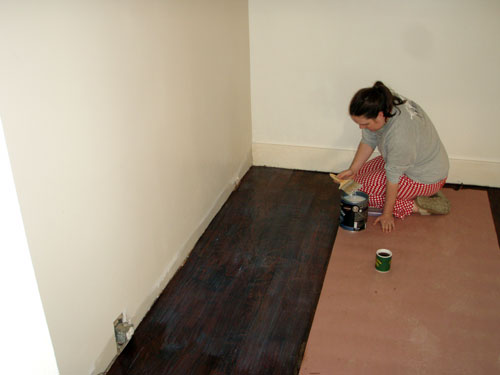
First, you begin early in the morning, preferably in your PJs with a cup of coffee (in a John Deere mug of course) beside you. I like to work in small sections. I use some rosin paper to protect the floor from any dirt that I’m tracking in. Then I wipe down the floor with a microfiber cloth. It really helps to remove all the Goose hairs that migrate into every single nook and cranny in our home. Then I start liberally applying the poly for the first coat. It was amazing how much the poly soaked into the floor for the first coat. Each small section coat only took me about 10 minutes to hammer out and since the poly was water based, it was a cinch to clean the brush up with water. And since the poly dried so quickly, it was ready for a second coat only an hour or two later. I ended up putting on five coats on each section. The can of poly recommended just four coats but since we were using this space as an office, complete with roll-ie chairs, I wanted to be certain our peeling up floor would stand up to the wear and tear. So once five coats were layered on, I moved onto the next section.
It only took us a couple of days to hammer out the whole floor. But we did get up at the crack of dawn to put on the first coat, put coats on during lunch breaks, and also just before going to bed at night. We were starting to get antsy to put our super messy living and dining rooms back together again, thus the morning poly sessions. In the end we were really pleased with how the floor turned out. We almost….ALMOST….decided to keep the floor for the long term (we only refinished this floor to last us another year or two until we could lay down new floor throughout the whole first floor). Because look how pretty it is:
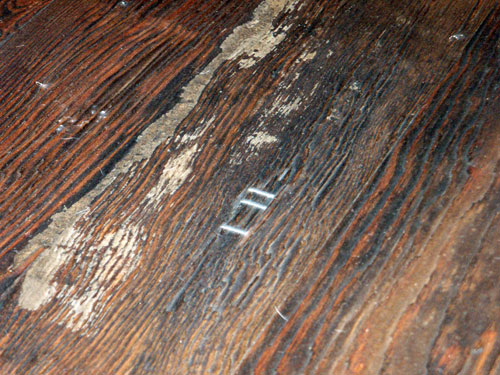
But then we were reminded of the sections like this:
And yes, we had to staple the floor back together again in several places. Some of the damage we can blame one the dog (he treated the floor in this room as his personal chew toy). But most of the sections were flaking and peeling apart BG…that’s before Goose…a happy time that we often refer to. I kid, I kid. We would be lost without that crazy pup.
So what’s up in the big parlor refinishing project? Well…true to form I’m working on a little to-do list for the room:
Sand down the parlor floorStain and poly the floor to make it super pretty and super durable- Paint the parlor walls gray to create cohesiveness with the hallway and the dining room
- Install missing pieces of trim
- Sand down, prime, and paint all the trim in the parlor
- Install a new light fixture
- Finish the his/hers desk and move it into the room
- Move the internet cable to the other side of the room
- Organize the INSANE number of office related computer/equipment cords
- Create a super functional office storage system using some long shelves on the wall above the desk
That’s enough for now. I’m sure there will be more to-dos as we go along and you know we’ll keep you posted along the way.
Pssst…so Colby totally kicked my butt in our little Dance Party 3 for Wii dance off we had this evening. I’m officially in training. Any tips?

