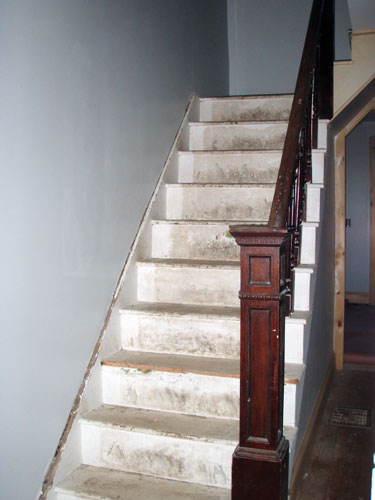
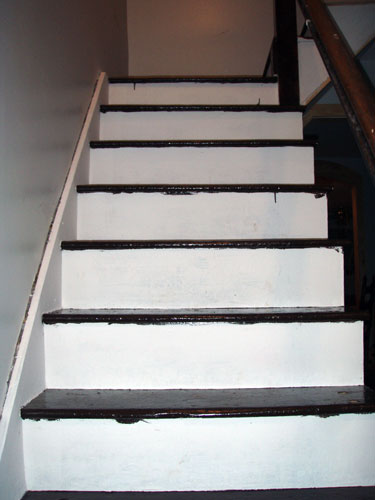
Confession to make…I now tackle house projects based on the ugliness factor. I know what you’re thinking…what exactly is the ugliness factor? It’s quite simple actually. You take the ugliest thing in the house and make it pretty. Easy peasy. Up to about a week ago, the ugliest thing in our household was the staircase. Warning…the next picture is not for the faint of heart. Be sure to avert your eyes if you don’t think you can handle it.
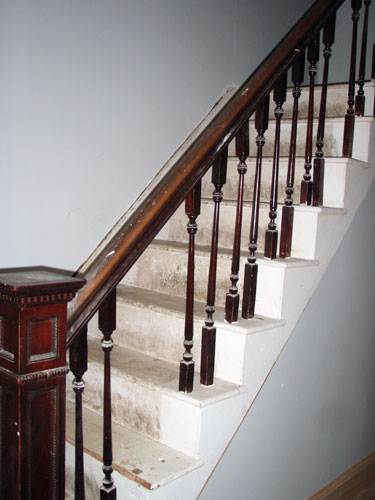
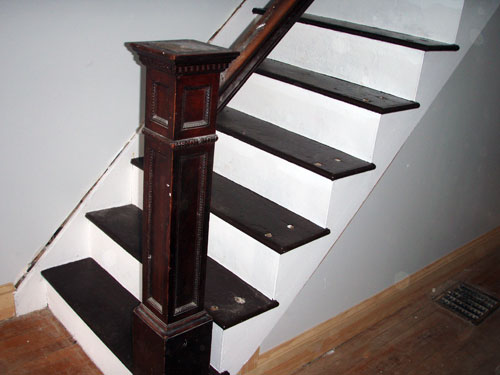
And from another angle.
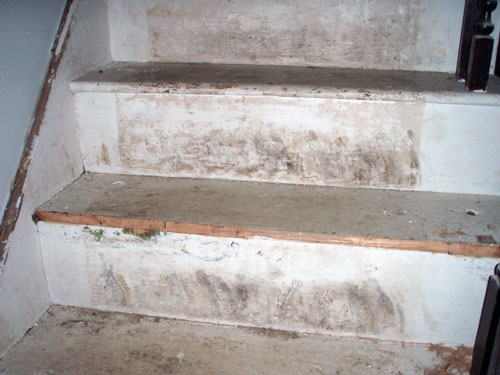
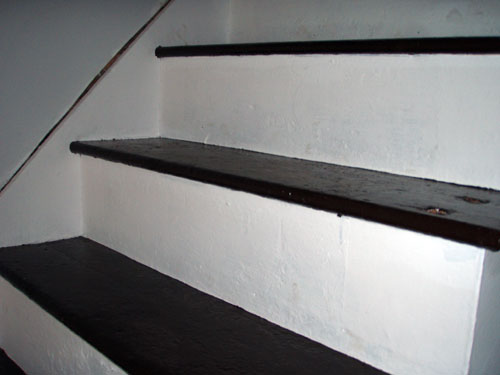
Wait…it gets uglier…let’s zoom in.
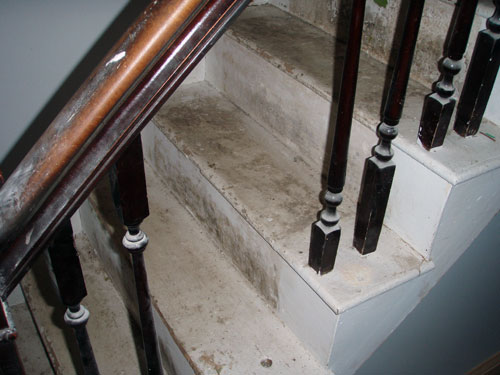
Oh yeah…that’s ugly…real ugly. We even had some serious broken balusters going on.
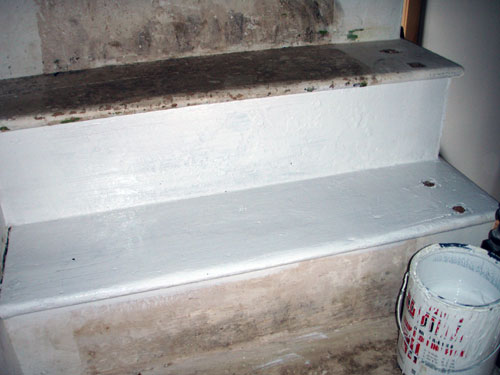
Those puppies snapped like twigs. So our staircase has looked like this for a little over a year now so it’s about time I started working on it. It used to have ugly brown shag carpeting but we removed that almost immediately after moving in. Removing the carpet revealed an ugly mess of stair treads and risers completely covered in some kind of rubbery, glue product which proved extremely difficult to remove or cover. We sanded it down and covered it with about five coats of water based primer and they still looked like this. Every coat of primer we added didn’t seem to help. It was like the glue was bleeding through every time. Enter the big guns….oil based primer!
Oh yeah…that’s the stuff…check out the coverage! I only bring out the big guns (the oil based primer) for the big jobs like this. It tends to be extra sticky, covers extra good, but is extra stinky and messy so I reserve it for those desperate situations. Like this one.
Looking good! Oh…and Colby helped me remove all the balusters before I primed the entire thing. We’ll be replacing them later…I’ll break down the rest of the project in une minute.
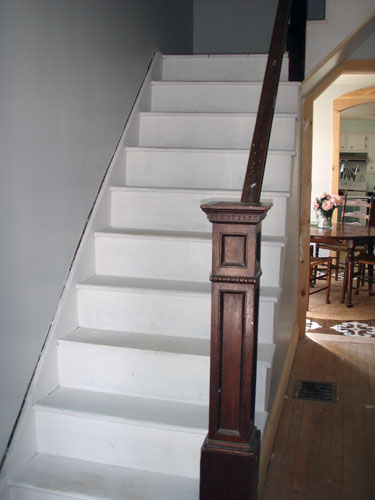
Just priming the staircase makes a WORLD of difference. Oh…I should probably take a minute to explain that this whole staircase makeover is a temporary fix. But temporary in our household may mean years so it could stay like this for awhile. The treads are in bad shape and the risers are seriously icky so eventually there will be a big staircase redo (with hardwood…maybe oak…treads instead of painted pine) but that’s not happening until we redo the remaining two upstairs bedroom (penciled in for spring of 2012). Until that day comes the staircase shall be pretty! After priming the entire staircase I had to pick a paint color for the treads. I grabbed a bunch of brown swatches from Lowes and tried to match one of the browns in the recently refinished dining room floor which you can read about back here, here, and here.
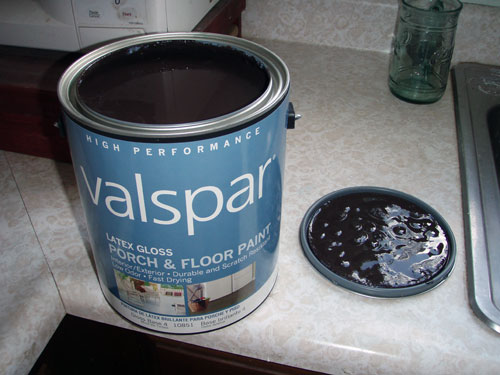
I ended up choosing Valspar’s Brown Velvet mixed into a very durable floor paint.
Meow!!! I ended up getting a gallon of the paint. I could have purchased a quart since I didn’t end up using much it, but I’m also using the paint to do the kitchen floor (which my be my next big project based on the ugliness factor). After a couple of treads I was instantly in love.
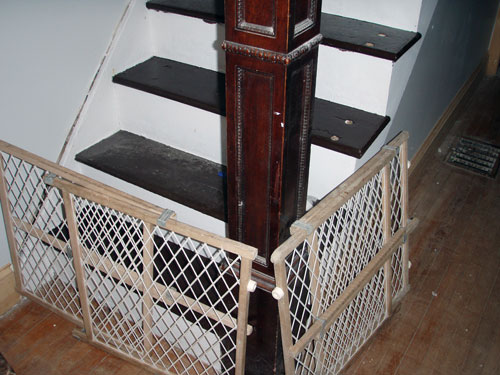
I ended up painting every other tread at first, so I could skip stairs and let the treads dry for a full 24 hours before exposing them to light traffic. Unfortunately I couldn’t teach the dog to properly skip stairs so I had to protect my painting project from the Goose. He has a knack for walking through paint and spreading it throughout the house so the Goose gates were a must.
So…a couple of notes from painting the treads. First of all, using water based paint on top of oil based primer is not necessarily recommended. I found the first coat of paint to be a bit spotty. It took three thin and even coats on each tread but they turned out just as well (if not better) as if I had used water based primer. Second, it was soooooooo difficult to paint the underside of the half round, hangover part (technical term right there). I refuse to use painter’s tape, I just don’t like it, so the risers ended up looking like this:
Serious drippage going on. But after a few coats of primer (water based this time for ease of cleanup) the stairs looked ah-mazing!
Back it up…back it up…you got it…you got it (what?! A girl can’t throw in a little lyrics from her gal Gwen?!).
I can’t believe how much better the staircase looks after a few coats of primer and paint.
Ok…so as promised…here’s what’s left on the staircase refinishing project (which may take a little while to get to since it’s no longer at the top of the ugliness priority list):
- Cover the risers with bead board
- Paint the bead board white
- Install base cap and finish trimming out the staircase
- Prime and paint all of the staircase trim
- Sand down the railing and refinish it and the newell post…oh and fix/reinstall the cap for the newell post (it had a bit of an accident…there may have been a running down the stairs/grabbing it/using it like a pole/spinning situation that led to it’s breakage)
- Paint and install new balusters…we’re thinking cheap-os but dressing them up with an interesting painting technique…which we’ll announce later because I love to make you guys wait for it
So I can officially claim that the staircase is no longer the ugliest thing in our house. The torch has been passed to the kitchen floor. Take a sneak peak back here in this post. Hmmmm….I see my next project looming!
Pssst….So tonight I started going back to zumba class and it hurts to type I’m so sore…seriously hurts to type! I blame the bonus 30 minute zumba toning session for that one! But man is zumba worth it! Any other zumba lovers out there?! Or anyone else work on refinishing their staircase?

