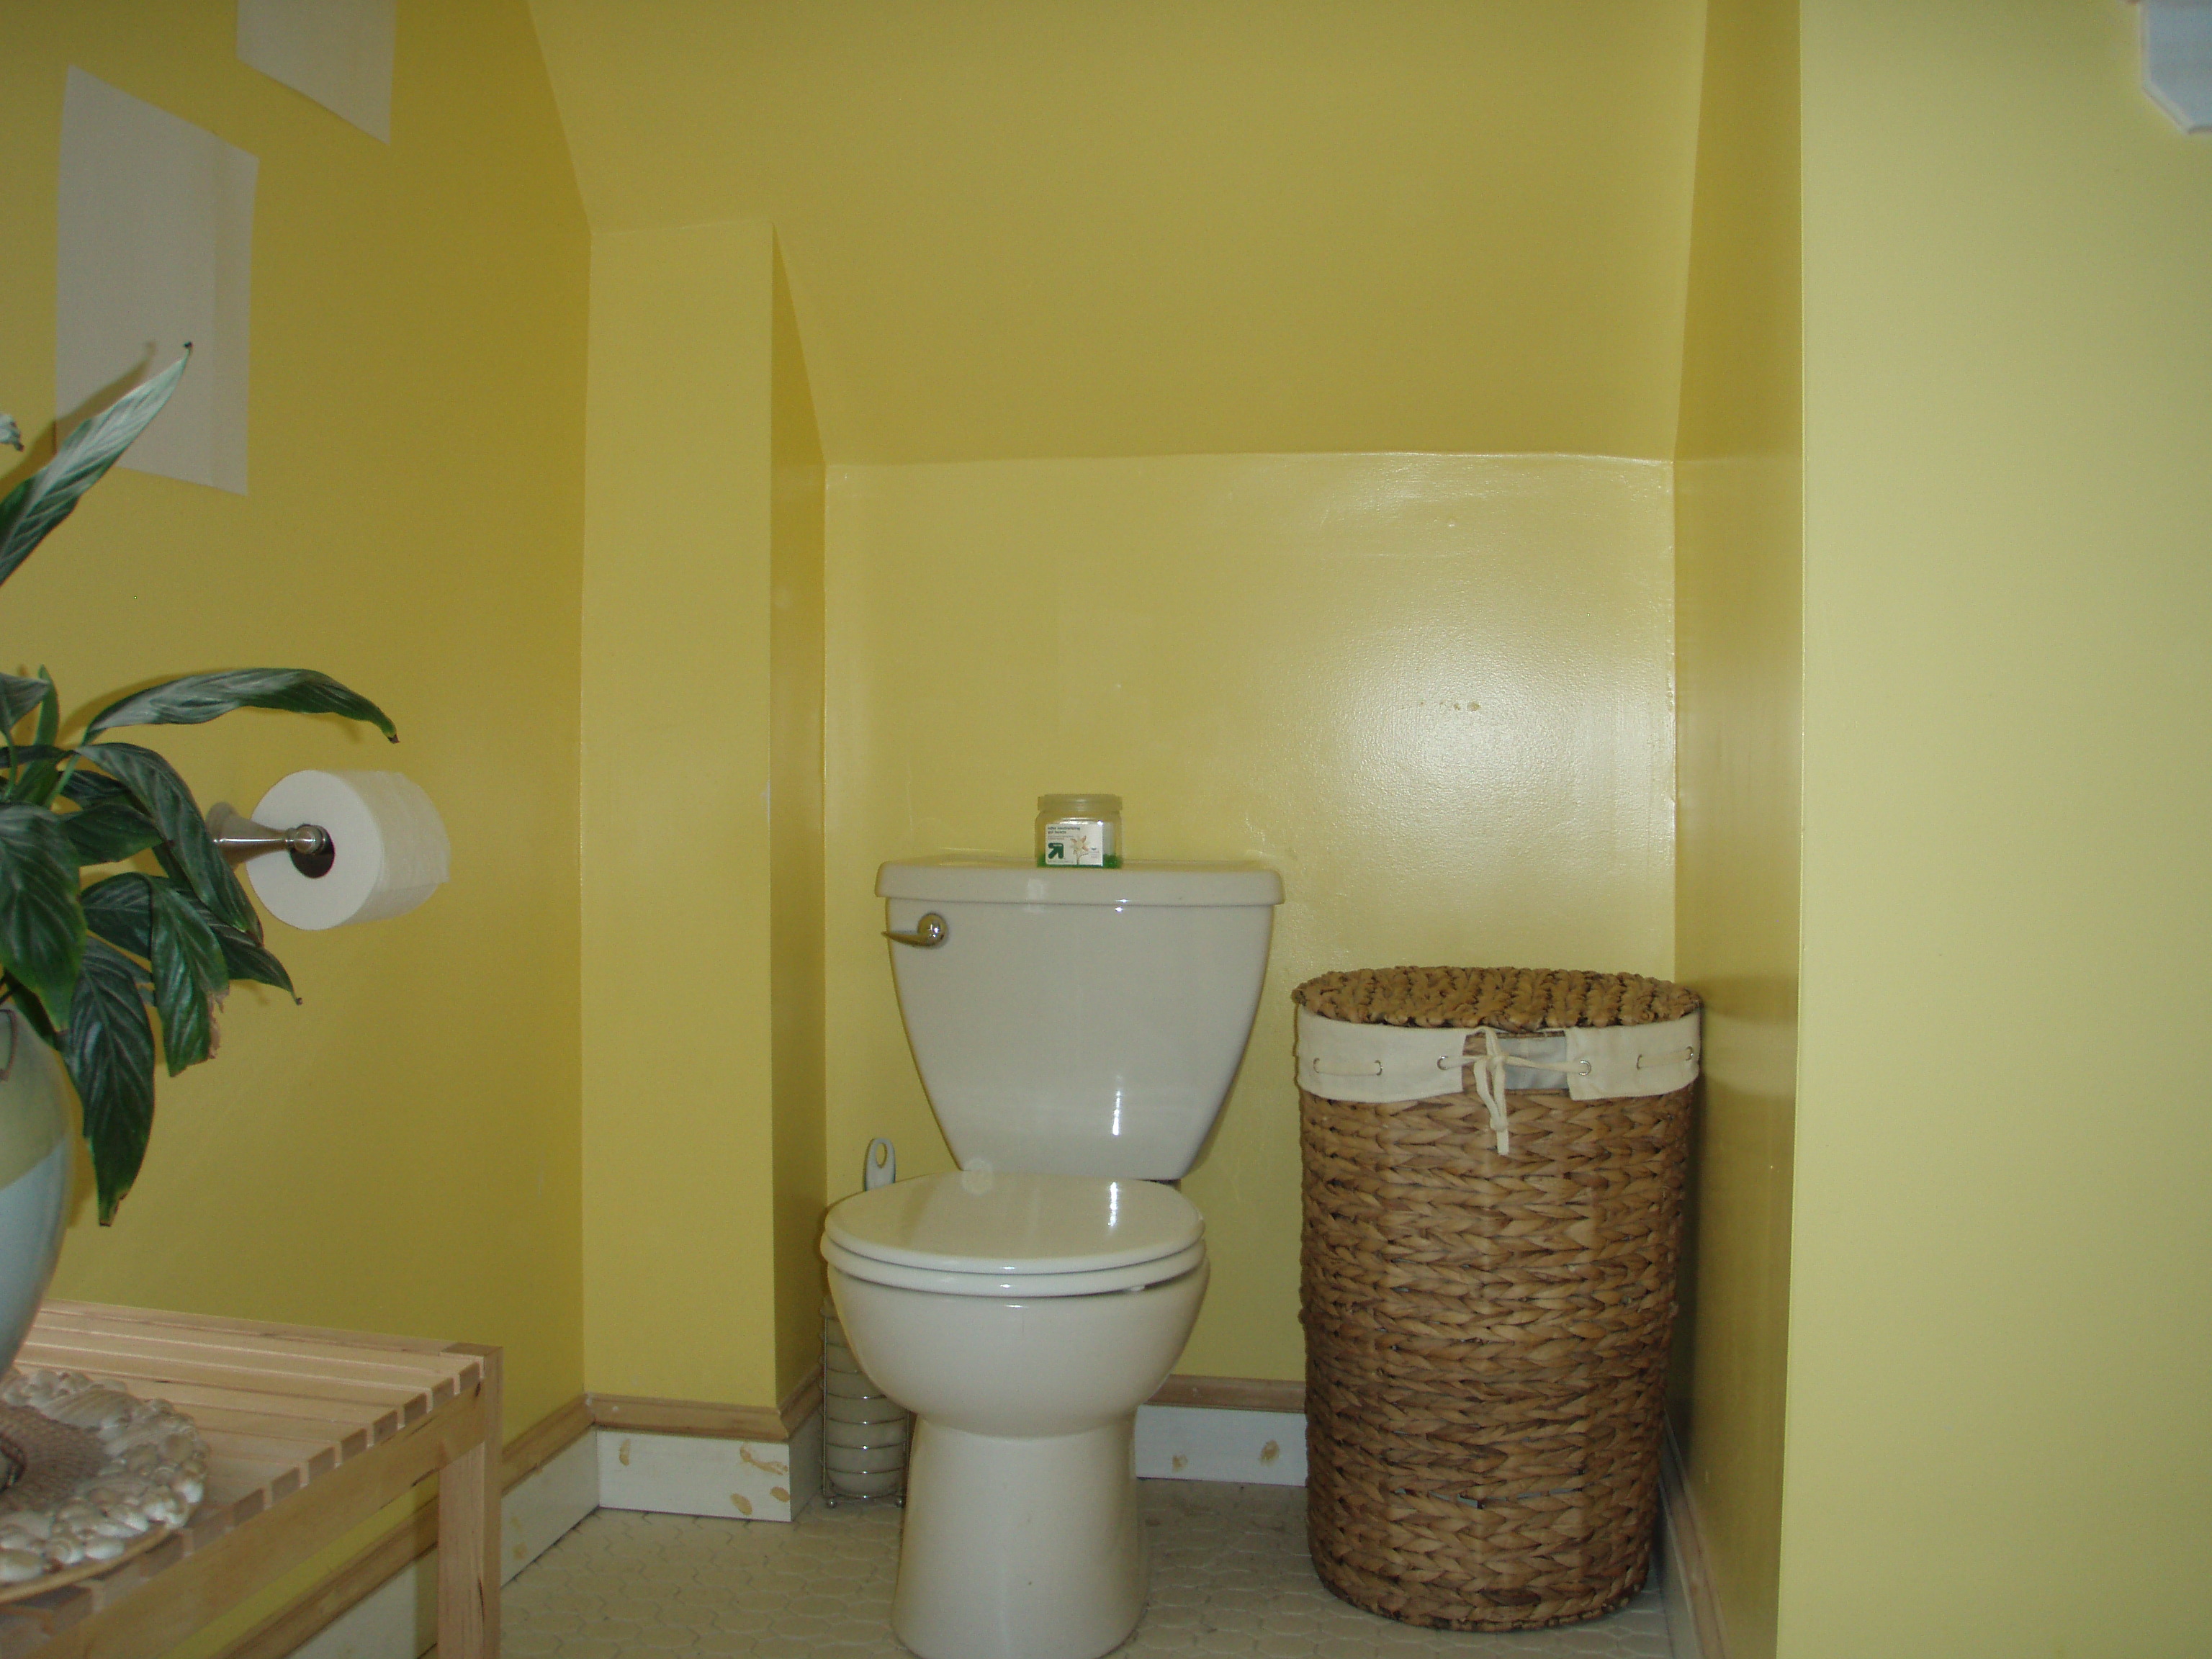
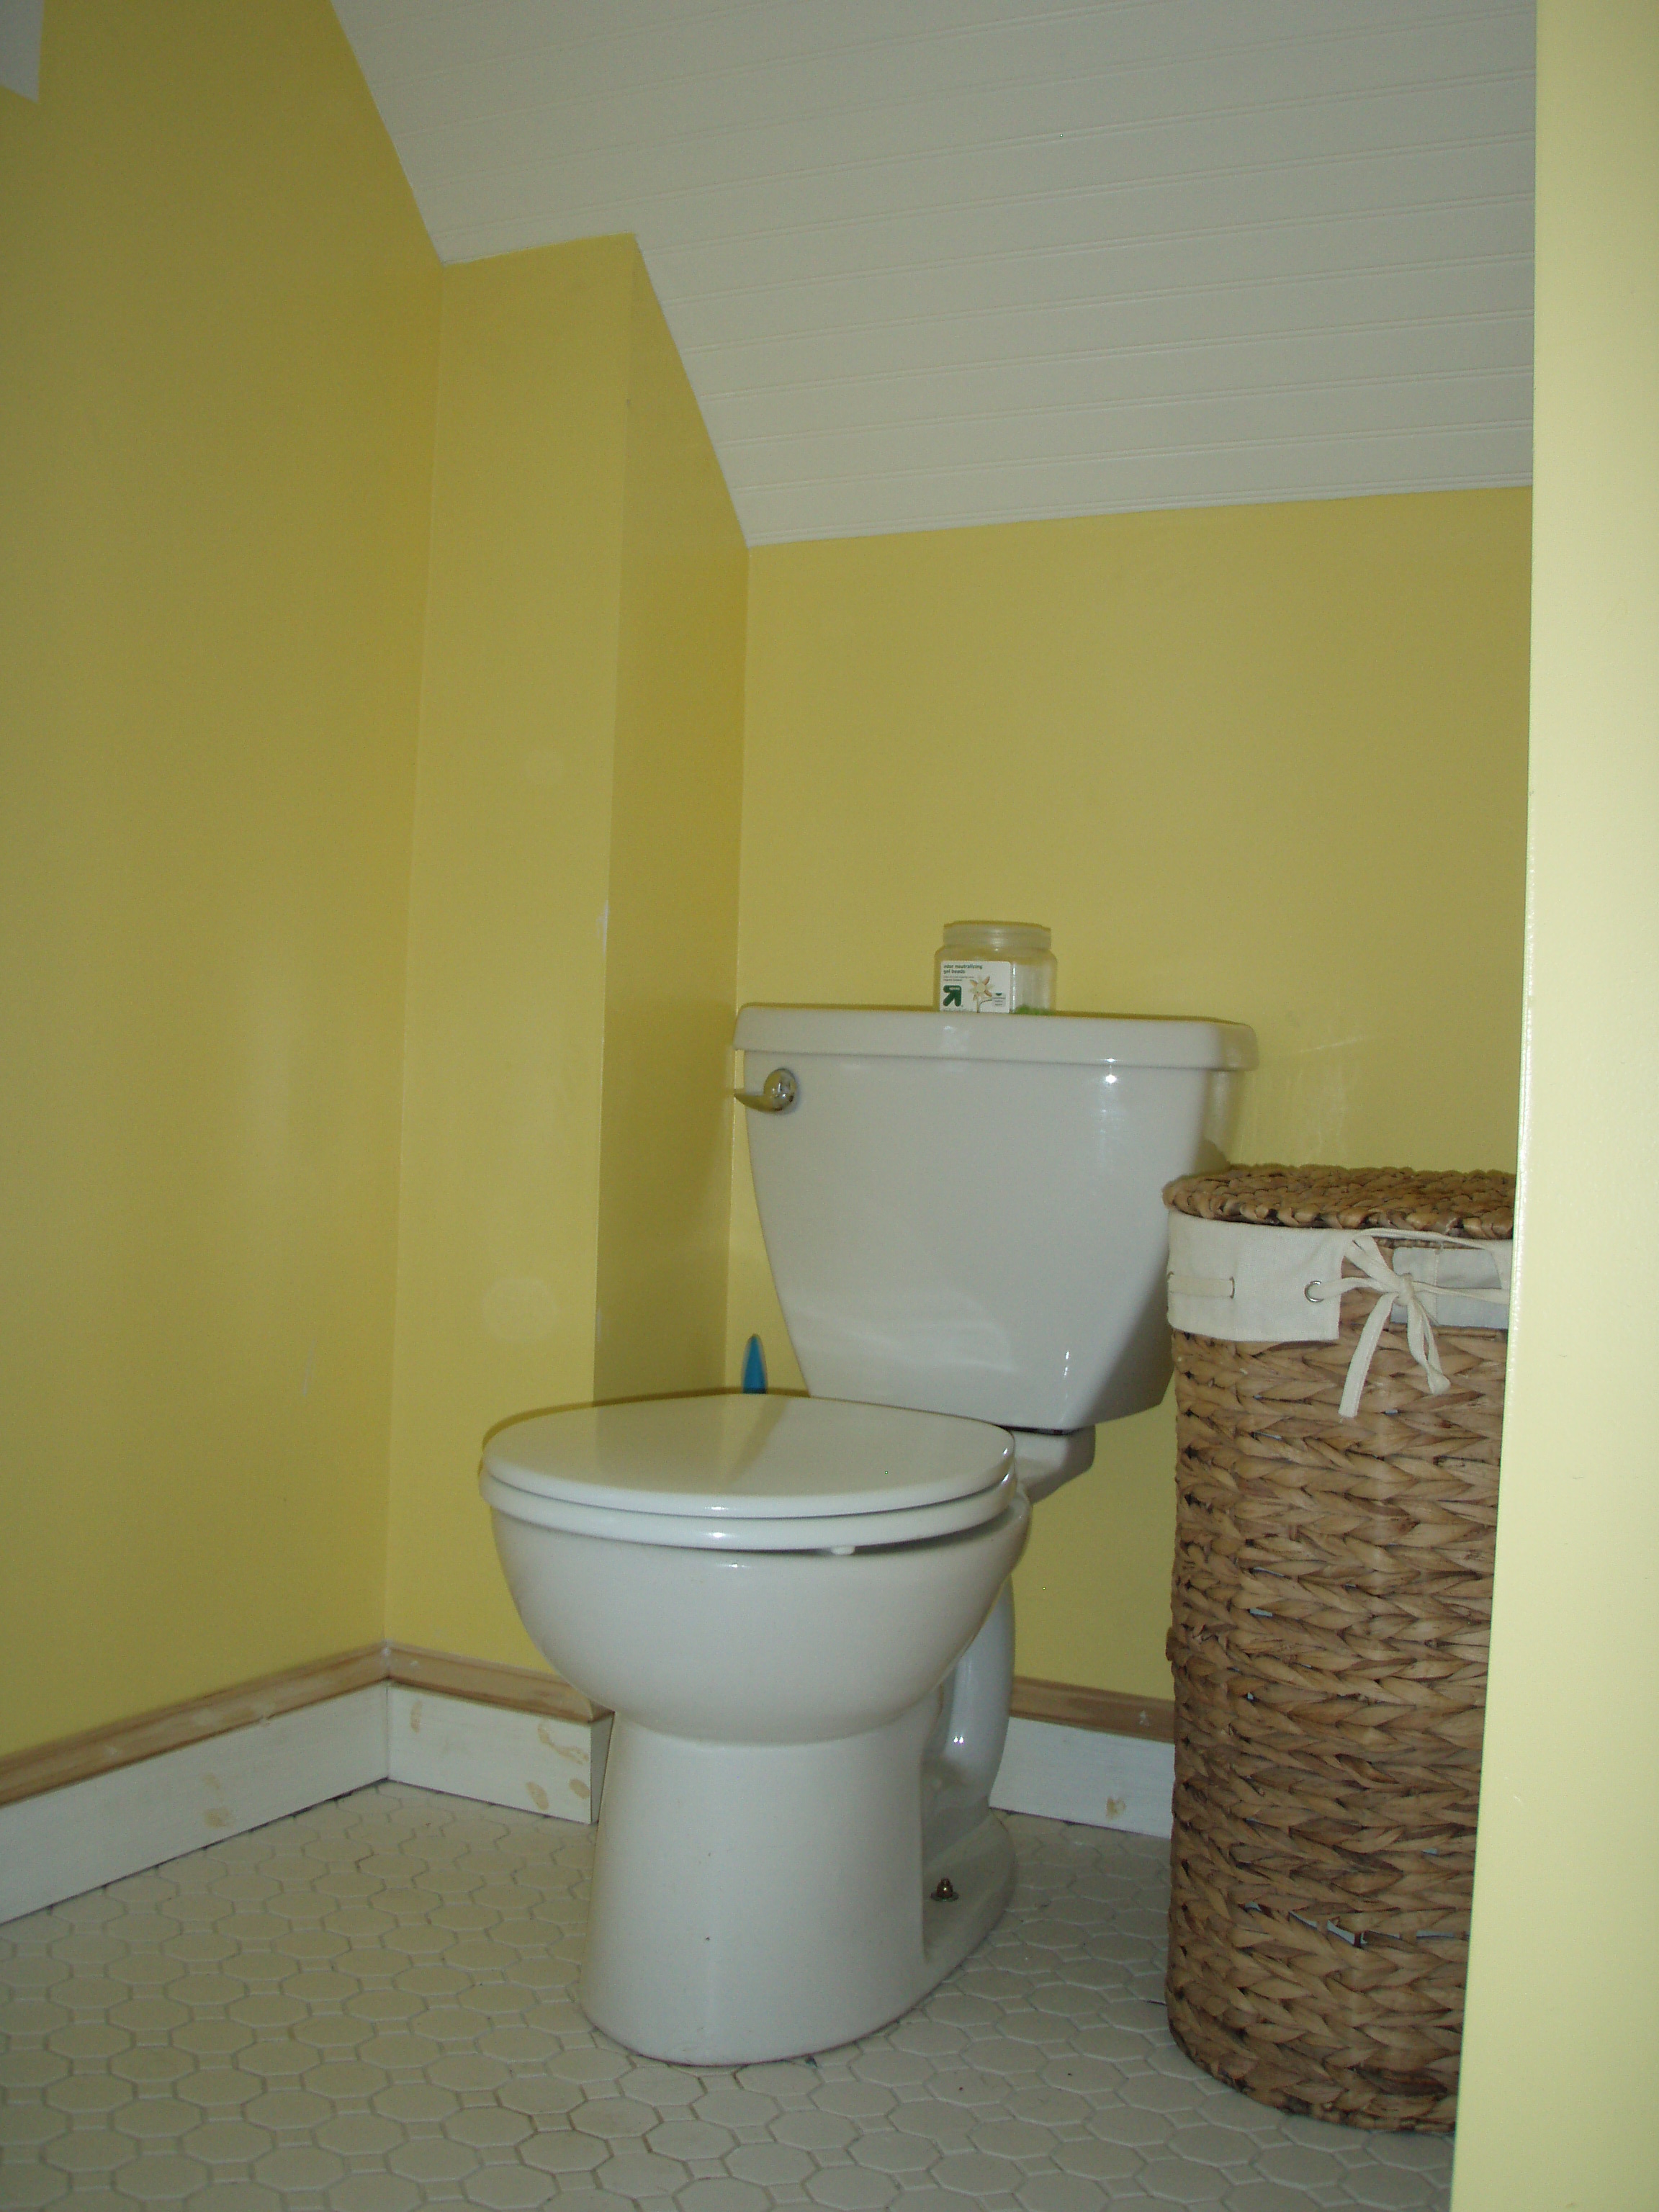
Remember last week when I told you that I was working on a little project to add some pizazz to the bathroom? And then I got a little distracted with a little old engagement and didn’t finish it? Well, here it is…the pizazzed up bathroom. We decided to add some beadboard to the slanty part of the ceiling in the bathroom to take it from this:
To this:
The toilet nook area was way too yellow for my liking. Don’t get me wrong, I love the yellow, I really do, but I think it looks one hundred times better now that we’ve broken the yellow up with a little white glossy beadboard. At first I thought just hanging some artwork to the left of the toilet would be sufficient (thus why there is white paper hanging on the wall…I was testing out locations for the art).
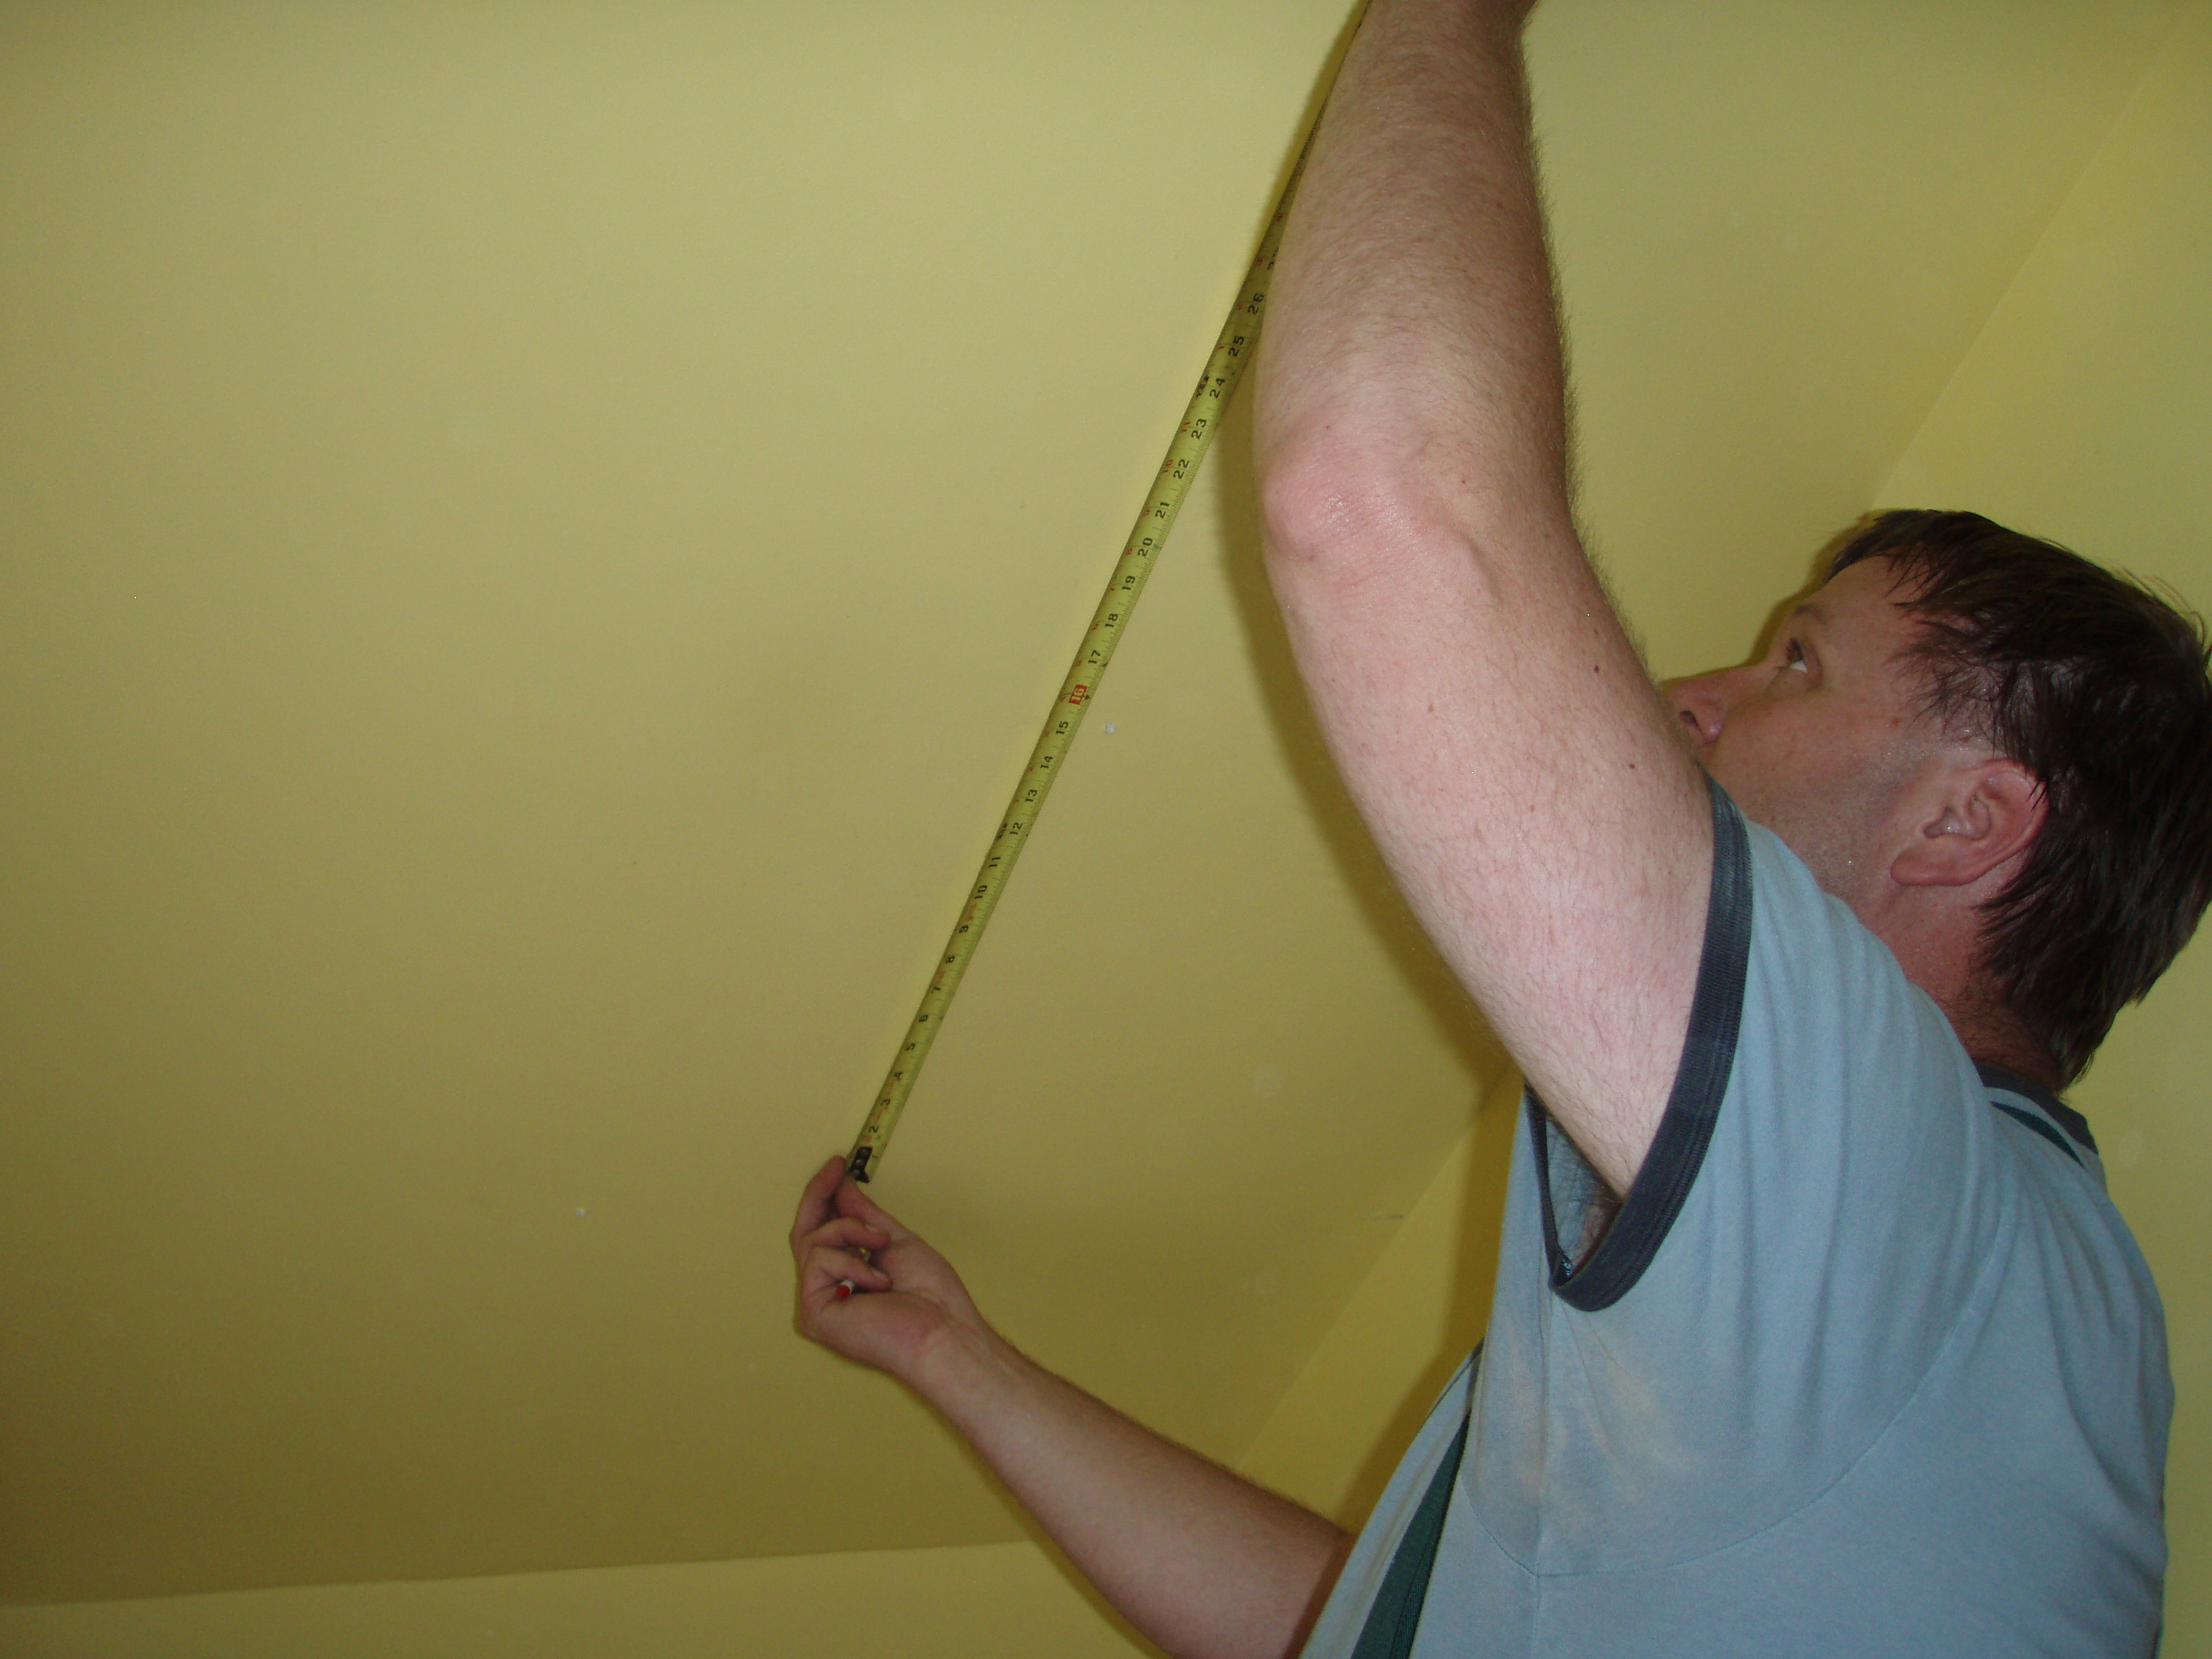
Here’s our step by step process for the project, which cost us about $14 (we only needed to buy a panel of the cheaper/thinner/lighter beadboard). First we had to take some serious measurements:
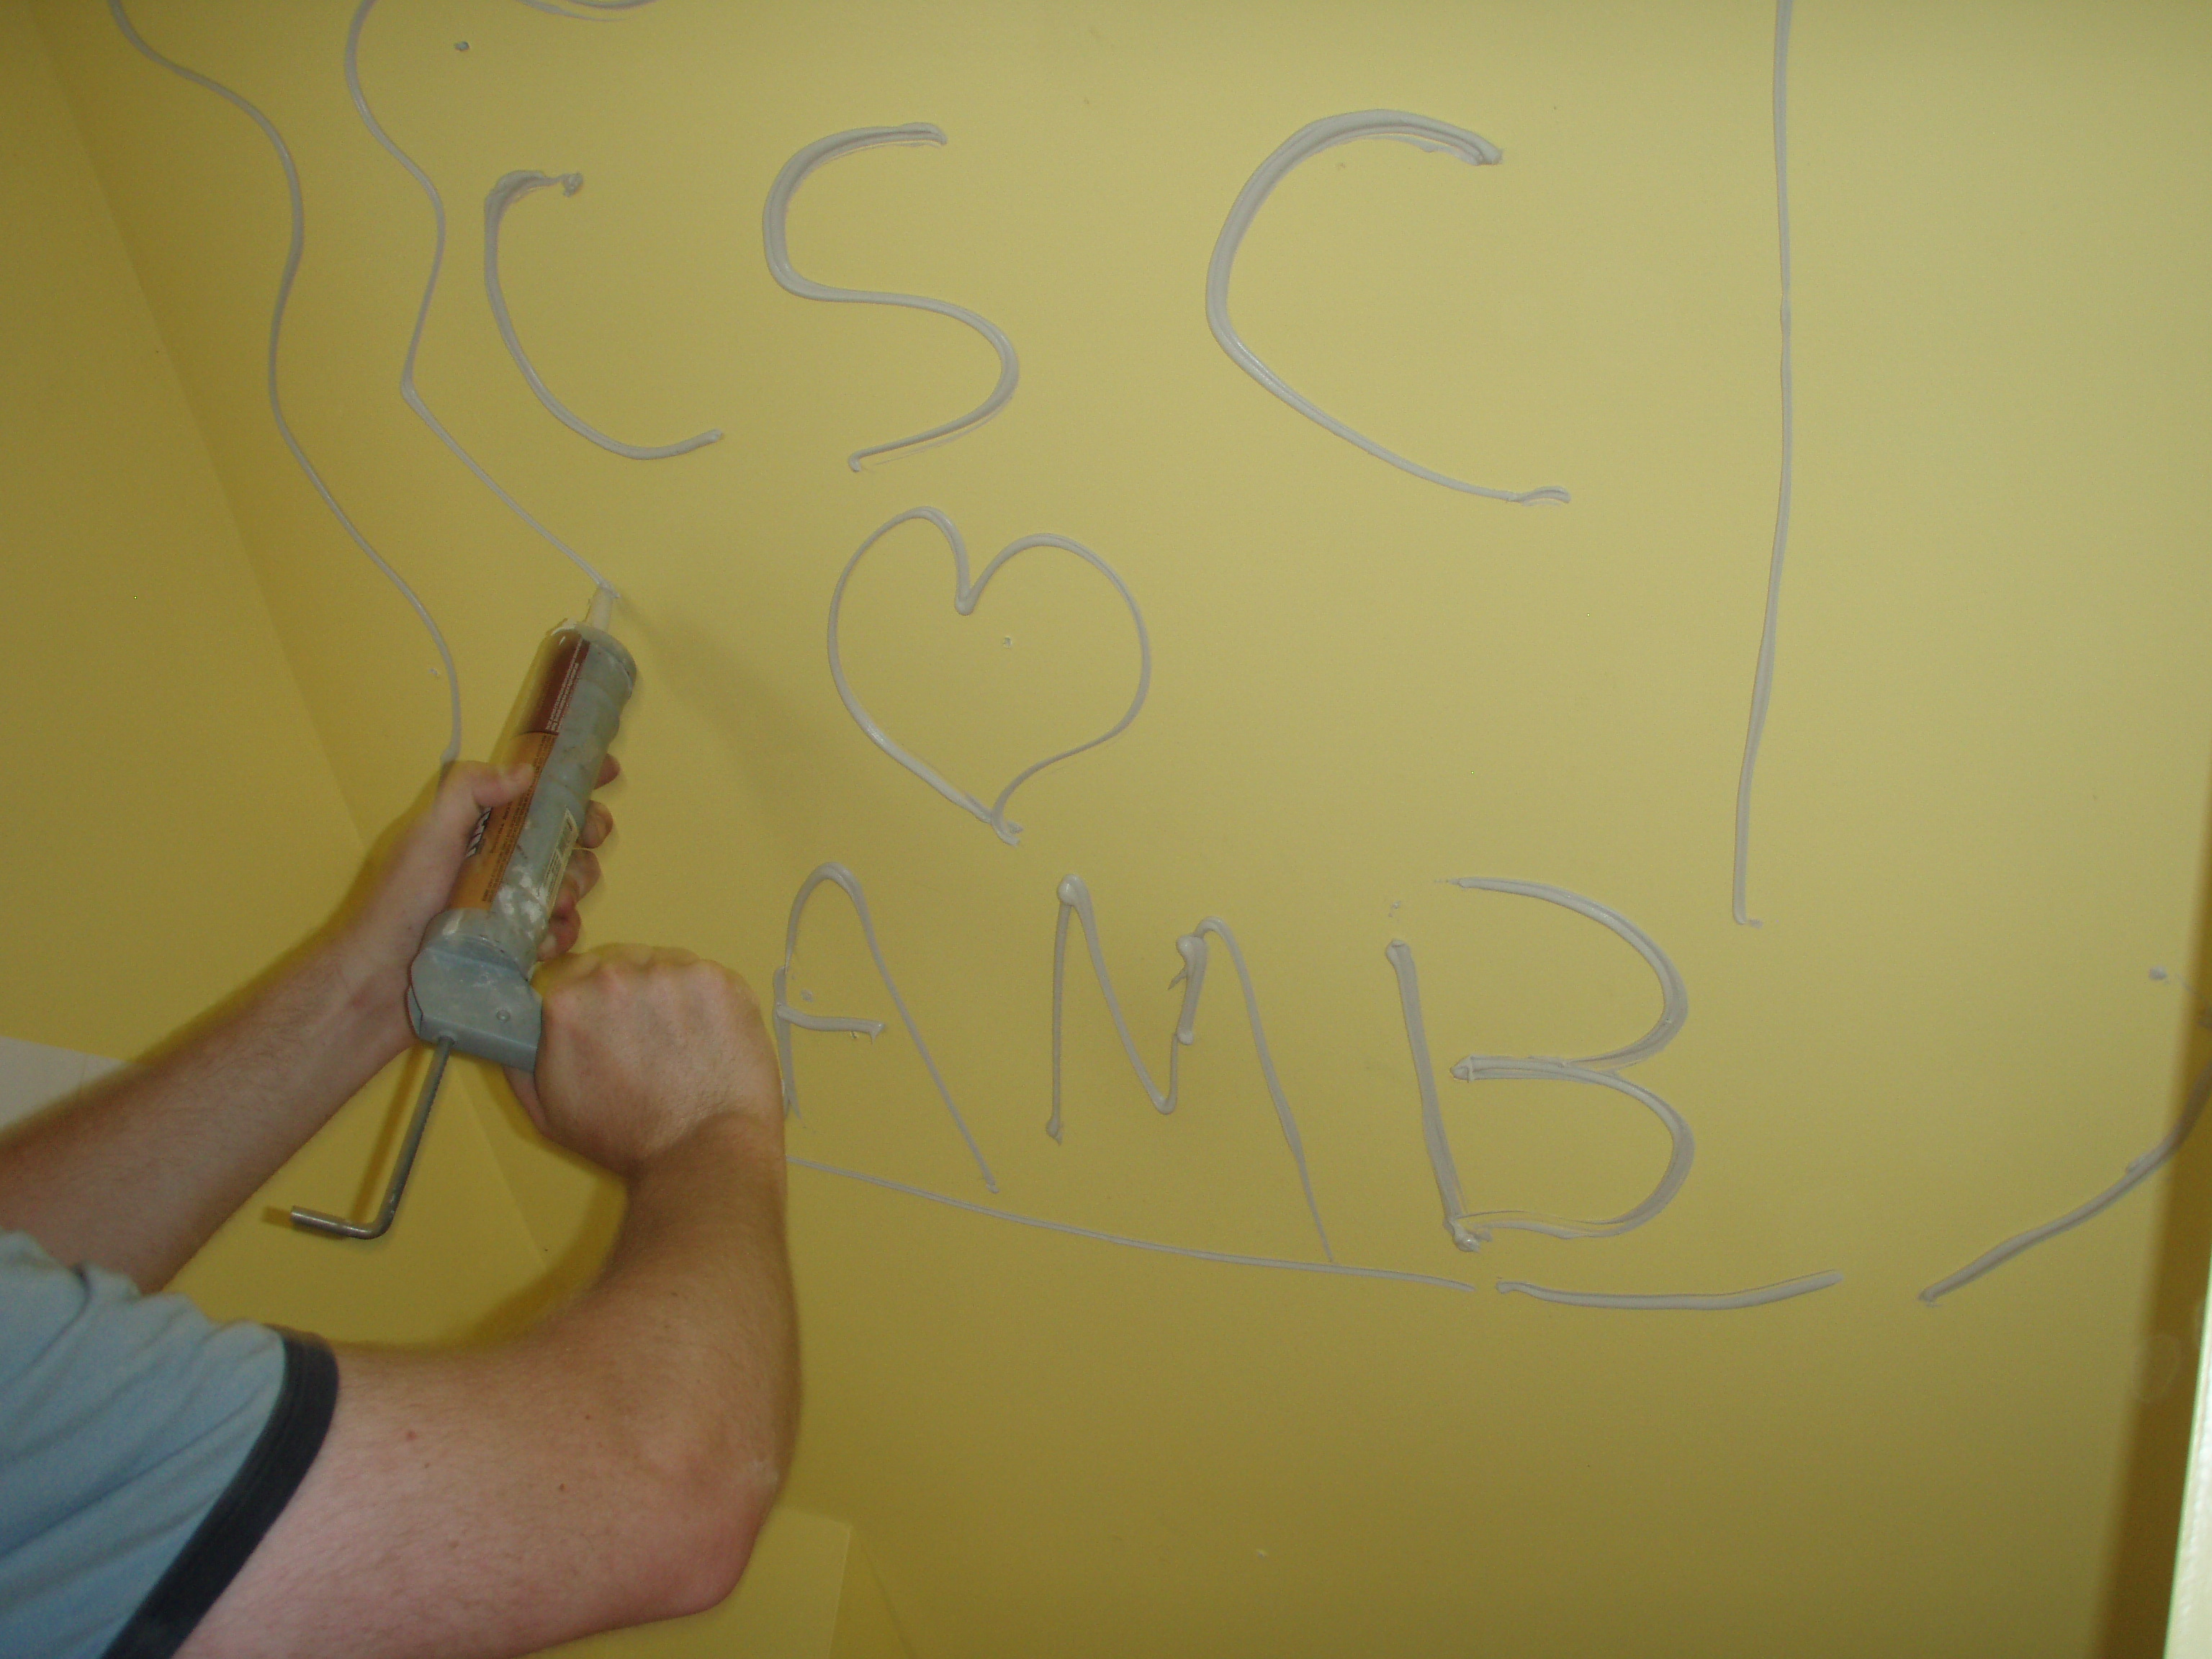
I’ve said this about a million times before but I’m going to say it again (mention number one million and one) NOTHING in our old, 1910 house is square or level, which makes house projects extra difficult for the handyman who loves to make things square and level. This made the beadboard panel project that much harder because of the funny angles. But he did good, no screw ups reported. After measuring Colby cut up the paneling (oh so perfectly I might add…he’s mighty talented with a saw and a tape measure). The first panel went up by first applying some construction adhesive to the ceiling:
He’s so cute! He did this all on his own…FYI! It was the day before he proposed so maybe he was feeling a little romantic! Then up went the first panel piece:
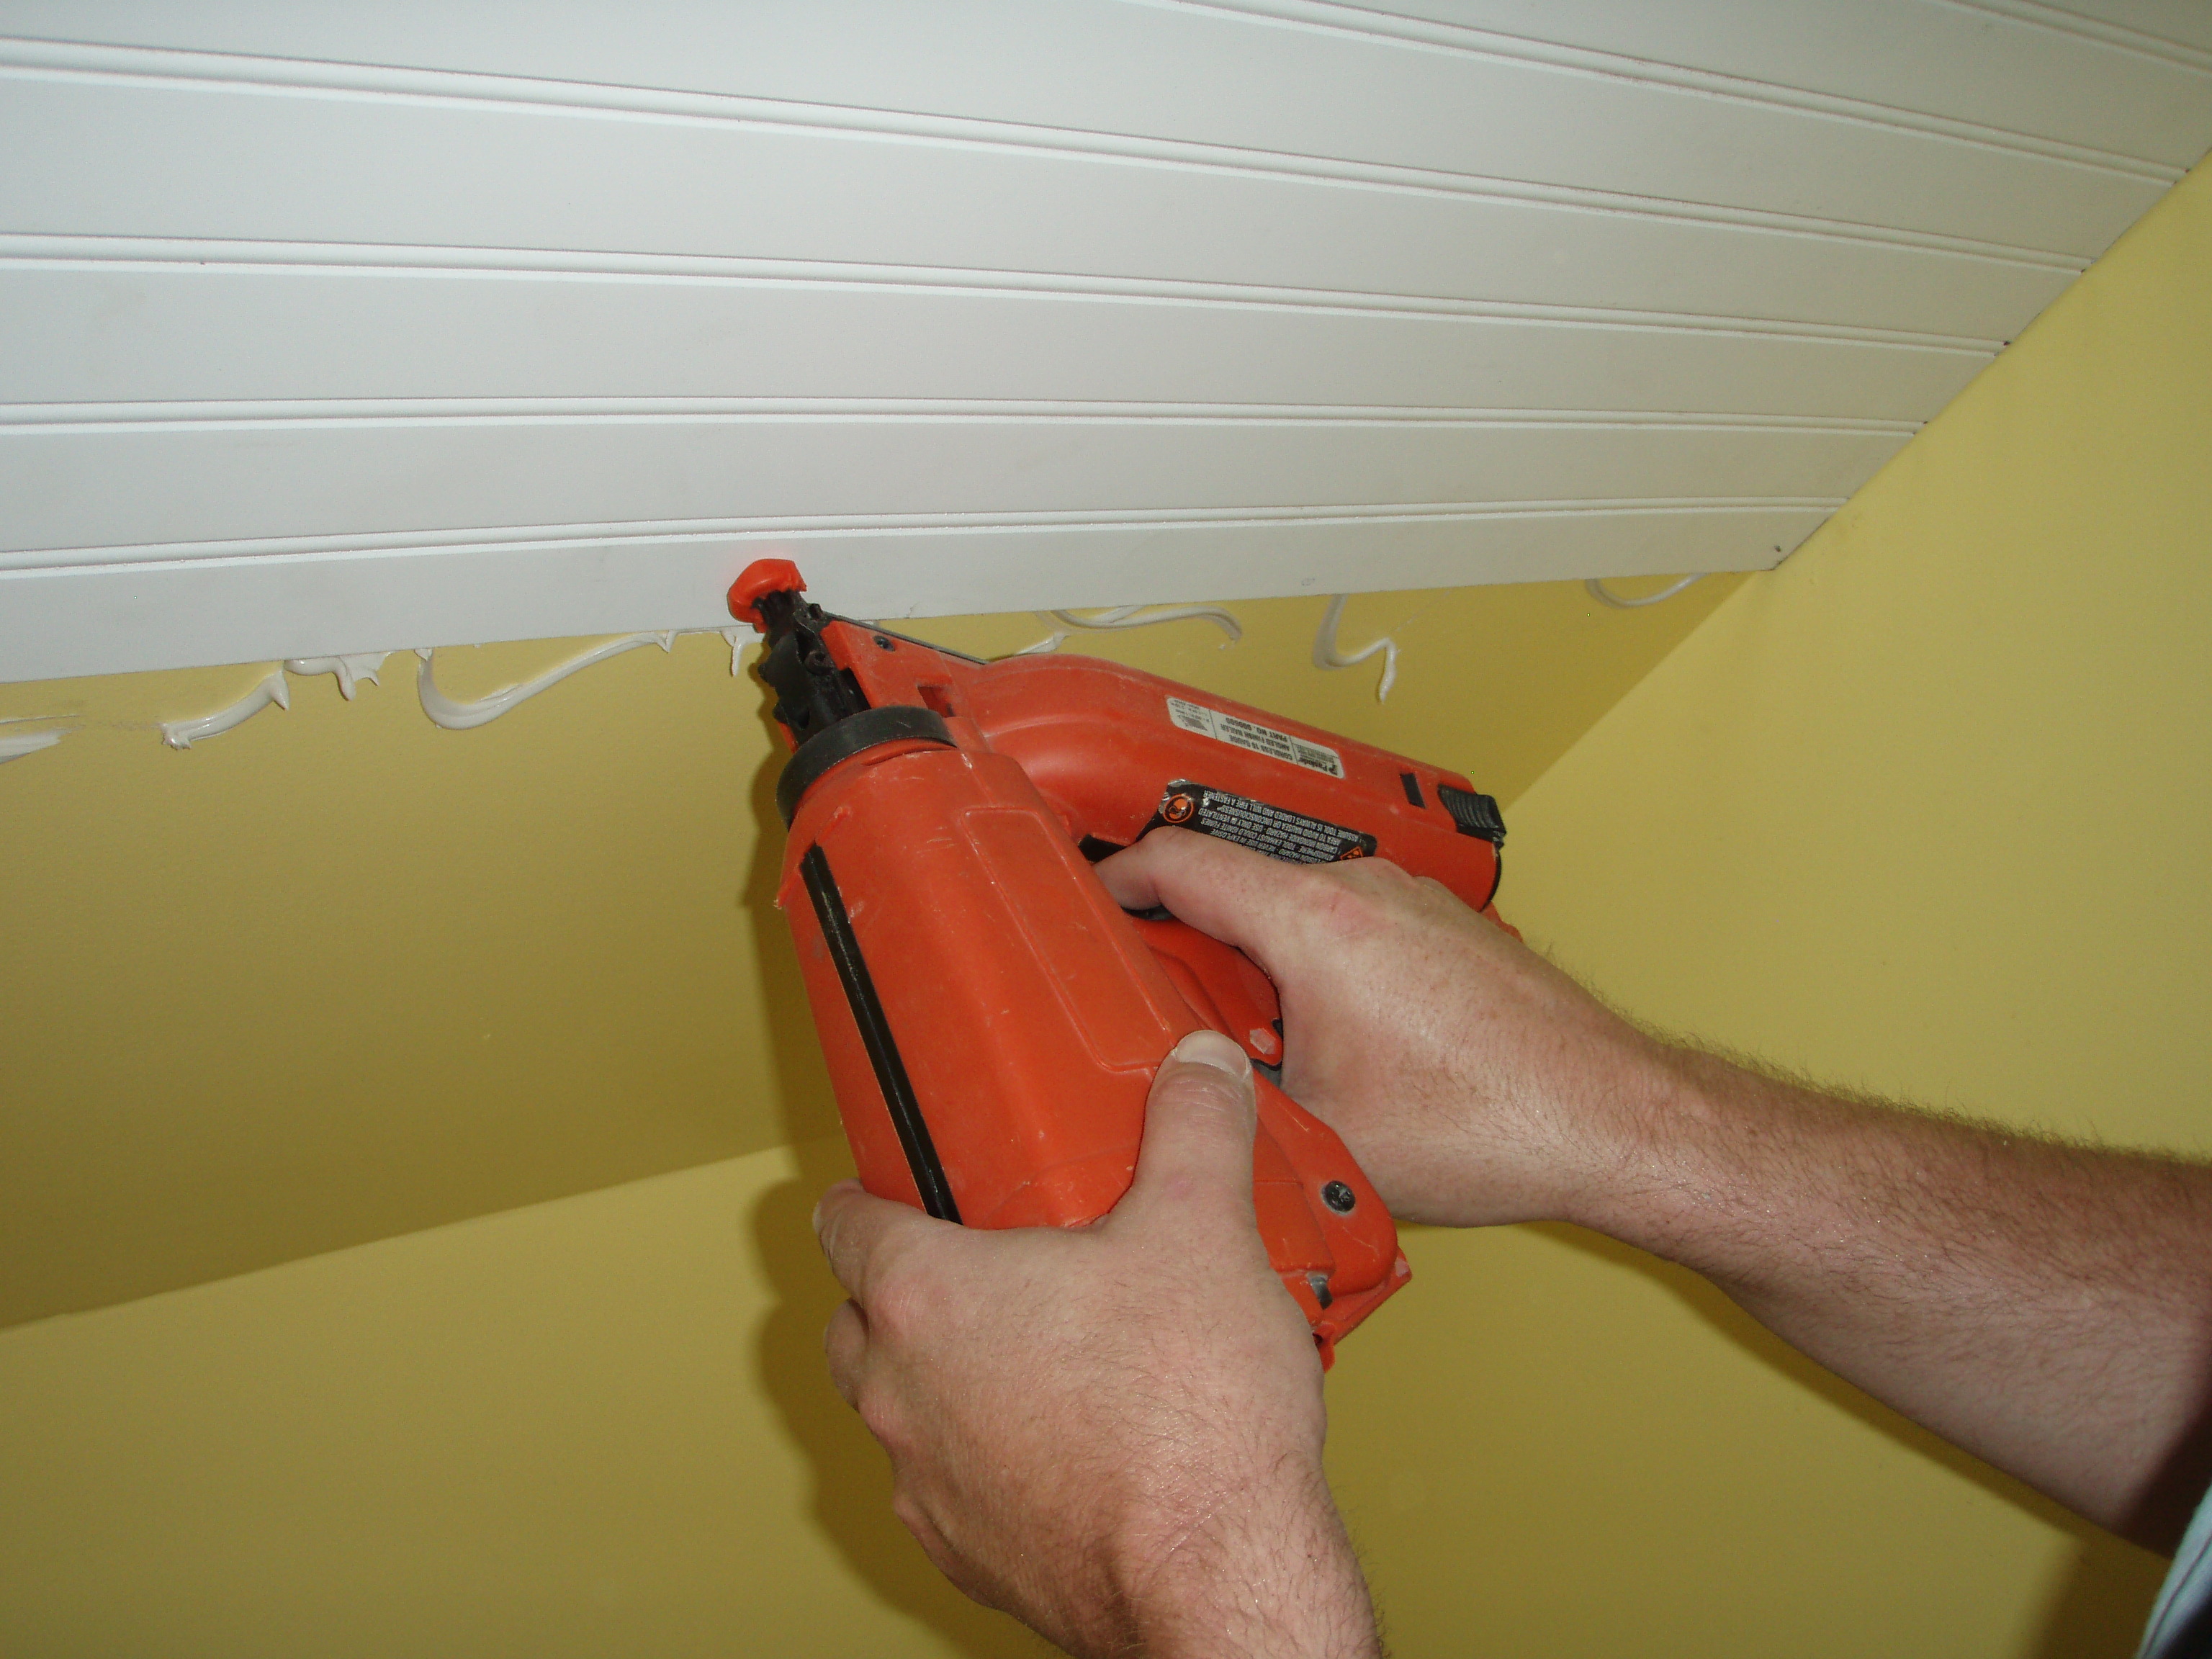
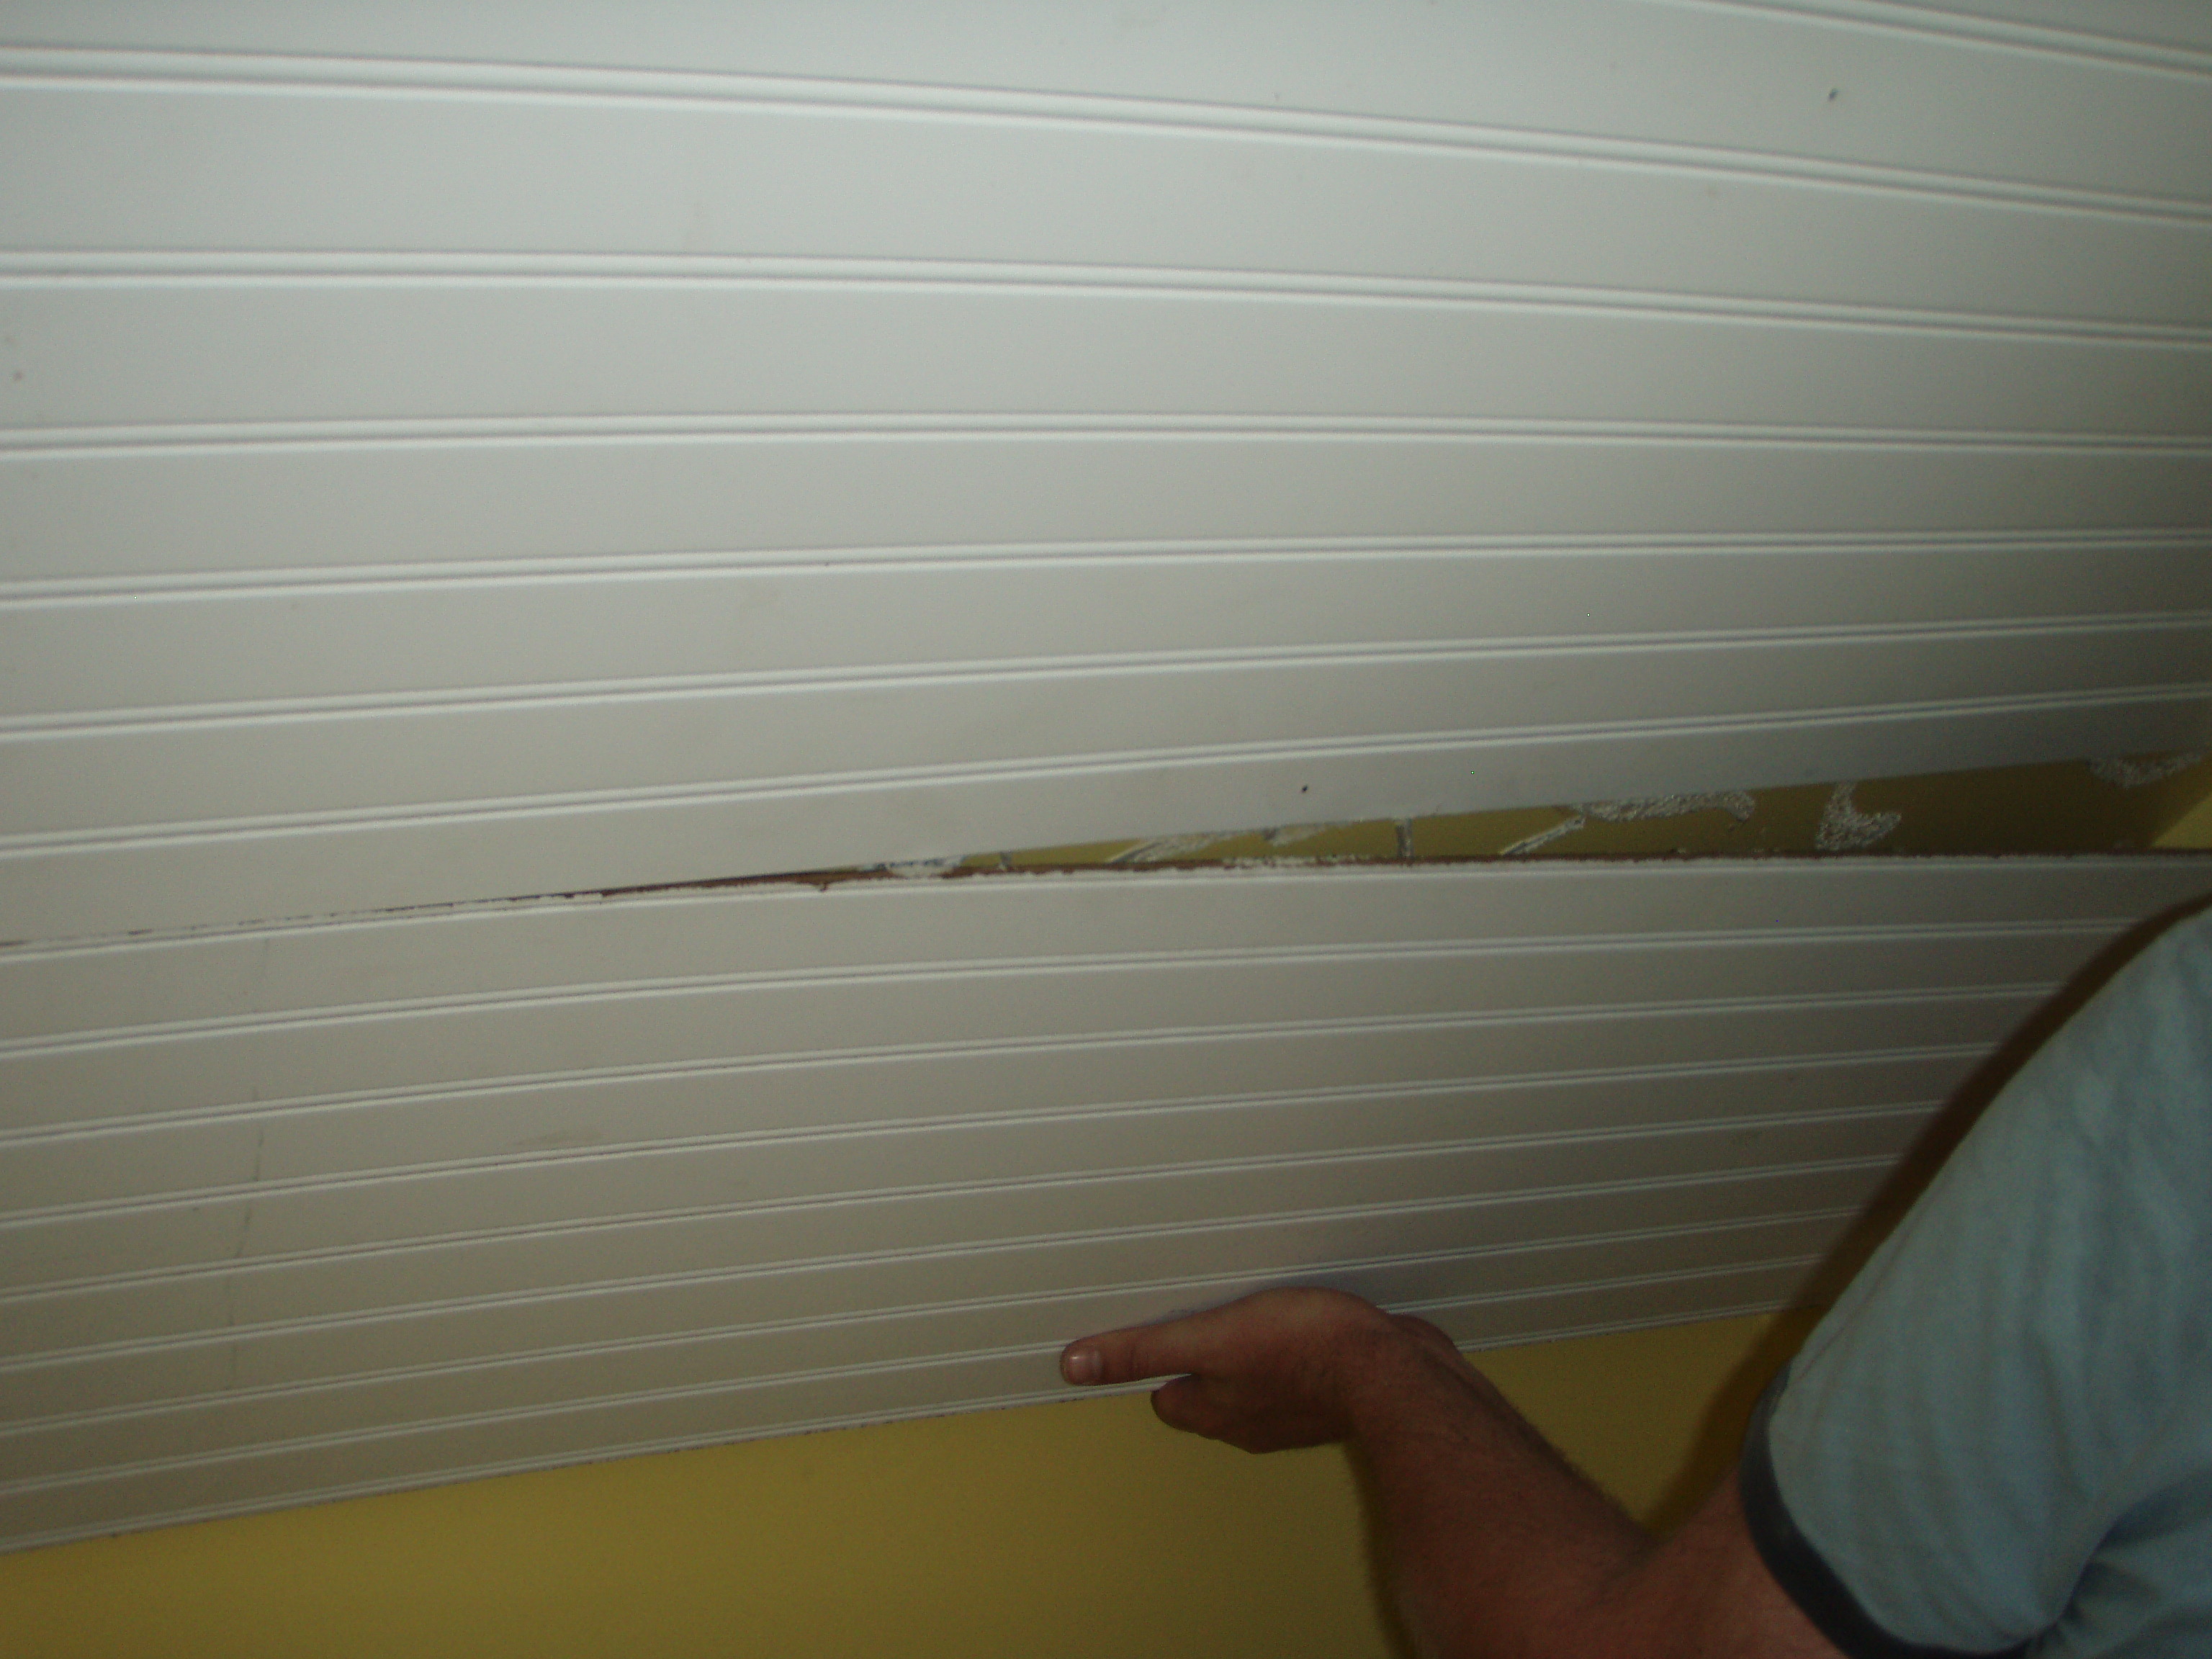
Then I got to play Vanna and hold up the panel and look pretty while Colby used the Paslode finish nailer to tack a few nails into it. He marked out where the strapping for the sheet rock behind it was so he could make sure he nailed into something solid:
Then it was time to install panel two in the same fashion. Unfortunately one panel couldn’t cover the whole space so we had to cut it up to make it work. We installed the second panel in the same fashion:
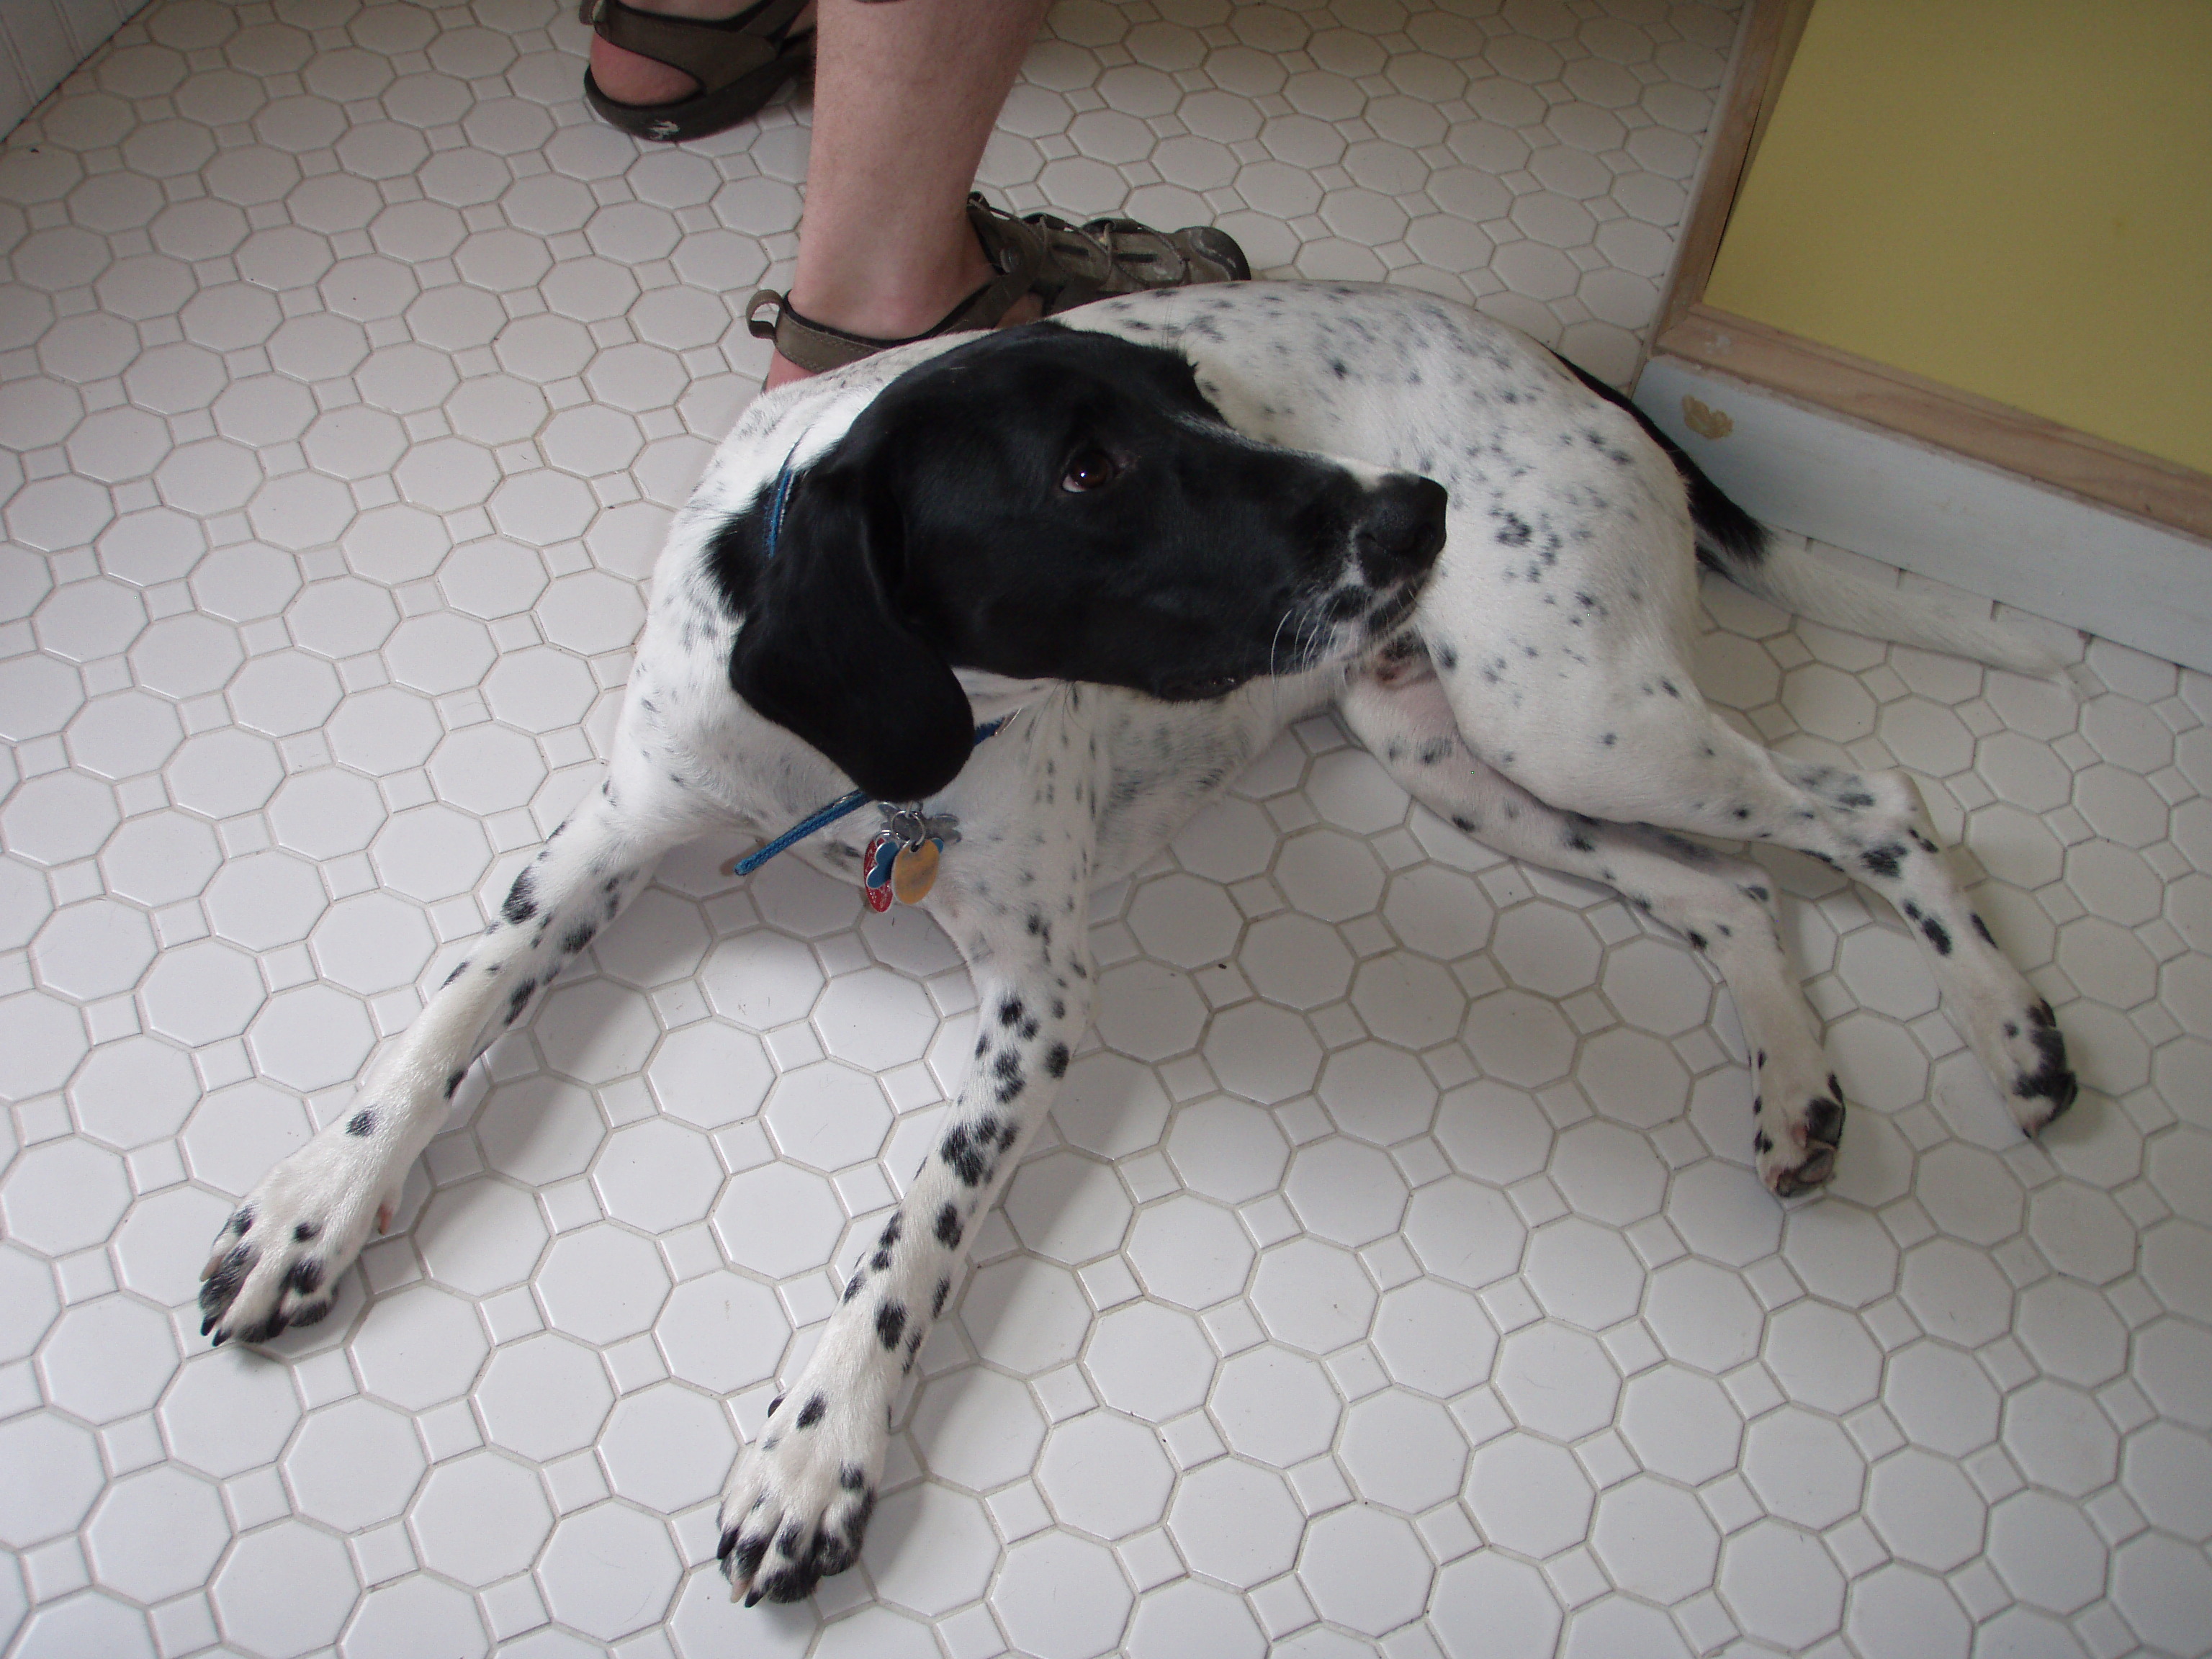
The second panel was a slightly tighter fit but we got it in there. All that work really tired out Goose:
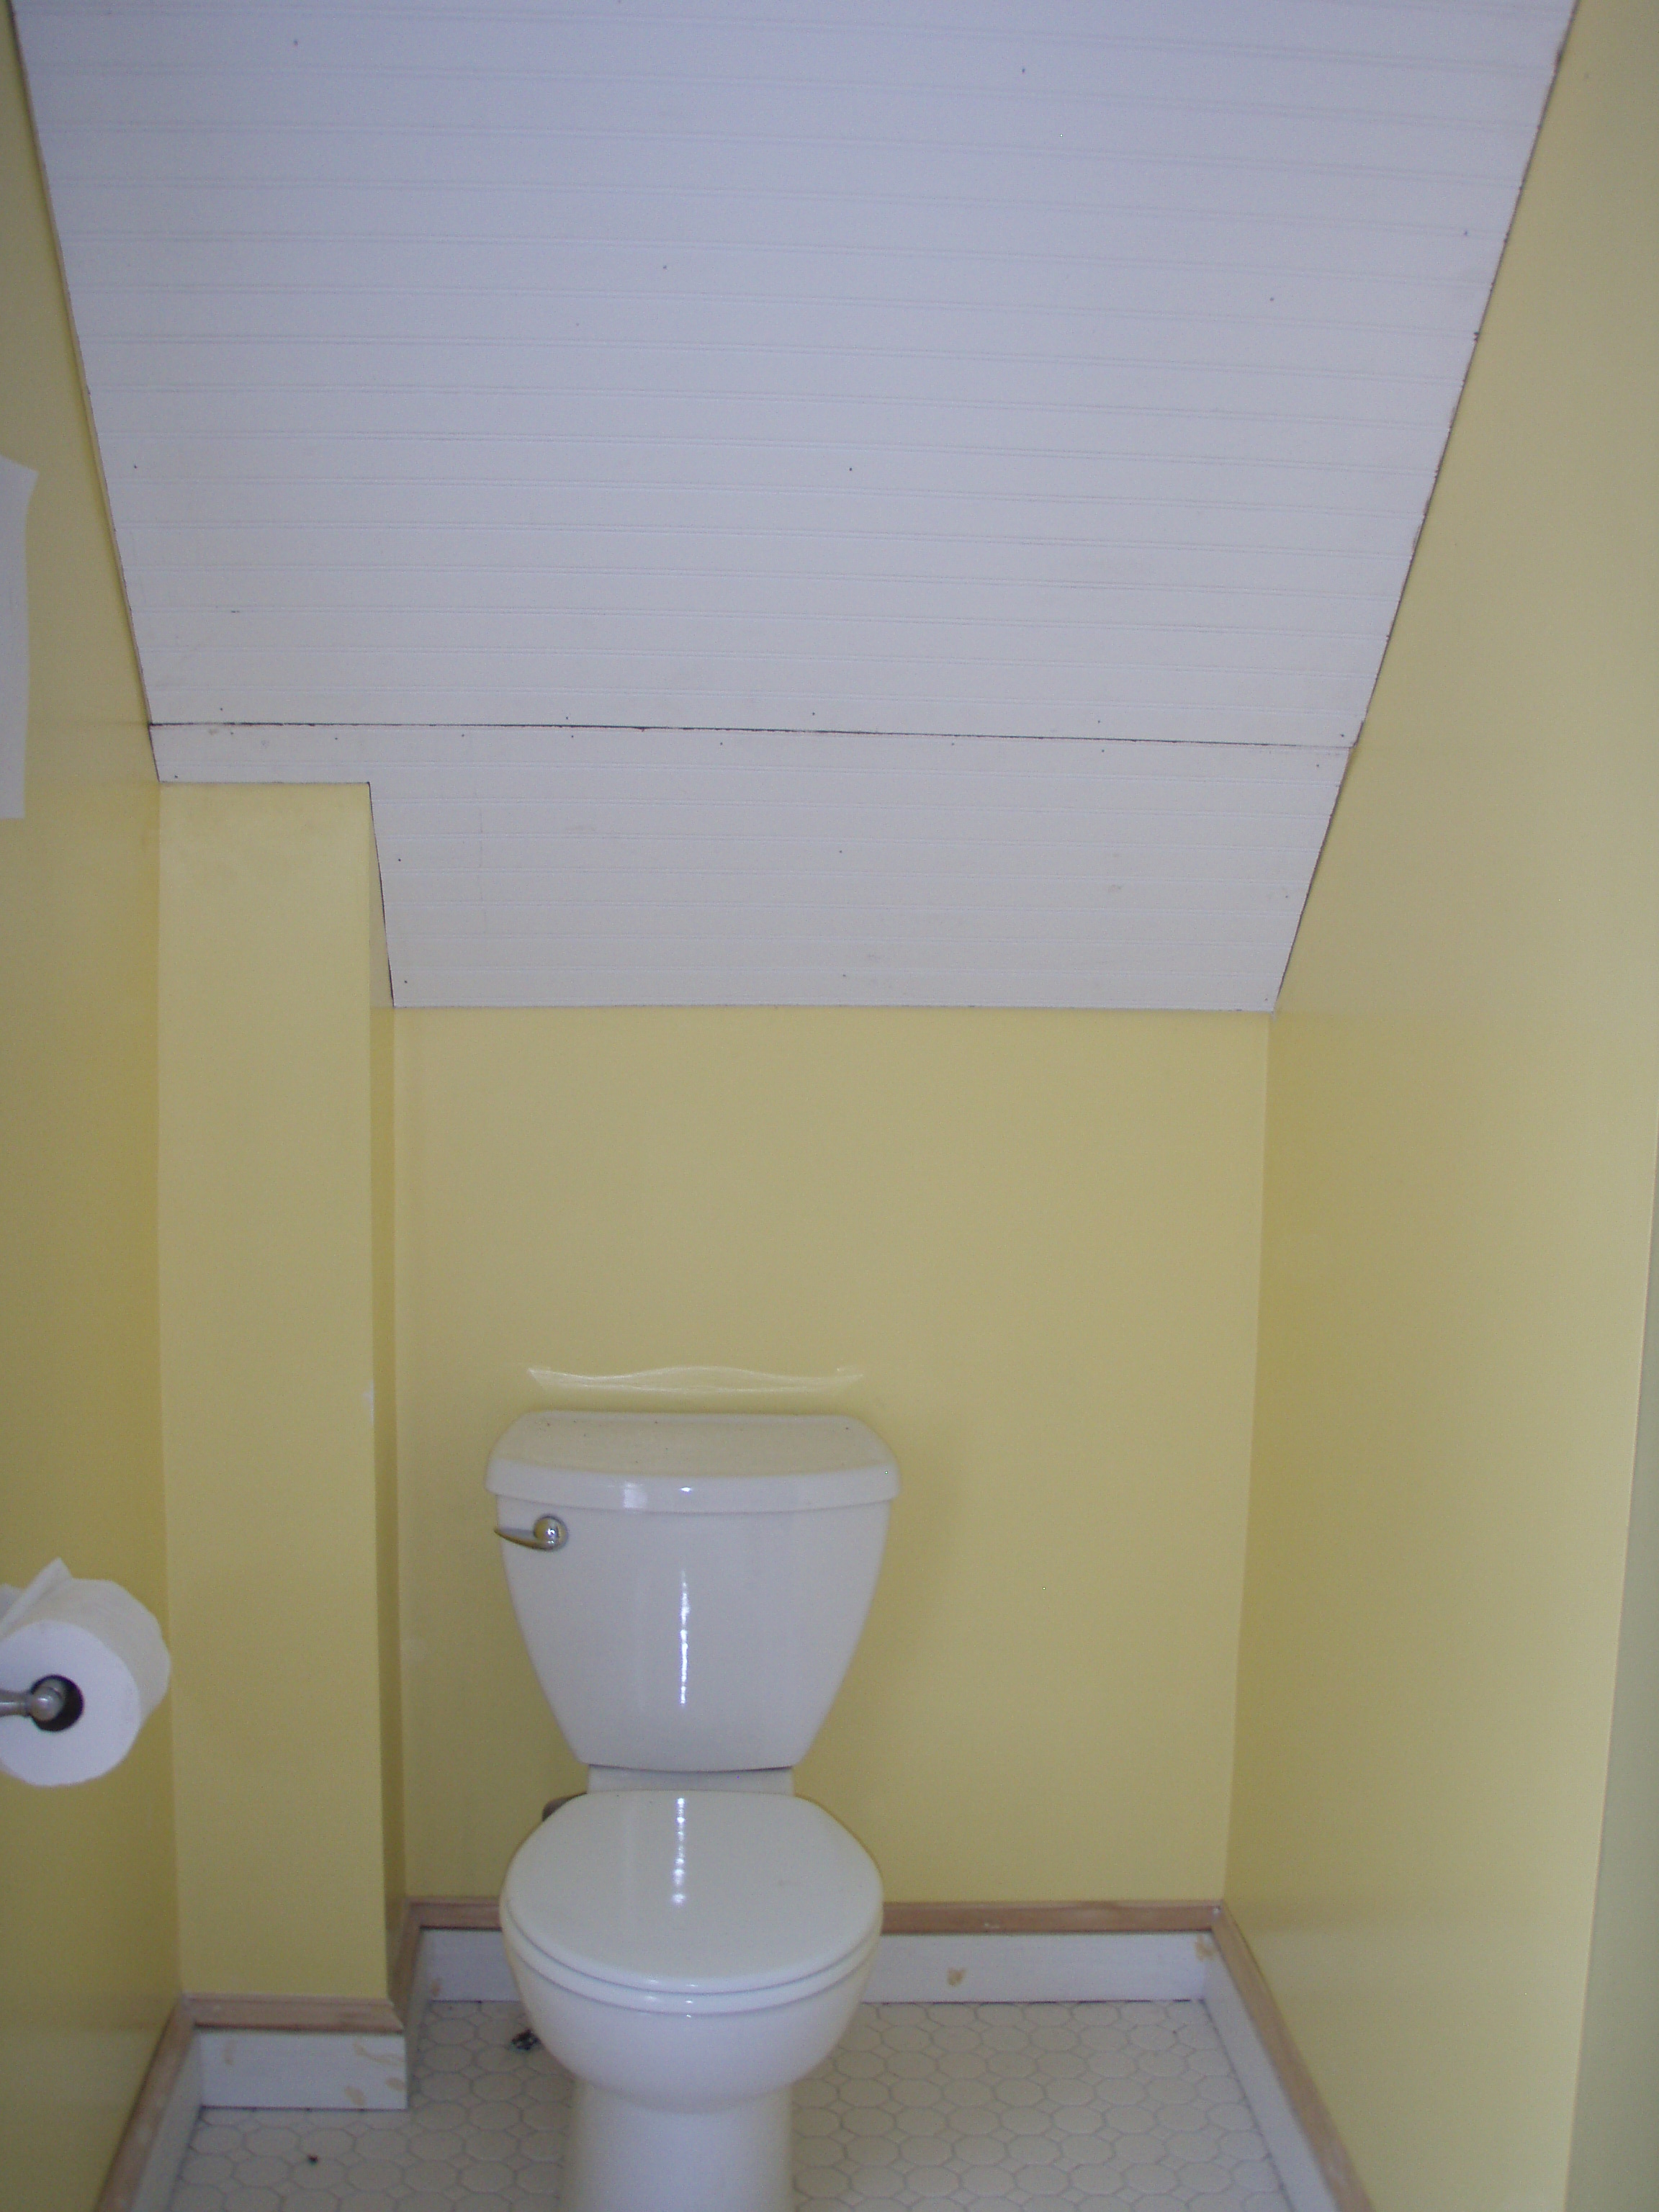
He’s such a big helper…wait….not! Unless face licking is helping? So that left us with a completely beadboarded ceiling:
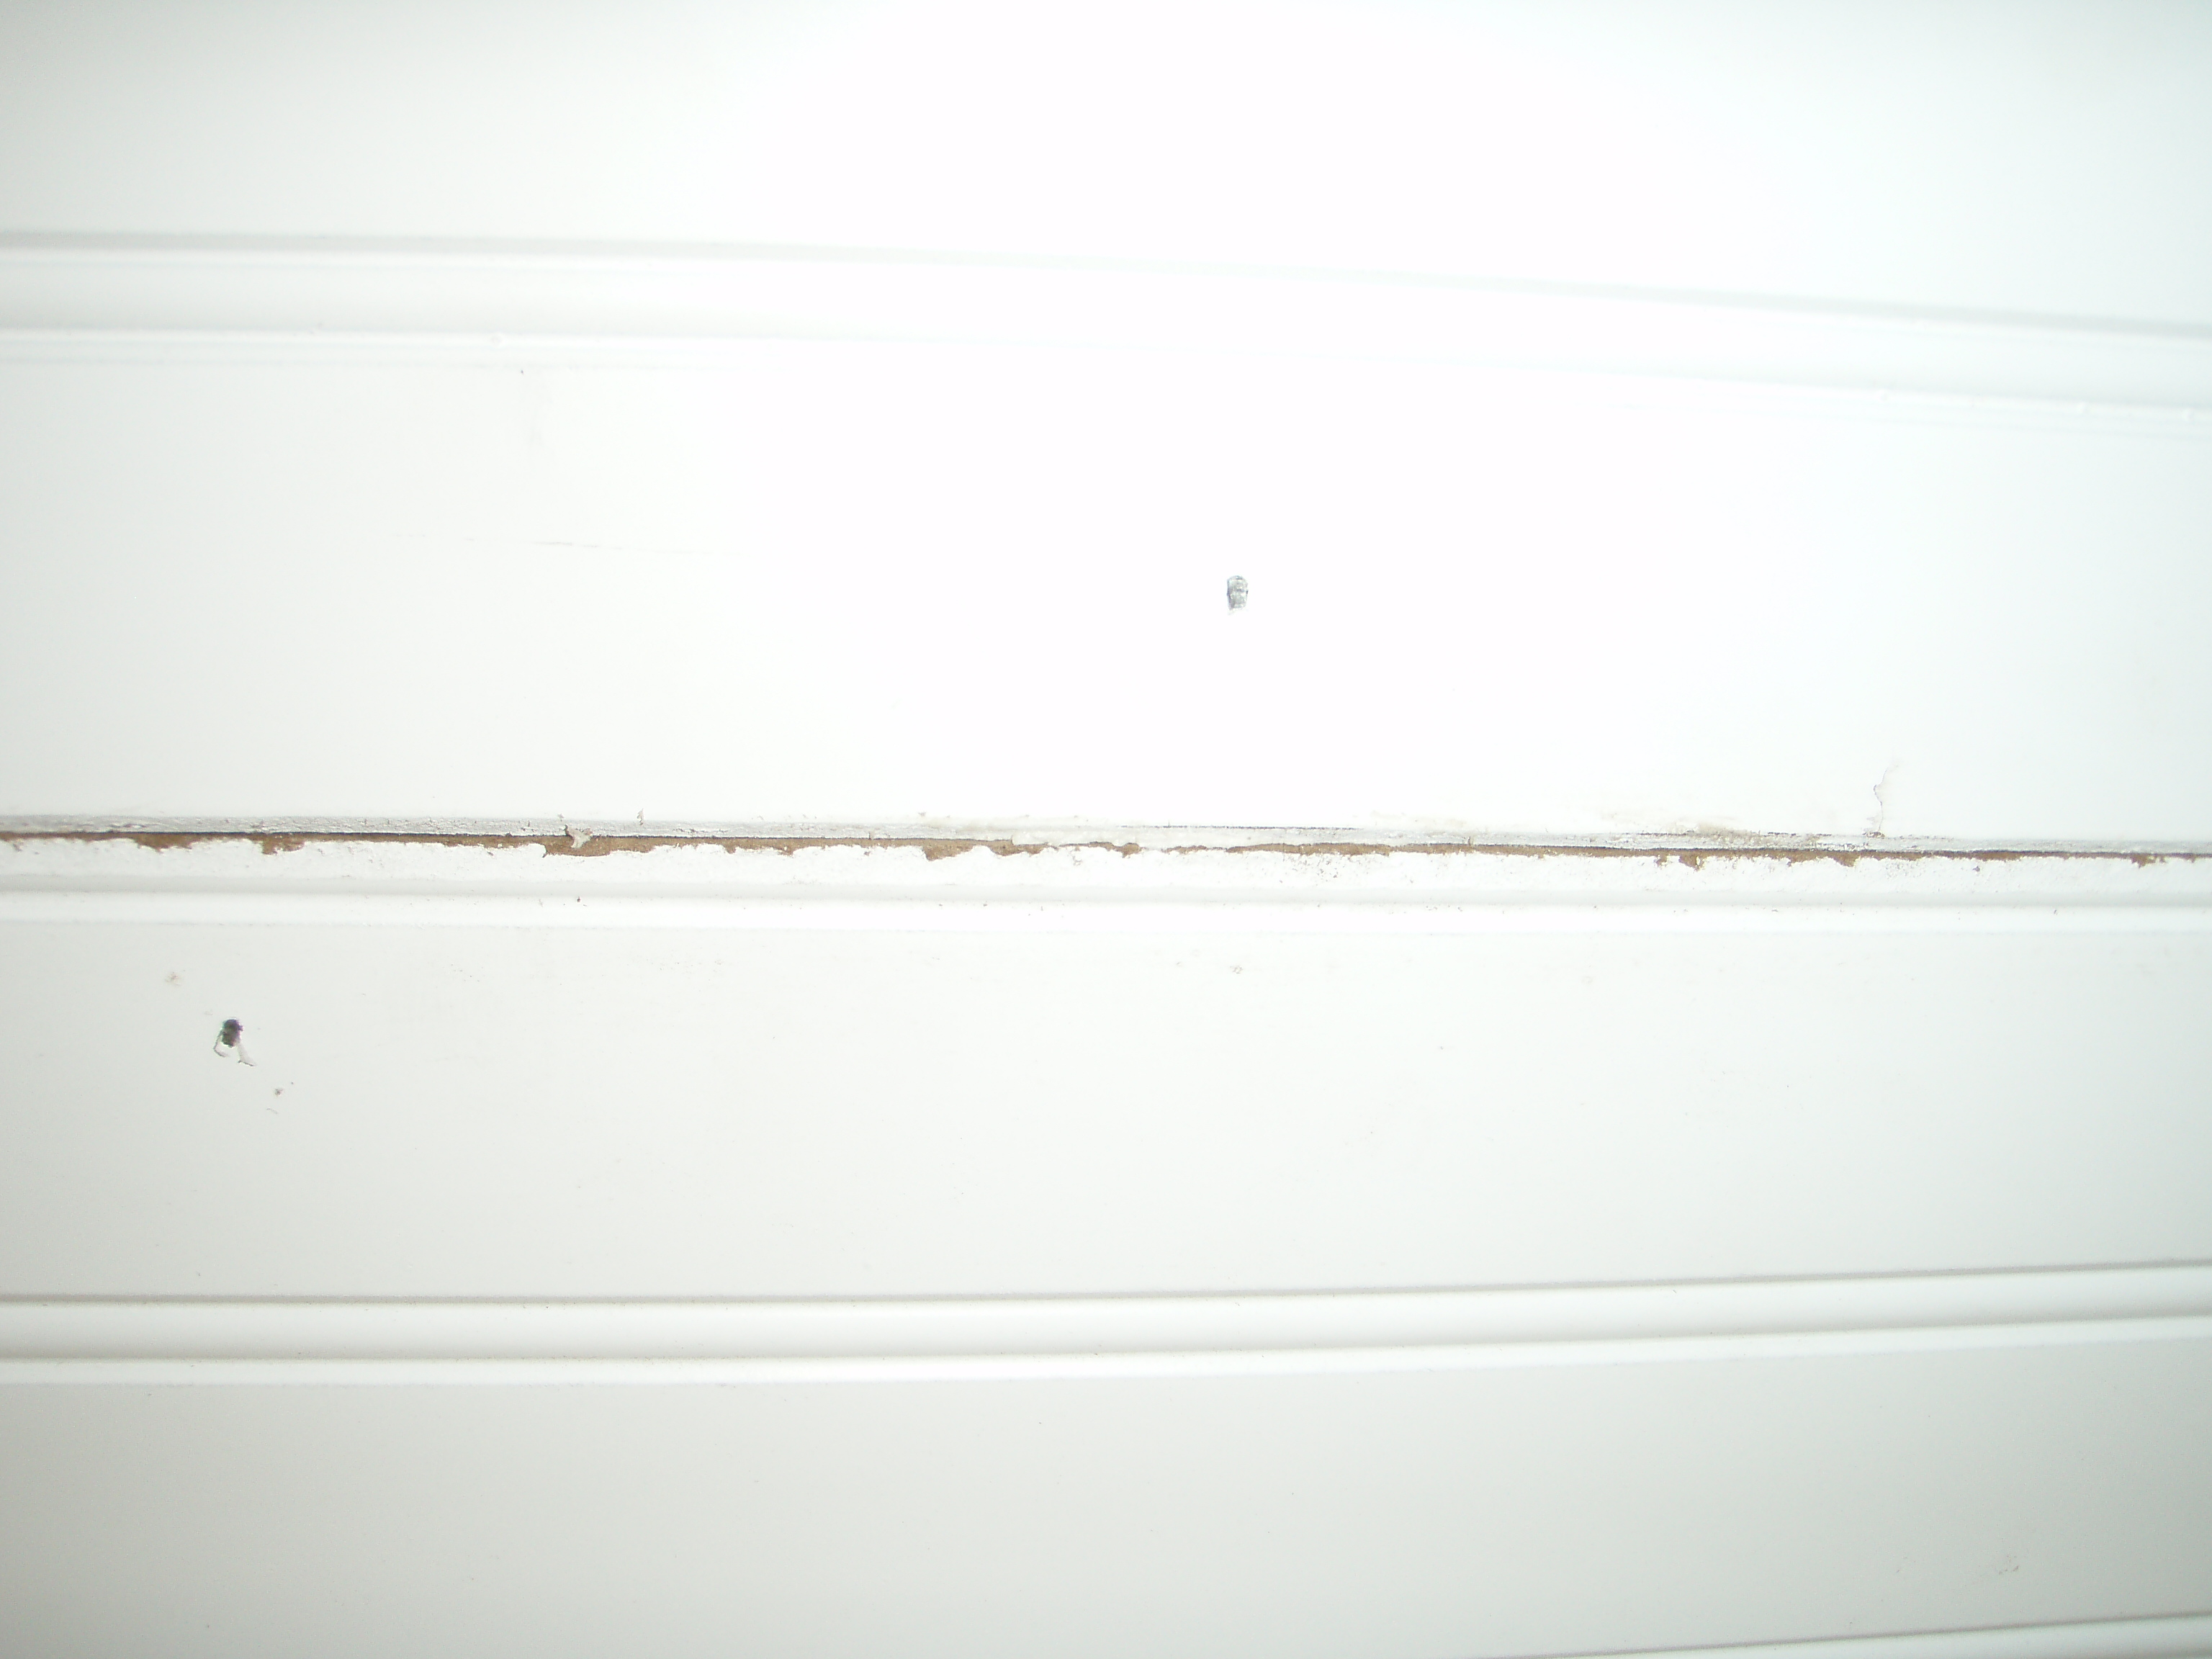
With a huge, ugly noticeable seam. Can you see it? If not…here is a closeup:
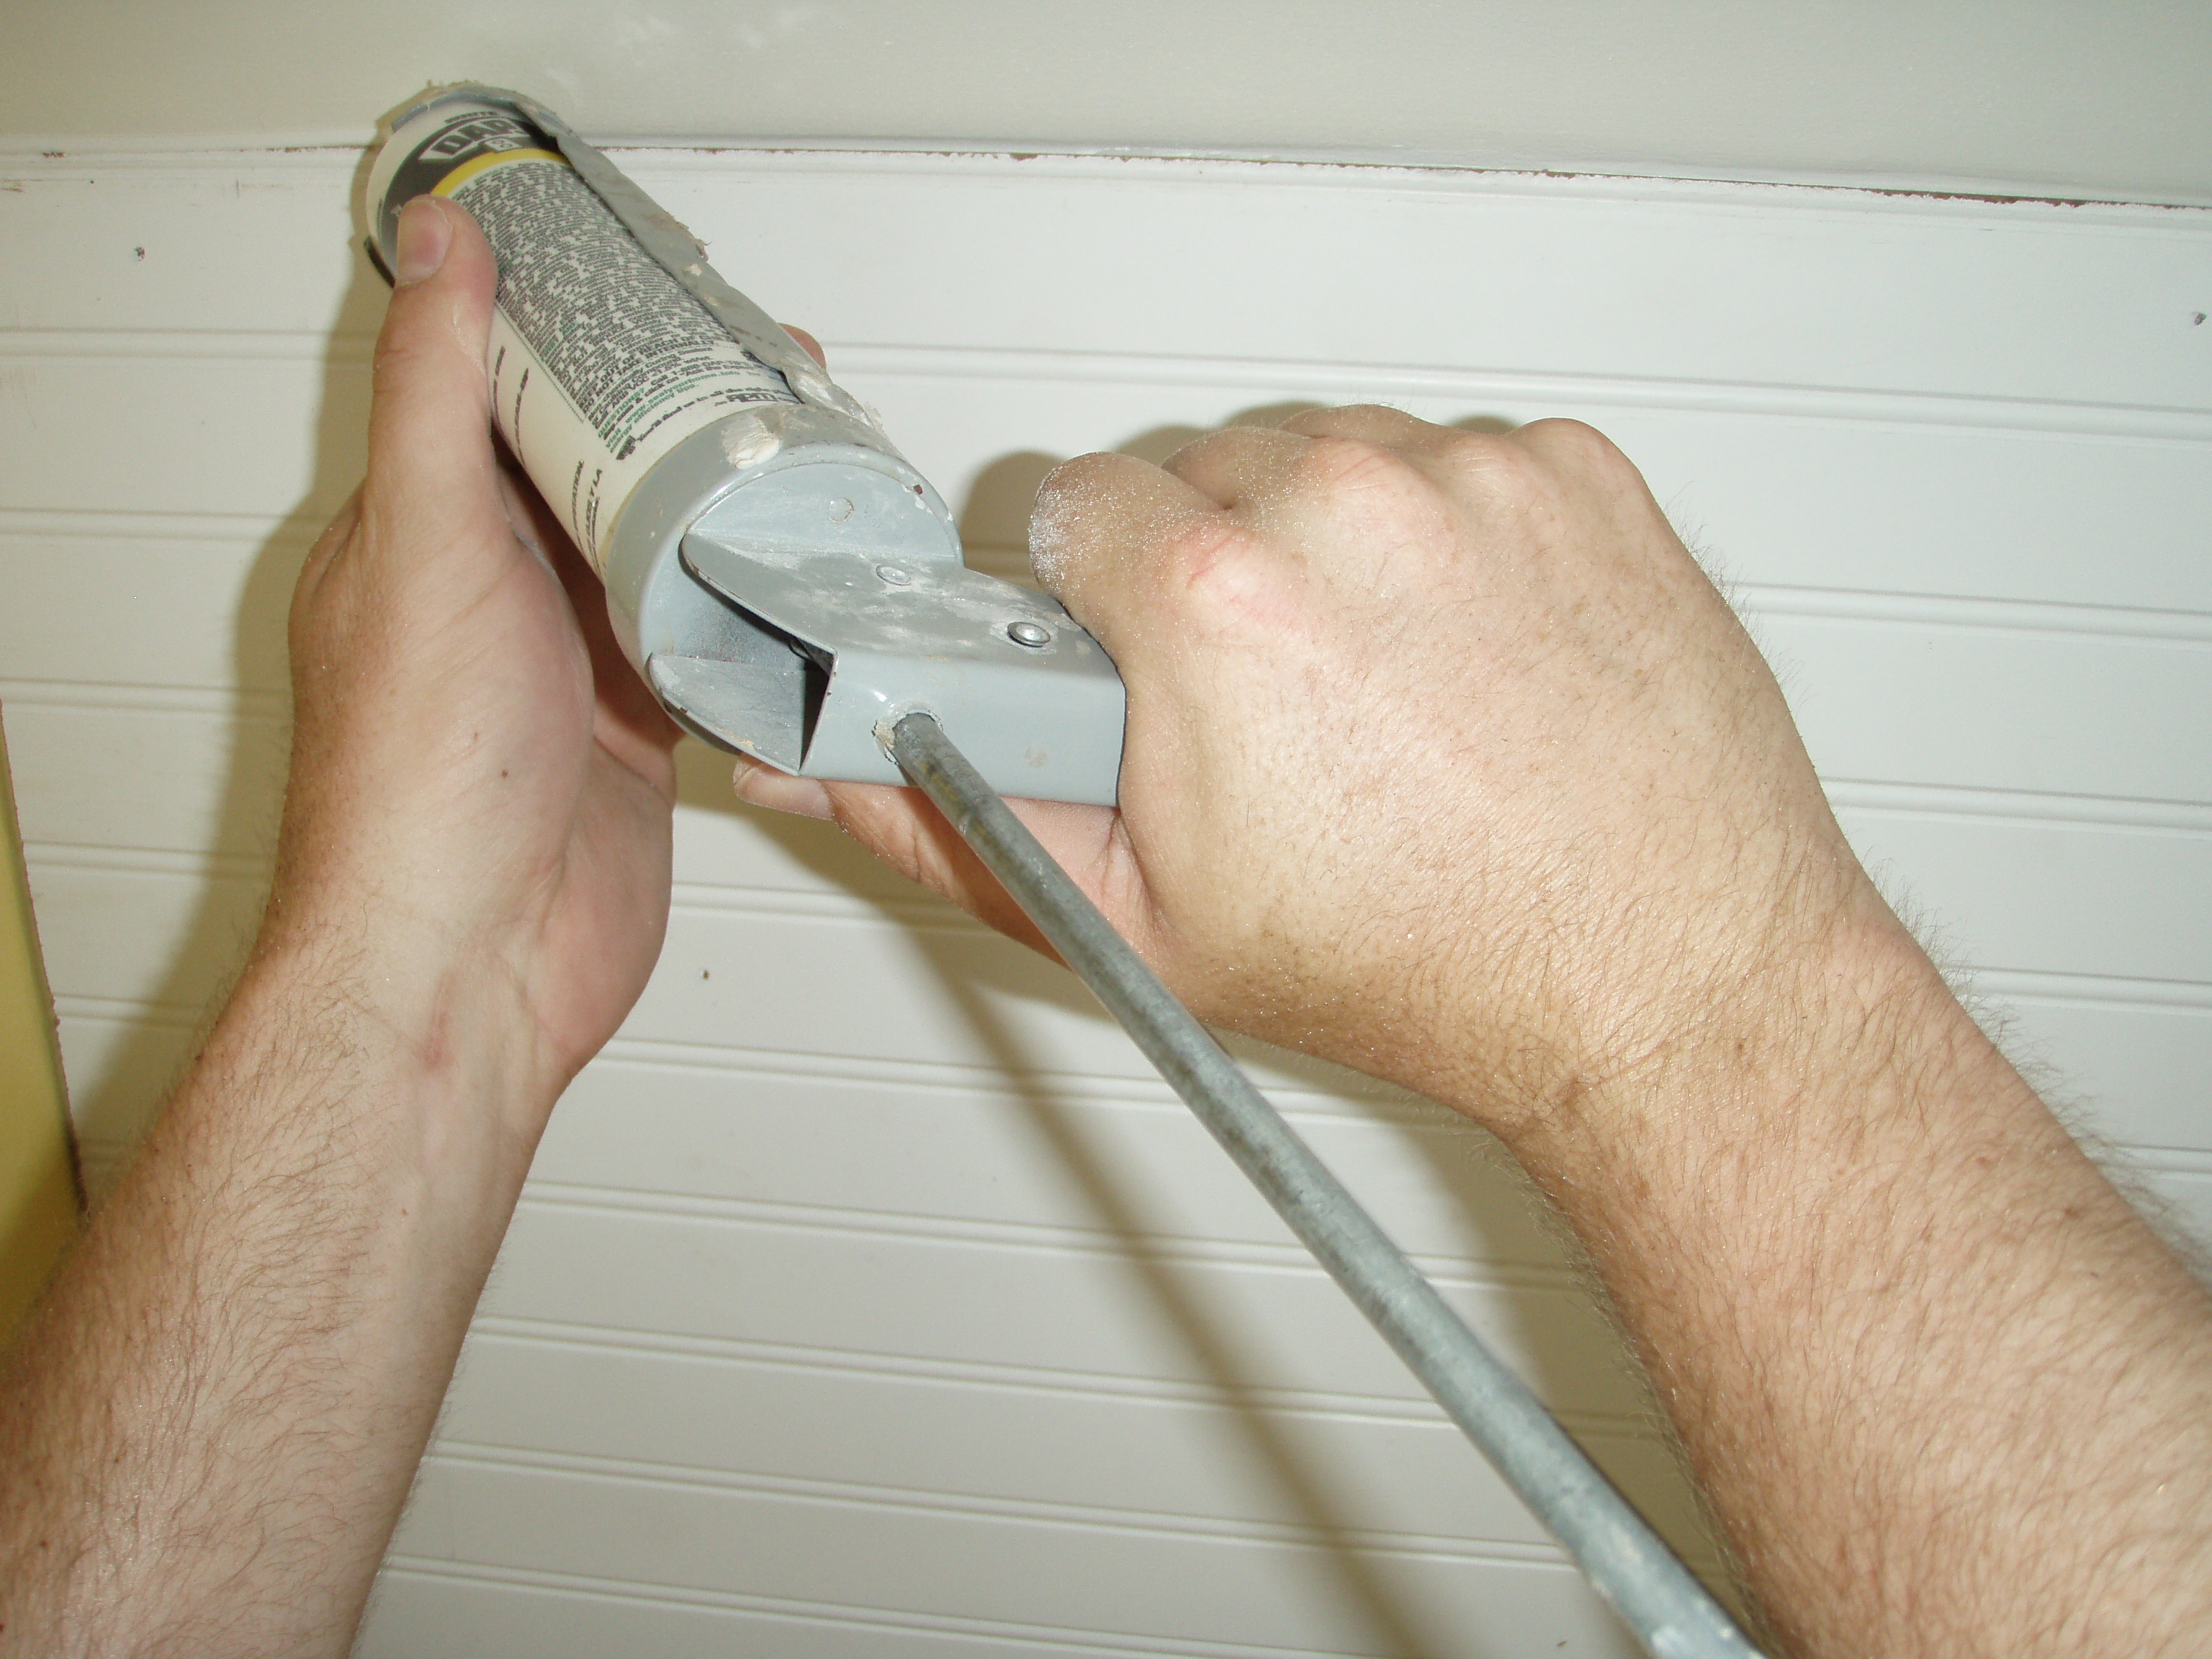
But have no fear! This is a quick and easy fix for a little paintable caulking:
We even caulked around all the edges for a seamless finish. Just so you know, I am a caulking pro. I got my start by caulking up a storm at my folks house while they were building the family compound. I may have gone pro in caulking but I’m saving my amateur status in painting until the next Olympic year rolls around. So…anyway…I got to work painting the beadboard a glossy white to match the trim in the bathroom, and there you have it! Here is the after again so you don’t have to scroll all the way up to the top of the page:
I’m saving your scrolling finger from over-exhaustion! How about another angle:
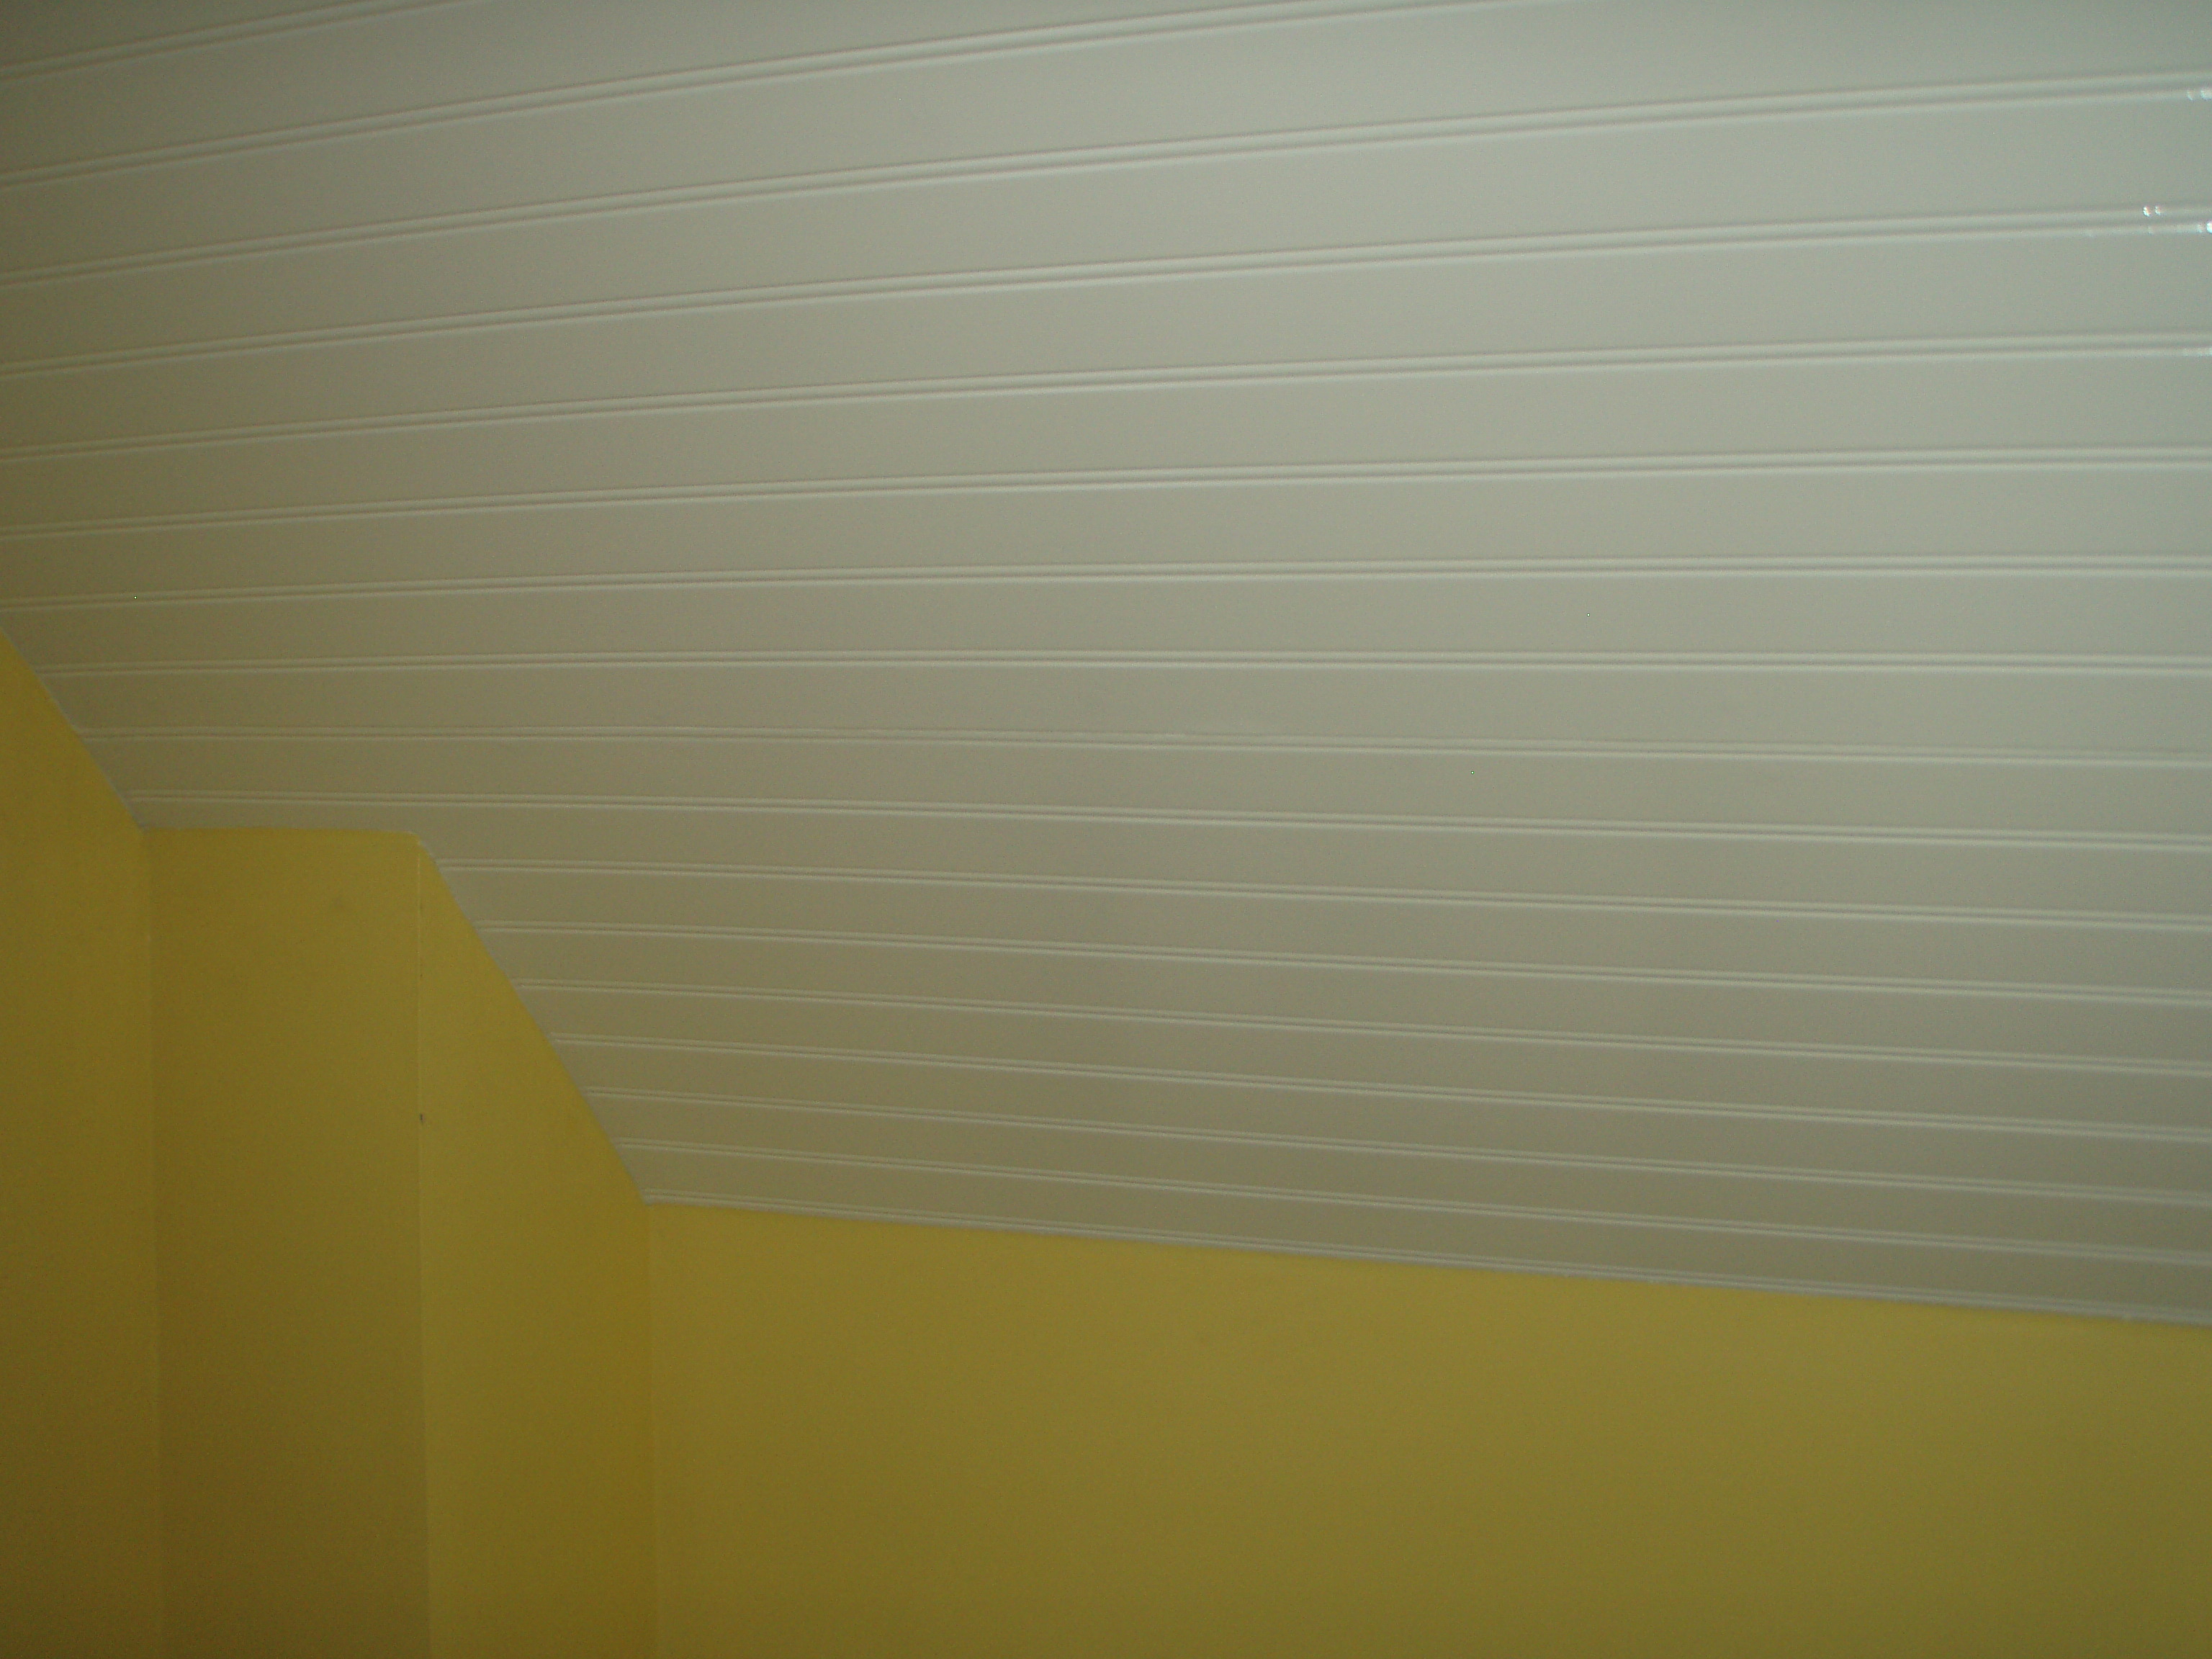
So the beadboard called, it’s ready for its closeup:
So stay tuned for more changes to the bathroom. Next up on the little to do list is completing the bathroom art project. That’s on tap for tomorrow. Like how I’m trying to focus a little more? Right now my focus is totally on the bathroom. All she ever talks about is the bathroom. The bathroom, the bathroom, the bathroom (anyone else addicted to that Safeco commercial on NESN? Just me? Okay…) But let’s see how long that will last. By the end of the week I’ll probably be down in the dining room planning out how to refinish the floor or something equally distracted…like upholstering chairs! Ooooh…chairs!




Great project! We actually just wrote a blog entry on the importance of sprucing up your bathroom!
Thanks! I keep telling Colby that bathrooms sell houses…oh…and kitchens but ours is still in shambles! By the way…love the wooden tub in your latest blog post. Where was that pic from? It’s so cool!
Looks super great. How would it look if you brought the bead board all the way down in back of the flush? It might break up some more of the yellow on the walls.
Thanks Patty! That might look cool to bring the beadboard down further…but no way in hell are we uninstalling that toilet ever again! It was too much of a pain to uninstall/reinstall when we did the floor. When I painted the area, I didn’t want to move to toilet so much that I pretty much just threw paint behind the toilet…sssshhhhhh…don’t tell anyone!
Where do you find the time to do all of this stuff? It looks great. Very creative as well.
Vermont Ma
I could tell you our secret but then I’d have to kill you…just kidding. We’re pretty much amazing! Thanks!!!! When are you coming to visit?! And see all our good work in person?!
Man, you have a Paslode nailer, I’m sooo jealous.
Congrats once more on the engagement. I’ll be checking the mail for my invite.
Thank you! Colby says, “tell him to send me his address….and what country he is in.” Does this mean you’ll be making a big trip perhaps?!