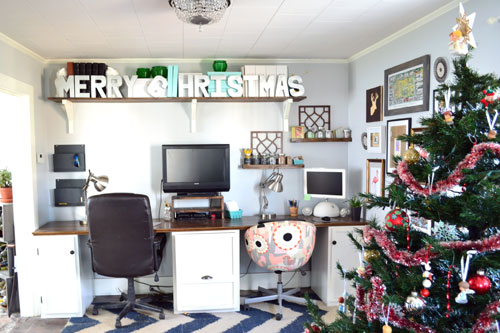
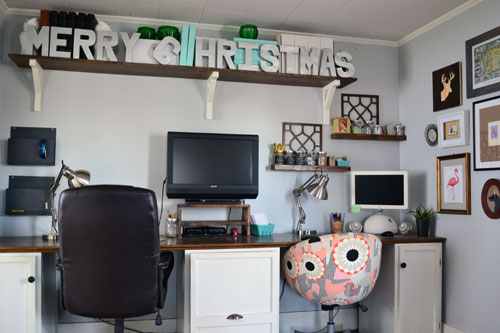
For all you Will Ferrel, “Elf” aficionados out there, I regret to inform that I’ve only watched said movie once this year. Believe me…I’m just as disappointed about that as you are. I mean…seriously…I’m not living up to that once a day quota of true Elf fans. But anyway…we’re spreading the Christmas cheer around the roost with a little “Merry Christmas” 3D, cardboard letter sign in the parlor.
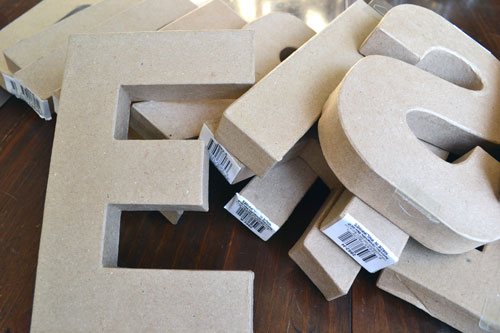
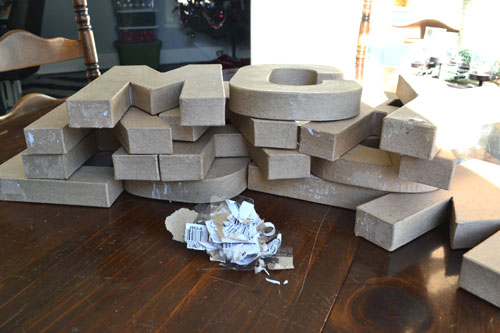
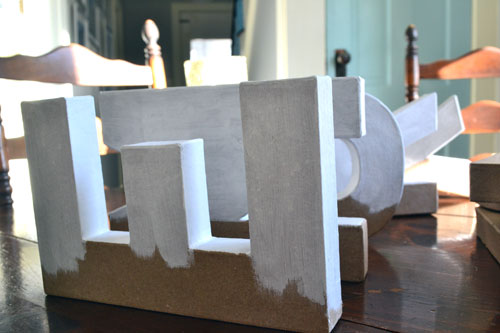
Which was super easy to make, a little time consuming, but super easy to make. And it all started with some 8″ cardboard letters that I picked up from Jo-Ann’s Fabrics.
They were originally priced at $2.99 each, on sale for $1.99 each, plus I had a 20% off your entire purchase coupon to redeem, which brought the letter cost down to a grand total of $20.70.
The hardest part of the project was peeling off all the bar code labels from the cardboard letters. Seriously! What part of stickers on cardboard makes sense?! Haha! They did not come off easy and I peeled off a few chunks along the way.
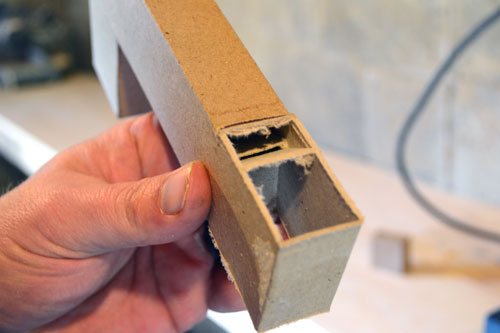
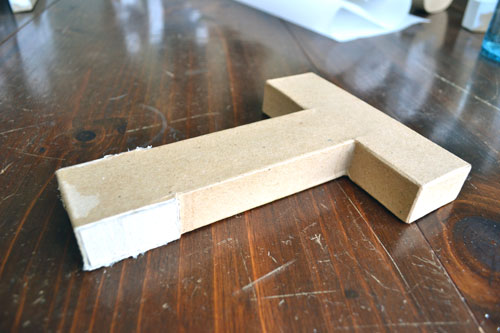
The second hardest part was turning an “I” into a “T”. The store was plum outta “T”s and despite my best store stalking efforts, no new “T”s came in. So I made due with what they did have…an “I” that could be converted into a “T” with our handy chop saw.
Yeah, we chopped the snot out of that “I”.
And then hot glued the scrap cardboard over the empty spaces to make it actually look like a “T”. It ain’t perfect…but she’s “T”-rific. Har har har!
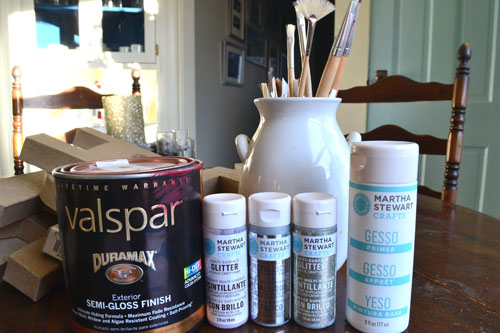
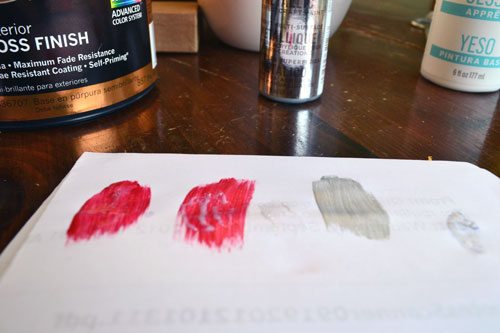
When it came to paint selection, I had options. We’re talking front door red paint, a white glittery paint, a silver glittery paint or a metallic silver paint.
Naturally, I did what any self respecting DIYer does in a paint dilemma situation like this and played with swatches. I even layered some of the glitter paint over the red paint to see how that would work. In the end, silver metallic was the clear winner.
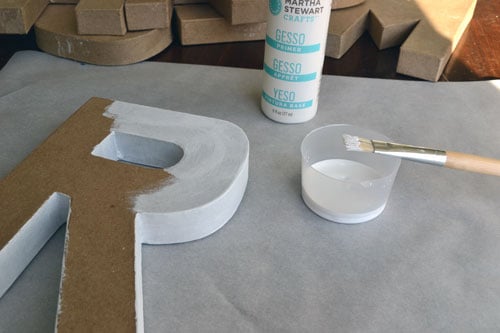
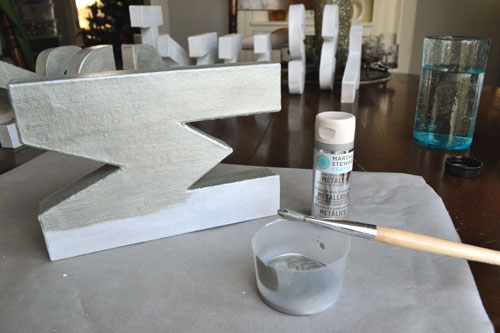
Armed with a bottle of white primer and two small bottles of metallic silver paint (about $8 total in paint after sales and coupons), I started painting away at the letters, which took a solid afternoon to paint one coat of primer and two coats of metallic paint on each letter.
I suppose I didn’t NEED to prime all the letters first, but in the end I’m glad I did. The metallic paint doesn’t have the greatest coverage in the world so the white blends much better with the metallic than brown would have.
After one coat of primer came two coats of the metallic paint. And here’s a few little tips about painting these suckers. One, the paint dries super fast so by the time you finish painting one section and move onto the next, on the same letter, it’s already dry to the touch. Meaning you can paint an entire letter on all sides at one time. Two, parchment paper is your new best friend. It doesn’t stick to your letters and protects the surface you’re painting on. Three, a plastic cup (Solo cup) with the top chopped off makes for a super easy paint pot to dip your brush into. And four, the metallic paint is super streaky. So layer it on thick and aim for a minimum of two coats.
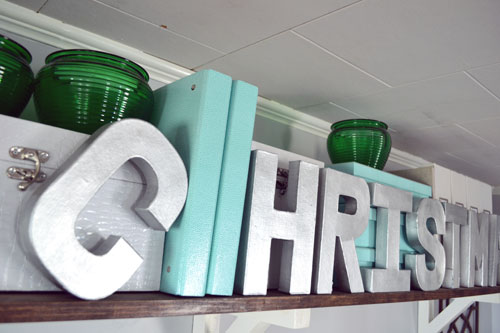
Two coats of Martha Stewart metallic paint and an afternoon of painting later, I plopped the letters onto the shelf in our Parlor office space and called it good.
And I know the “C” is a little weird. But those notebooks stick out to the very edge of the shelf, leaving no space for sir “C”. So I thought if I twisted the “C” a little, and angled him, it would make that awkward space look like it was on purpose. It pseudo worked.
Every year for Christmas I add one or two decorative type items or crafts and the metallic silver, “Merry Christmas” letters are this year’s contribution. This may be the solitary item for Christmas 2012 but who knows what the post Christmas Target sale will bring me. I always find a few 70% off gems there.
Pssst…So now that I’ve shared my Christmas crafting project du jour, what have you been crafting lately for the holidays? Any special decor items? Or baking? Anyone baking anything amazing? Okay…I’m officially hungry now!

