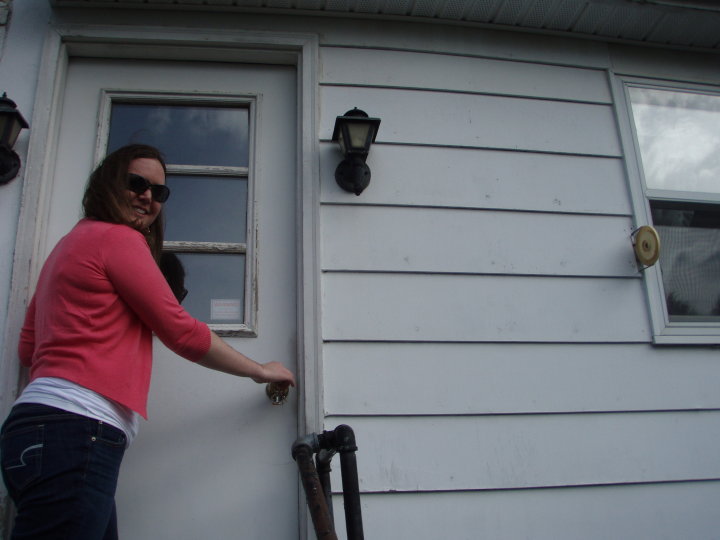
First off, happy Fourth of July everyone! I hope you all grilled, enjoyed some sun, and celebrated our freedom. I certainly celebrated our freedom from those dastardly red coats by throwing on a few red coats of Valspar’s “Front Door Red” Signature exterior paint on our main door. And I cannot confirm nor deny that I may have yelled “the red coats are coming” just a few times during the process. Here is the door before the red coats invaded our entryway:
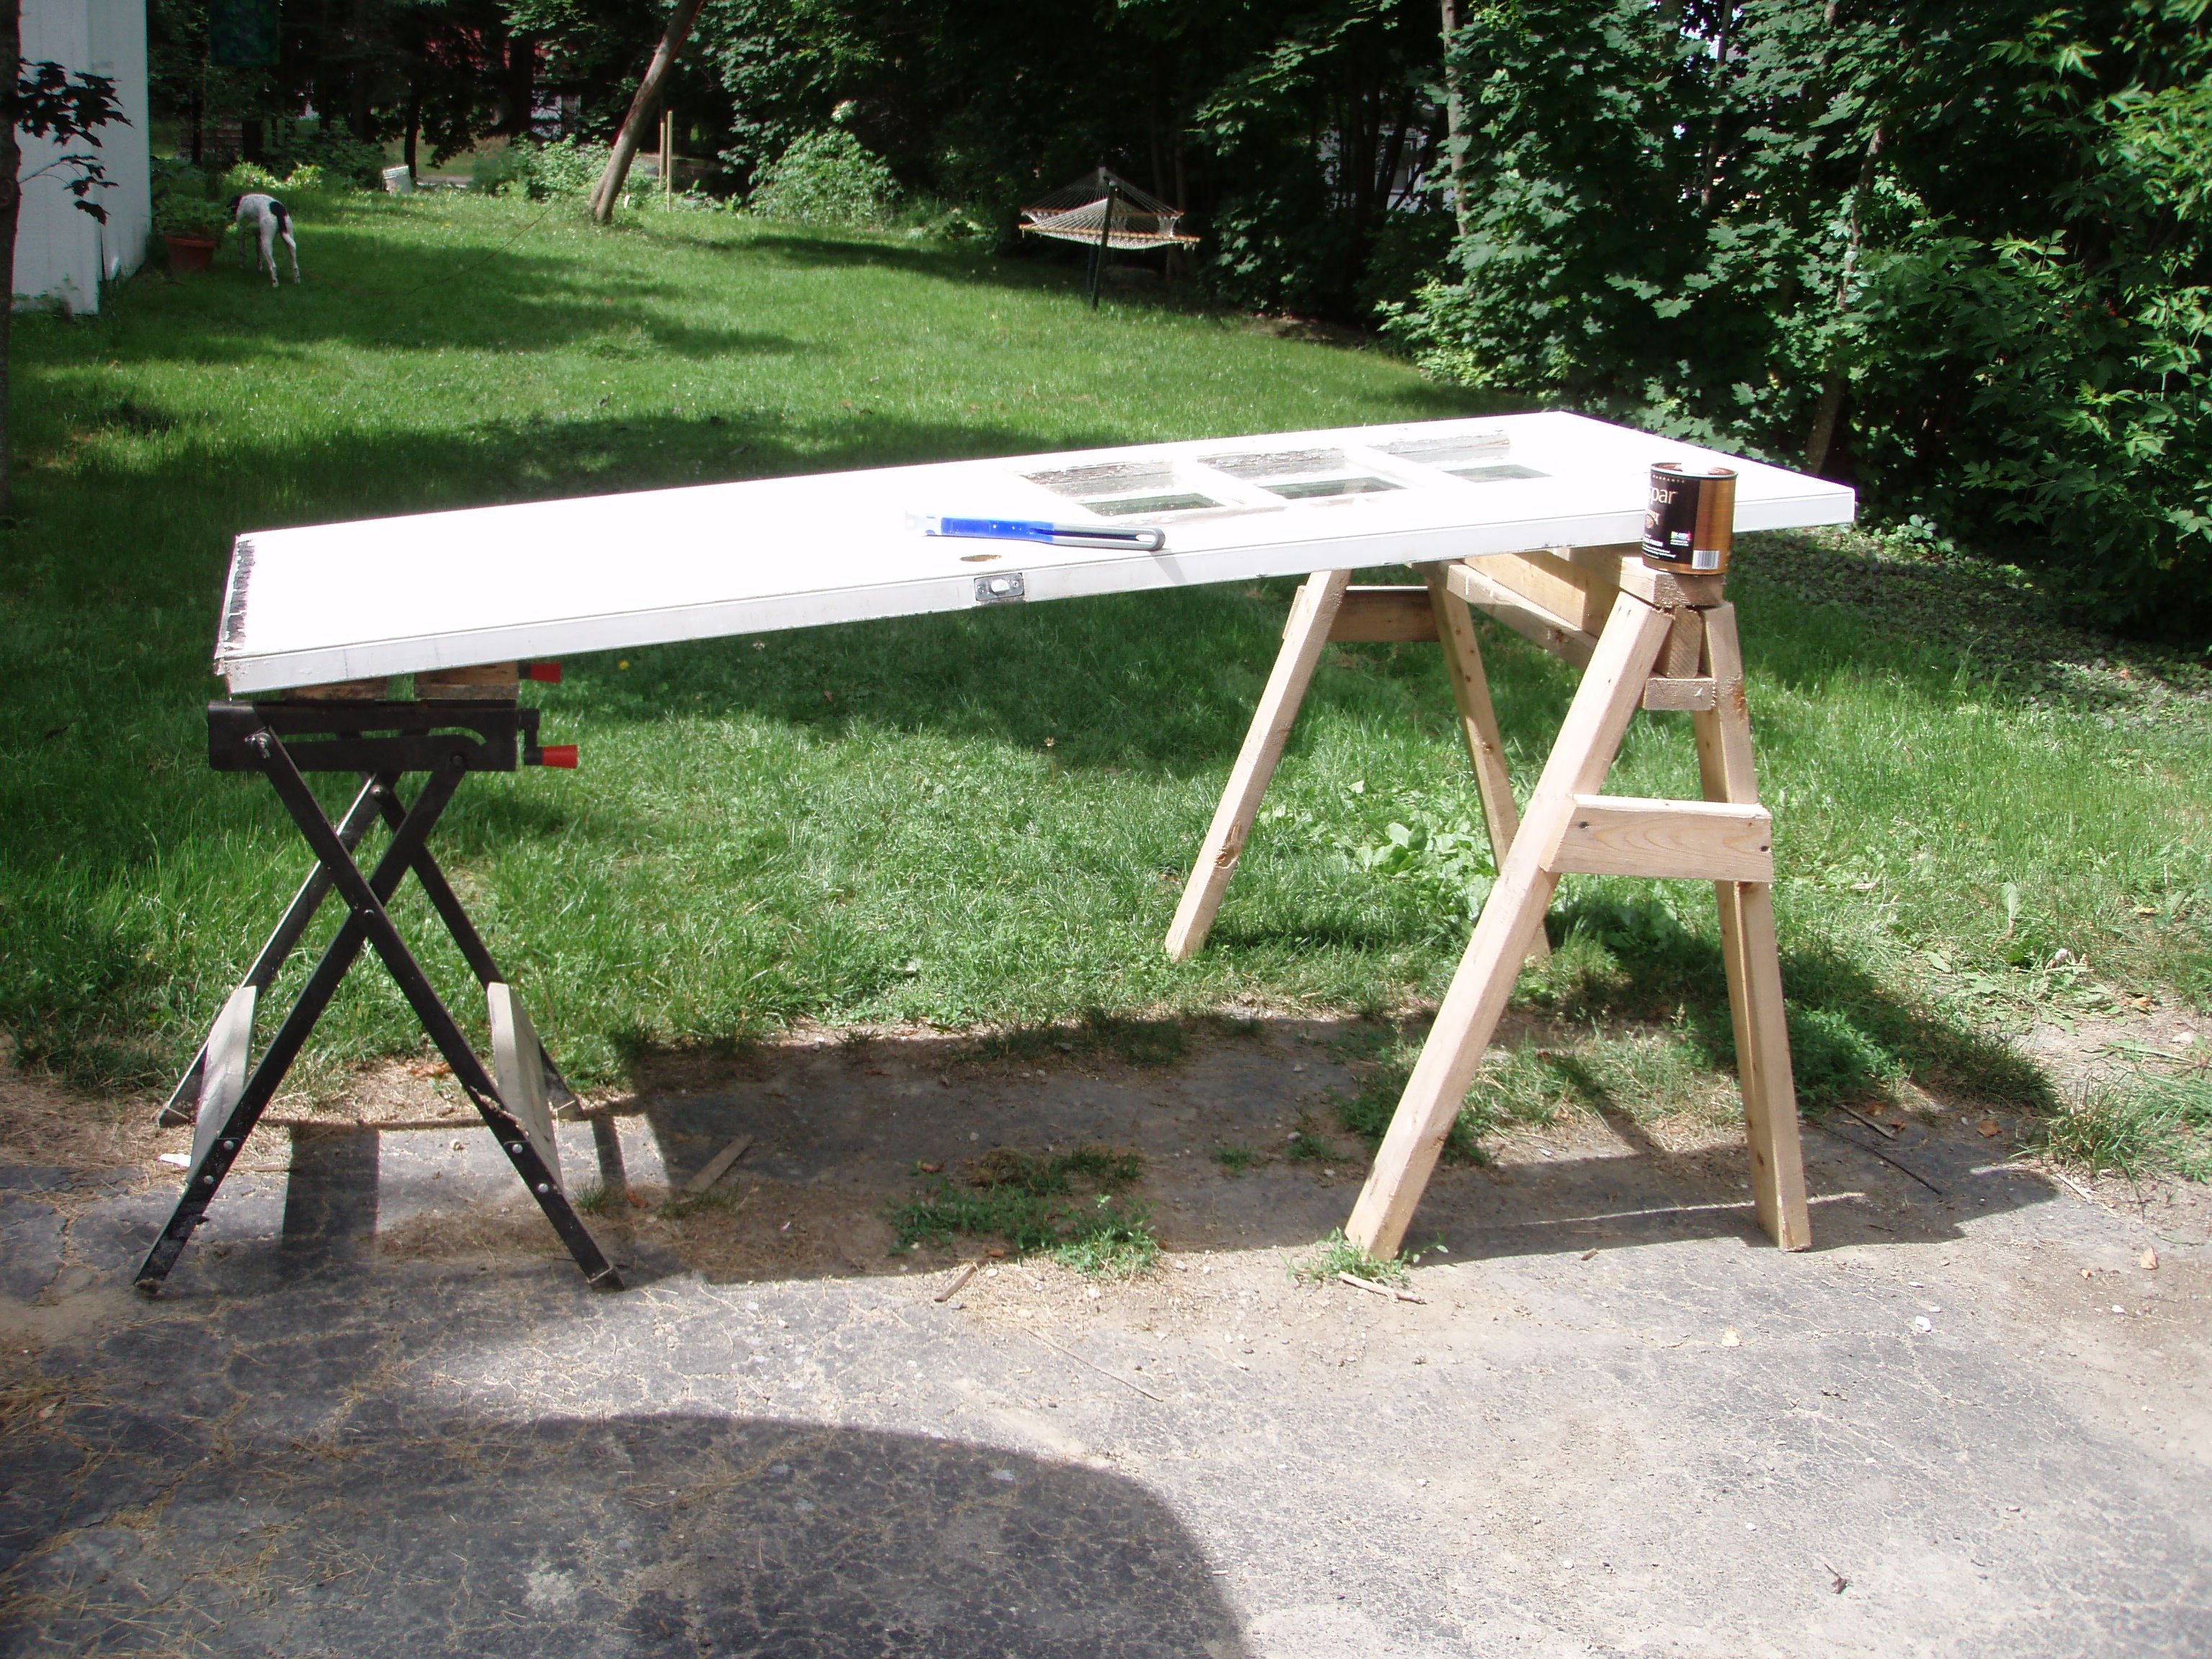
Oh, and that’s me on closing day unlocking the door for the first time. Oh nostalgia. First off in the door project was the removal of the door and setting it up in my “painting station” in the driveway:
And gather all the necessary supplies:
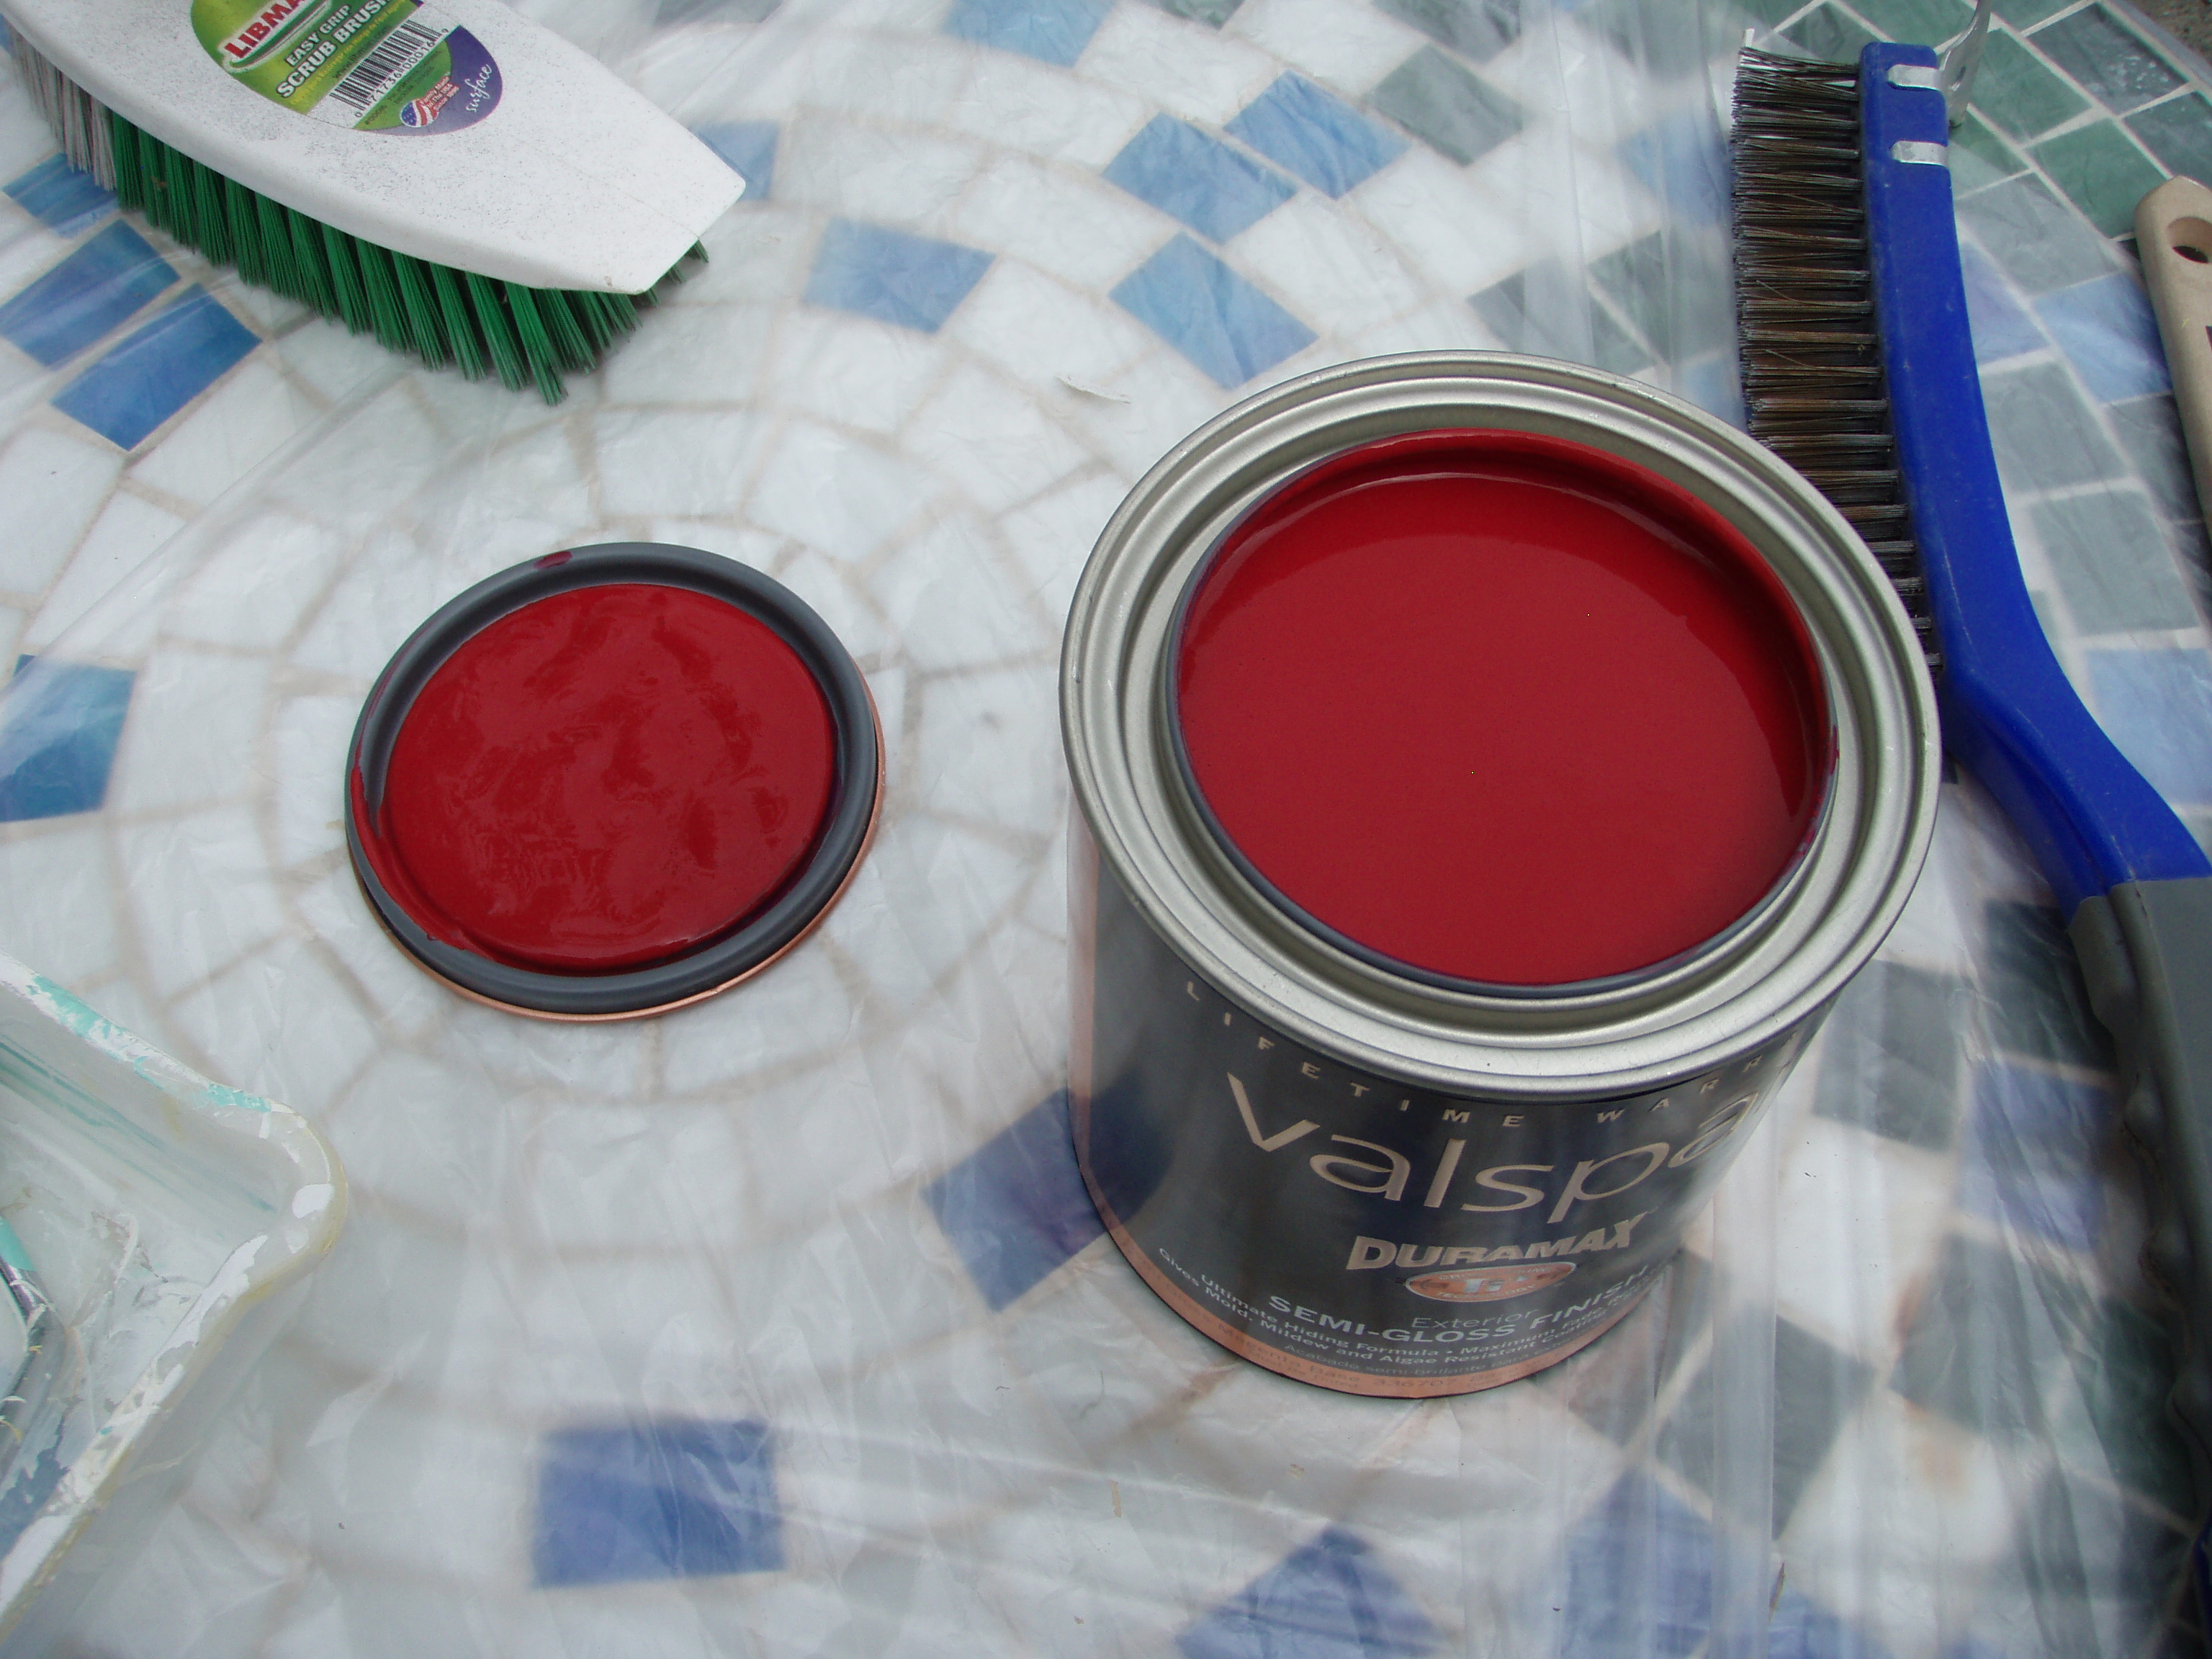
That’s a paint scraper brush, a foam roller and tray (I absolutely love foam rollers), a Shur Line angled brush, and the paint. Pretty paint:
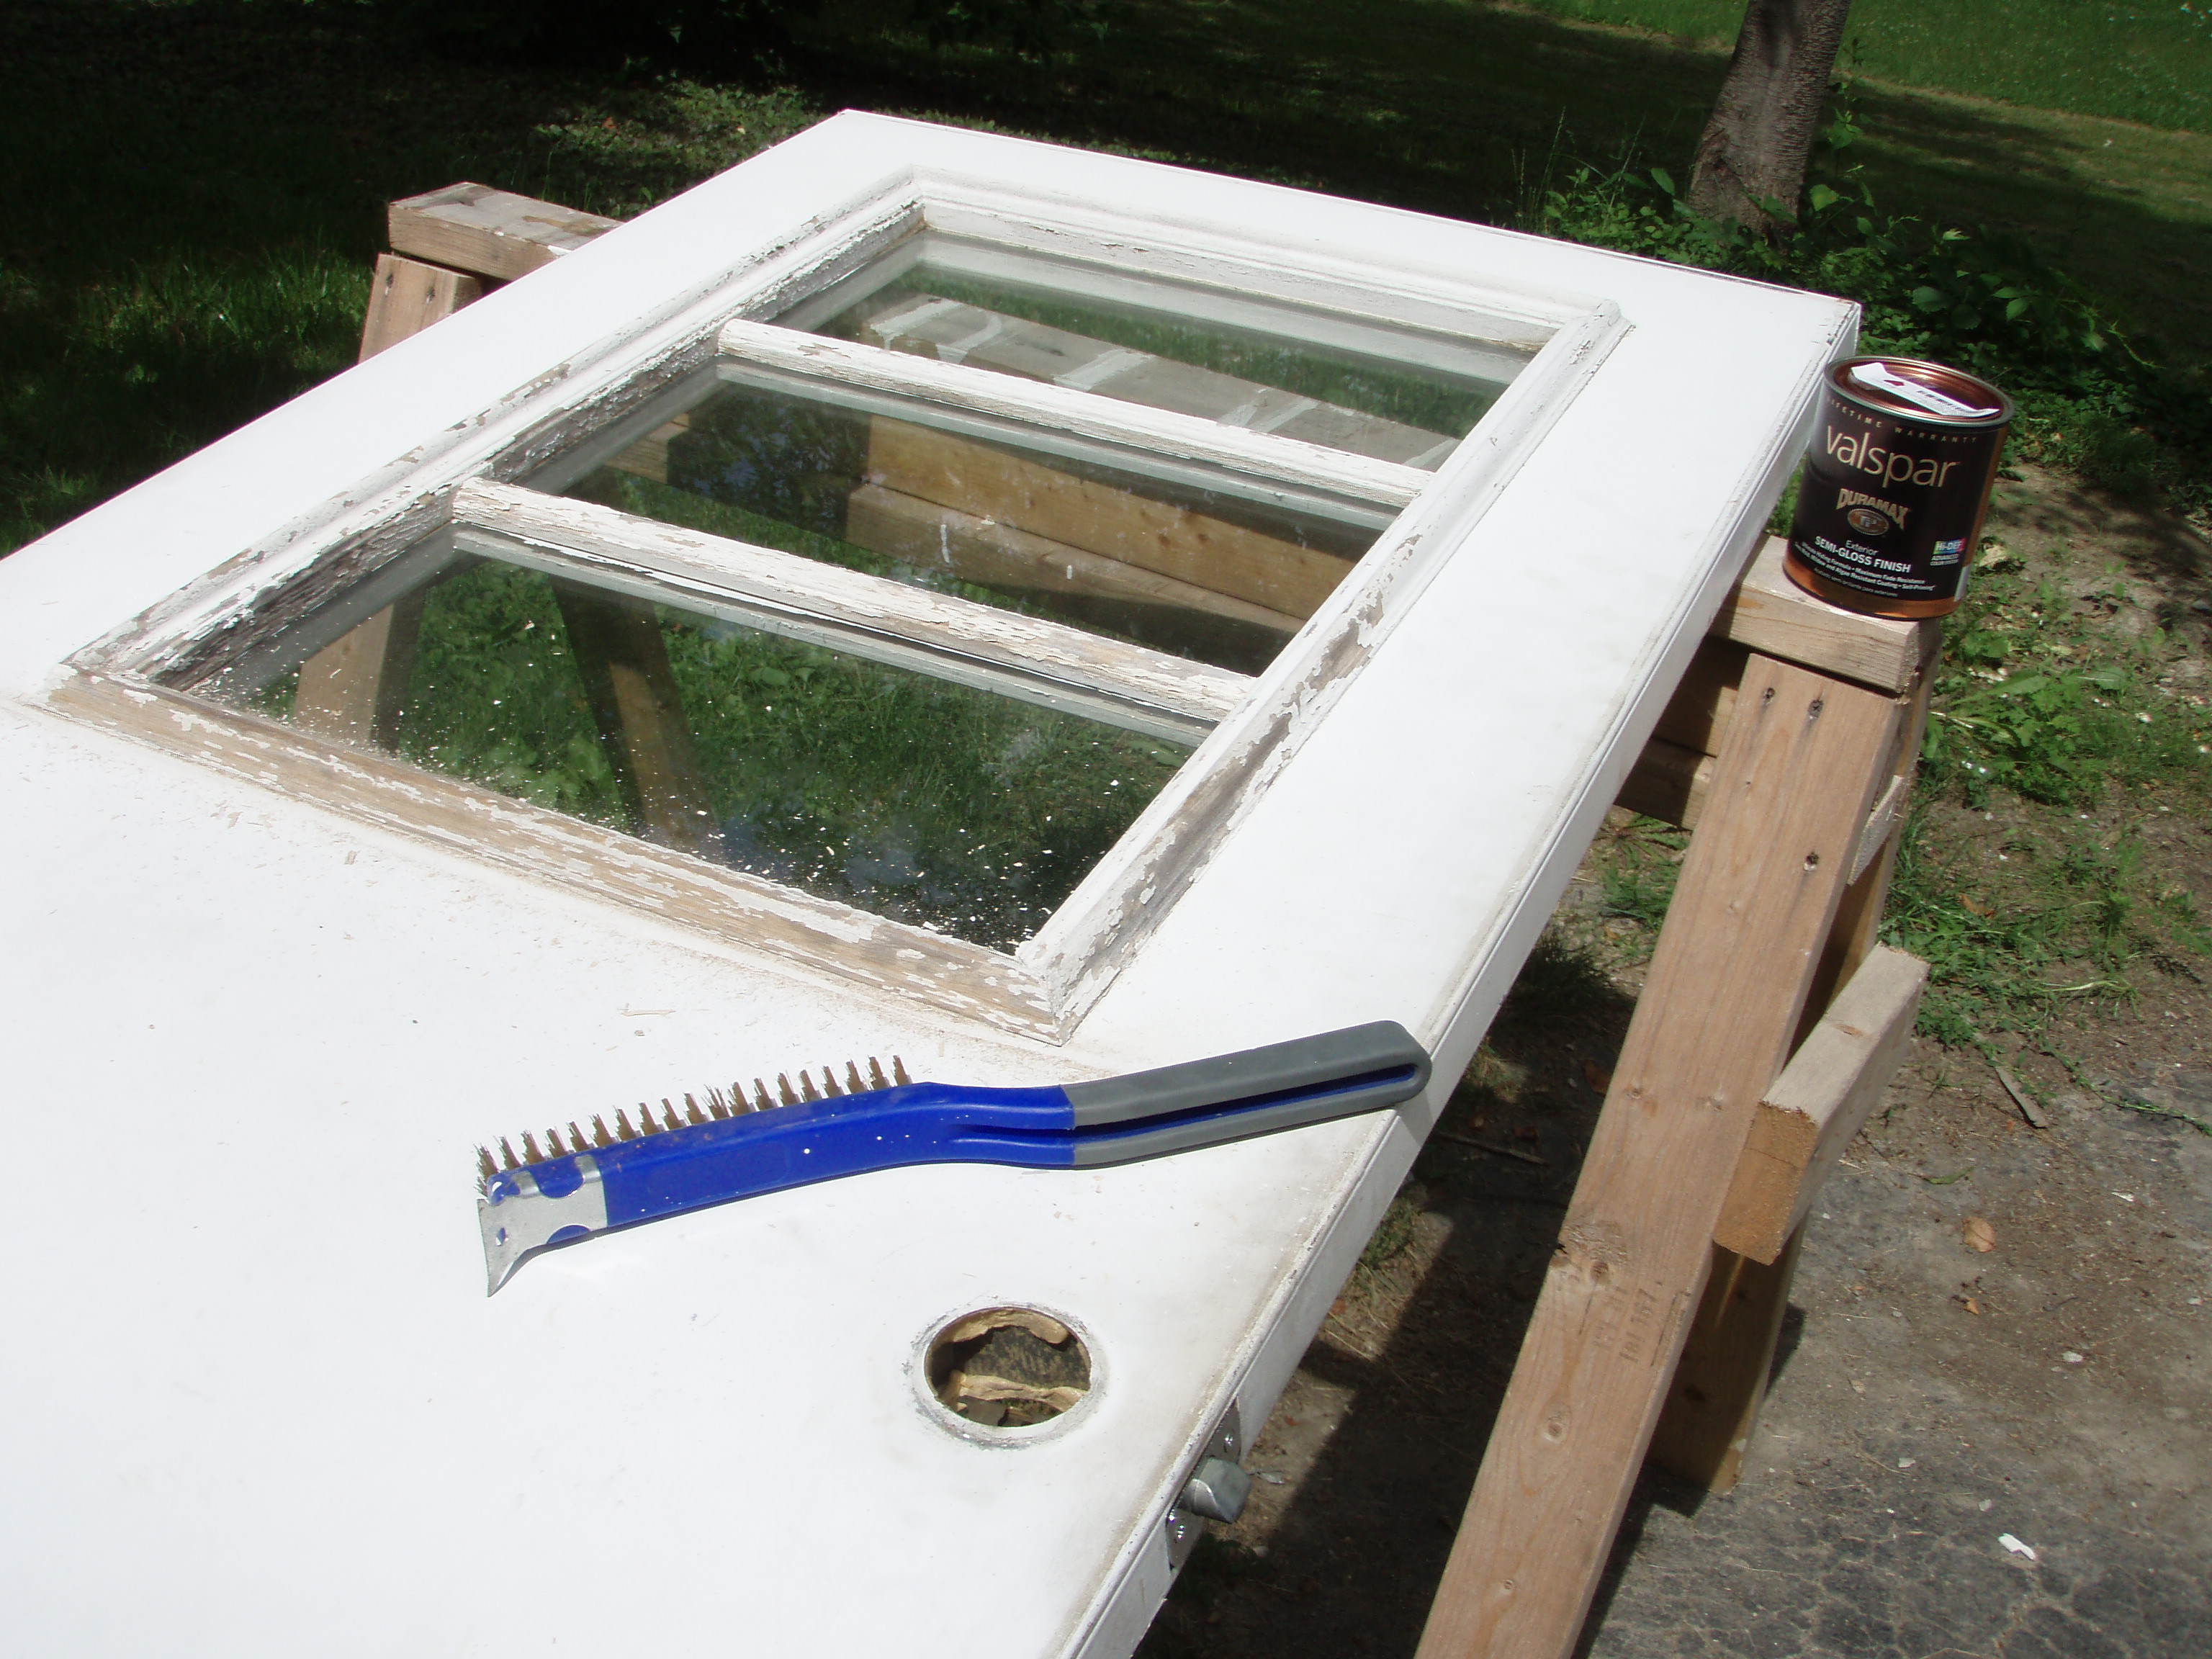
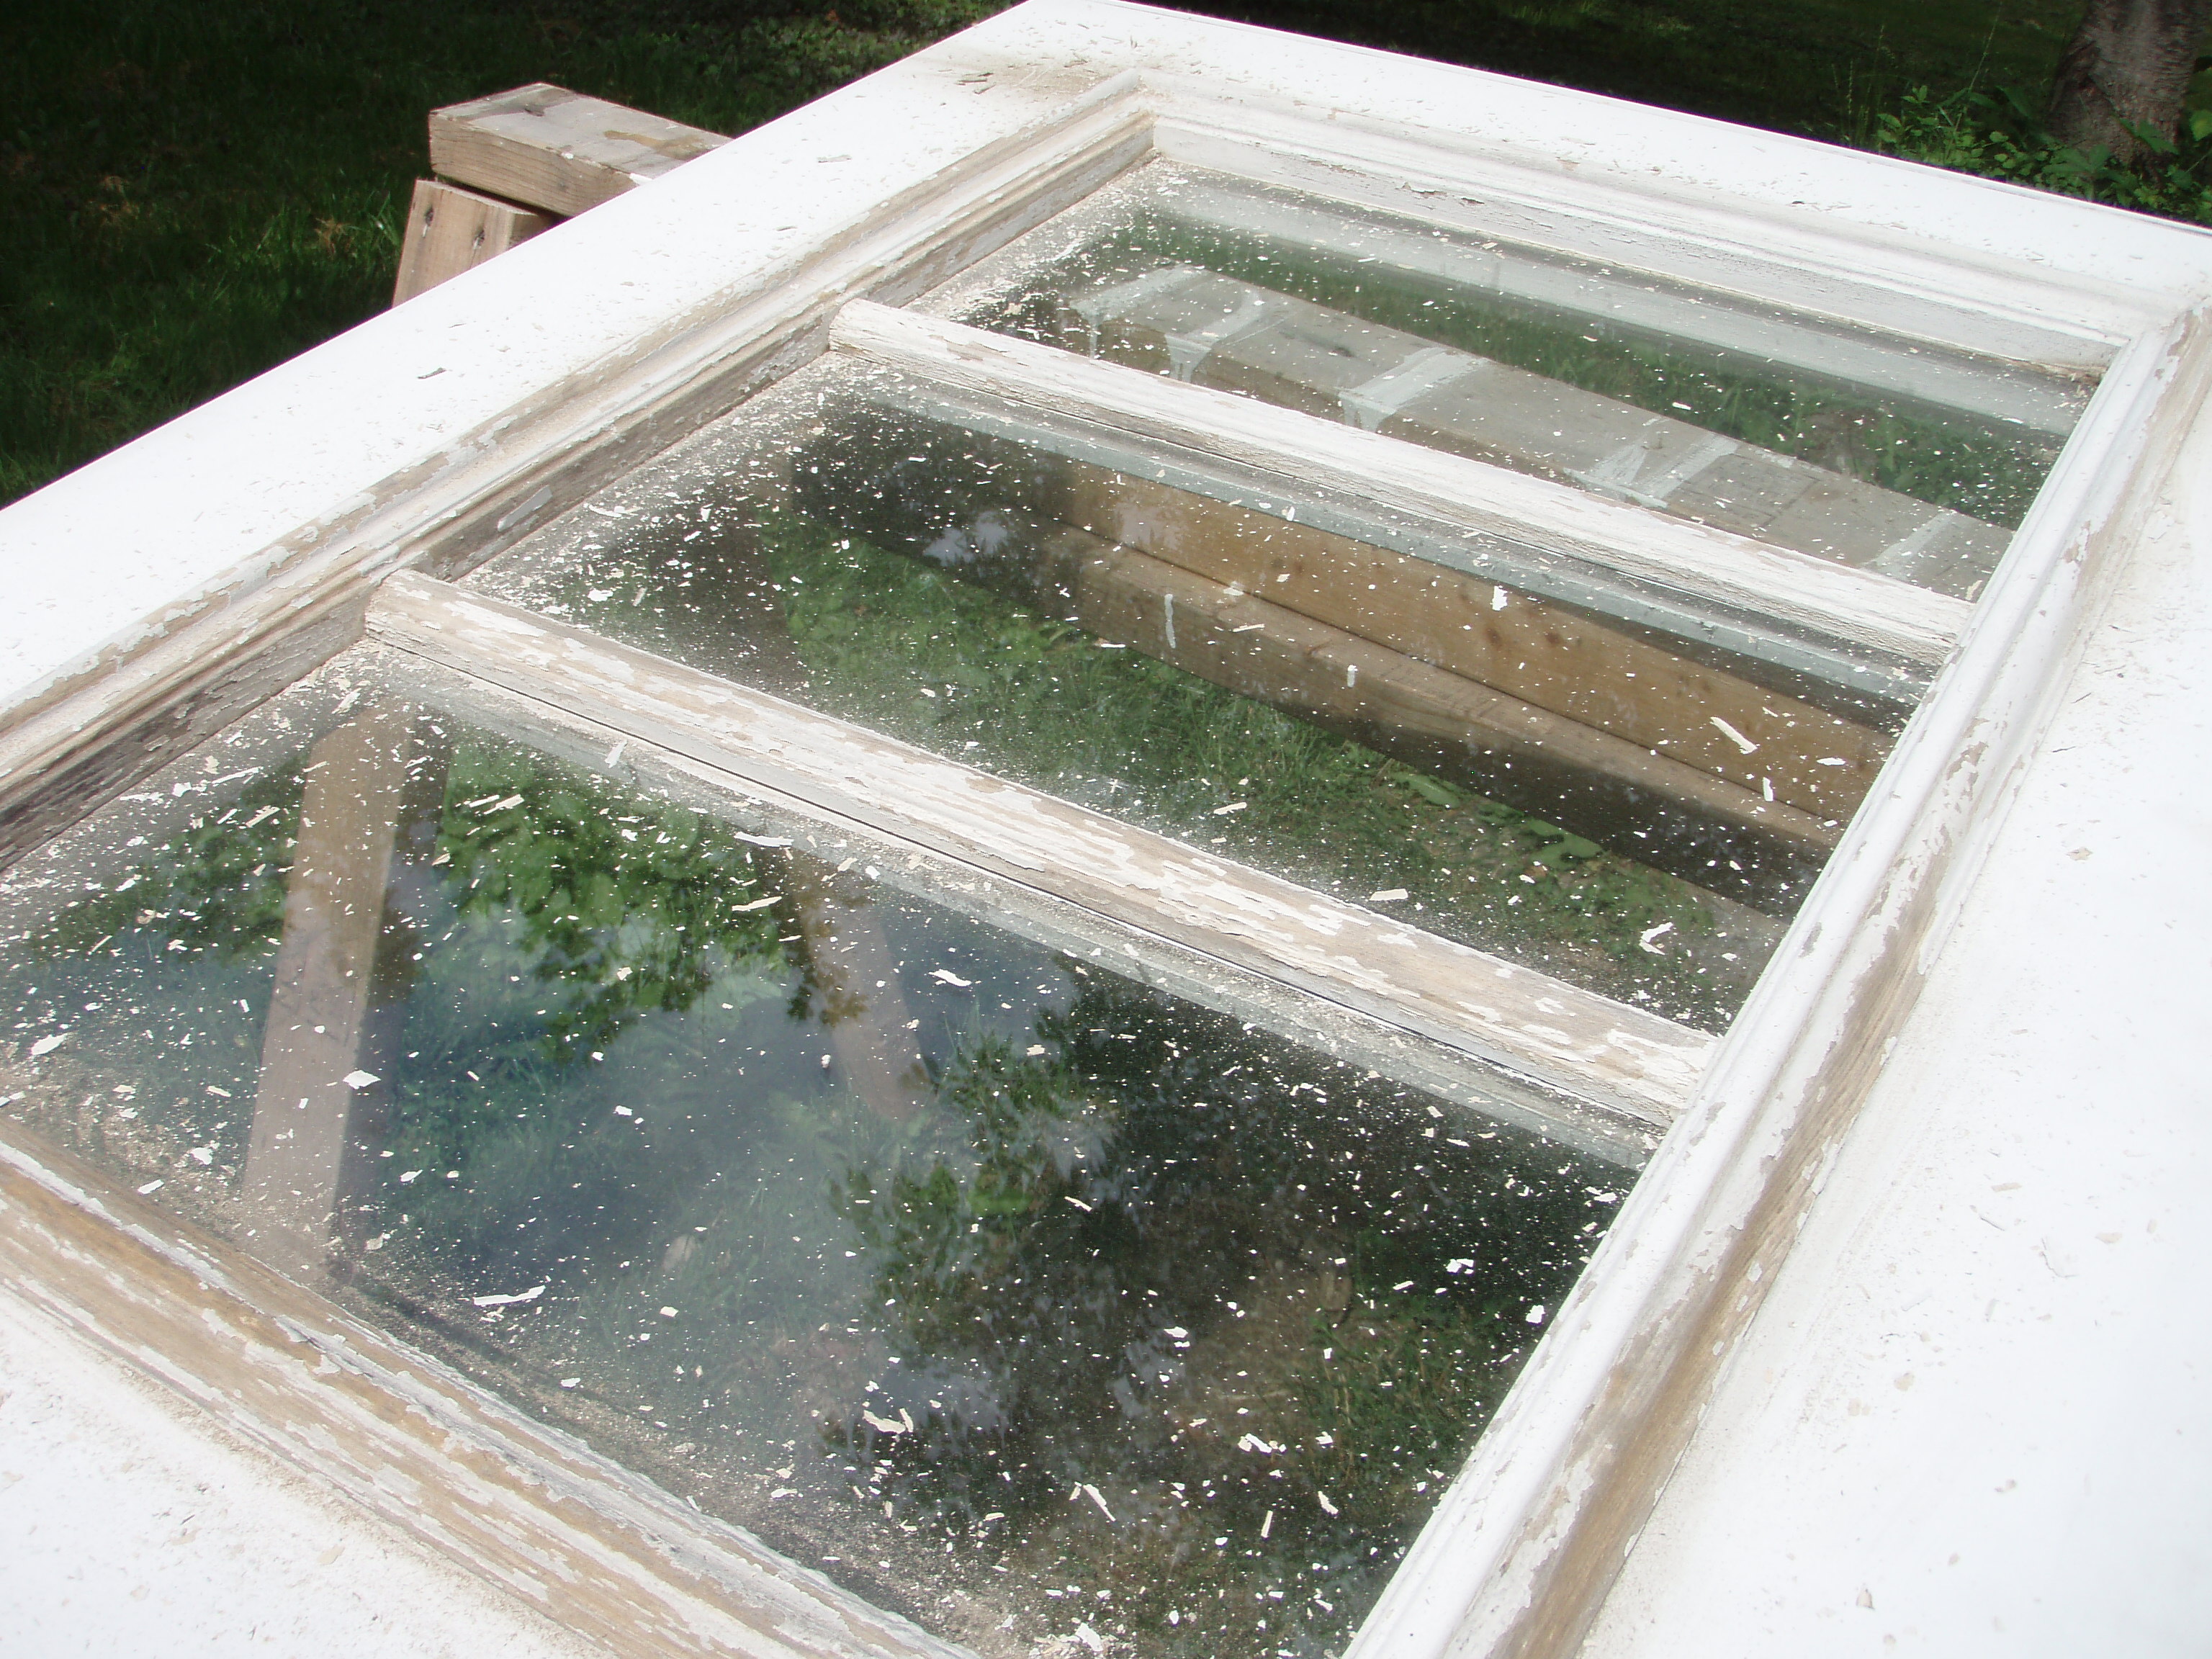
As I was perusing reds in the paint aisle I stumbled upon this one, which was not only the perfect shade of red, but it was also called “Front Door Red”. How appropriate is that! I’m a sucker for a good paint name and couldn’t resist. Next up, some serious scraping action to get rid of all that flaking paint. Here’s the before scraping shot:
And the post scraping mess:
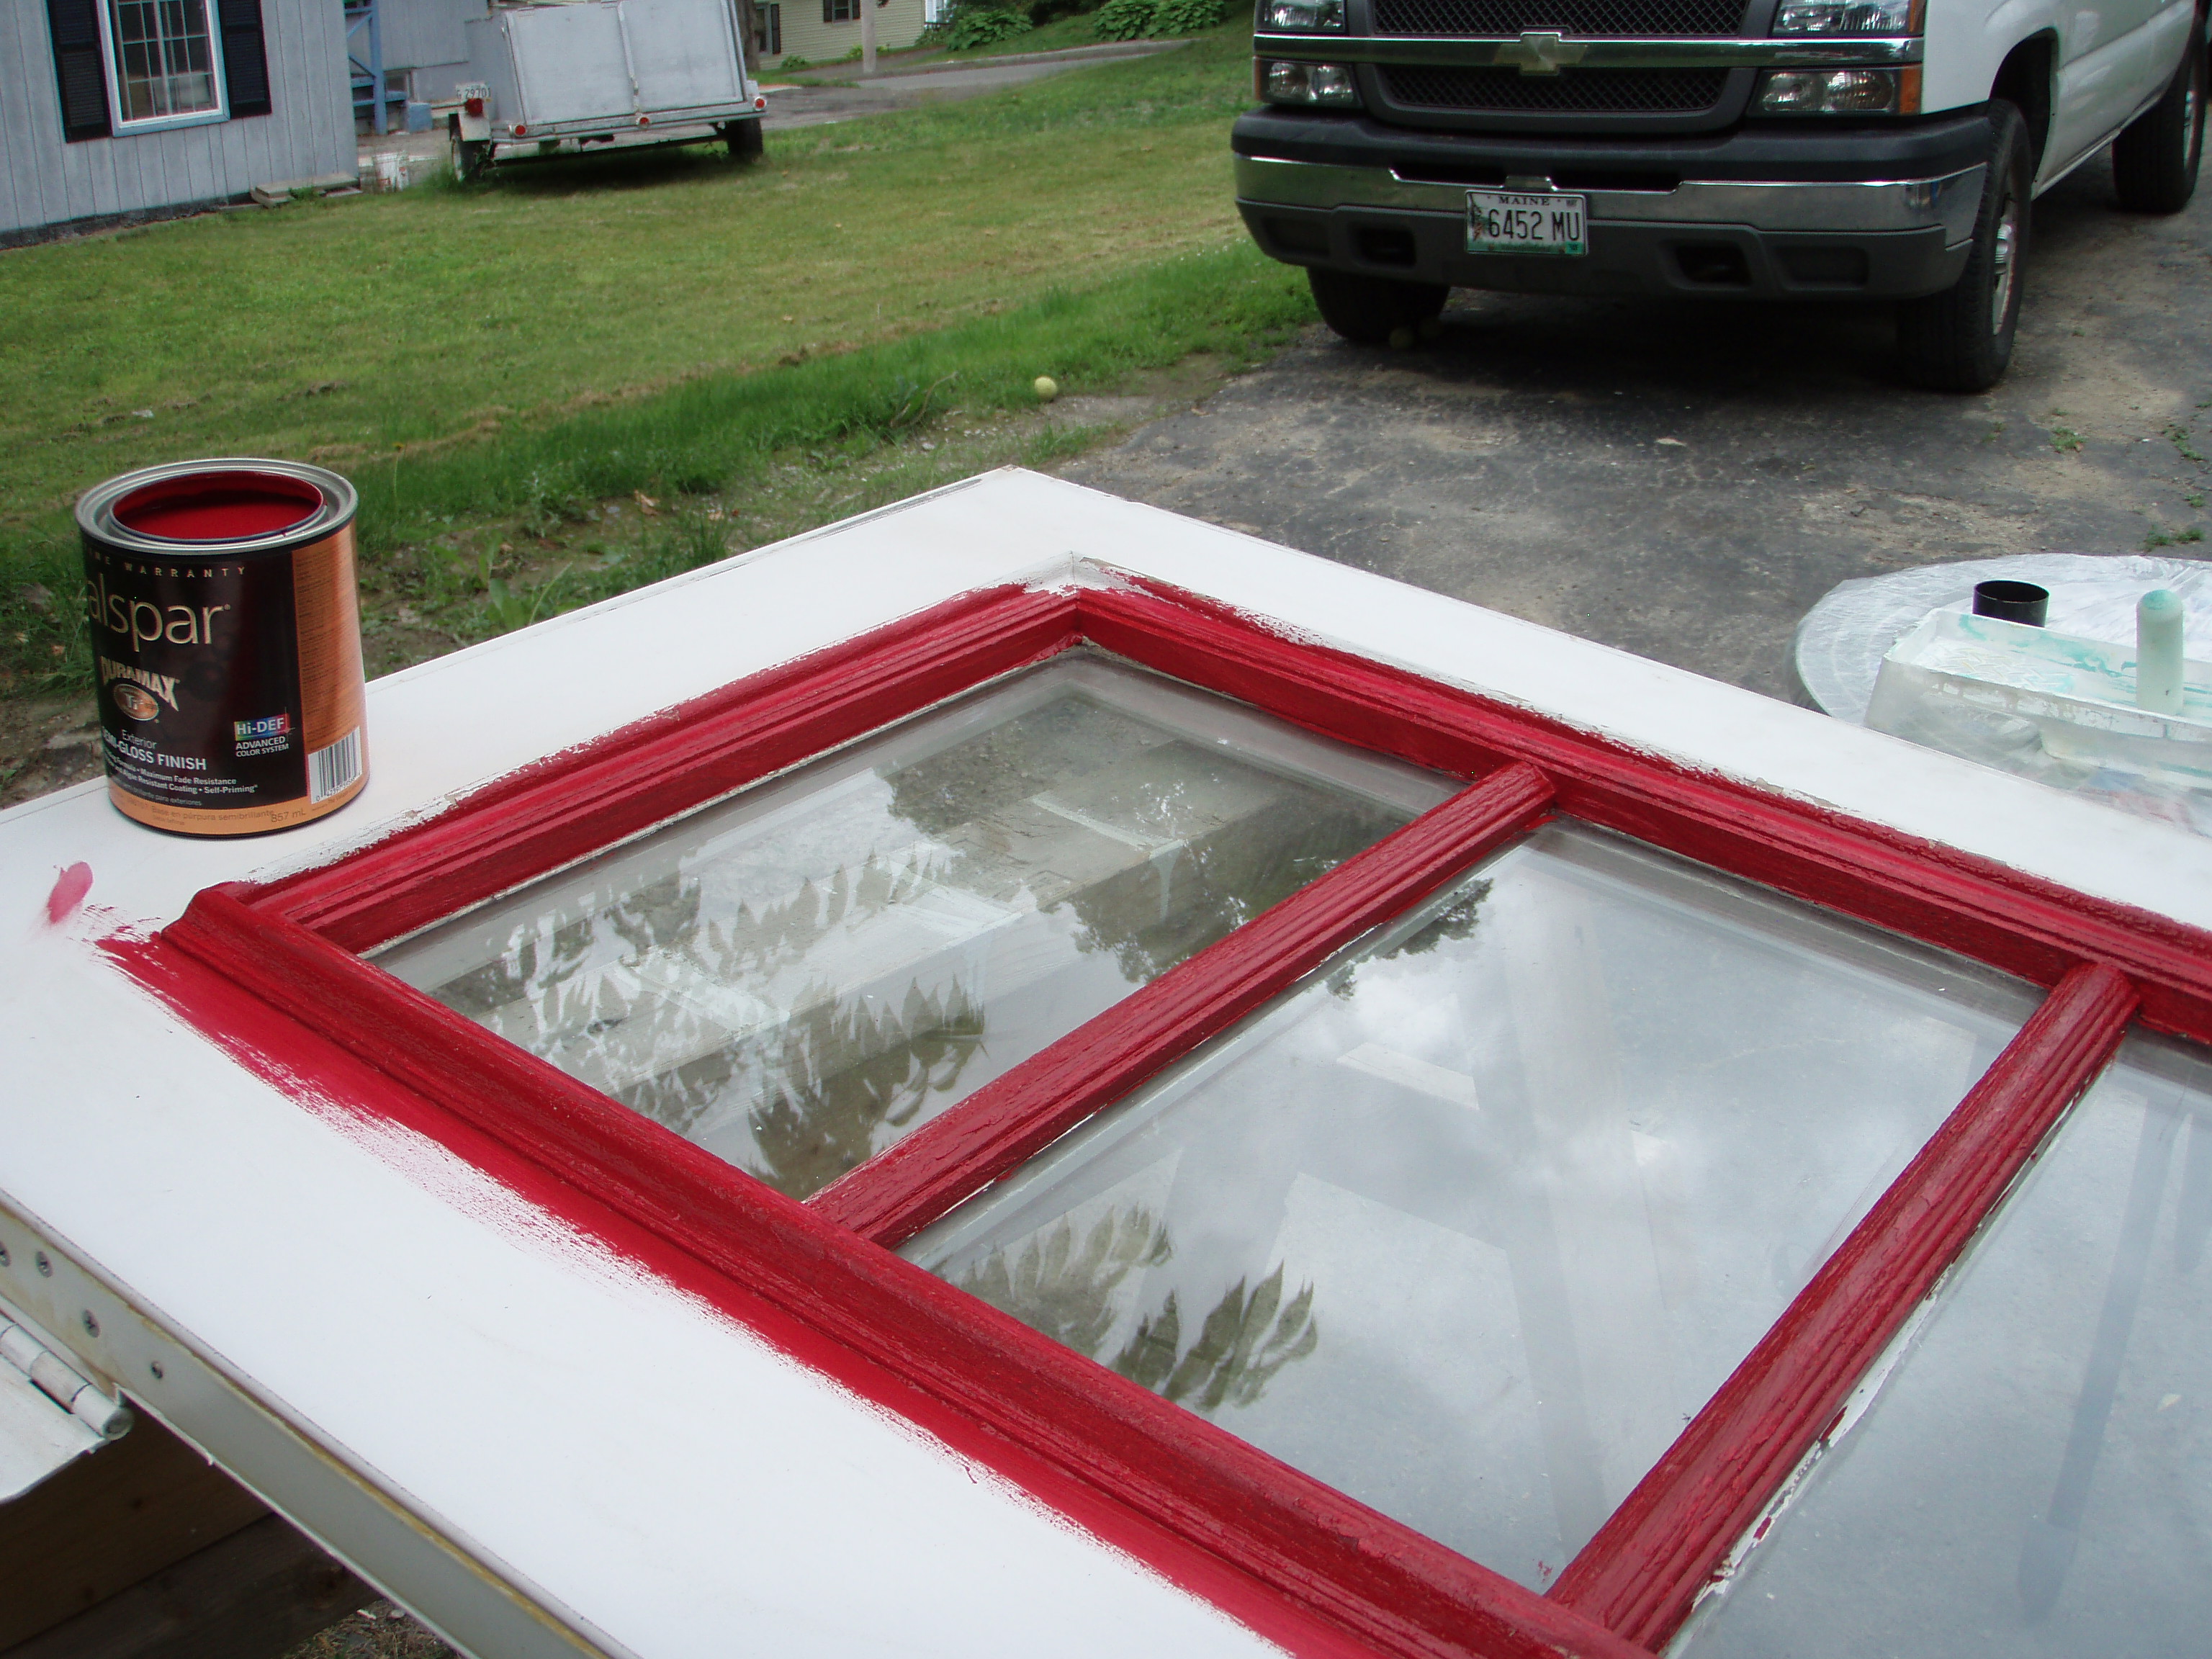
After cleaning up the door really well, I started to cut in around the window panes with my Shur Line angled brush:
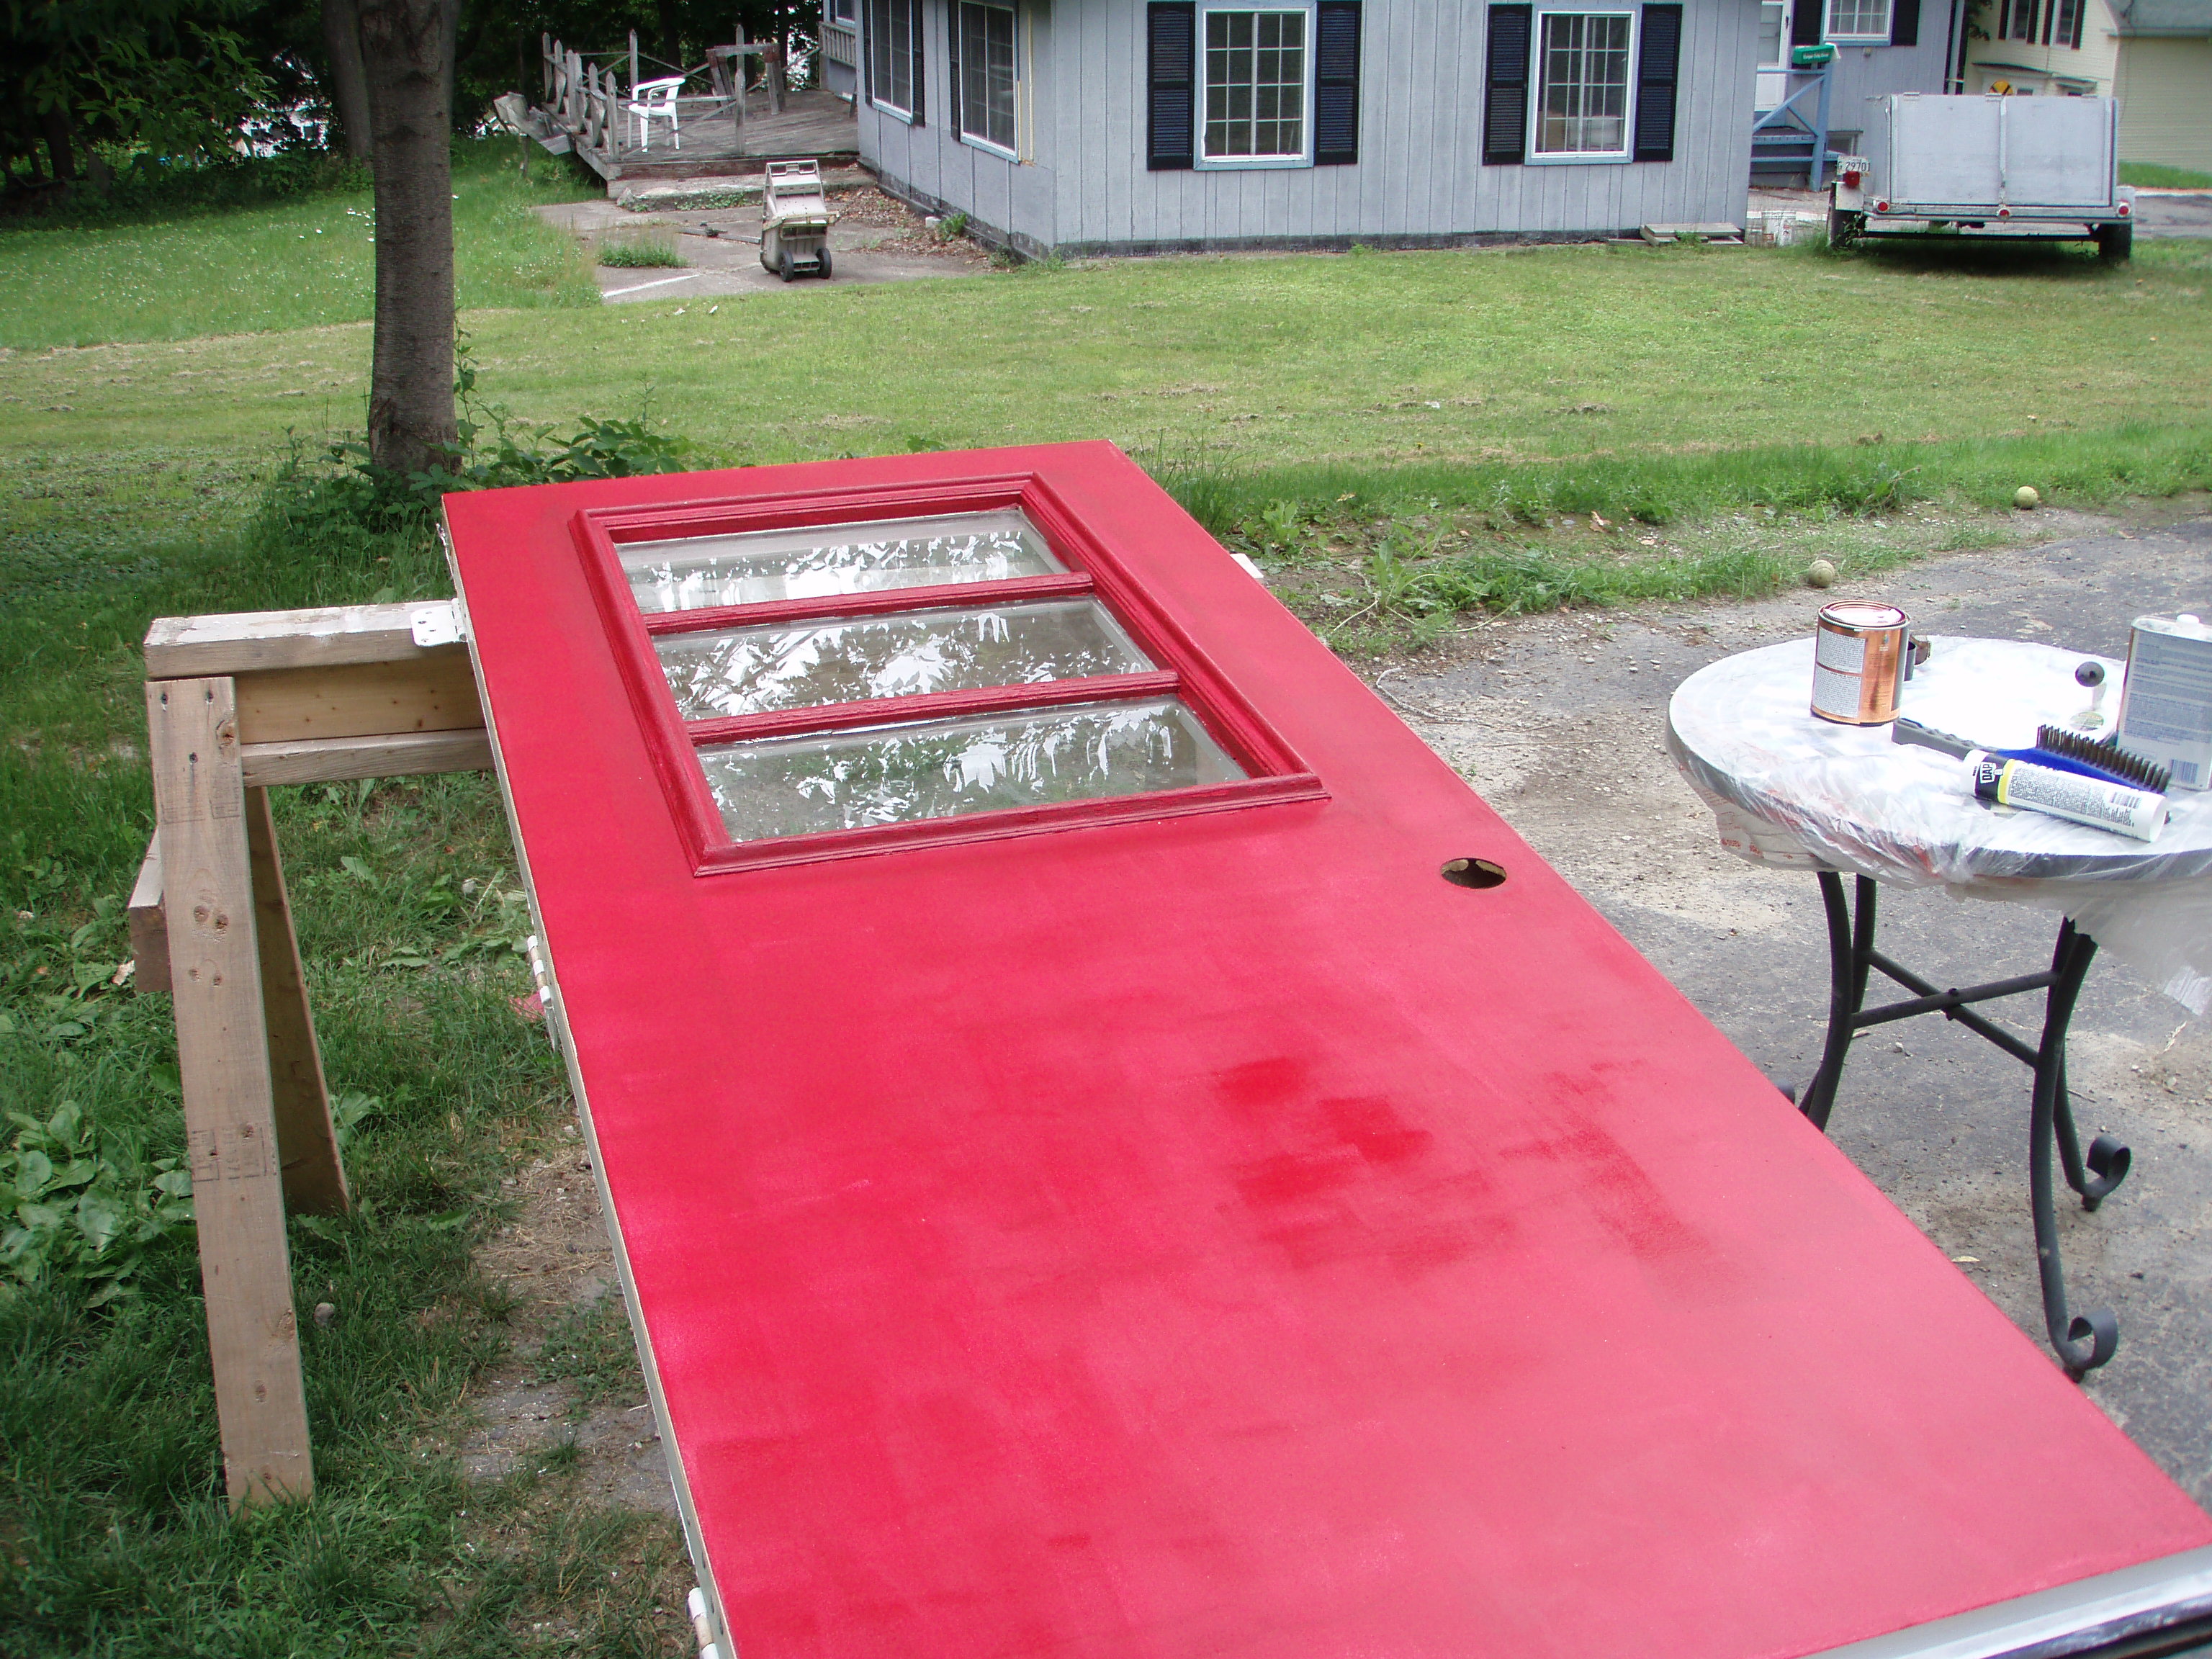
I’m going to take a moment for the obligatory ode to the Shur Line brush. I love love LOVE a good Shur Line angled brush. I’ve tried others, often cheaper ones since I’m a cheap-o at heart, but nothing compares. The Shur Line brushes just cut in so darn well and result in fewer uh-oh moments. Because of Shur Line, I’ve sworn off taping all together. So here’s to you, Shur Line brush, angler extraordinaire. So….here’s the door after conquering one red coat:
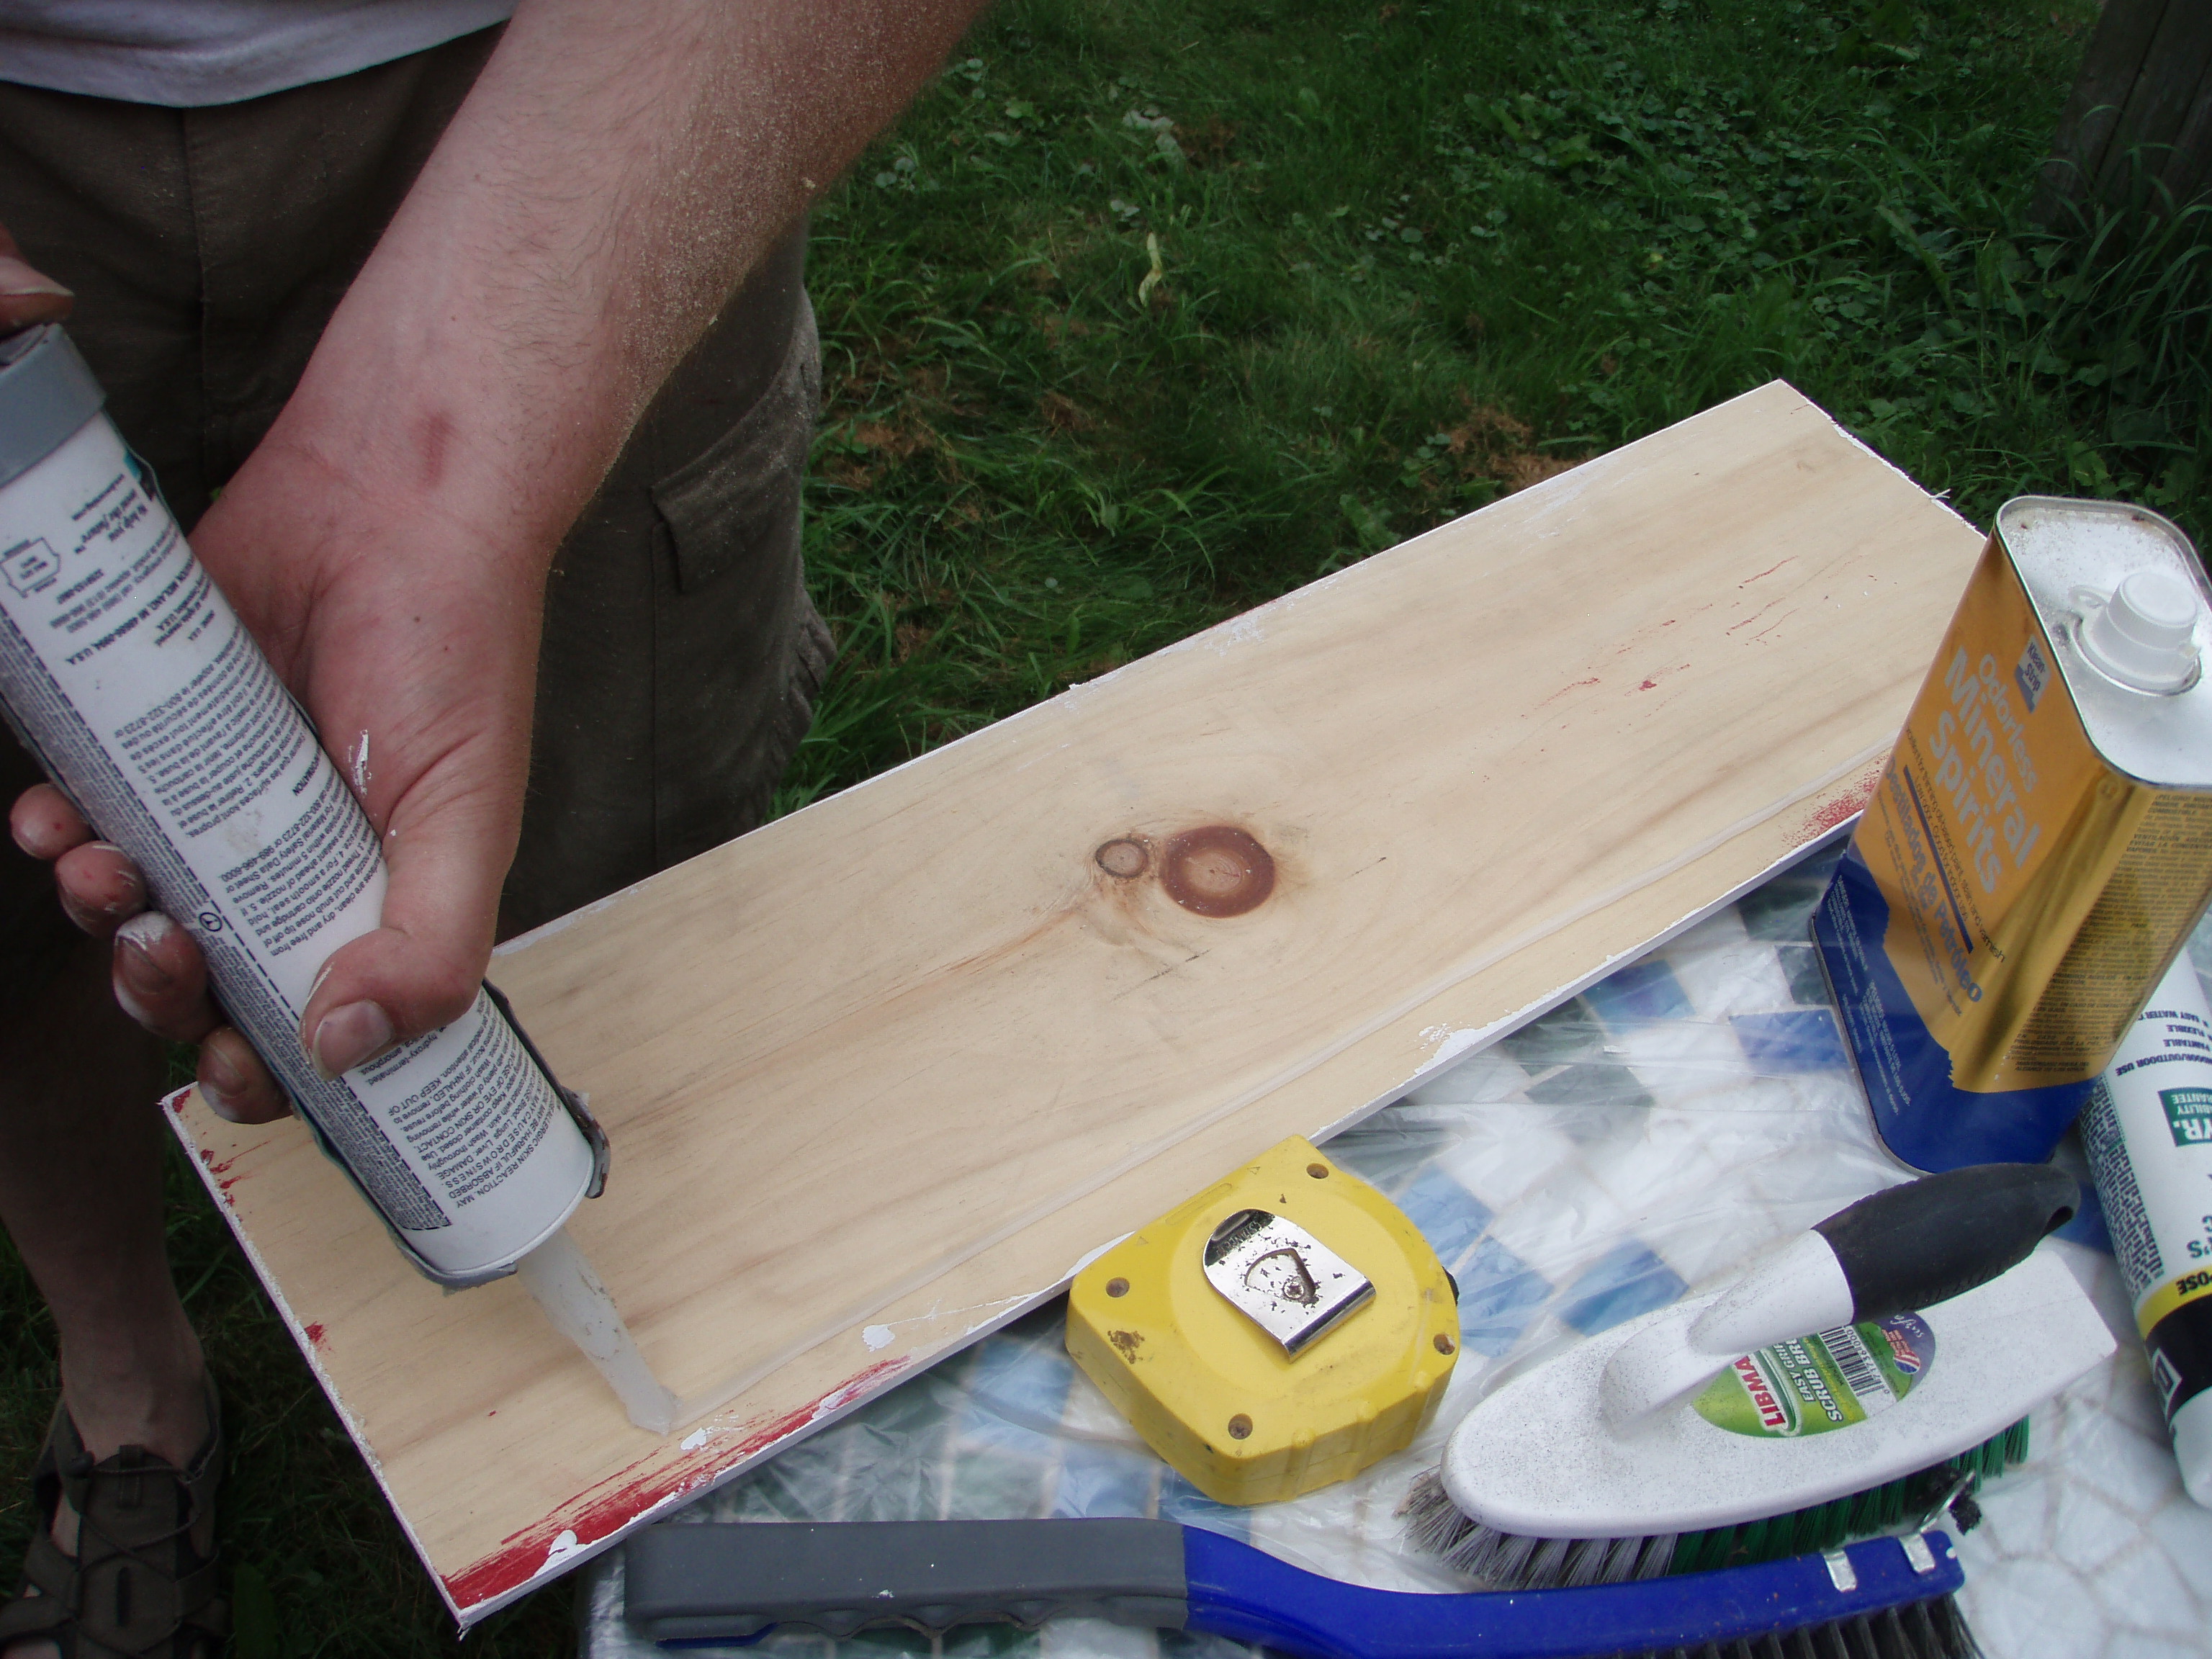
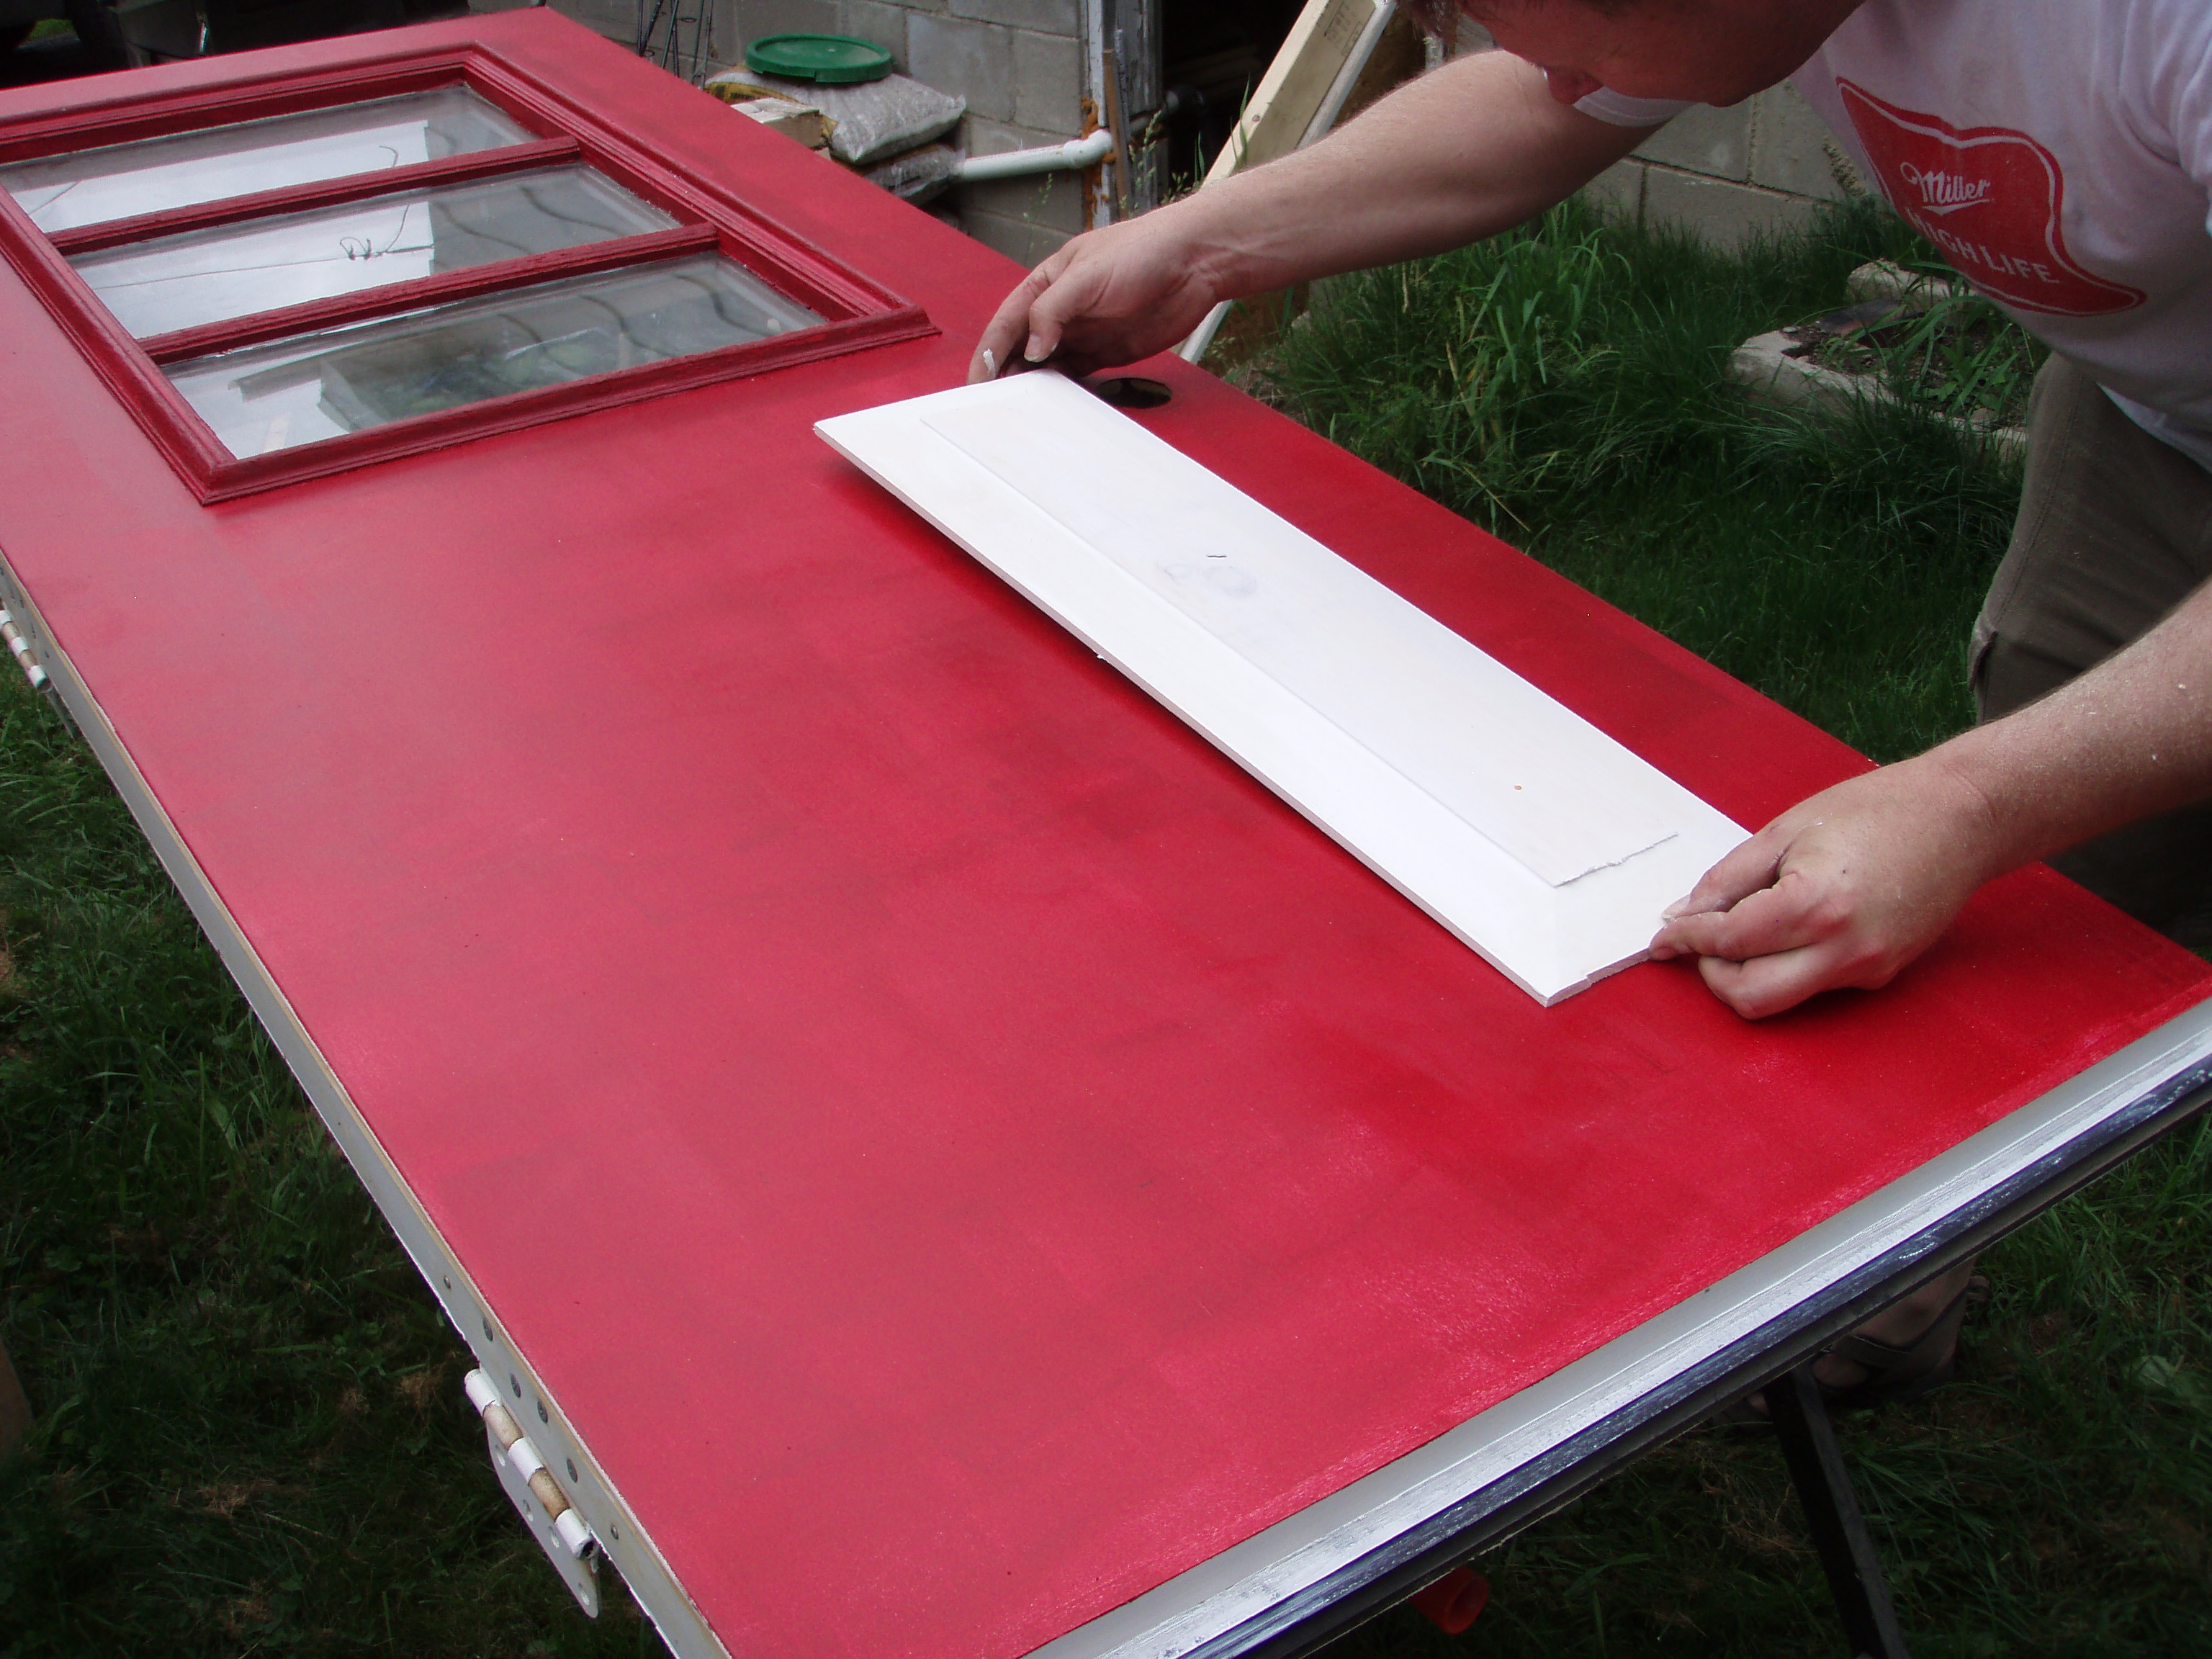
With one red coat down, that left about two more to go. But then Colby invaded my project and turned it fancier. He thought the door was too plain (he is a door and window guy after all) and decided to dress it up with some decorative panels that he created with the table saw. Caulking was the perfect adhesive for the panels:
After layering on some caulk and even wood glue, we attached the two panels to the door:
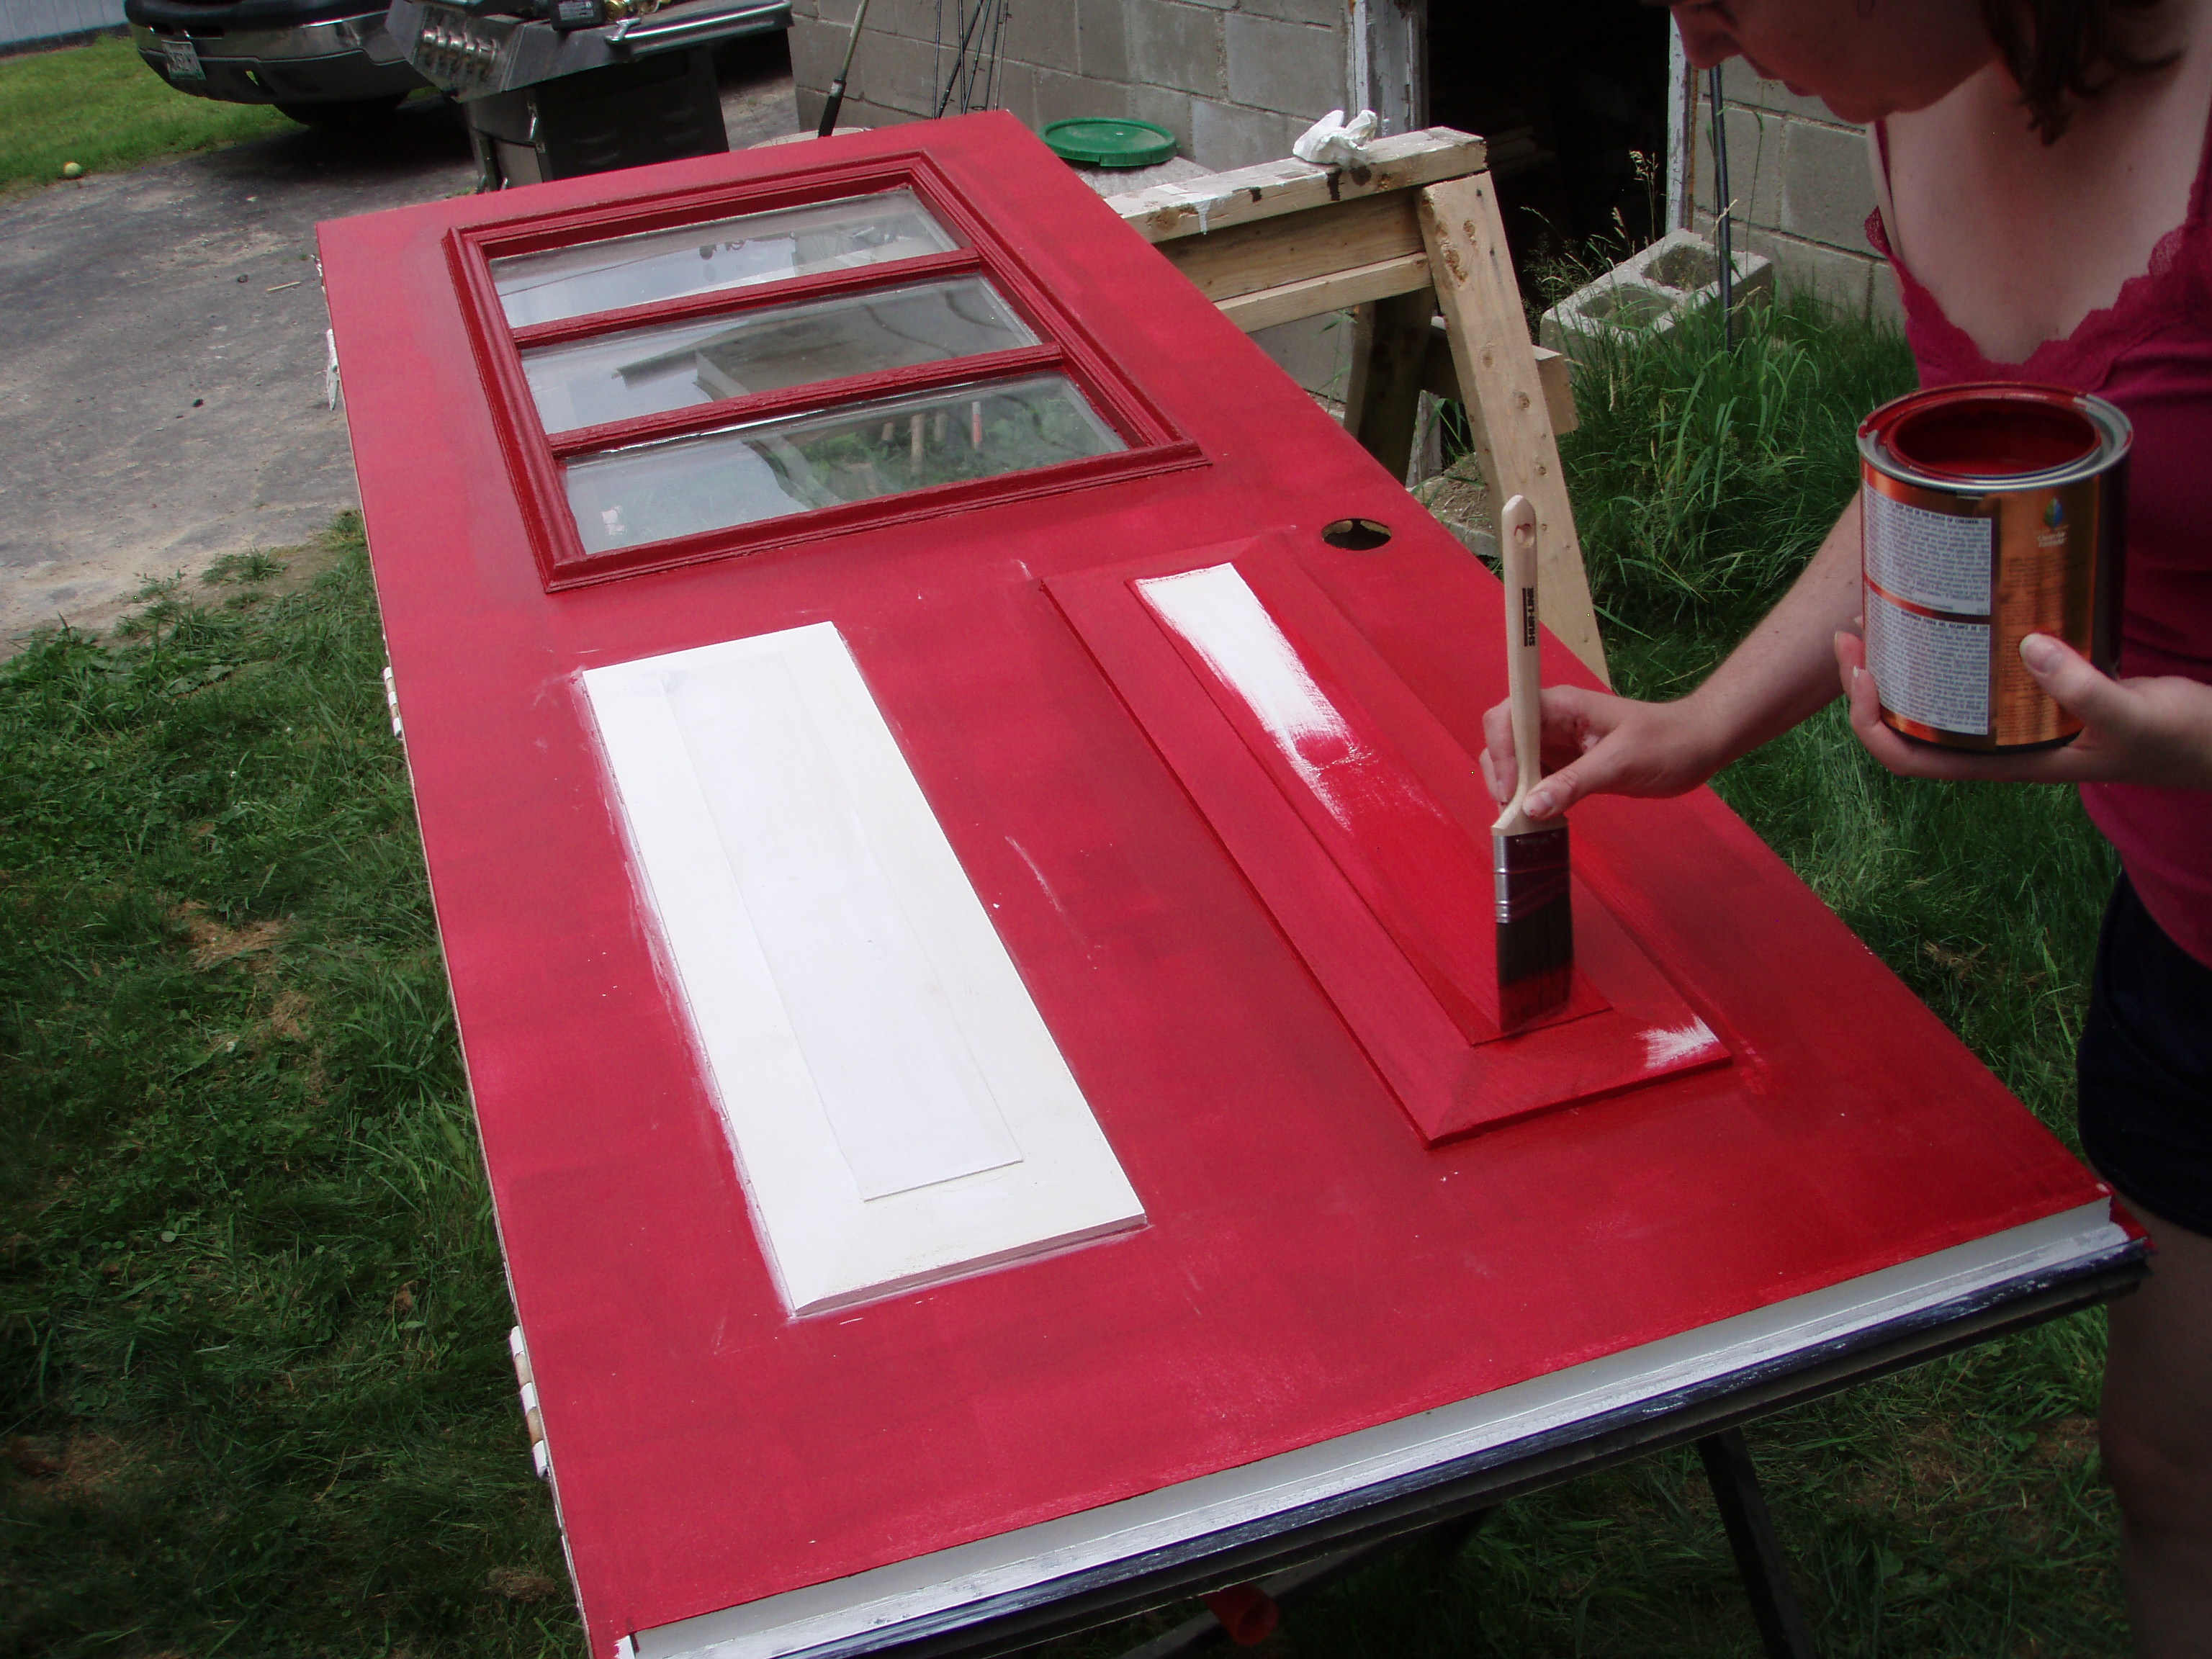
After both panels were attached, I finished up painting:
After a few red coats were defeated (never gets old) I left the door outside to dry. First mistake. It was sunny, around noon time, and about 85 degrees outside. The panels melted off and some of the paint bubbled. Uh-oh. Colby performed some surgery on the door to fix the new panels while I touched up the trim paint around where the door used to be, you know, just to freshen it up a bit:
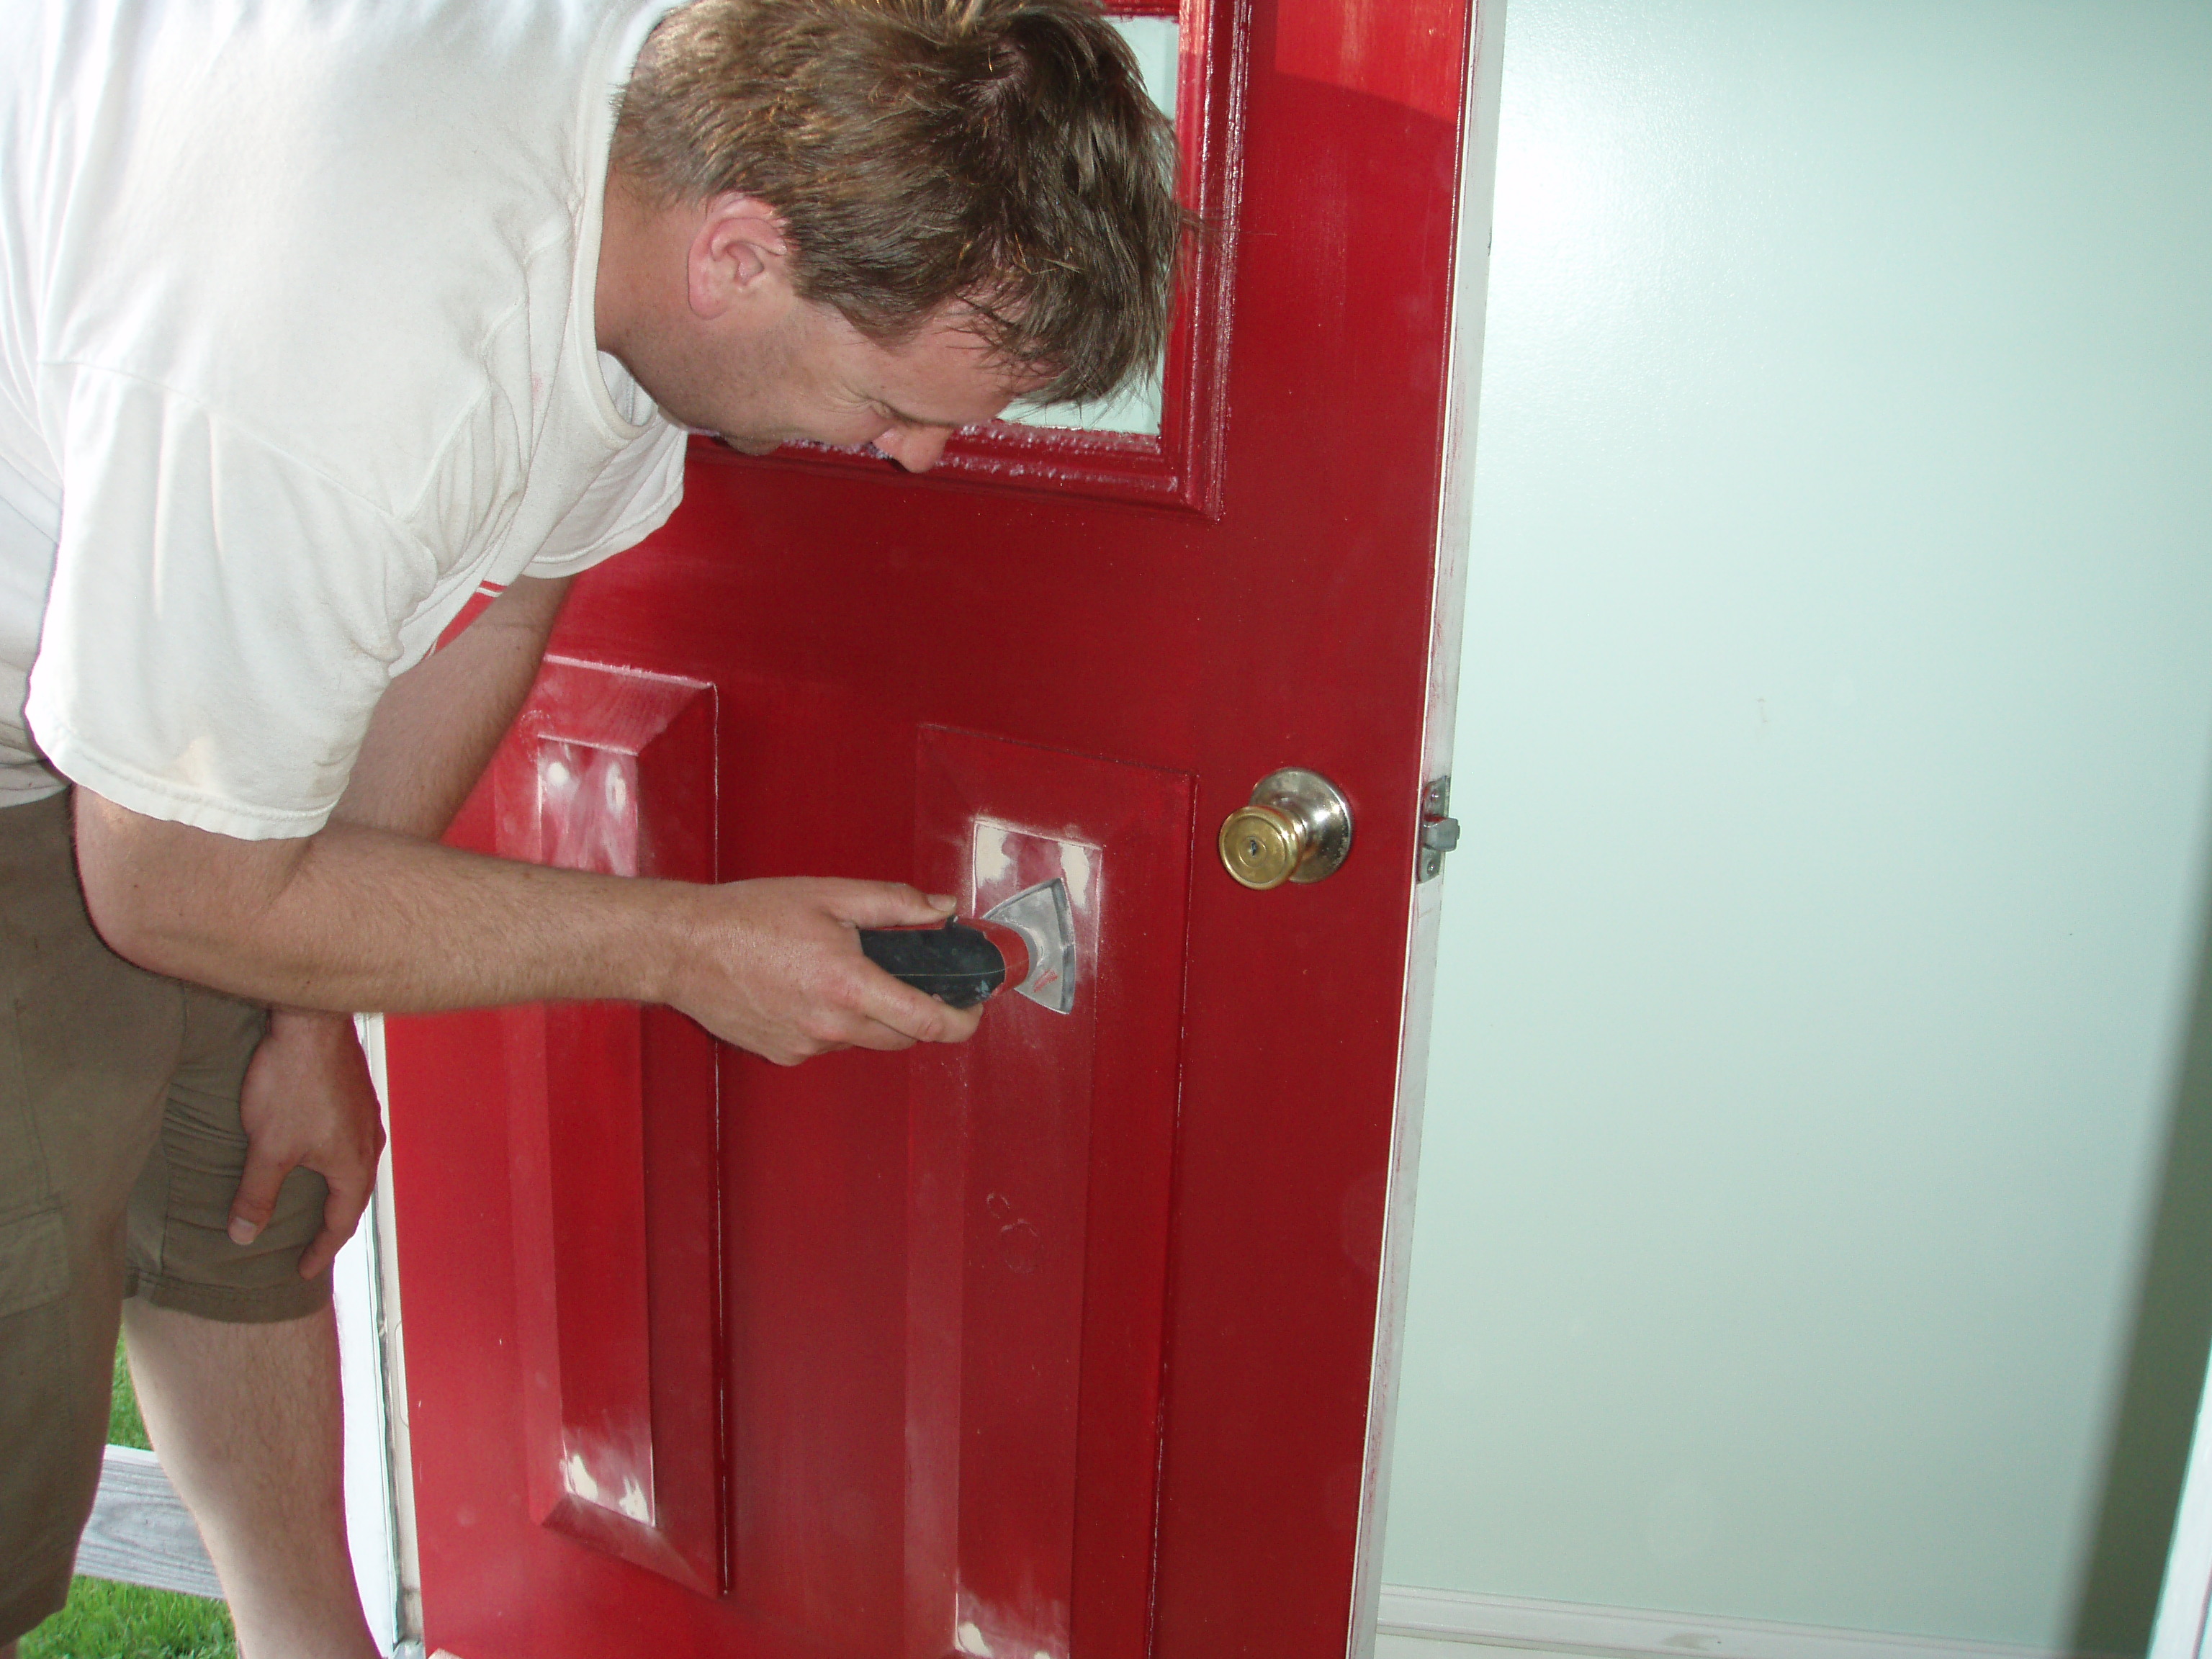
That was pre-painting. It looked much better afterwards. See why it needed freshening? After hanging the door, we still had a few touch ups to take care of:
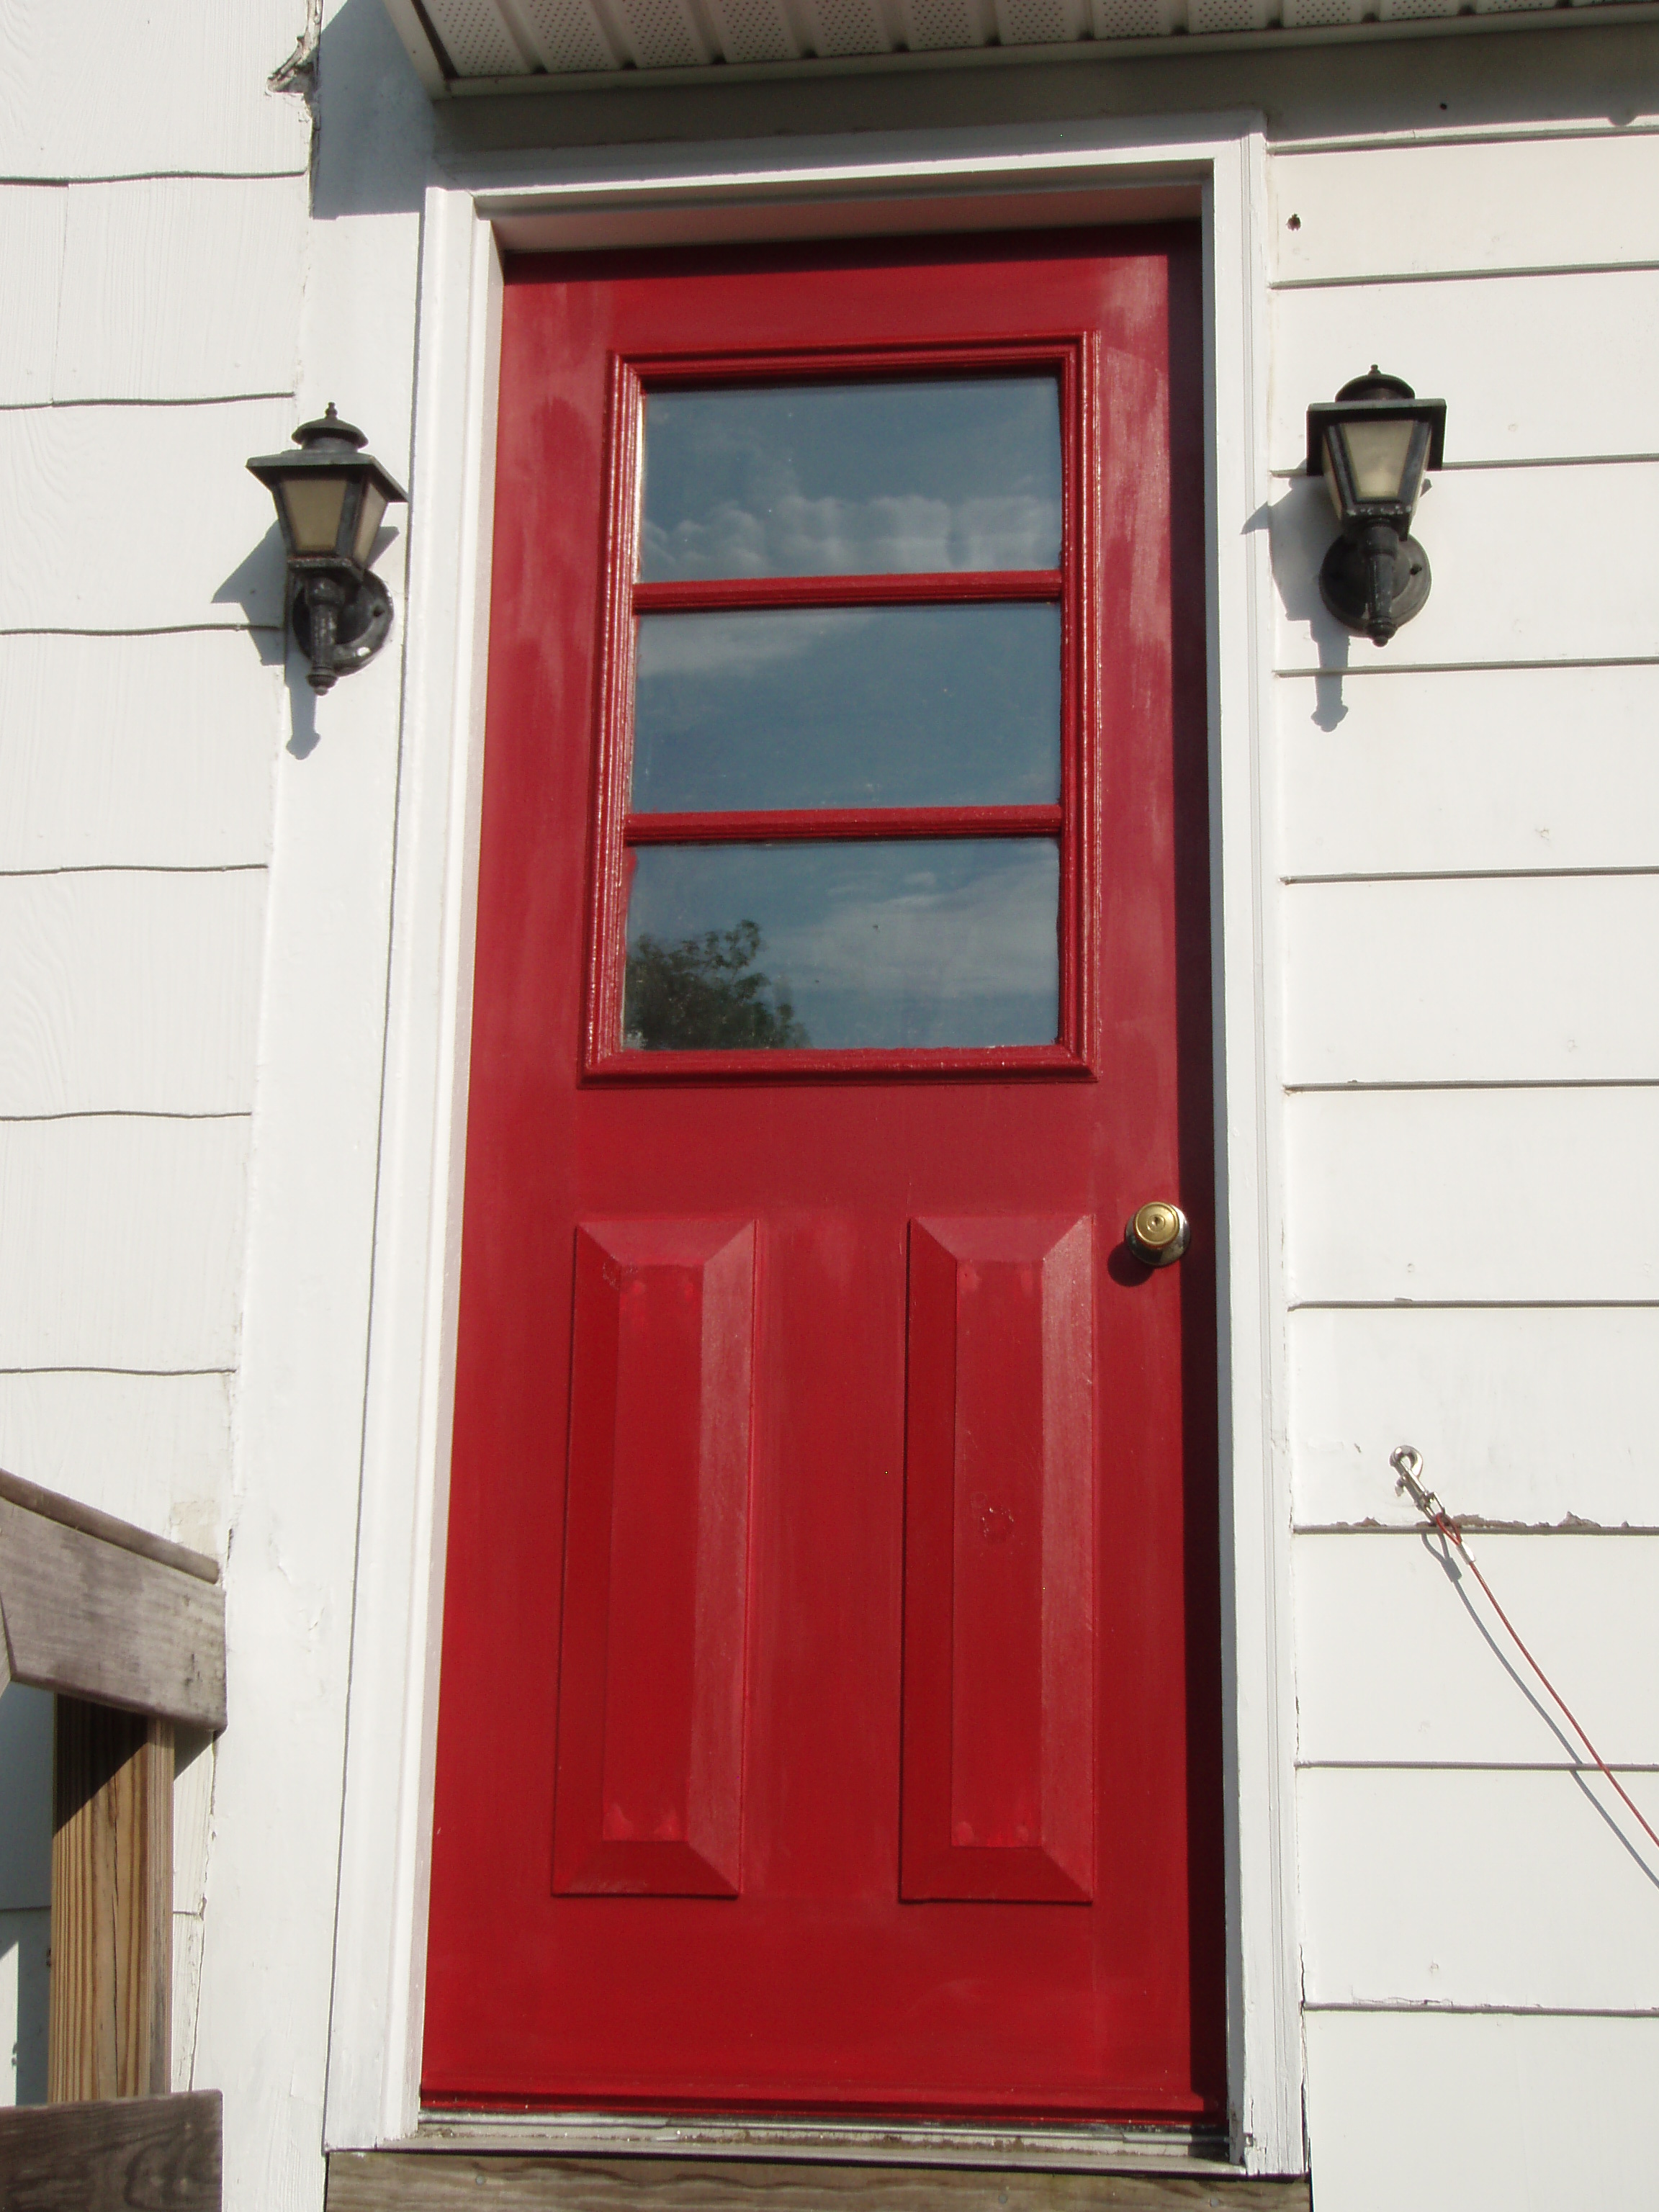
That’s Colby sanding down the wood filler with his beloved multi-tool. I’m pretty sure in a fire situation at the house, that would be the one thing he chooses to save. He uses it for just about every project. After a few more attacks on the red coats, the door was official styling:
I feel very Better Homes & Gardens now with my new fancy door. Very posh. I only got a quart of paint and still have plenty of left over from this project so I may have to paint the entry door on the porch red also. I’m seriously loving this door and I keep catching myself staring at it in awe. It definitely added a pop of color to an otherwise all white house. So there you have it, thirteen pictures and 653 words on red coats on this Fourth of July weekend!




It seriously took me until almost the end to get the “red coats” reference. Looks great & I do love the panels!
Haha! Don’t worry, you’re not the only one! Thanks for the door paneling love! PS…got your postcard…sooooooo cute! Congrats!