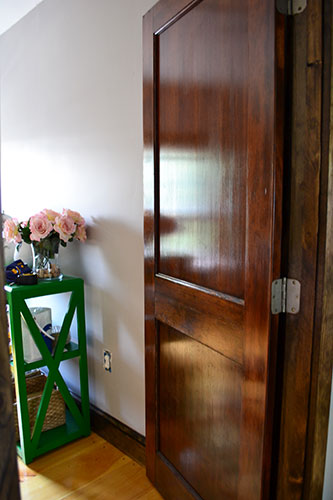
That’s right, we’re going places we have never been before. We’re blazing a trail, bushwhacking it if you wish, and taking our Etsy office door from doorknob-less:
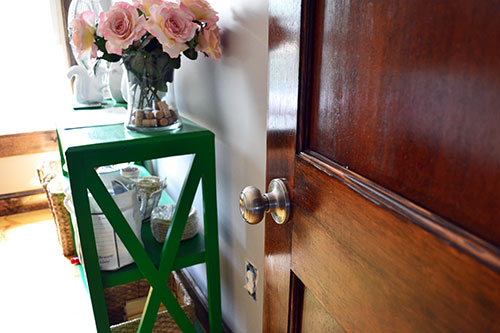
To officially doorknob-ed:
Yes, that’s right. Tonight, we’re learning how to install a doorknob where no doorknob has been before. This step is long overdue. What’s it been, three? Four months since we installed the door? Loooooong overdue! To recap the little door slab saga we first learned a little door lingo and then prepped the raw door slab for hanging and finally installed it. And today is the culminating day in our shameless money saving trick of purchasing a door slab and installing/trimming it ourselves instead of purchasing a pre-hung door. No joke, it has saved us at least $100…probably more.
But onto the doorknob installation process. It was simple…especially for me since my roll was to hang out, look pretty and snap pictures. It’s a tough job but someone has to do it. Colby did most of the grunt work. Oh…except I passed him things like the wrong doorknob…twice. But installation was a snap thanks to this handy Irwin doorknob installation kit. You can pick it up at your local hardware store for around $15.
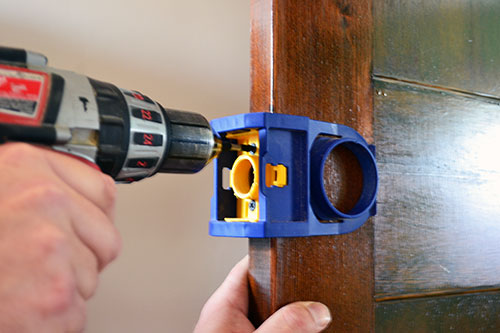
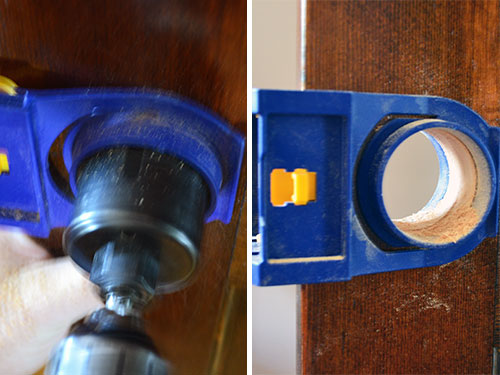
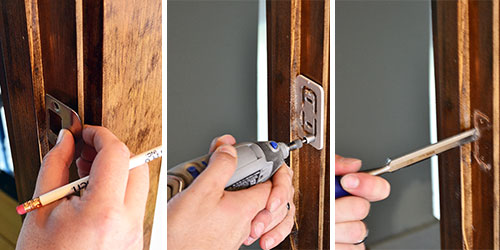
You just center the jig in the middle of the door, or more specifically in the middle of the rail (or place it 44″ from the top of the door since according to my door salesman husband, that’s pretty standard). And then do you see the yellow button and measurements underneath it?
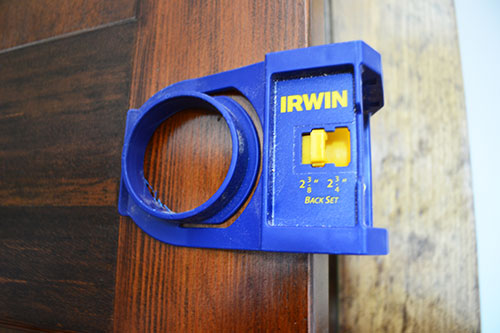
That’s the only other adjustment you have to make. You have to set the “Back Set” on the jig for your door. All doors have either a 2-3/8″ or 2-3/4″ back set. Our door, and most interior doors, have a 2-3/8″ back set. What is a back set you say? Glad you asked! It’s the distance between the edge of the door and the center of the doorknob.
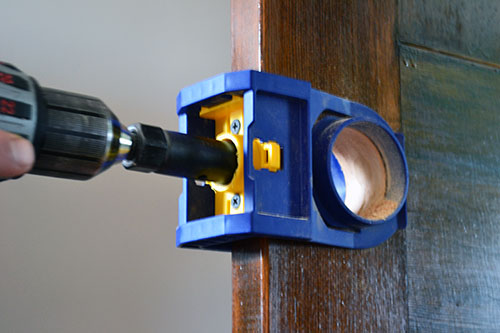
With the jig in place, Colby attached the larger hole saw that came with the kit to his drill and bored out the doorknob hole, first cutting in from the front and then cutting in from the back. You don’t want to cut right through from one side since the face of the door will start to splinter as the hole saw breaks through.
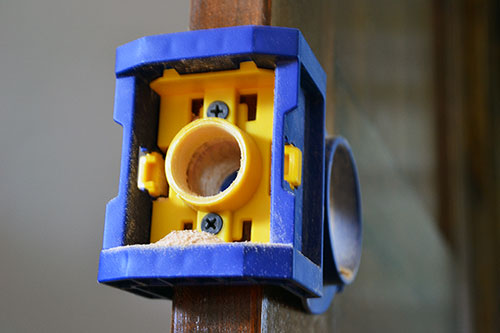
The hole saw cutting continued with the smaller hole saw cutting through for the bolt.
This left two holes for doorknob installation.
The next step was to route out the edge of the door for the bolt plate. Again, the Irwin kit included a little jig AND the router bit to do this. It was as simple as attaching the jig, lining it up with the screw holes left behind from where you screwed the first jig into the door. Then you just attach the router bit to a Dremel or other rotary tool (or to a fast spinning drill but that’s not necessarily the best idea as it’s hard to control and drills are typically slower than rotary tools) and route out the marked spaces. Then, remove the jig and chisel out the middle part.
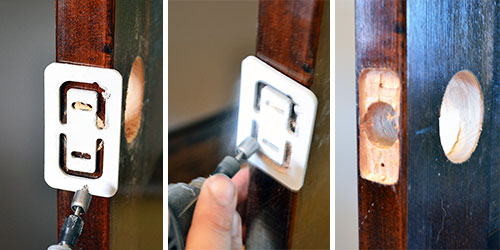
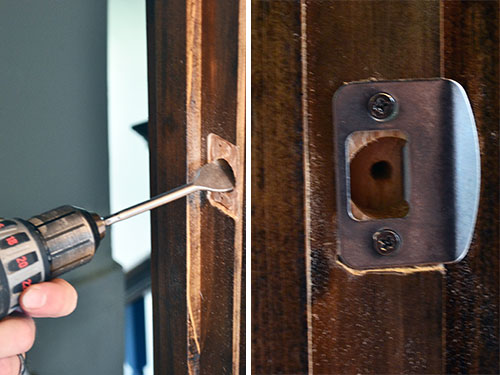
Same process goes for routing out the strike plate on the door jam. Just mark where the strike plate needs to go, attach the jig, route it out and chisel away.
You also need to drill out the hole for the doorknob bolt to slide into. Colby did this using a spade bit, which left a little too much wood in the hole (the spade bit wasn’t quite the right shape) and later needed chiseling out to be functional.
Oh yes, and I can’t forget….Goose “helped”.
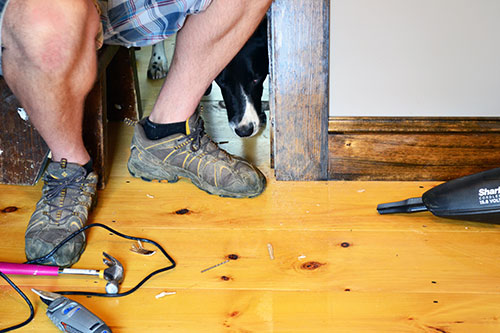
Goose doesn’t like to be left out of home improvement projects…or anything. He really needs to be right in the middle of whatever we’re doing….literally. He was mad at us during doorknob installation since Colby was blocking his route to the window for scoping out neighborhood squirrels.
With everything cut, routed, and chiseled the only step left was actually adding the doorknobs to the door. We picked up two doorknobs, since our master bedroom door has been sans doorknob for oh…three years now. So home came both a locking doorknob and a regular doorknob.
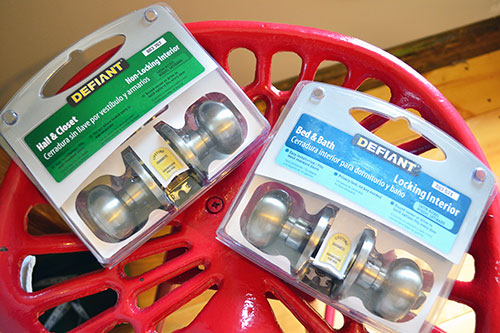
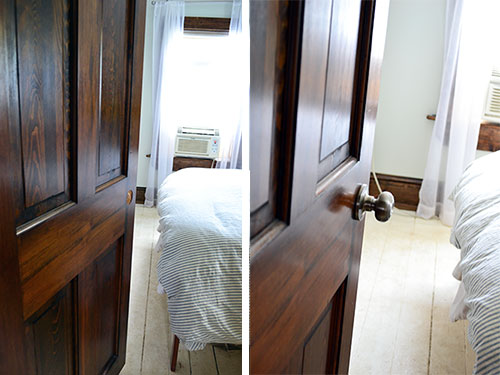
We played a little doorknob roulette and decided to add a locking doorknob to the bathroom, the bathroom doorknob moved to the master bedroom, and the new hall/closet doorknob was installed in the Etsy office. Here’s the visual proof that yes, indeed we FINALLY installed a doorknob on our bedroom door. Look for the blue moon, folks!
In total, the whole project cost us about $30 ($15 for the installation kit and about $6-$7 for each doorknob). Time-wise, it probably should have taken 30 minutes or so, but took much longer thanks to a series of installing things backwards or installing the wrong doorknob (Colby was having an “off” day…maybe he should blame that time of the month…always works for me). Another long overdue task complete, a gazillion more to go. Ahhhh…progress!
Pssst…What long overdue projects are you all checking off your lists these days? Doorknob installation? We can’t be the only ones who put off installing them! I’m pretty sure adding outlet covers might be my next long-overdue-task to tackle. Doh!
