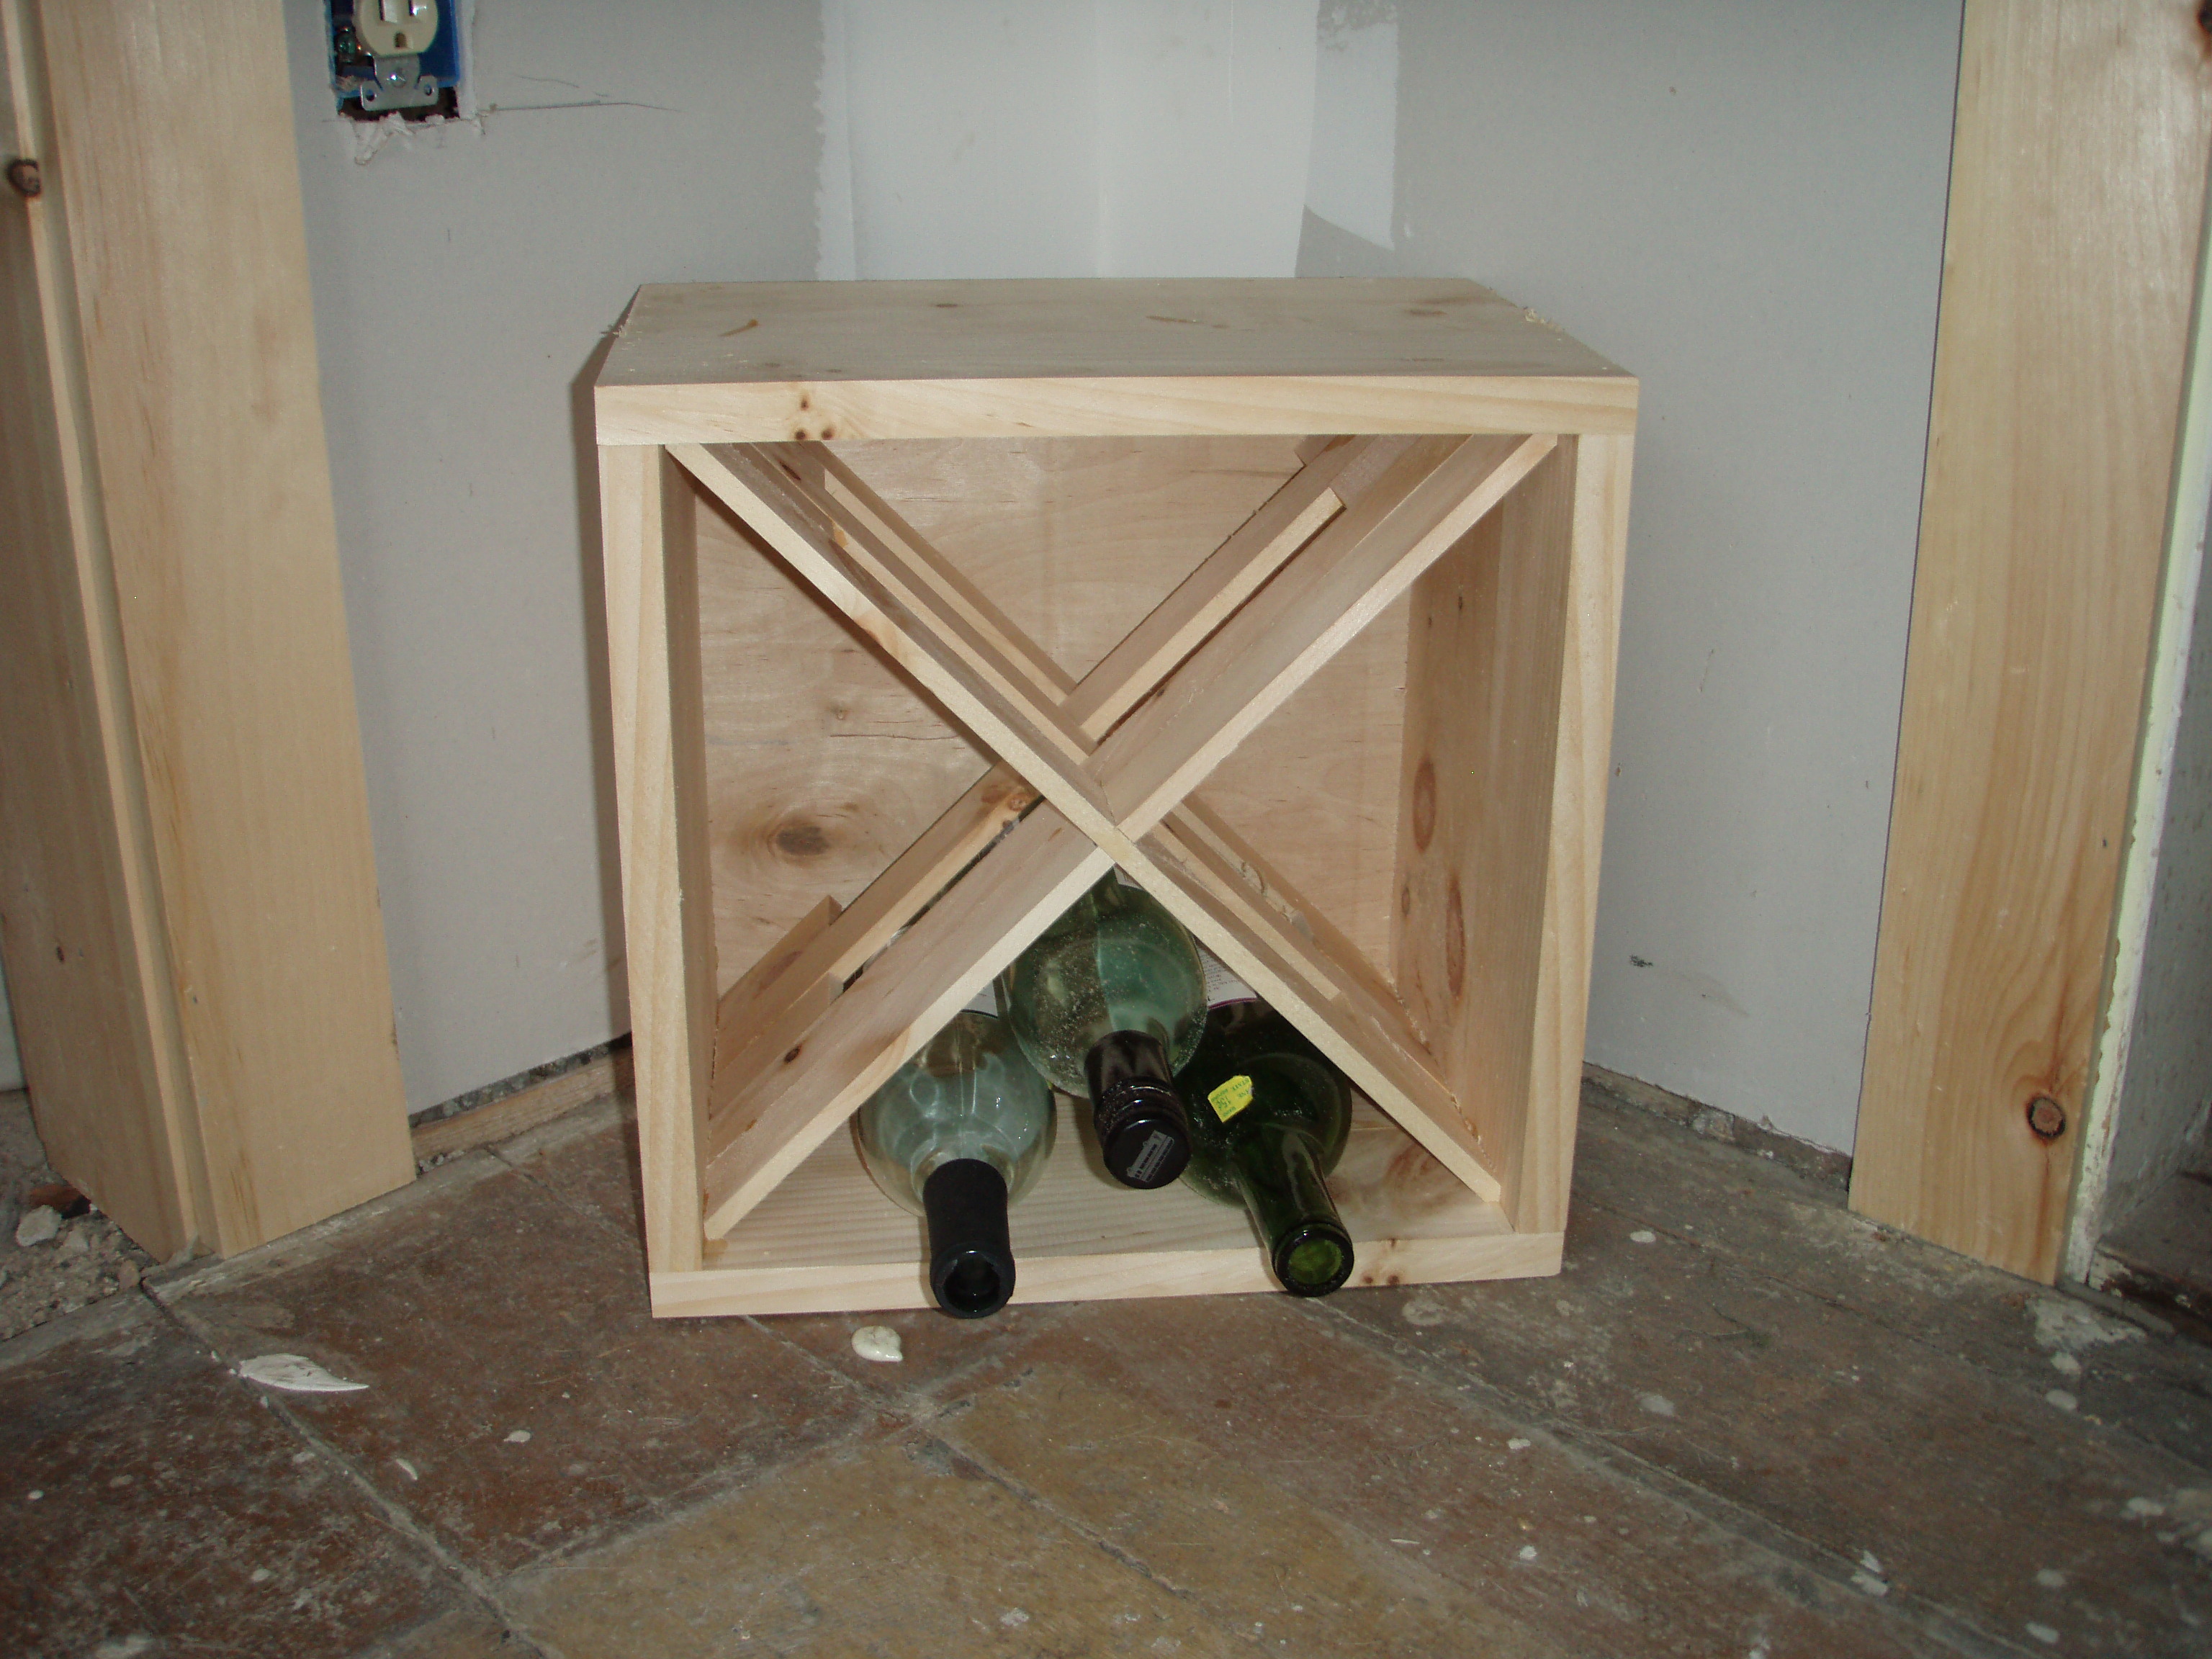
This past weekend, completely at random, Colby built me a wine rack. Yup, on a complete whim and using only scraps of wood that he had down in his workshop; leftovers from previous projects. I had asked him to build me one at some point based off these really cool, recycled crate ones I had seen in an old Pottery Barn catalog. I described the wine rack idea I had envisioned, showed him a couple pictures, scrounged up via Pinterest (my latest obsession) and he went to town building away. My only rule was that it had to be “old world style” our term for anything rustic and salvaged looking. We love old world style! It really keeps us (well, just me really) from getting hung up on trying to make everything perfect. So here is box number one that Colby completed, in less than an hour I might add:
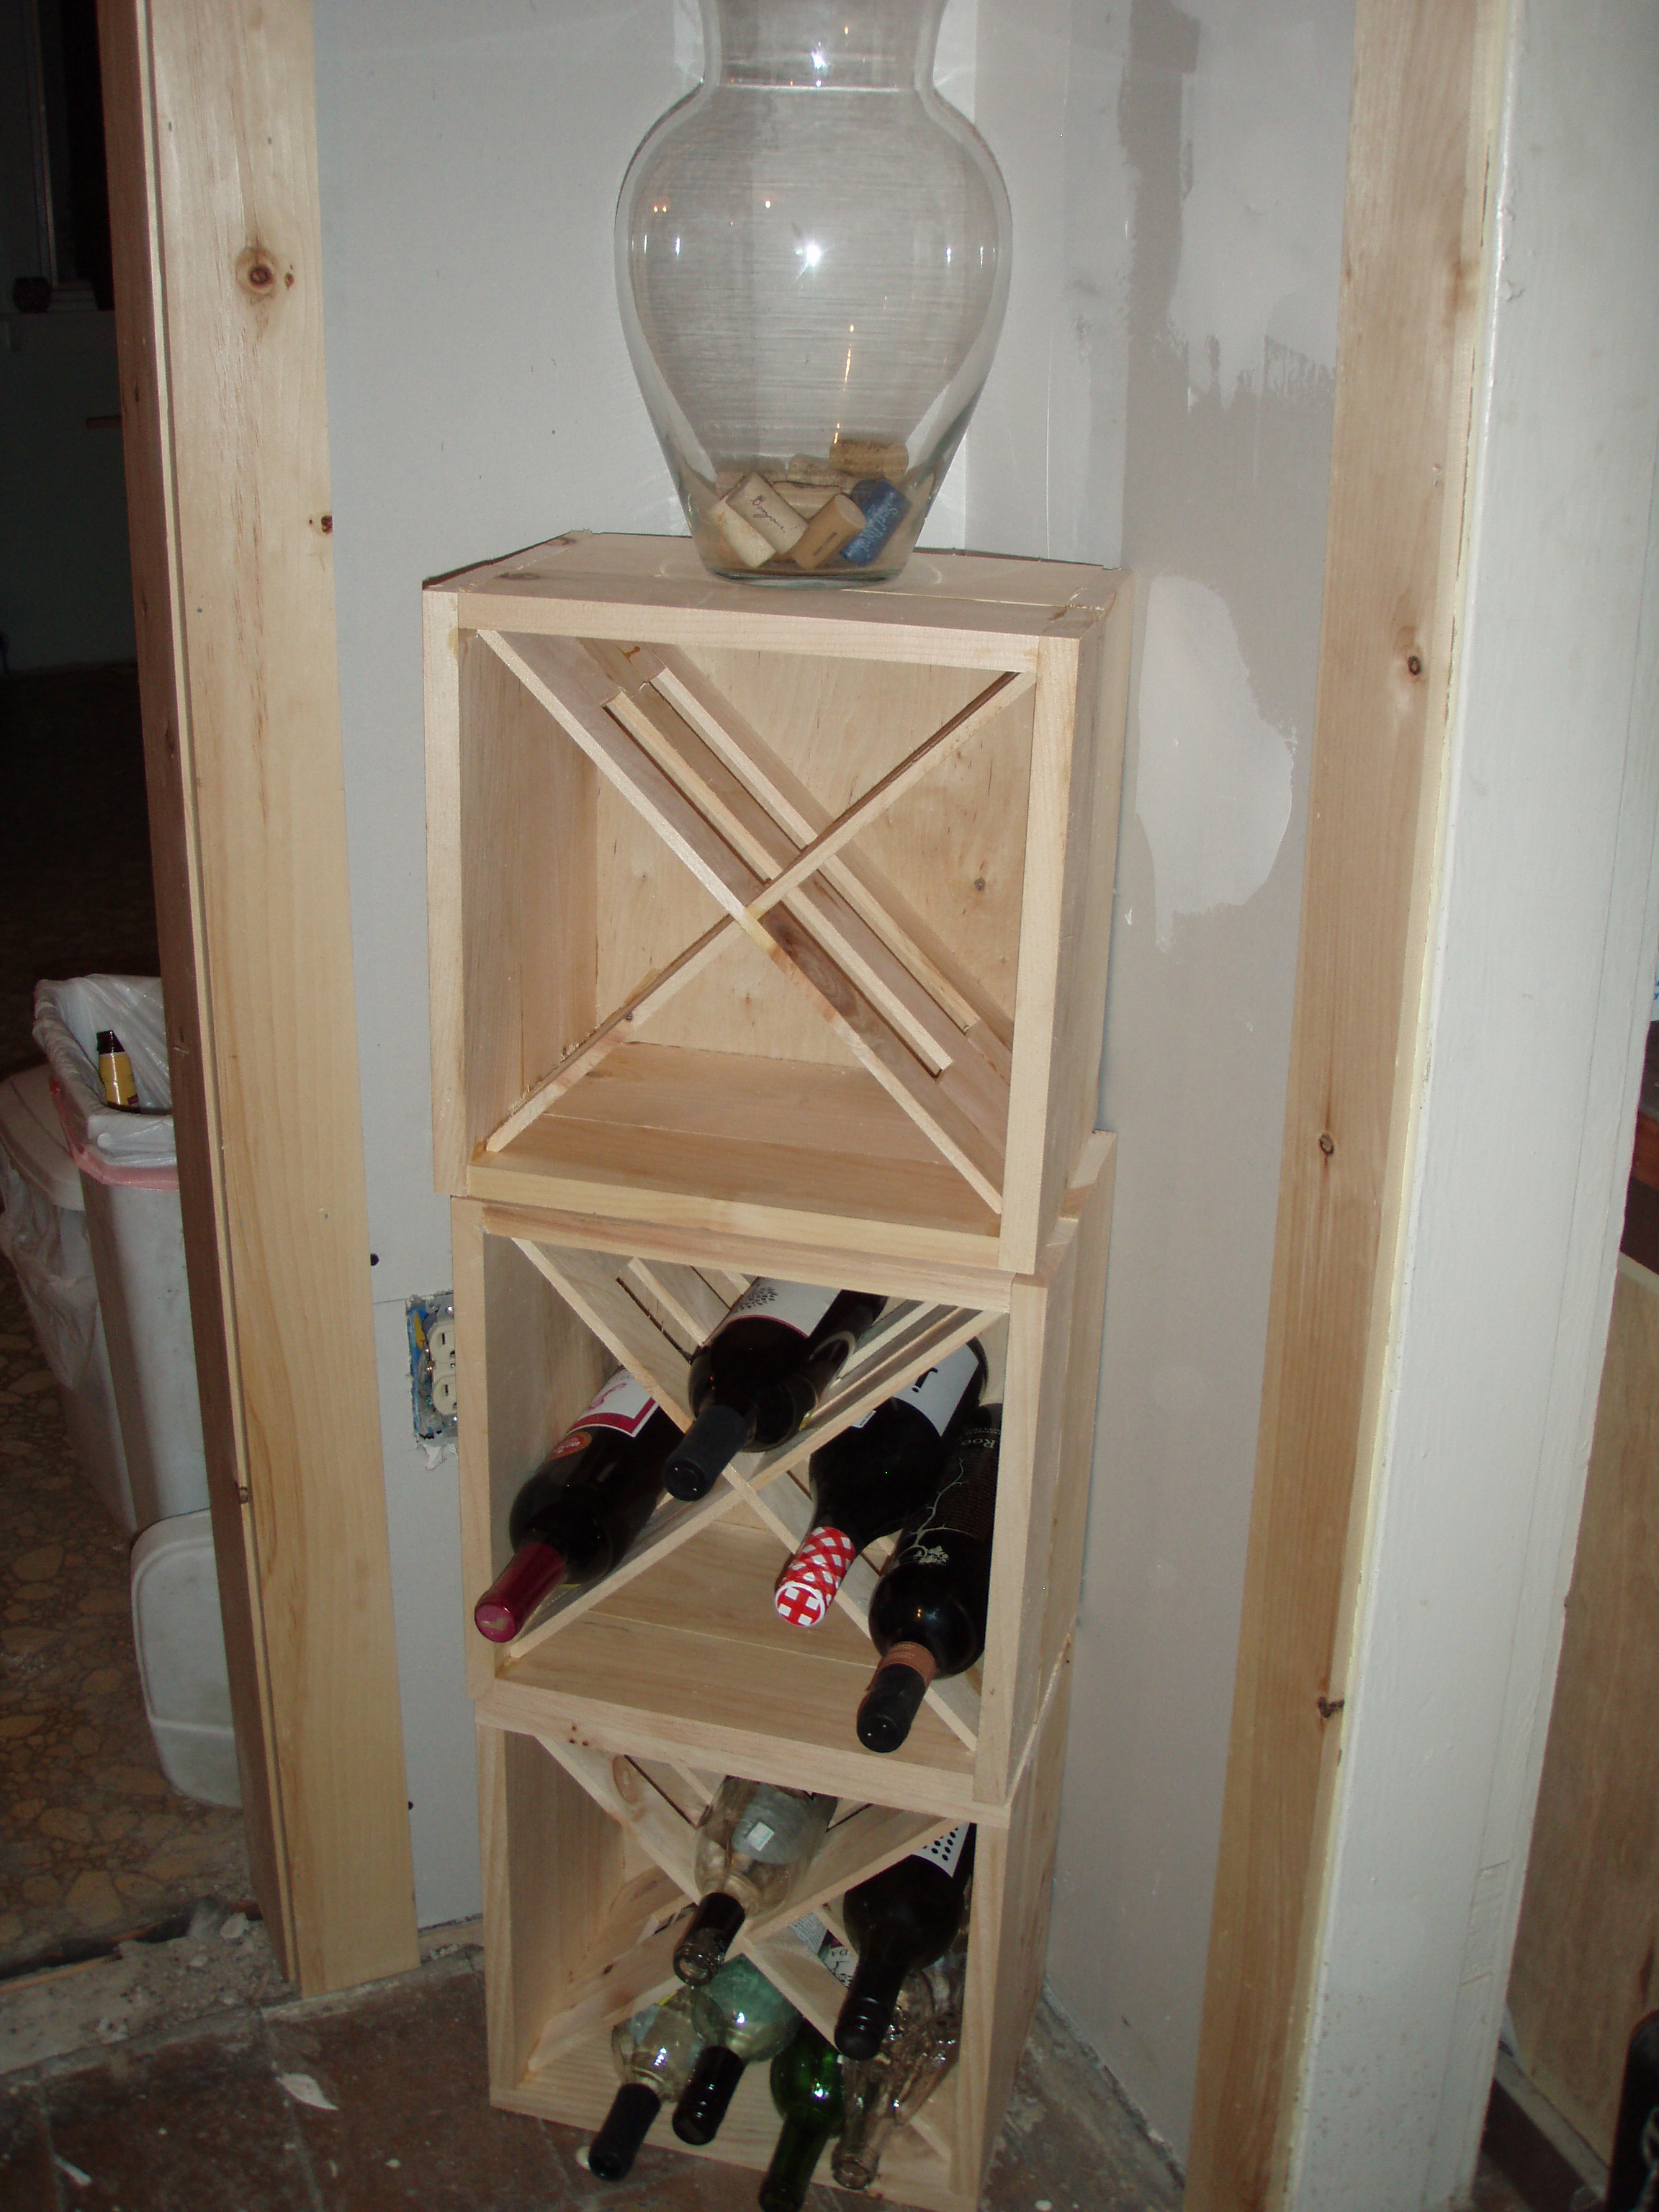
Oh, and please excuse the mess. This is our dining room which is in the middle of a serious sanding/mudding expedition that seems to never really end. More on that later. But this is the exact location the wine rack will be going, the kitchen to the left and the parlor (our name for living room number two) to the right. It’s made out of scrap pine that he glued and nailed together. Pretty simple. Of course he couldn’t stop there since I wanted three crates to stack on top of each other. Colby decided that he was just going to buckle down and finish the project. This was a serious first for him and minor victory in combating our house project attention deficit disorder. He didn’t want to forget how to make them. So Colby trotted (more like sauntered…Colby is definitely not a trotter…Goose however….he’s a prancer) back down to the basement to complete wine rack crates two and three. Here is the result:
I was worried that the crates would be tippy and needed to be anchored to the wall but they’re extremely sturdy. Nice work Colb-ster! I only had four bottles of wine kicking around since that’s how many my old wine rack used to hold. Hmmm…I believe this wine-o in training needs to go down to Bangor Wine and Cheese to pick up a few new bottles to help stock out this new piece. Perhaps. But before that happens, it’s time for me to step in and finish these bad boys. You see, they’re not quite done and are only in their unfinished furniture stage. I’m planning on trying my hand at distressing the pine to REALLY make it old world style. My approach: chain, a bag of screws, and a hammer. Oh, and I can’t forget two shades of wood stain and some poly. We’ll see how this project goes and I’ll keep you posted along the way.
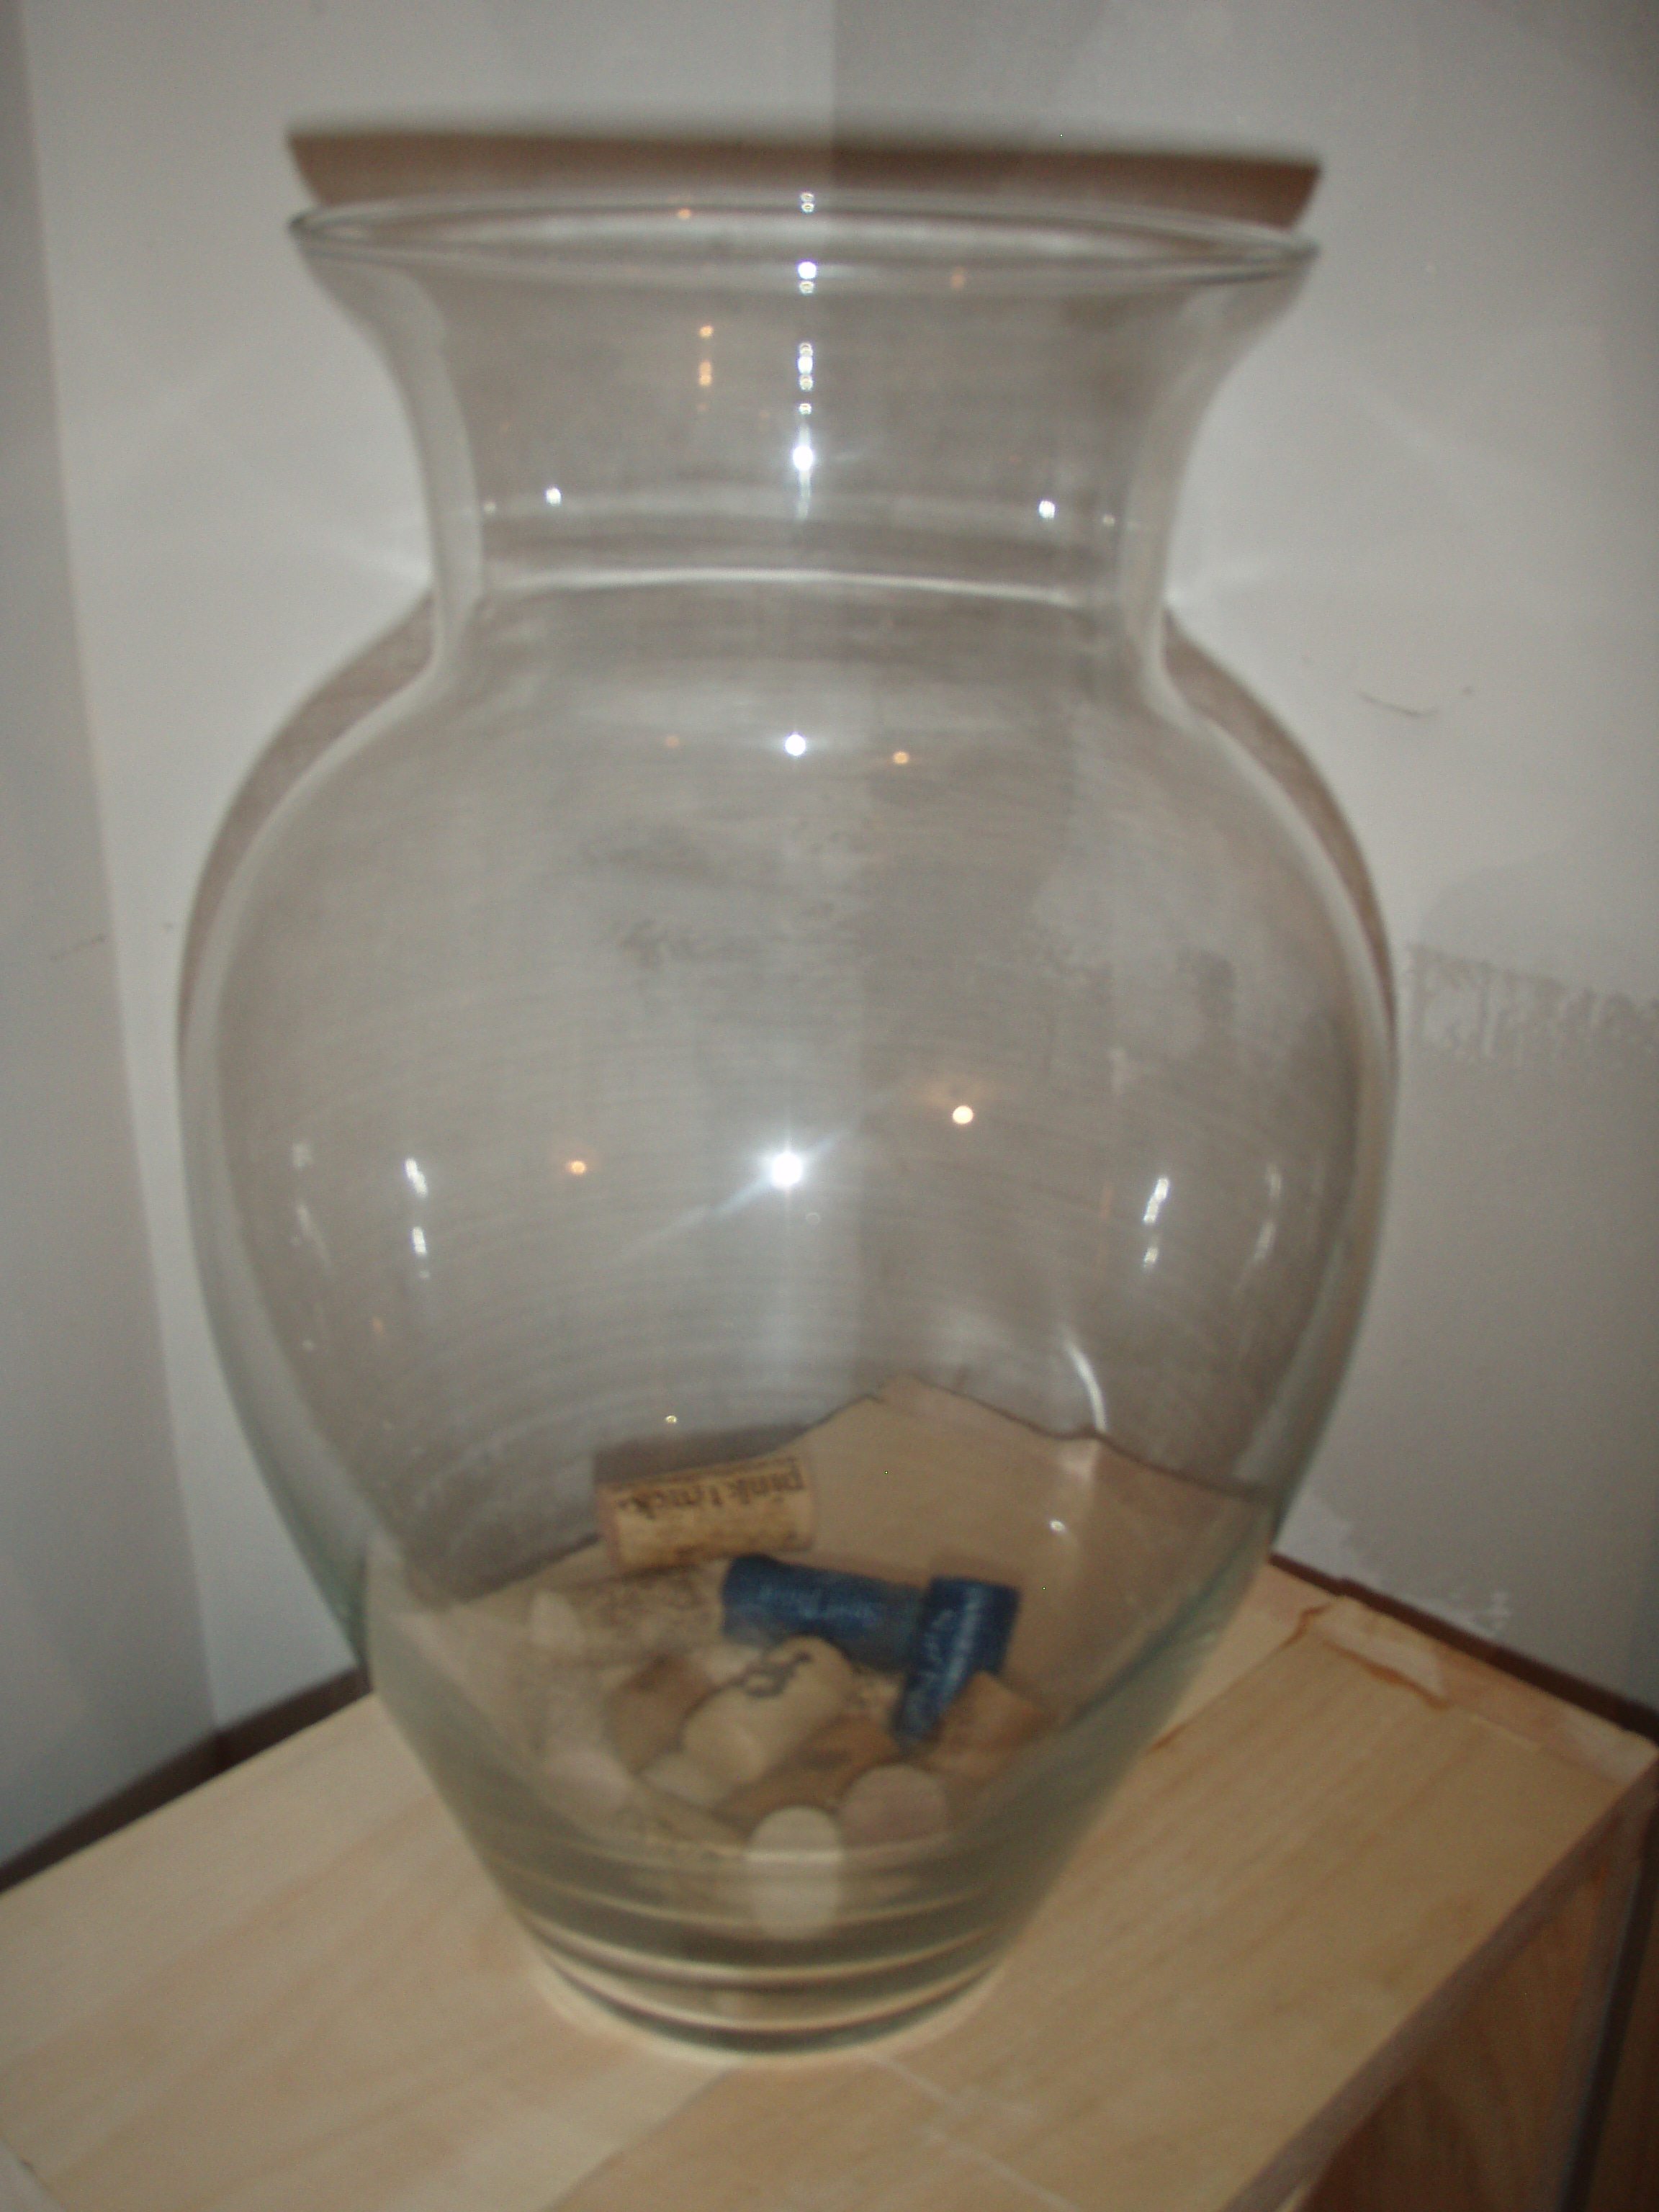
What’s that on top of the wine rack you ask? Why oh, look at this:
I’ve started saving all my corks, which were living in the kitchen in a glass tumbler. The corks had quickly out grown their home and needed an upgrade. This old vase came out of storage and found a new life as wine cork storage. Hopefully it doesn’t fill up too quick! I also started collecting empty wine bottles for a future craft project. Stay tuned as I bring you updates from that front.


It is good to know that you will have wine! Good job Colb! Such a designer!
So now that we’re fully stocked you should come up and visit us!
Those are really excellent! I will have to remember that, I am sure Jimmy can build a wine rack! Love the posts, keep them coming!
Hope…according to Colby these are uber easy to make! Pass that on to Jimmy so he’ll make you one. If you need help or more how to info let us know and we’ll send it along!
That’s the problem with getting a wine rack…it looks soooo lonely with no bottles in it. So what’s a girl to do but go to our fav little wine shop (mine’s called “Wine Styles”) and get more bottles! It’s the only right thing to do…for the sake of the lonely wine rack of course.
We owe it to the wine rack to stock it! Haha! I love it!
I love this and want one. What are the dimensions of the box? If you have any instructions or suggestions, I would love them! I saw the finished project as well and it’s beautiful!
The dimensions of the box are 14″ square and are 9″ deep. Unfortunately, this was one of those “Colby disappeared to the depths of the basement workshop and reappeared with these boxes” kind of projects and before I really knew what I was doing blogging wise so we don’t really have a tutorial for them. But we’ve had so many requests for tutorials that we may build one in the not so distant future and do a proper post about them. To build them in a nutshell…make the 14″ x 14″ x 9″ box, cut some 1/4″ x about 1-1/2″ slats, cut them down to about 16-1/2 long to fit cross wise in the box (we even made an angled cut on the slats so they would sit flush in the 90 degree corner), layer in the slats alternating their directions, and finally stain and poly. I know…horrible directions, but that’s essentially how we did it. And I’ll email this to you too so I know you get it.