Four hundred and seventy six nails in the wall, four hundred and seventy six nails, punch one through, fill it with glue, four hundred and seventy five nails int the wall, four hundred and seventy five nails, punch one through, fill it with glue, four hundred and seventy four nails in the wall…….I could go on for awhile but I won’t subject you to all that pain and suffering. My point? I finally got around to punching in all four hundred and seventy six trim nails in the dining room and hallway and filling the holes with wood putty. And yes I did count all four hundred and seventy six trim nails…actually that’s a lie…Colby added a few more during the whole nail punch extravaganza for about four hundred and eighty six trim nails. Before I get into the nail punching frustrations…I mean…joy, let’s recap the extensiveness of trim in these spaces (note…these pictures were taken at varying stages of house project-ing so other projects are at varying stages of completeness). First there is the hallway trim:
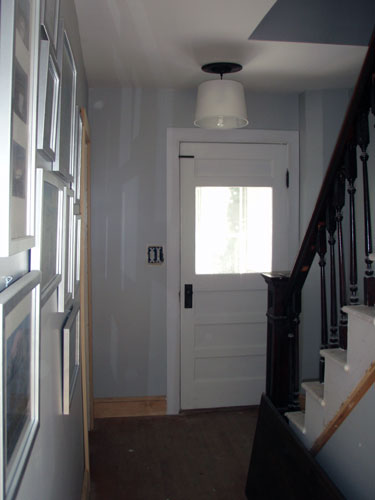
Which includes baseboard, front door trim (straight ahead), living room doorway trim (off to the left), and staircase trim. Then there is the dining room window trim:
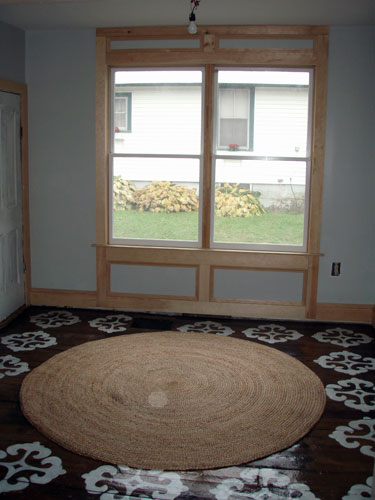
And the hallway arch/closet/basement door trim:
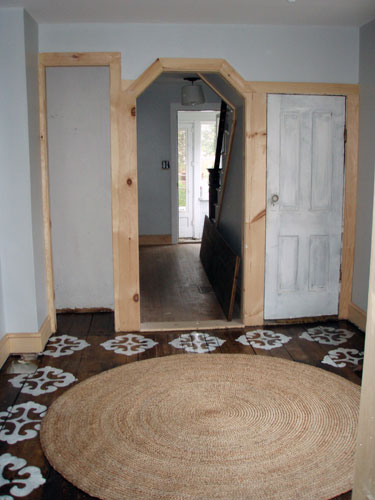
And then the archway between the dining room and the kitchen and the massive opening between the dining room and the parlor:
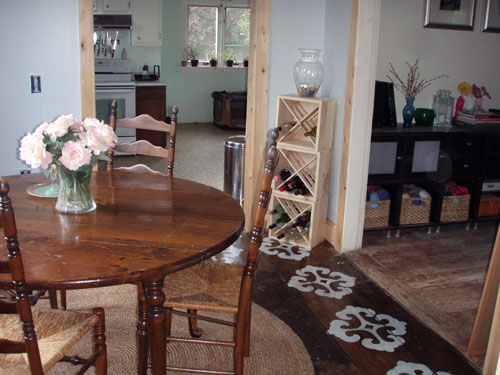
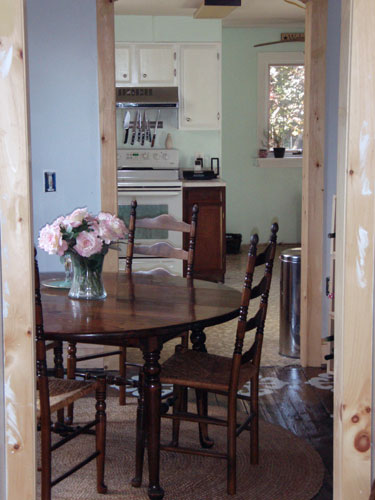
And you can’t forget all the dining room baseboard. The amount of trim in the dining room alone is extensive and I’m pretty sure the trim surface area outnumbers the wall surface area. Hmmm…I may need to get my geek on and actually calculate that! On second thought, not enough time, I’ve got some serious trim painting to tackle! But I like how this pictures helps show you how much trim there is. It’s not just on one side of the doorways, but on both. This pic was taken looking through the hallway archway and then through the kitchen archway.
As I began my trim nail punching project, I went in knowing that this was going to take awhile. Six and a half hours total to be exact, which included nail punching, filling the nail holes with wood putty, and later sanding down all the patches. I also went into the project knowing how much I HATE, absolutely HATE punching in trim nails. I’m horrible at it…HORRIBLE! I don’t often admit that I can’t do something since I like to think I’m a rock star at pretty much everything I tackle. But when it comes to punching in trim nails, I just don’t got it. Enter exhibit A:
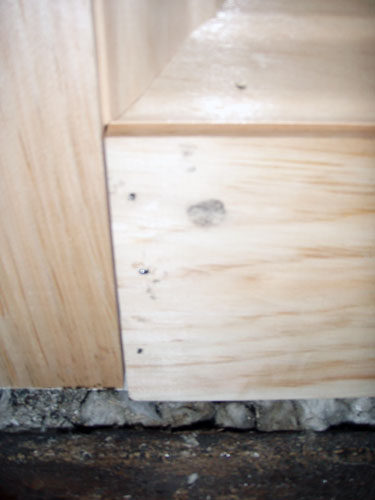
I like to call this “When Hammers Go Wild”. First, notice the three nails on the left. Next, notice the black smudge to the right of the nail holes. Yeah, I missed a little bit. Enter Exhibit B:
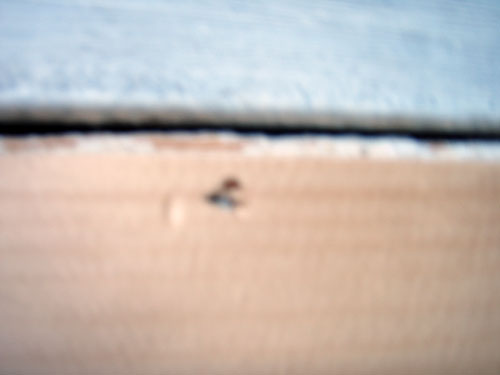
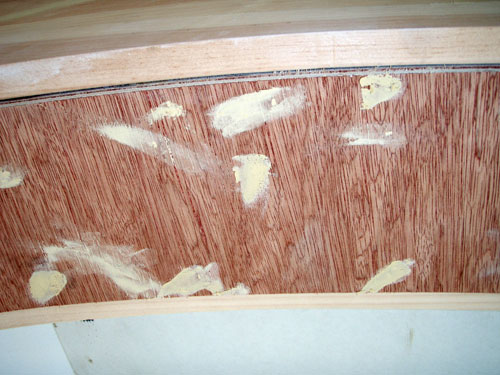
I like to call this one “Nail Punch Slippage” (sorry about the poor quality…I tried my best but I couldn’t get a very clear shot). What you’re looking at is a nail that still needs to be punched in, the wood around the nail is almost completely punched in, and also a slight miss to the left. There was a series of tears, a moment where I swore off hammers and nail punches all together, and a brief recognition ceremony for all the pine board homicide victims that suffered a slow and painful death from too many blows from my hammer. Colby tried to give me advice in the beginning such as “You have to whack it real hard” and “Just guide it right in there with your left hand” which didn’t really help. Although I was slightly more giggly as I replayed the comments in my head. But alas I powered through and finished punching in all the trim nails and began fixing all my not-so-happy-accidents with wood putty. There isn’t anything wood putty can’t fix!
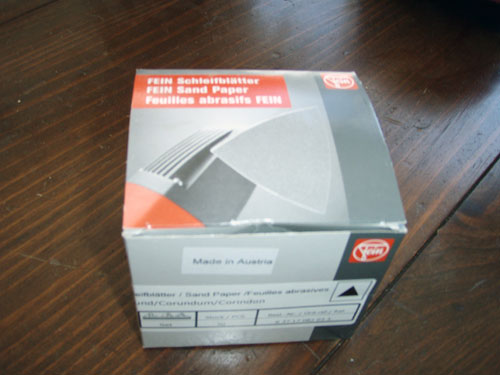
I let the wood putty dry overnight and started attacking the sanding portion of this project the following morning. Armed with a new variety pack of Fein’s multi-tool sand paper (I opted for the 180 grit paper for this job):
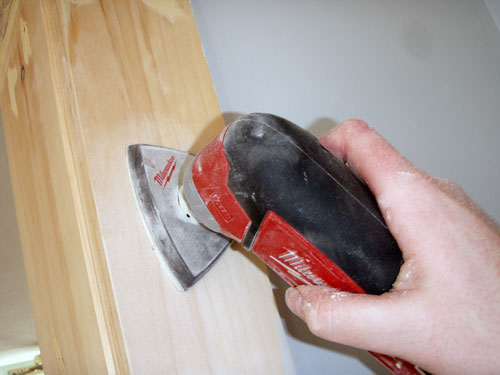
And the Milwaukee multi-tool (man I love that thing!):
I sanded ‘er down! Thankfully, this portion of the project went nice and smooth (no pun intended…hehehe). I’m currently in the process of priming all the trim and it’s taking FOR-EV-ERRRRRRR! My attack plan is to layer on two thin and even coats over all the trim, spot prime over any knots in the wood since those have a nasty habit of poking through, caulk any gaps, and finally layer on two thin and even coats of my go-to white glossy paint (Valspar’s Betsy’s Linen to be exact). But at the rate I’m going, I’ll have it done around Easter time. But at least the hard part (trim nail punching) is over and I’m amidst the fun part (painting!!!!!!).
Pssst…so I’m curious…does anybody have any REAL tips or tricks for punching in trim nails? Something idiot proof that I could actually apply to trim projects? I seriously struggle with the punch slipping off the nail every time and it drives me to the brink of insanity! I welcome your thoughts!

