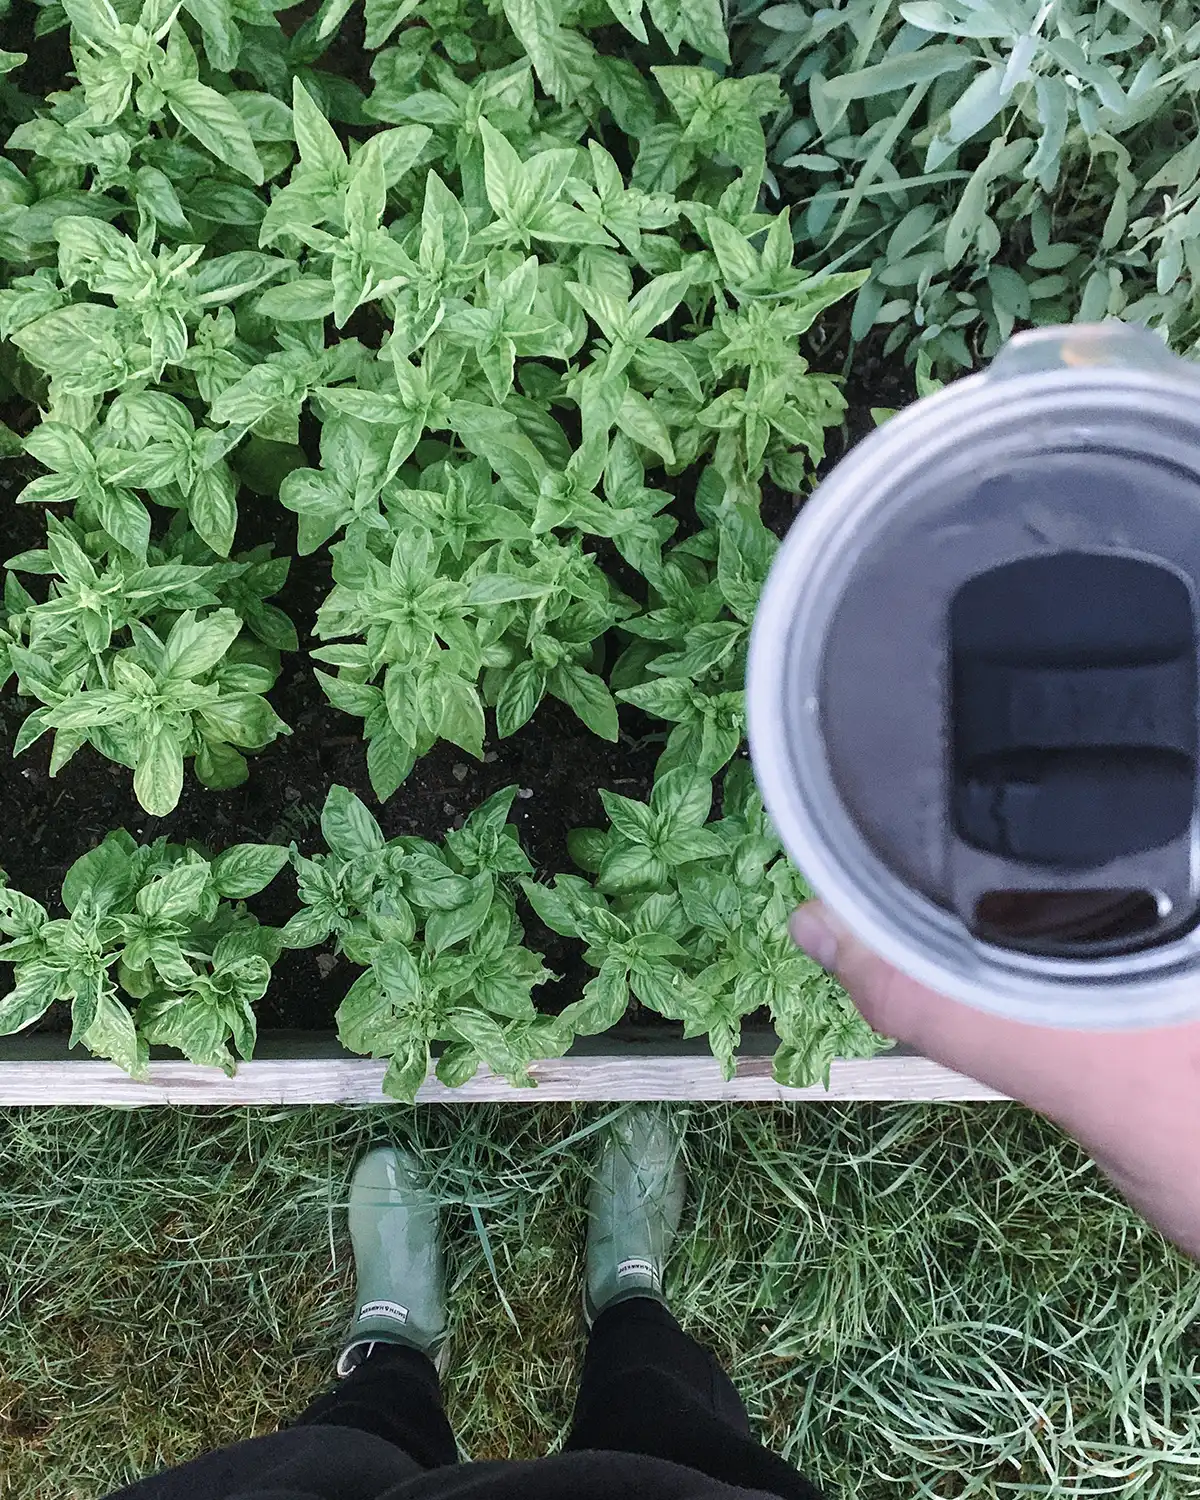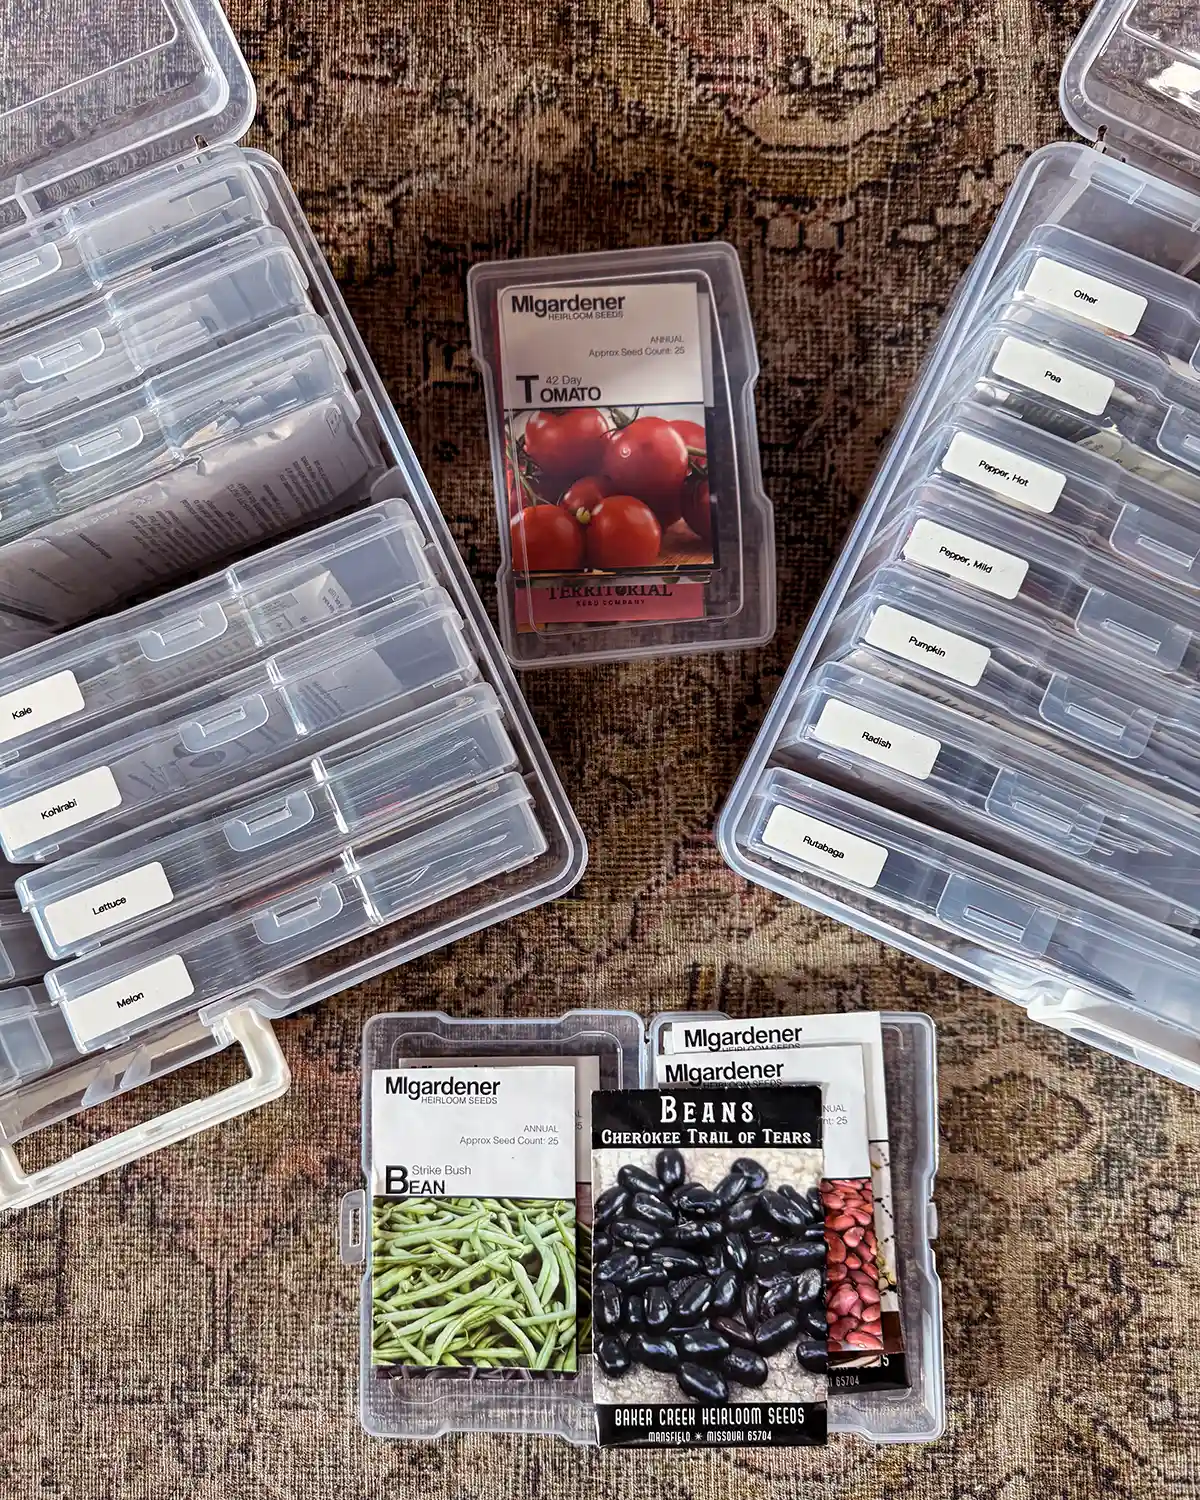
Starting seeds indoors, whether they’re for the kitchen garden or the flower garden, can seem overwhelming at first. There are so many choices, variables, and considerations. But it doesn’t have to be that complex. You can make seed starting as basic or as bougie as you like. In this guide, I’m going over everything you need to know to start seeds indoors, with all the tips and tricks I’ve picked up over 10+ years of (mostly) vegetable gardening.
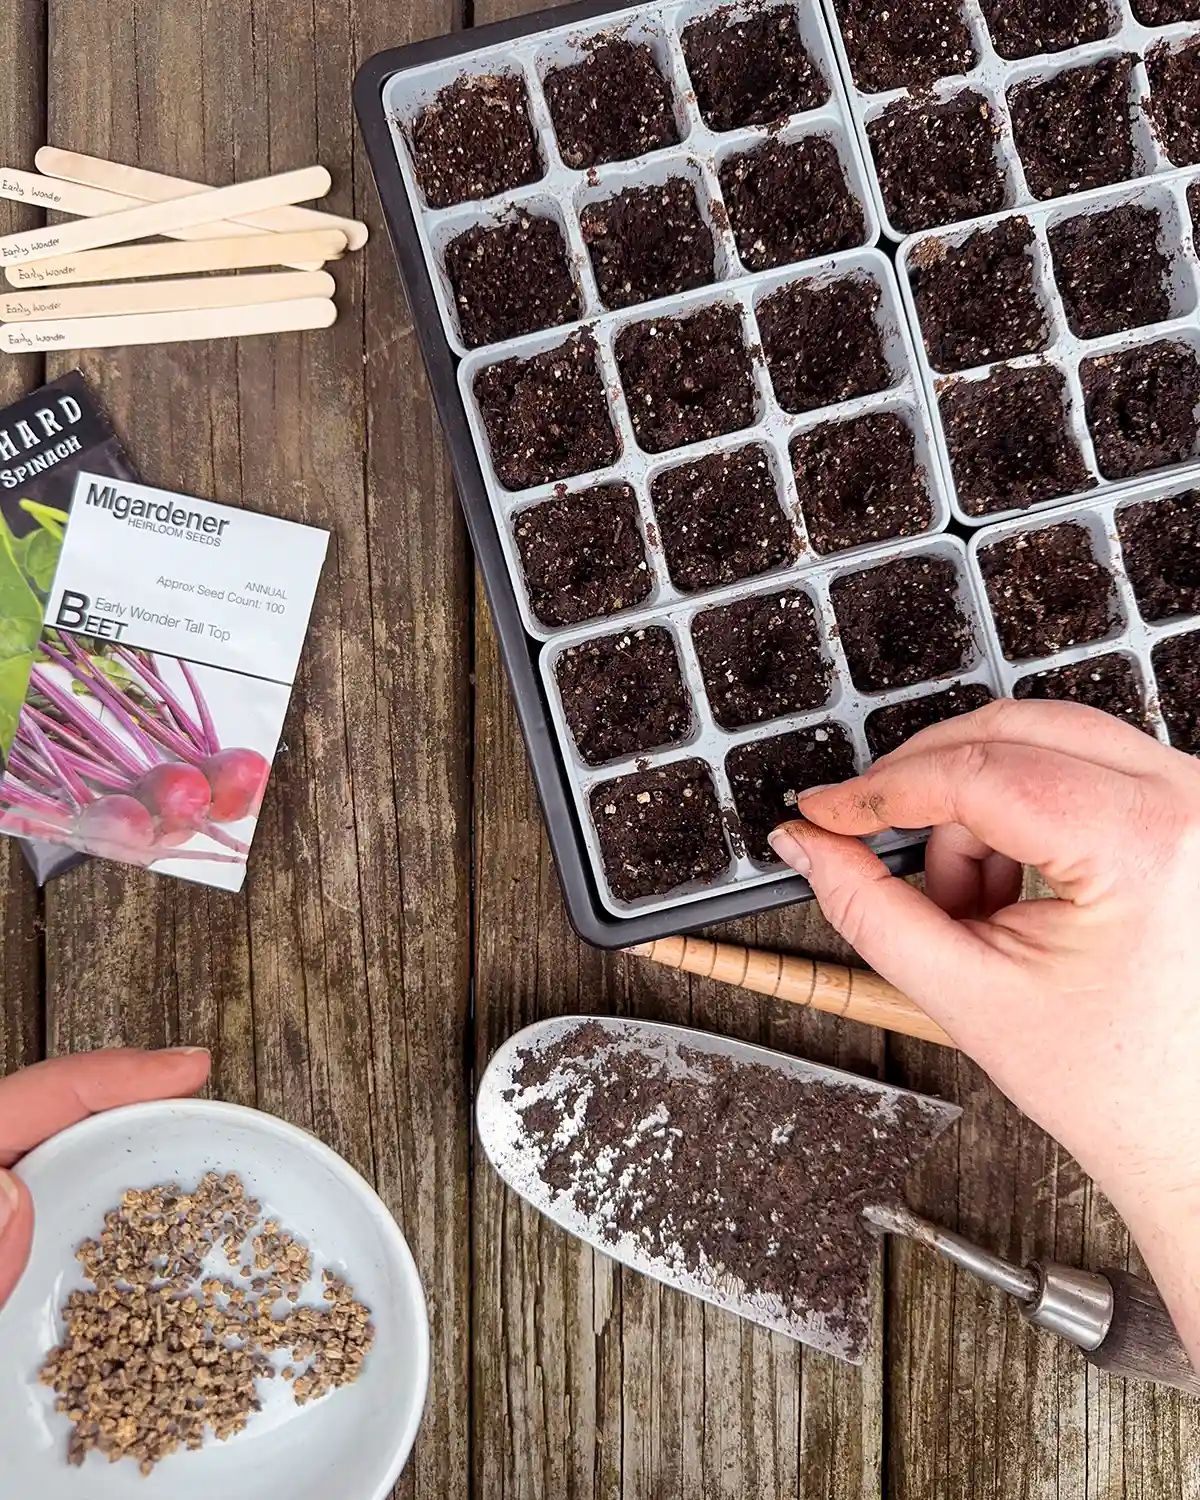
When I first began my gardening journey in 2010, I had just bought my first fixer-upper home, it was springtime, and all I wanted was a veggie garden for fresh tomatoes. So I picked up a packet of seeds, a basic seed tray, and started those babies without giving it much thought. And you know what? Those seeds grew, and we feasted on tomatoes all summer long.
As you read this guide, keep in mind that you don’t need many things to start a seed. Does a heat mat help with hot pepper germination? Absolutely. But do you need one? No, the seeds will still germinate; just find the warmest spot in your home. A seed’s only job is to grow; it WANTS to grow. Basically, give it some soil, water, and light for growth. Everything else is just extra. Start where you are and don’t feel like you need a fancy, perfect setup for seed starting. Let’s dive in.
Why Should You Start Seeds Inside
Seeds will grow whether you start them in seed start mix in early spring at your kitchen table or directly sow them into the ground after the last frost. So why do we gardeners go through the process and extra steps of seed starting indoors?! There are several benefits to starting seeds inside.
Extend The Growing Season
The biggest reason many gardeners start seeds indoors is to extend their growing season. For gardeners in shorter growing seasons, like mine in zone 5b, we need to start things like peppers and tomatoes indoors in order to harvest those big, juicy fruits.
For example, onions typically need 90-120 days to reach maturity. After looking up my first and last frost dates, I learned I have a 120-day growing season. Hmmm. If I wait until after my last frost date and for the soil to warm up enough for onion seeds to germinate, I likely won’t have an onion harvest.
It also helps get a jump on the growing season. Instead of waiting until after the last frost date to start seeding tomatoes, you could start them indoors 4-6 weeks earlier and start harvesting and eating tomatoes in June instead of July or August.
This also works in reverse for warmer climates. Sometimes, in Southern zones, it’s too warm to germinate seedlings. Fall crops that thrive in cooler temperatures, like broccoli and kale, can be started in the summer indoors with air conditioning. The seedlings can then be transplanted out once the temps cool, getting a jump on the cool-weather crops.
Environmental Control
Starting seeds indoors is also a great way to control the environment for germination and early growth. When direct sowing seeds, you’re at the mercy of the natural environment. Air temperature, rain, sunshine, clouds, wind, etc., all affect how seeds germinate and seedlings grow. When you move seed starting indoors, you can control every factor of the growing process.
Watering is controlled by both the potting mix you choose and how much you water. The temperature of your home can be controlled, and if seeds like warmer temps, heat mats can be utilized. Air flow can be controlled with fans.
Protect Seedlings From Frost
There is always a risk of frost when you sow seeds outdoors in spring. A last frost date is not a guarantee; it’s an average. It’s a good idea to keep it in mind while gardening outside. Anything that’s frost-tender could get damaged or killed if a frost comes through a week or two after your average last frost date. You can cover your garden, but if they’re indoors, it’s one less thing to worry about.
Intensive Planting
Sometimes, you have limited space in a garden bed, and you want to plant intensively, optimizing every square inch of space available to you. This is when having seed starts can be helpful. If you direct sow, sometimes things germinate, and sometimes they don’t, leaving holes. You either fill those later or leave the gap. When you start veggies inside, you can plant them much closer together and optimize your growing space.
Which Seeds To Start Indoors
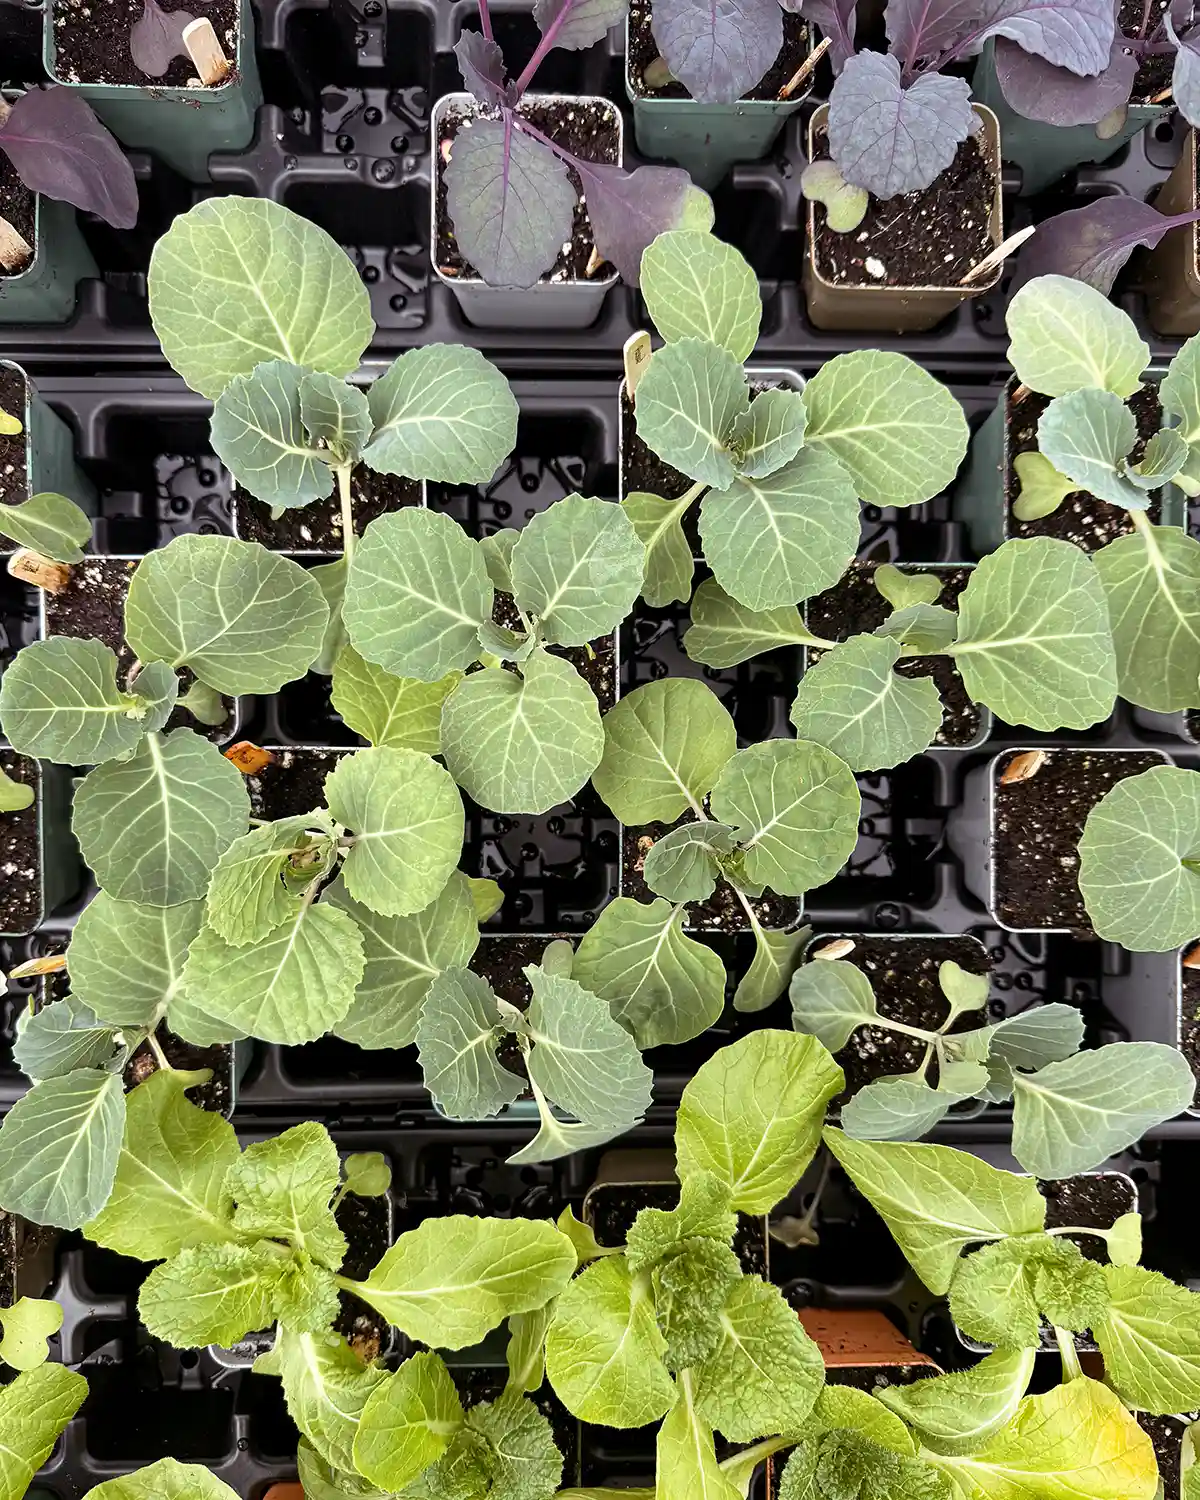
You can pretty much start any seed you want indoors, with a few exceptions. Like anything with a tap root, such as carrots and parsnips. And some varieties just do better than others.
Plants Requiring Long Growing Season
Any plant that requires a long growing season is a great one to start indoors. Like artichokes (110-120 days), onions (90-120 days), brussels sprouts (75-115 days), celery (90-110 days), tomatoes (70-100 days), peppers (70-100 days), eggplants (70-100 days), winter squash (60-90 days), and cucumbers (60-85 days).
Plants That Don’t Mind Transplanting
Some seedlings really don’t mind being handled and transplanted. Things like onions, tomatoes, lettuce, eggplants, celery, and peppers don’t mind being transplanted outdoors. Even beans and peas can be started inside and don’t mind being moved. Their roots aren’t nearly as sensitive as those of root vegetables and vining plants.
Some plants, like vining varieties, can be started indoors and transplanted, even though they don’t prefer to. These include squashes (both summer and winter varieties), cucumbers, and melons. Vining plants may die off with root ball disturbance. With these, I like using larger pots or soil blocks to start the seeds and transplant with minimal root disturbance.
Root vegetables are another category that prefers to be directly sown in the ground. Some varieties, like beets, turnips, and rutabagas, can be started indoors and transplanted out. They may not prefer it, but it can be done. I usually seed start these varieties, two seeds per cell, and continue to have prolific harvests.
Which Seeds NOT To Start Indoors
There is one type of plant you should absolutely not start indoors, and a few varieties that don’t make much sense.
Root Vegetables With Long Tap Roots
The root crops with long tap roots, like carrots and parsnips, should not be started early and transplanted out. One year, I tried starting a few carrot seeds indoors to see what would happen to the vegetable. All of the carrots I sowed this way were stunted and weirdly shaped. Some formed more of a ball than a long, cylindrical carrot. The seeds of these root crops should always be directly sown in the garden.
Quick-Maturing Plants
Any plants that are quick maturing do not need a head start in the garden and are easier to directly sow in the earth. These include things like radishes, salad greens, peas, and beans.
Sometimes I do sow my salad greens and beans inside and transplant them out later. I do this mostly for intensive planting purposes.
When To Start Seeds Indoors
How do you know when to start seeds indoors? Well, it depends on the type and variety of your seeds and the frost dates of your growing zone.
Determine Your Frost Dates
Before you can decide your timeline for sowing seeds, you must first know your first and last average frost dates. The first frost date will inform you when you can start seeds indoors for spring sowing, and your last frost date will help with fall sowing.
To do this, go to the Farmer’s Almanac Frost Date Calculator site. There are so many frost date calculators out there, all with varying dates, but this is the one I trust. It’s a good starting point as it goes by zip code instead of larger regions. After you’ve been growing awhile you’ll start to understand your microclimate and can adjust the first and last frost dates more appropriately for your home garden.
Determine Seed Start Dates
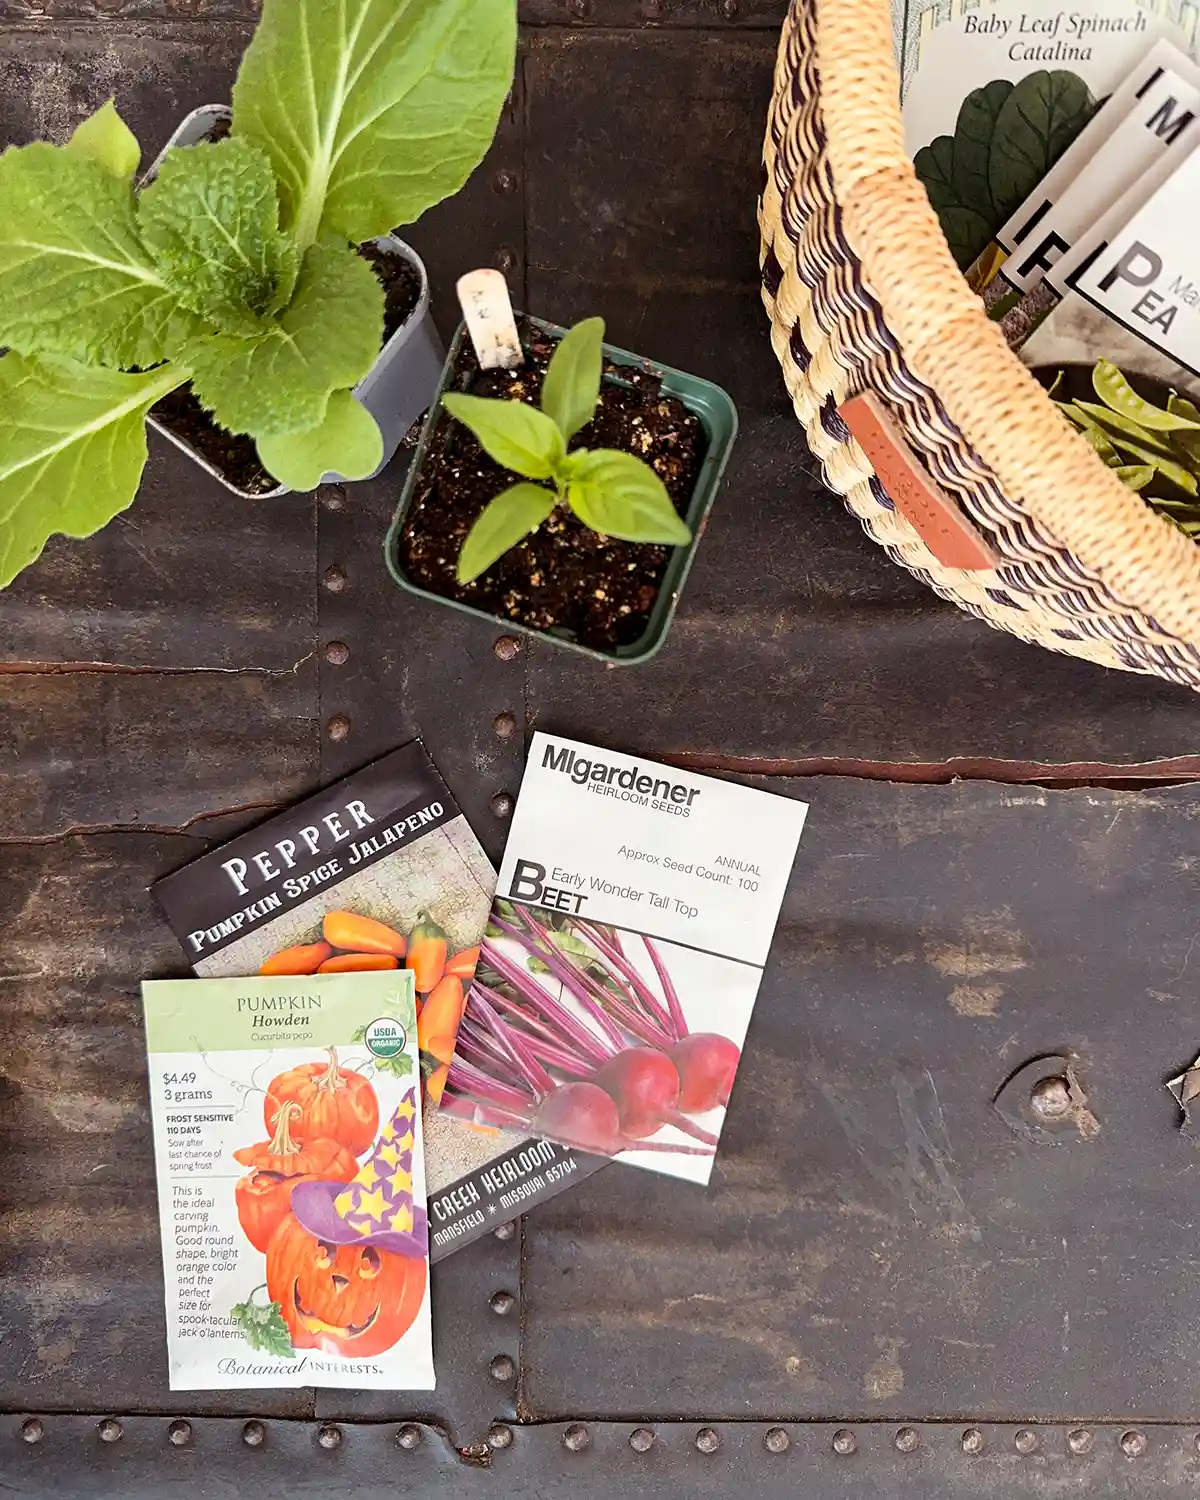
Now, you need to figure out when you can start the seeds for your garden. To do this, look at the back of the seed packet. On it, there’s usually a seed starting window listed. Like “start seeds 8-12 weeks before last frost”. Now you have your seed starting window for that variety.
Ideal Seed Starting Time
Vegetables
- Artichokes (5 to 7 weeks)
- Broccoli (3 to 4 weeks)
- Brussels Sprouts (3 to 4 weeks)
- Cabbage (2 to 4 weeks)
- Celery (4 to 5 weeks)
- Collards (3 to 4 weeks)
- Cucumbers (1 to 2 weeks)
- Eggplants (4 to 6 weeks)
- Kale (3 to 4 weeks)
- Kohlrabi (3 to 4 weeks)
- Lettuce (2 to 4 weeks)
- Melon (1 to 2 weeks)
- Mustard Greens (2 to 4 weeks)
- Okra (2 to 3 weeks)
- Onions (10 to 12 weeks)
- Peppers (8 to 10 weeks)
- Pumpkin (1 to 2 weeks)
- Spinach (2 to 3 weeks)
- Squash (1 to 2 weeks)
- Swiss Chard (2 to 3 weeks)
- Tomatoes (6 to 8 weeks)
- Tomatillos (4 to 5 weeks)
Herbs
- Basil (4 to 5 weeks)
- Chives (3 to 5 weeks)
- Cilantro (1 to 2 weeks)
- Dill (2 to 3 weeks)
- Parsley (4 to 5 weeks)
- Rosemary (5 to 7 weeks)
- Sage (3 to 4 weeks)
- Thyme (3 to 4 weeks)
Flowers
- Perennial Flowers (5 to 7 weeks)
- Annual Flowers (3 to 5 weeks)
Most flower seeds do well direct sown, but can be started ahead of time.
Choosing Containers
When it comes to choosing containers for seed starting, it’s easy to become overwhelmed. There are so many options. Here’s a quick run-down of most of the options out there, along with my personal recommendations.
Tray With Peat Pellets
These seed trays with peat pellets (Home Depot) are the “everything-you-need-comes-in-a-kit” option from the big box stores. They’re cheap, they’ll do the job, but they’re not durable for long-term use. If you’re new to gardening and just want to start with one tray, using one of these kits is a decent starter option.
Peat Pots In Plastic Trays
While these are an option, it is not one I recommend. The peat pots (Home Depot) tend not to break down and cause root constriction, poor growth, and sickness for the plant. Plus, you would have to buy new peat pots year after year since they are single-use.
72-Cell Trays In Propagation Tray
This is a great option for starting an entire tray of seeds. It’s a two-tray system; the 72-cell tray (Bootstrap Farmer) with drainage holes in the bottom sits in a propagation tray (Bootstrap Farmer). This method is great for bottom-watering and optimal drainage.
6-Cell Plug Tray Inserts In Propagation Tray
A similar option is using 6-cell plug trays (Bootstrap Farmer) inside a propagation tray (Bootstrap Farmer). It’s similar to a 72-cell tray system in that the 6-cell trays sit in a propagation tray, which yields optimal drainage. I prefer the flexibility of this system over the 72-cell tray since I can remove six-packs that have germinated to a spot under lights instead of moving the entire tray. Sometimes I mix my plant varieties in a tray, and different varieties have different germination rates.
Soil Blocking Trays
Soil blocking is a pot-less option and one I’ve used for many years. You use a soil blocker tool (Bootstrap Farmer) to make small blocks of soil. The soil blocks sit on a mesh tray (Bootstrap Farmer) inside a propagation tray (Bootstrap Farmer). Seeds are sown inside the soil block. I love this method as you can make alot of soil blocks fairly quickly and cut down on plastic pot usage. It also feels less expensive to start with since you’re not buying tons of pots.
Upcycled Containers
Upcycled containers are another budget-friendly container option. Things like egg cartons, yogurt cups, or other small containers. You just need to be able to create drainage somehow, like poking holes in the bottom of the container. Good drainage means healthier plants.
Select A Growing Medium
Choosing a growing medium is one of the more crucial steps in seed starting. Not every option is created equal, and sometimes it takes a bit of trial and error to find the growing medium that works best for you and your budget.
Seed Start Mix Vs. Potting Mix
First, you want to make sure you’re looking for a seed-start mix. Seed start mix is not equal to potting mix. They have different makeups because they served different purposes. In general, seed start mix has fewer nutrients and organic matter, and added ingredients to help with moisture retention and air flow.
How To Choose A Seedling Mix
Now that you know you’re looking for a seedling mix, which one do you choose? Local garden centers carry so many, and they’re not the same. While any will do the job, I’ll share my three favorites, but encourage you to try out some to determine which you like.
For onions or anything that I know will be in the seed starting mix for more than a couple of weeks, I like Coast of Maine Organic Seed Starter. It has more nutrients in it than most seed-start mixes, and I can trust leaving seedlings in it longer than I normally would.
For everything else, I prefer Fox Farm Light Warrior, but it’s often out of stock at our local garden centers, and it’s not something I like to have shipped to us. Colby also didn’t appreciate the year I hoarded it. A close second is Black Gold Organic Seed Start Mix (Ace Hardware). I’ve had great success with both of these products.
Make Your Own
Another option, especially for those of you trying to avoid peat moss, is making your own seed-starting mix with coco coir. There are so many recipes out there, and I’ve been experimenting with making various soilless mixes. Once I find a mixture I like, I’ll be sure to share. Stay tuned.
Sowing Seeds
And now that we are prepped with all our tools and supplies, it’s time for the main event, the big cheese, the star of the show, starting our seeds.
Gather Your Supplies
Collect all your supplies, including seeds, seedling trays, pots, fertilizer (if you’re adding it), growing medium, and a trowel. Make sure that all your trays are clean before starting.
Set everything up in a zone that can get messy. You don’t need a dedicated seed starting space, although it is nice to have one. Wherever you choose is fine, but protect any surfaces that shouldn’t be getting wet or dirty.
Mix Up Growing Medium
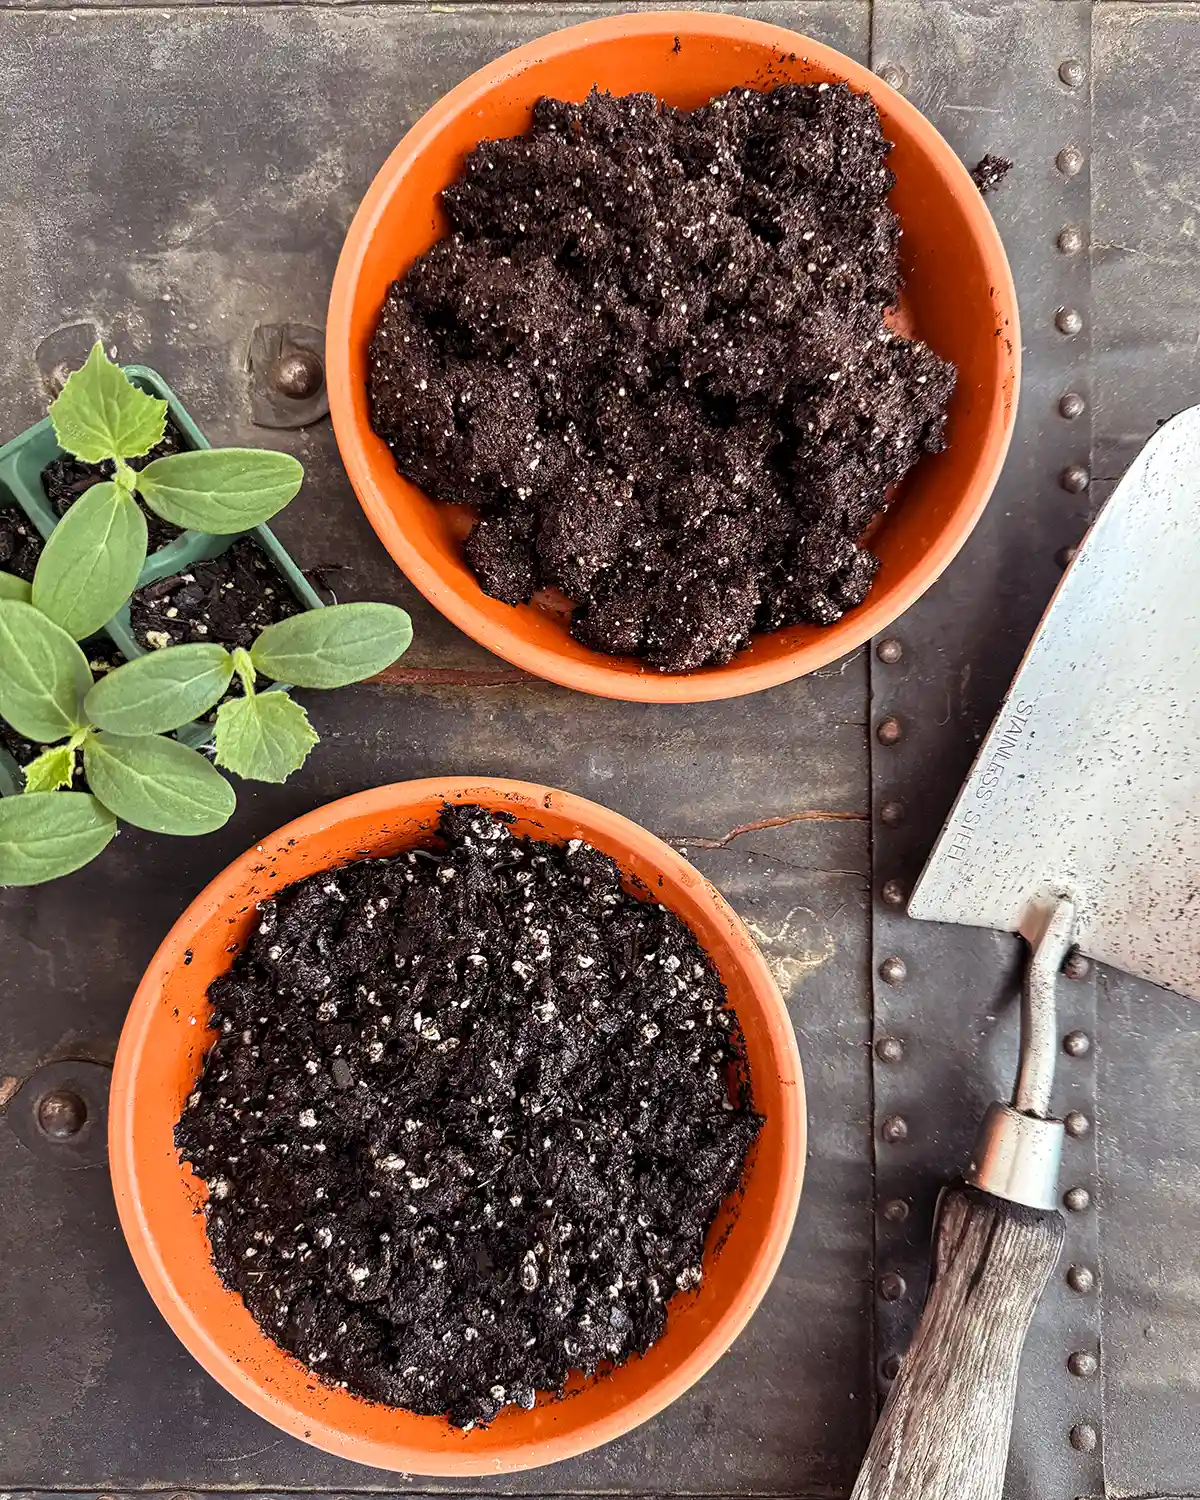
Next, mix up your growing medium. Many mixes have directions for how many parts of water to add to the mix, but it’s easy to eyeball. Pour some of the mixture into a large container (Gorilla Tubs work great for this job) and slowly add warm water, mixing continuously with a trowel. You want enough water to dampen the mix and hold it together, but not so much that it’s dripping wet.
If you’re adding fertilizer, now is the time to add it per the instructions for the fertilizer you’re using. Often, I’ll add a sprinkle of worm castings across the top of the mix before working it in.
Fill Your Containers
Start filling your containers and placing them on your seedling propagation tray. When filling containers, you’ll want them full but not compacted. Fill each to just below the top, then gently press down. Another option is to fill all the containers on your tray and tap the tray on the counter to help settle the mix down.
Add Indents To The Soil
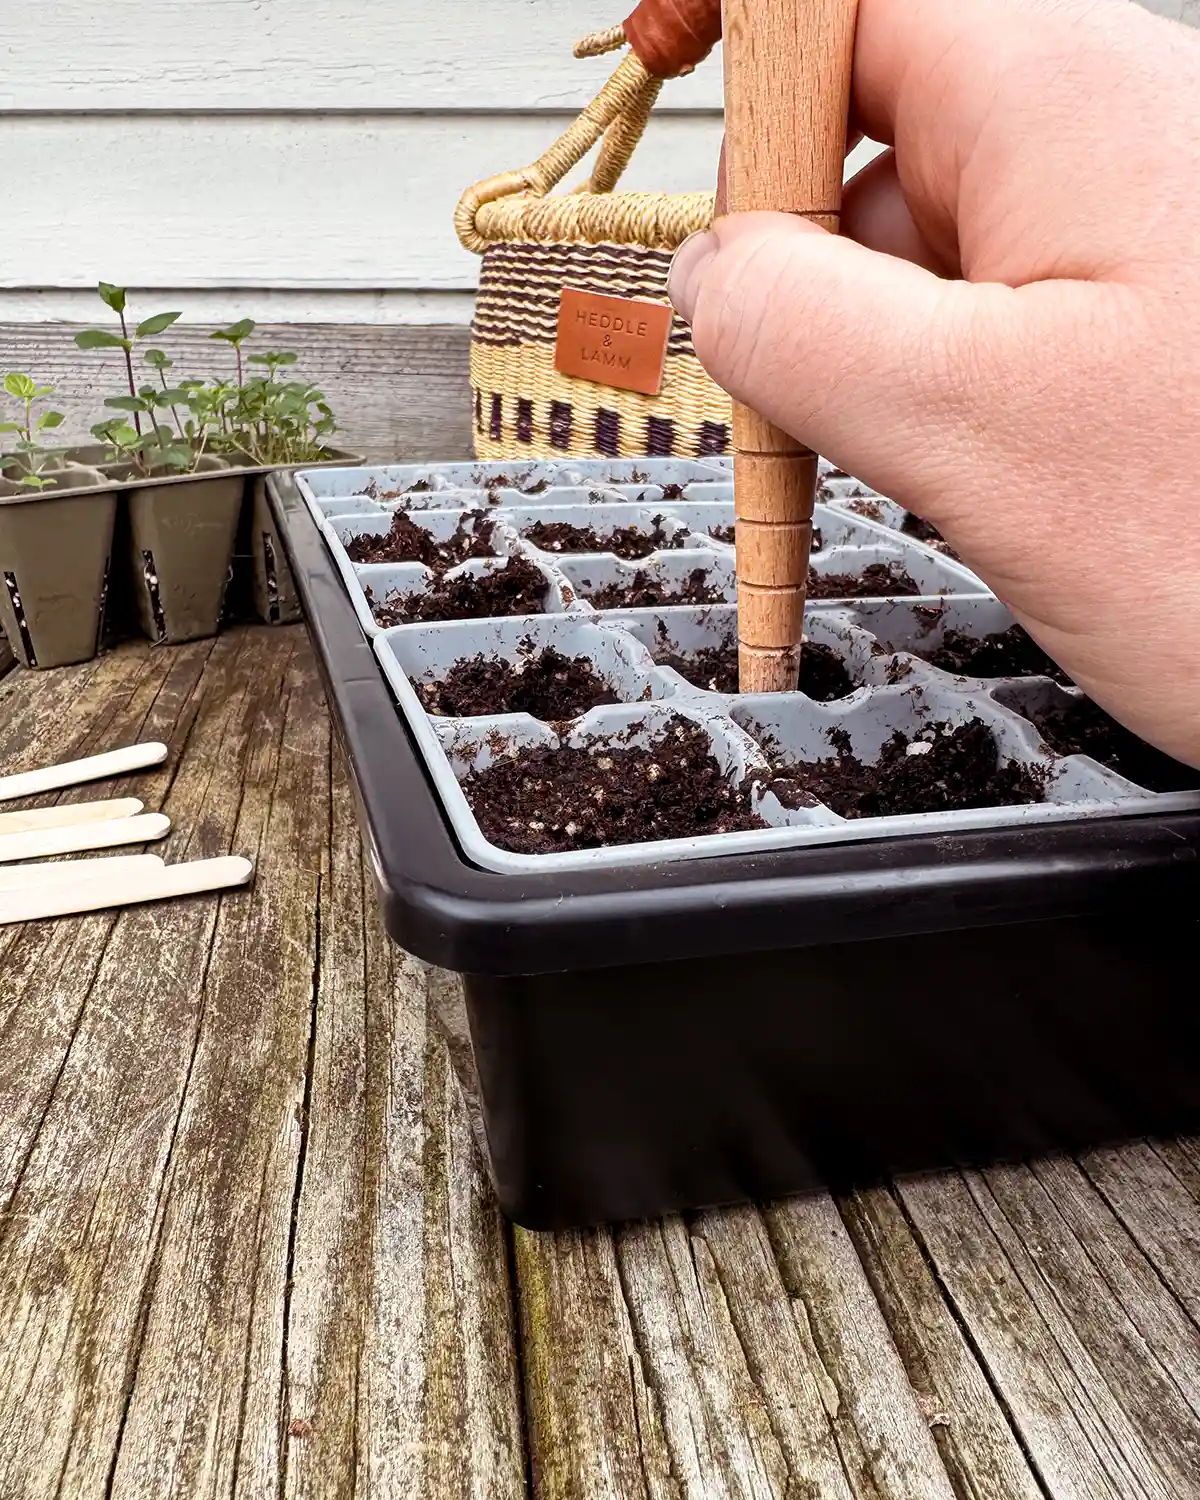
Next, you’ll want to indent the soil for where the seed will go. To do this step, you can use your finger, a popsicle stick, an old pen, or whatever you have on hand. I started using a wooden dibber (Gardener’s Supply) a few years ago, and it’s really helpful to consistently get the right soil depth. Speaking of which…
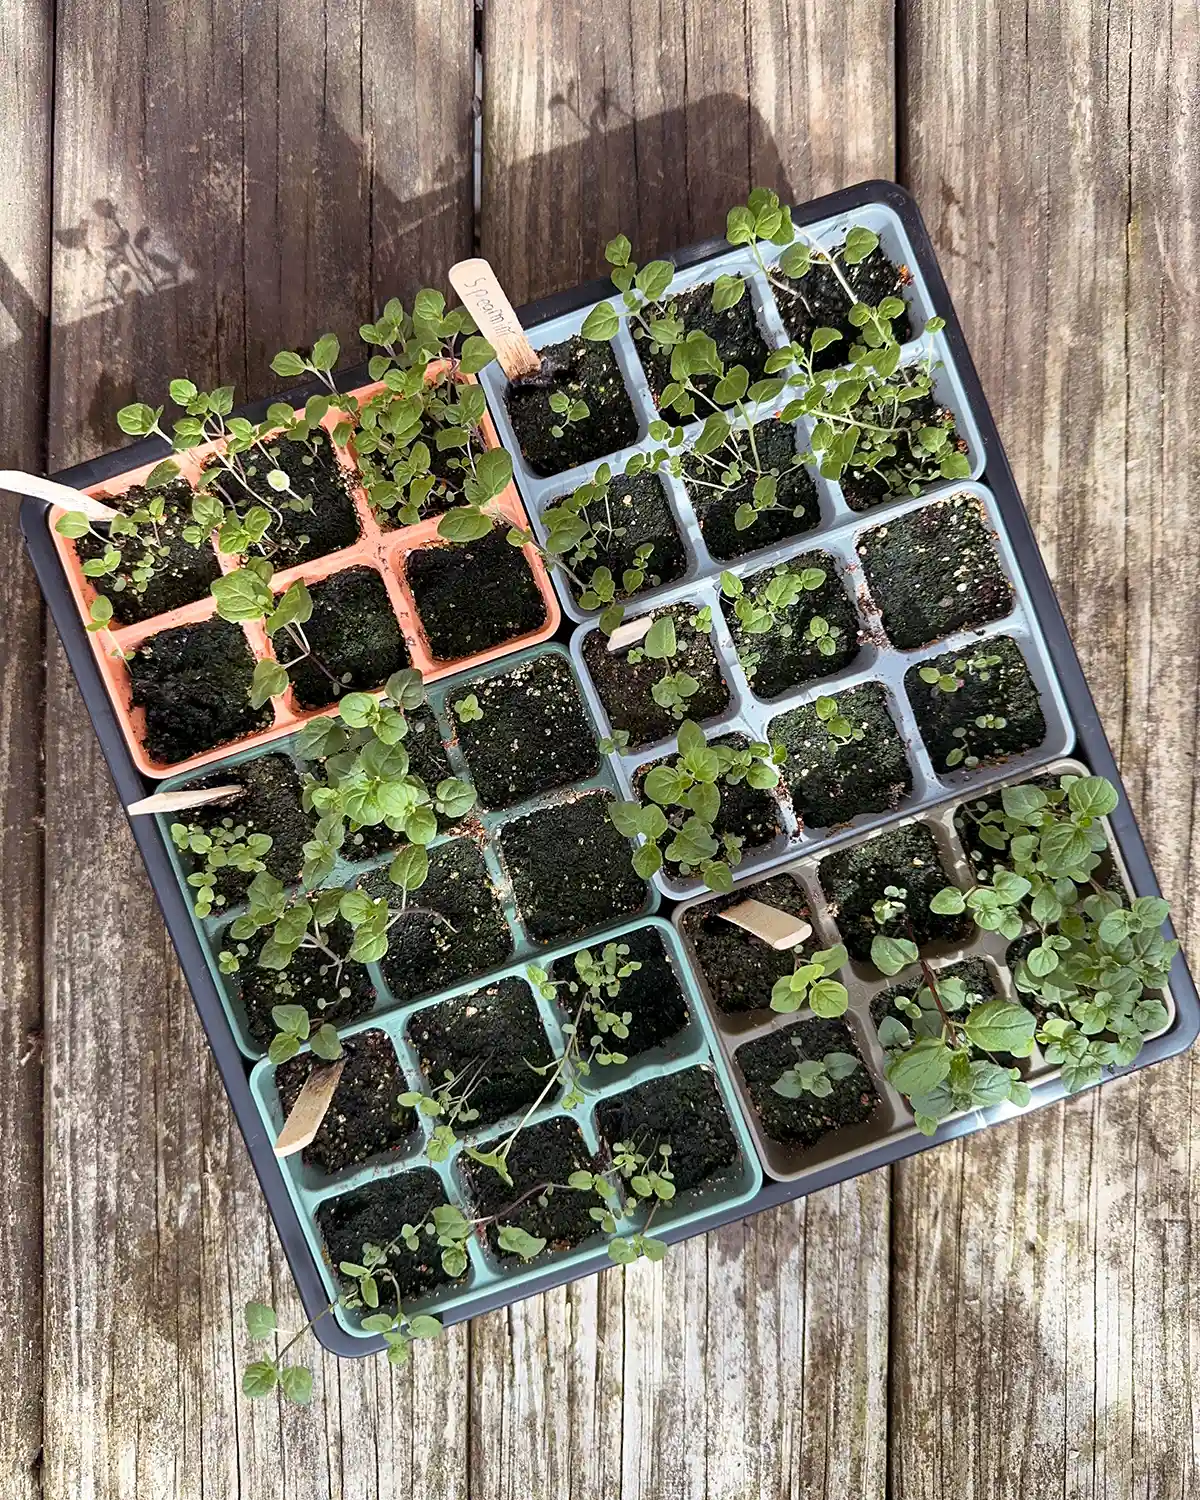
Different seeds like to be planted at different soil depths. The general rule of thumb is that the seed planting depth should be one to two times its width. Small seeds are planted shallower, while large seeds are planted deeper. Some tiny seeds like spearmint, purslane, celery, poppy, and strawberry seeds are so small that they prefer to be surface sown. For these, you don’t even need to indent the soil surface. Just gently press the seeds into the surface of the mix and moisten.
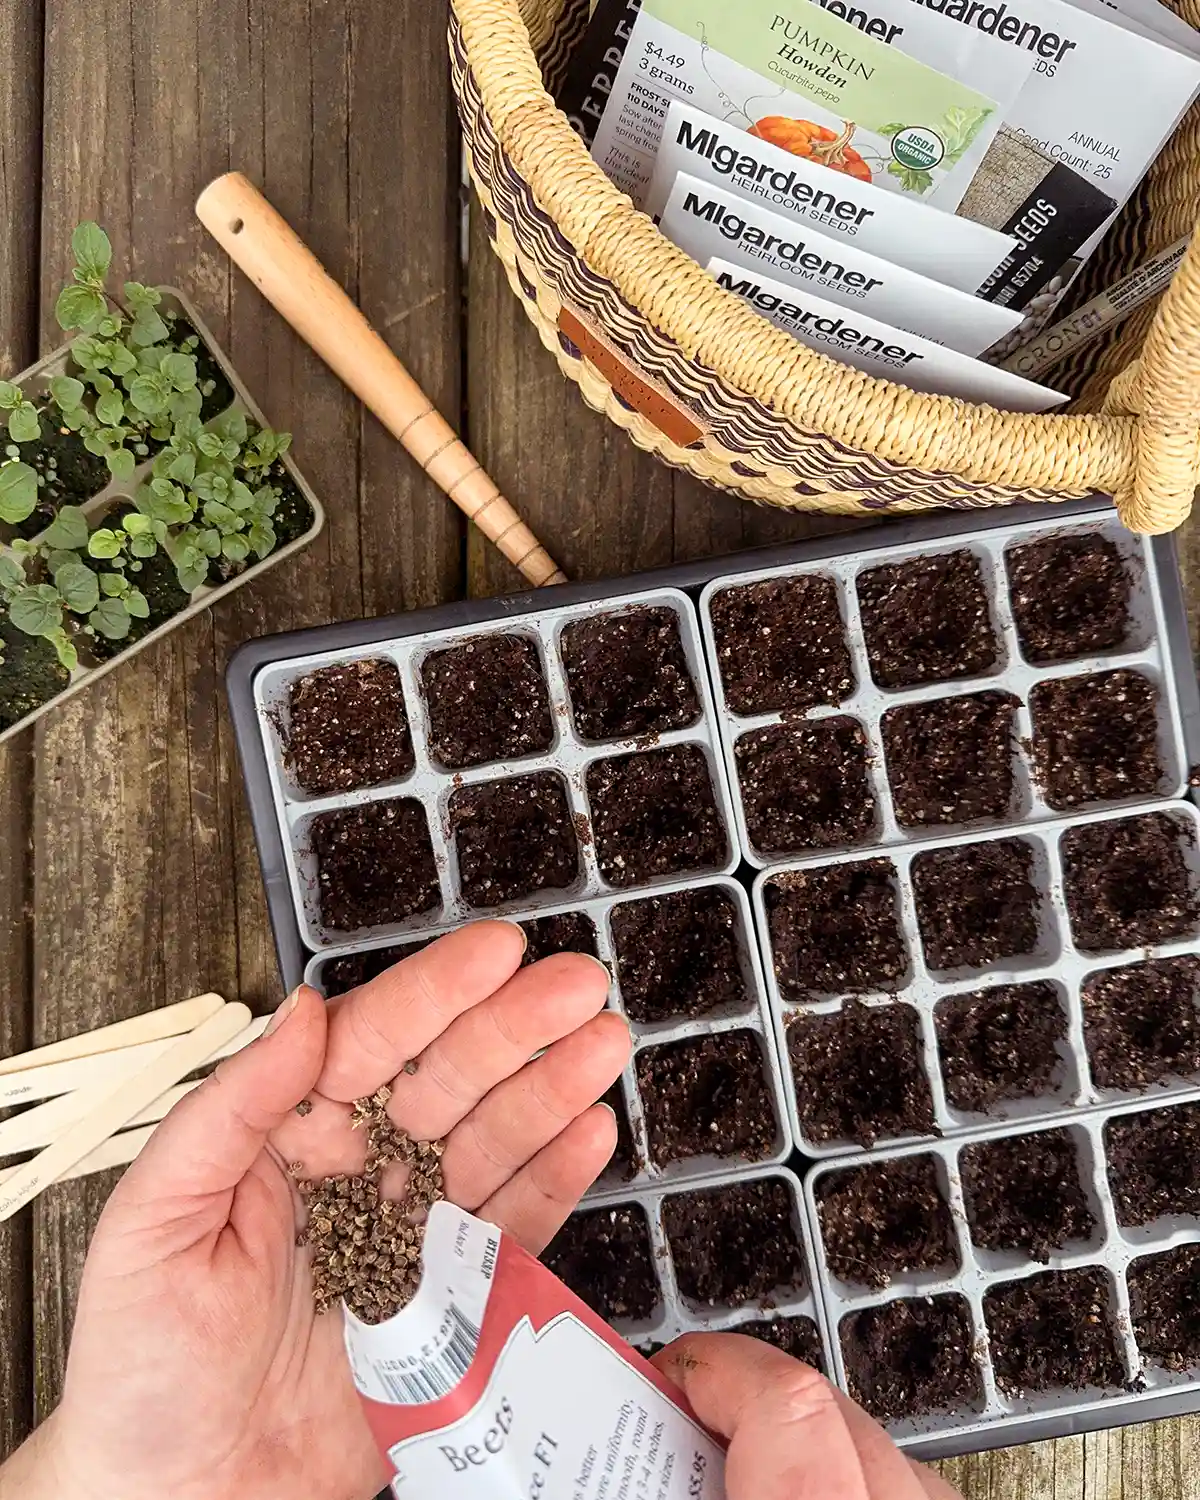
Sow Seeds
Now, place seeds into the hole you just made. Generally, you’ll go with one seed per container/hole. However, this would be for newer or fresh seed. Seeds do not expire, but their germination rate declines over time. So sometimes, with older seeds, I want to guarantee I’ll have enough seedlings germinate and will double or triple sow seeds in individual containers. Once they germinate, I thin down to the strongest seedling.
Multi-sowing is also done with some plants like peppers and tomatoes, which don’t mind having their roots disturbed. You can grow multiple plants per cell and separate them later when it’s time to up-pot. This helps save space and materials during the germination stage.
Cover Seeds
Now that all your containers have seeds, cover them up with the soil mixture to the correct depth per the back of the seed packet. Gently tap down the mix over the seeds, careful not to compact the medium. Light and fluffy is the goal.
Label Containers
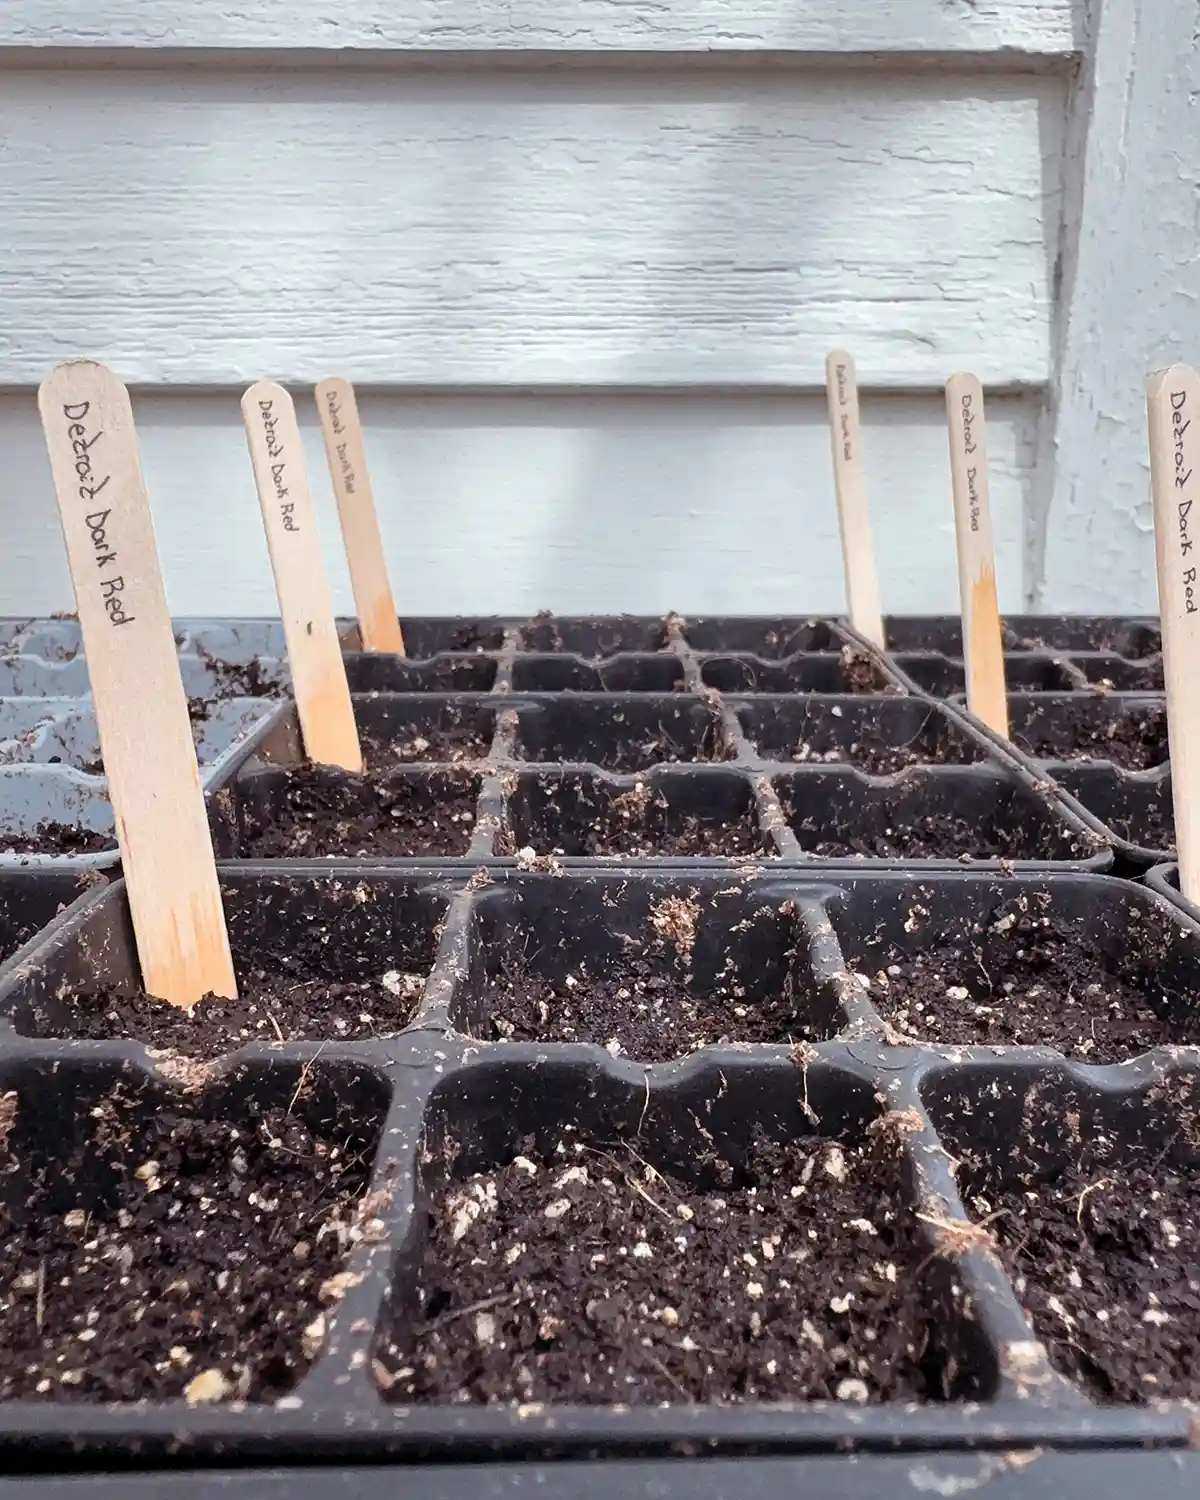
No one loves confusing a jalapeno pepper (spicy) with a nadapeno pepper (not spicy). Now is a great time to label your seedlings. Whether you go with popsicle stick markers or keep it simple with some masking tape labels, mark what you just sowed. We always think we’ll remember what’s what, but in a month, we never do.
Water
Getting the watering right for your seed tray is important. Too little water and seeds won’t germinate as there’s not enough moisture to soften the seed casing. Or if there’s not enough water for that super little seedling that’s just emerged, it will die off quickly. Too much water and you’ll experience damping off, root rot, and other diseases.
I highly suggest bottom watering. To do this, lift your cell plug inserts or containers out of the propagation tray, pour some water into the bottom, and replace the seedlings. The water will be absorbed from the bottom.
It’s also okay to top water, just be very careful, especially with smaller seeds. As long as you have good drainage so water isn’t sitting in the bottom of your seedling container, your plants will be okay. Just be gentle and cognizant of how much water you’re giving the seedlings. One tip for top watering smaller seedlings is to use a fine mist spray bottle. I have a spray bottle similar to this one from Amazon, and it works great.
Place Trays In A Warm Spot
Next, it’s time to find a home for your seed tray. For most plant varieties, you’ll want to find the warmest spot in your home. For us, we keep our home at 55°F to 60°F, which isn’t conducive to starting most seeds. We’ve experimented with placing trays near the pellet stove, beside a heat register, and even just sitting on a shelf with a heat mat under them and a humidity dome on top to keep the heat and moisture in. A humidity dome also helps keep cats out of your seed-starting containers.
Most seeds like soil surface temperatures between 60°F and 75°F. But some varieties like watermelons, tomatoes, and peppers like warm temperatures with ideal temperatures between 70°F and 90°F. When in doubt, most seed packets will tell you the seed’s ideal temperature for germination.
Wait For Seed Germination
And now we wait and watch for seed germination. Some seedlings, like lettuce, will pop up quickly in just a few days. Other varieties like eggplants and peppers can take a few weeks, especially if the soil temperature isn’t warm enough.
While we’re waiting, we should check on our seedlings multiple times per day. What are we checking? First, if the soil surface is damp but not soggy. If it’s too dry, give the tray some water. Second, the soil is warm enough. Tap to see if they have warm soil. You’ll know if it feels too cold, and you can adjust and put the tray in a warmer spot. And third, we’re looking for germination. The second a seedling pops up, it’s time to add a grow light.
Add Light Upon Germination
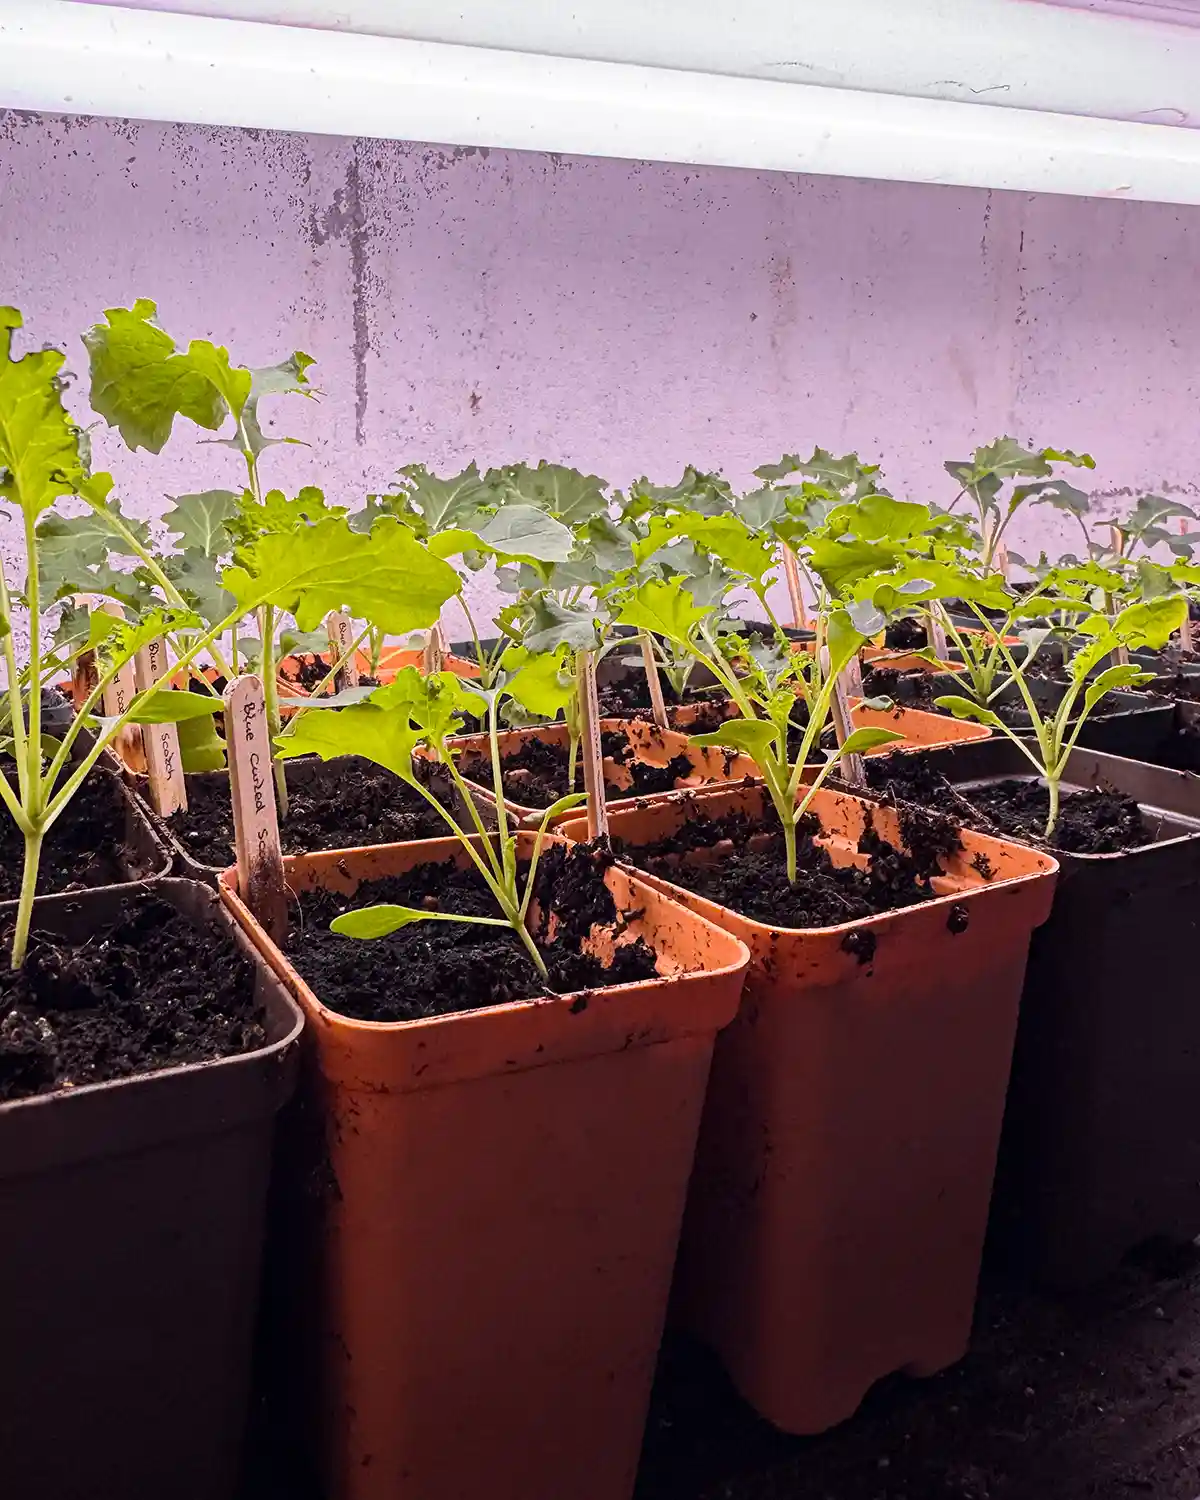
Seedlings must get enough light immediately upon popping through the soil. If they don’t, the seedlings start to get leggy. They grow taller and taller, trying to reach for some light. This makes for weaker, unstable plants. While you can sometimes rectify leggy seedlings, it’s best to just get them some light.
You’ll want to place your seed trays in a location that gets great light. Sometimes a sunny window, especially a south-facing window, can provide enough light. But often, if we’re starting quite a few seed trays, we’ll want to supplement the natural light with artificial lights.
Not all grow lights are created equal. You’ll want to find light fixtures that work for your space, along with grow lights specifically made for growing plants indoors. Your basic, run-of-the-mill, fluorescent lights don’t provide the correct light spectrum plants need.
When you get your lights set up, ideally, the light will be just an inch or two away from the plant. Adjust the lights as the plants grow.
Tending Seedlings
Now we’re in the tending seedlings phase. Keep checking on your plants daily to ensure healthy seedlings. Make sure they have the right amount of light, maintain adequate moisture but not so much that they develop fungal diseases, ensure good air circulation, and maintain the right room temperature.
Per temperature, once the seeds germinate, you can remove the seed tray from the heat mat if you’re using one. If you stagger your seed starting, you can keep using the same heat mat for each round of seed trays.
At this point, we’re also watching to see if our seedlings outgrow their current containers. Once they do, it’s time to up-pot them.
Up Potting
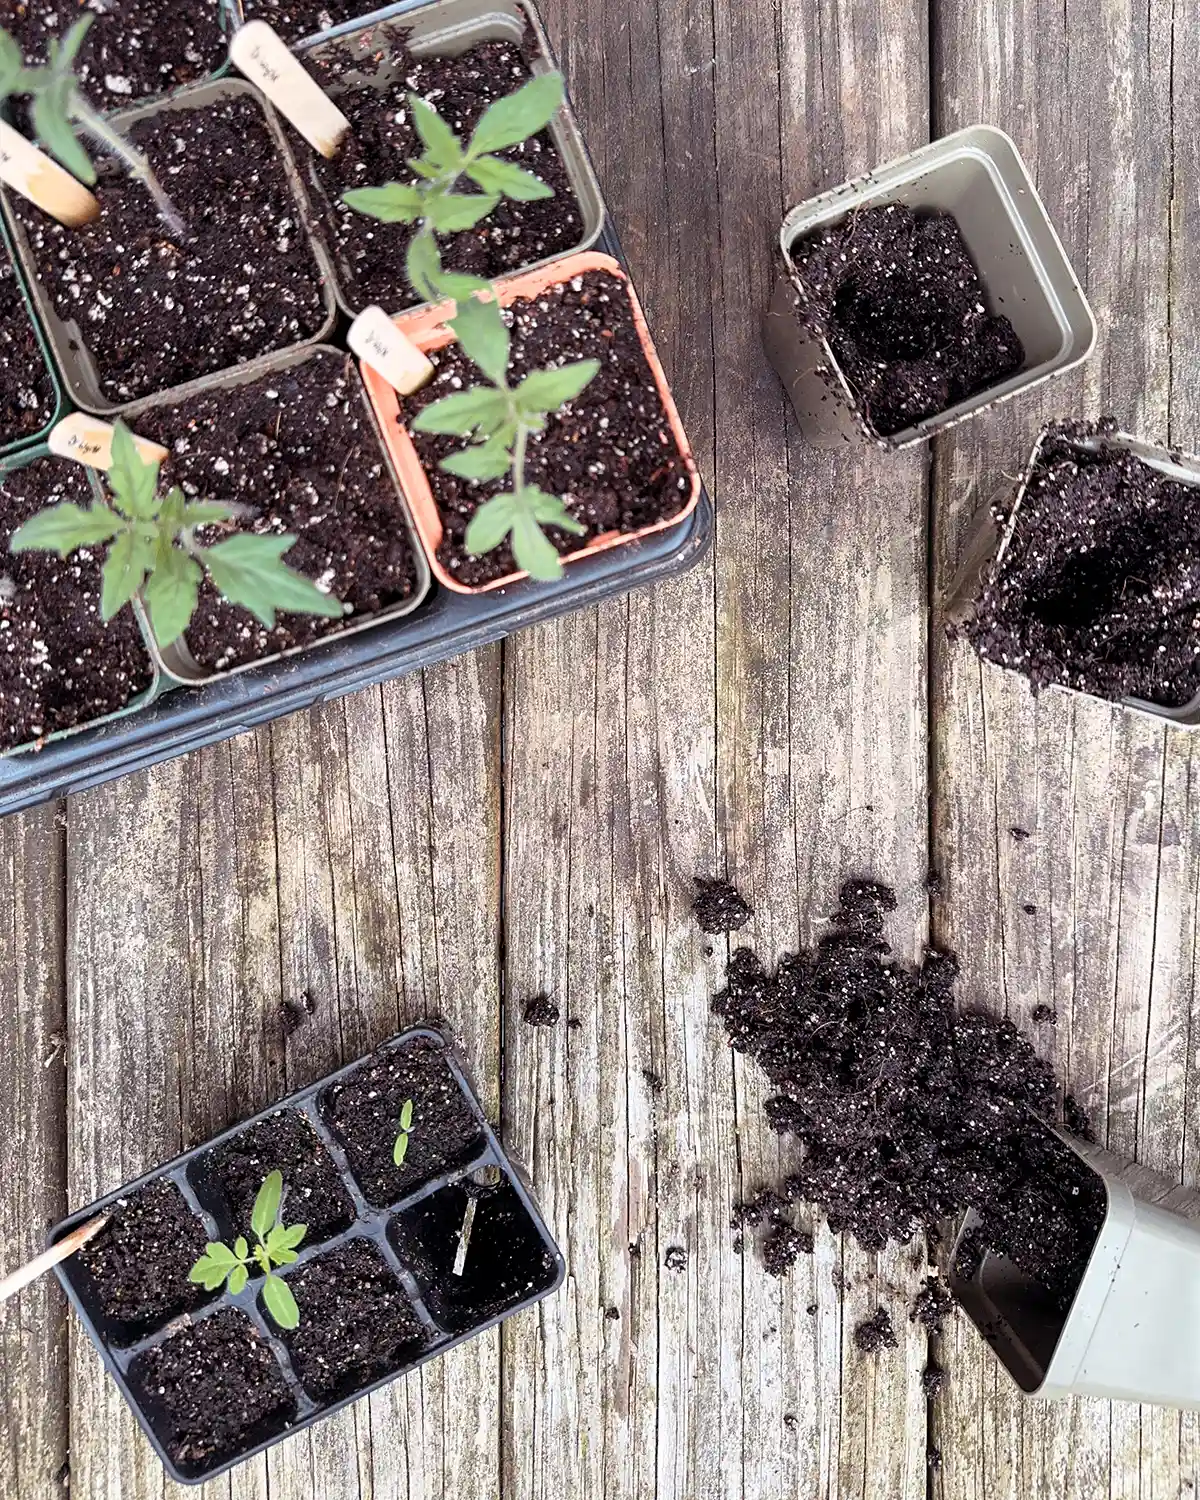
Up-potting is the process of taking our seedling out of its original cell tray or container and planting it in a larger container. For example, I up-pot many of my seedlings from the 6-cell tray into 2.5″ pots (Bootstrap Farmer). We do this to keep our seedlings from getting root-bound in the smaller cells, give them more nutrition with fresh potting soil, and encourage healthy growth.
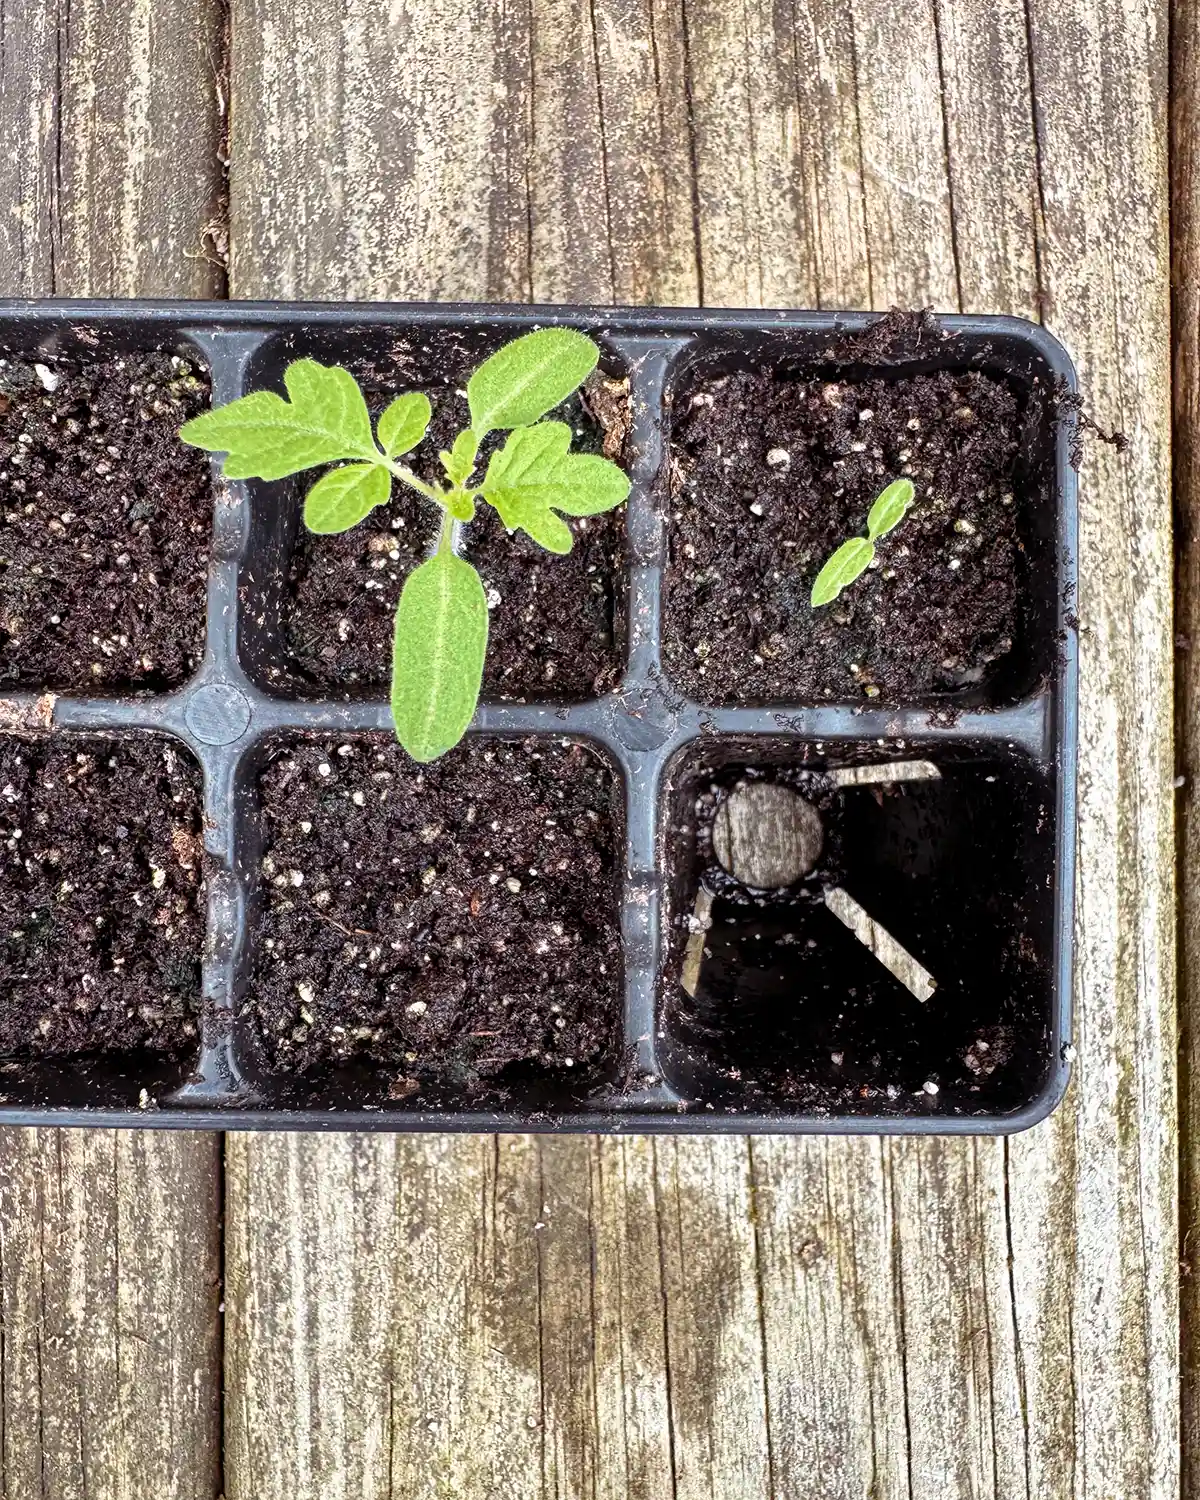
A good rule of thumb to know when it’s time to up-pot is when the second set of leaves emerges on the seedling. Those are the plant’s first true leaves. Once the true leaves begin to grow, your plant will need a larger pot. In the photo below, the tomato seedling on the left has formed its first set of true leaves, while the seedling on the right hasn’t.
To up pot you’ll need larger pots, potting mix with organic materials, a trowel, and something to mix your soil in. You don’t want to use a seed-starting mix for this process. It’s not well formulated for growing seedlings as it’s optimized for seed starting.
Pour some potting mix out and begin to mix it with water. Like with seed-start mix, you’ll want the mixture to be damp but not soggy. Place some of the soil mixture in the larger pot and indent the soil for the seedling. Gently pull the seedling and subsequent soil mix out of its cell while gently pushing from below. Now pot the seedling into its new, larger container. If your seedlings are leggy, pot them deeper in the soil. Gently cover the hole and finish filling the container with soil.
Once your seedlings are up-potted, label them and return them to a sunny location or under grow lights. Continue keeping the lights just a few inches above the top of the seedlings. You’ll need to adjust for the larger containers.
Hardening Off Seedlings
Once it’s time to plant your seedlings outside, the next step is hardening them off. Hardening off is the gradual adjustment of your seedlings from indoor to outdoor growing conditions. If you take your seedlings straight from indoor growing and plant them in the ground, they’re going to experience transplant shock. This can stunt plants or prevent them from growing optimally.
To harden off your seedlings, slowly expose them to natural light, wind, colder temperatures, etc. For best results, start by taking your seedlings outside for 1-2 hours. The next day, increase it by an hour or two. Continue to increase your plants’ time outside until they have been exposed to direct sunlight for 14 hours. This process usually takes 7 to 14 days.
Transplanting Outside
Once your outdoor conditions are appropriate for your seedlings and you’ve successfully hardened them off, it’s time to transplant your seedlings out in the great outdoors. Prep your garden beds and plant away! And congratulations on a successful indoor seed starting season!
Happy Planting!
Phew…we made it! Are you still with me?! This blog post might set the record for the longest written article I’ve ever created. So if you’re still with me, you get a prize! Or maybe just a virtual tap on the back from me to you because (checks banking app) I am broke and cannot afford prizes. But I am garden rich! May I interest you in one of the 200+ tomato seedlings I have growing in our basement grow room right now?
Happy planting, and I wish you all the success this season in starting your flower and vegetable seeds indoors. Starting your own seeds indoors is a great way to extend your growing season and yield more prolific harvests.
Pssst…If you have any questions about seed starting indoors, please feel free to drop them in the comments below. I’m happy to answer any questions. AND I’m planning a few more in-depth posts for some of these steps, like hardening off, transplanting, choosing grow lights, and more. Stay tuned!