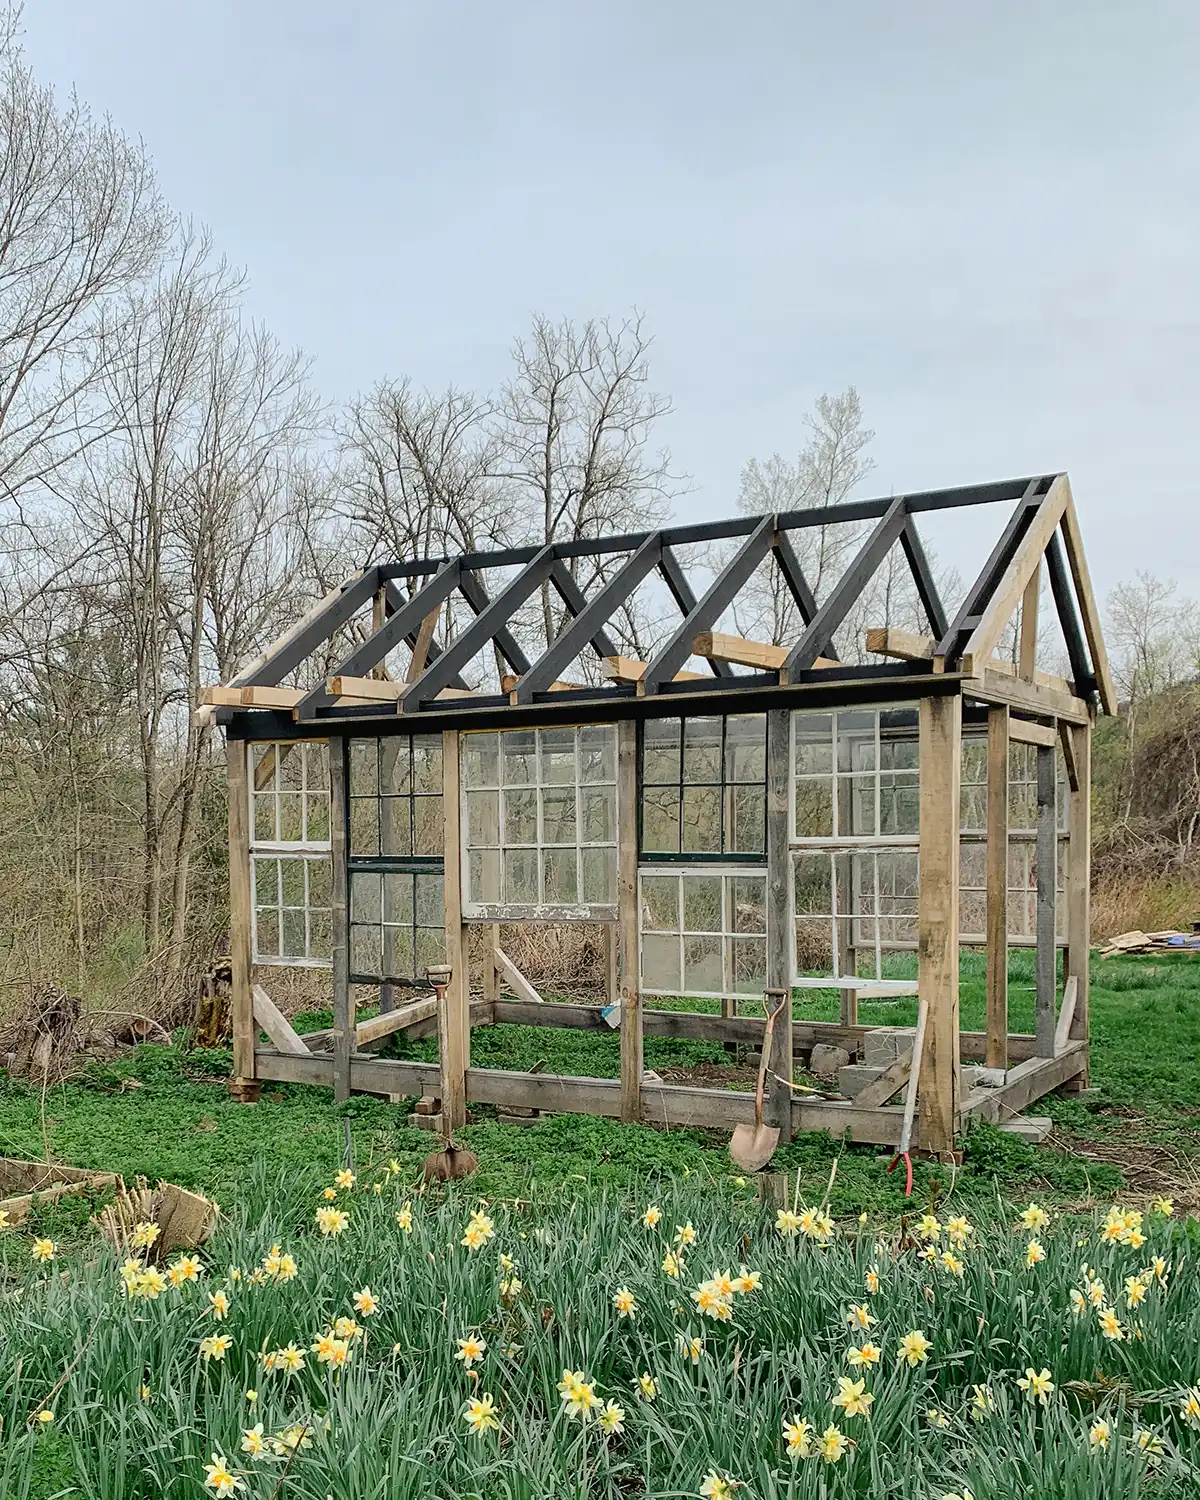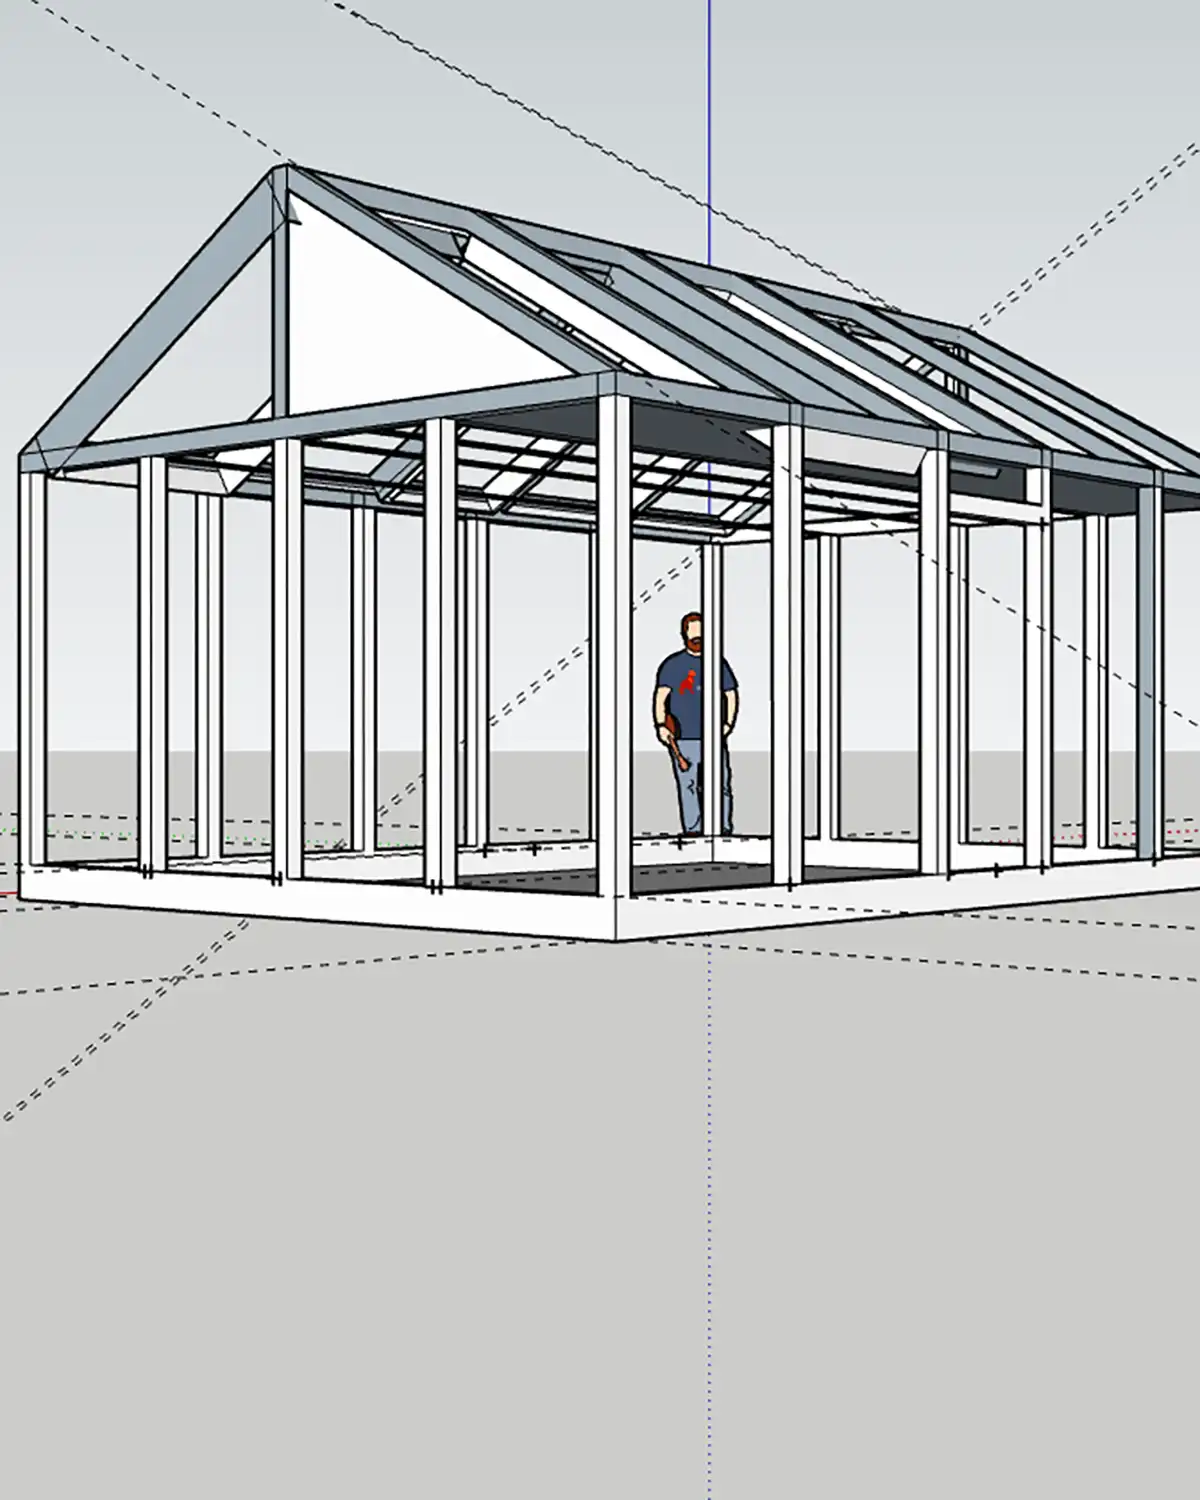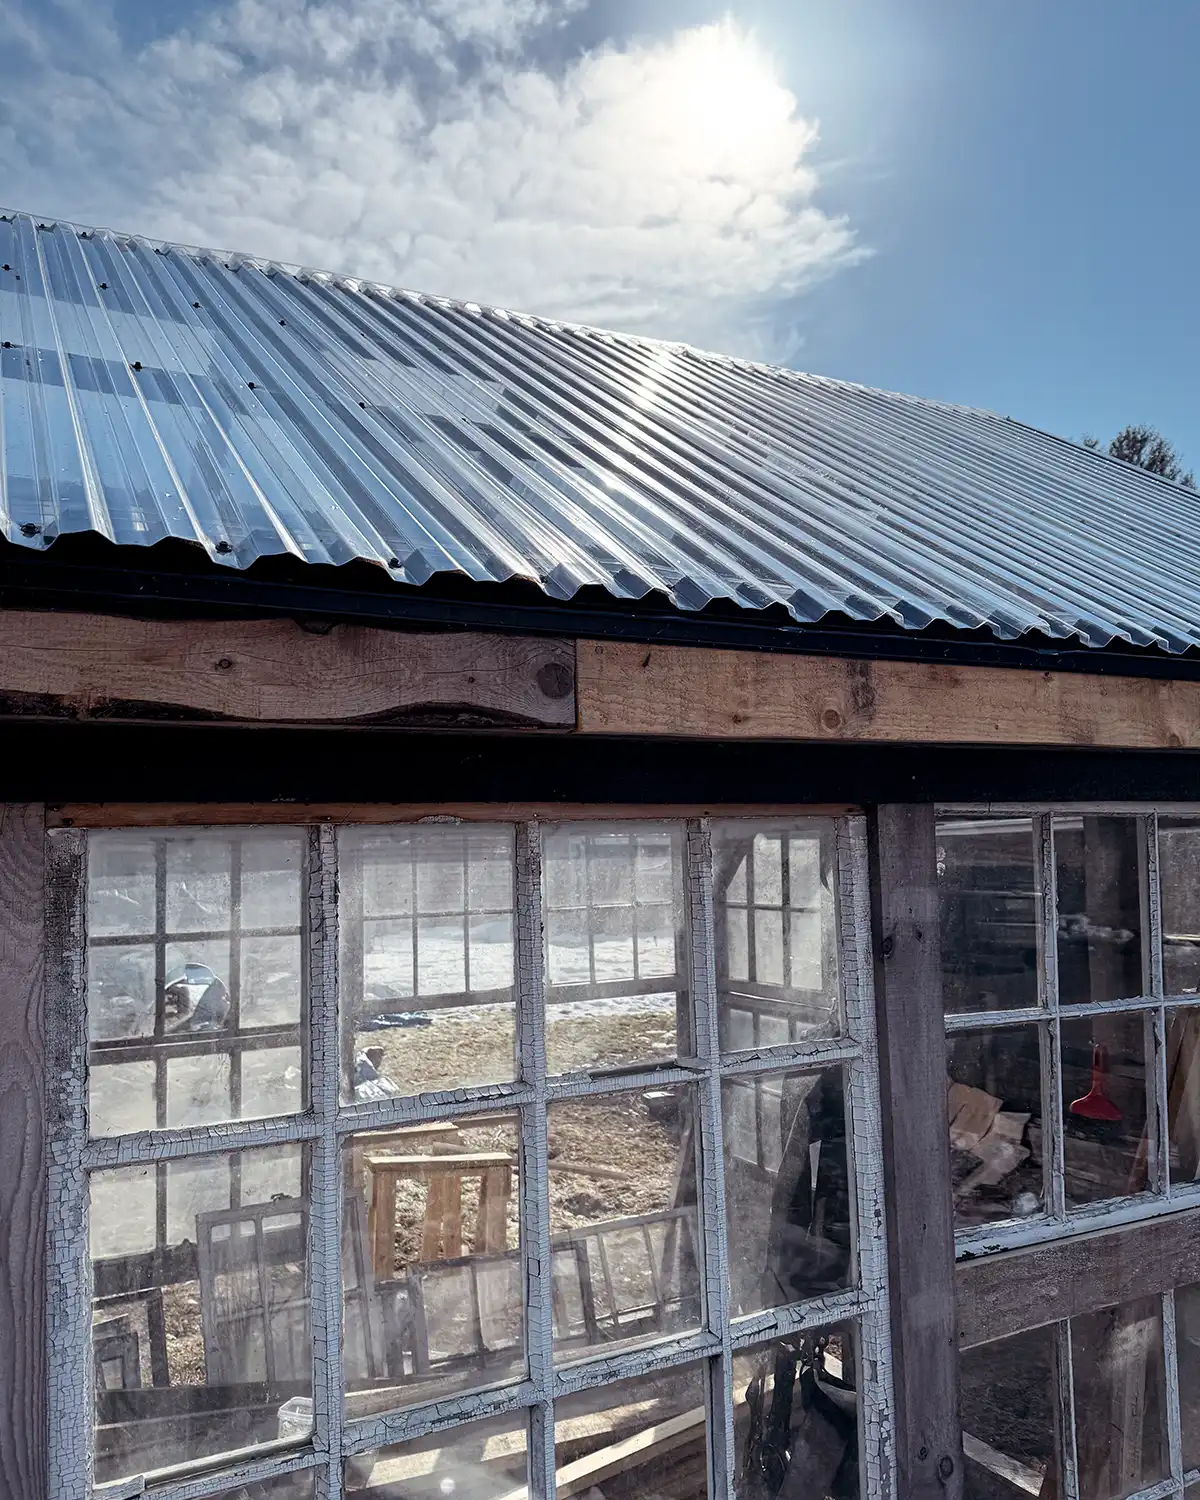
The goal, should we choose to accept it work really hard and use all our project-focusing energy, is to finish the greenhouse structure this month. Okay, maybe more like by the end of next month. The list is loooooong. And by finishing the greenhouse structure, I mean doing everything to enclose it, make it functional (like adding doors, windows, and vents), and paint it. It’s a heavy lift.
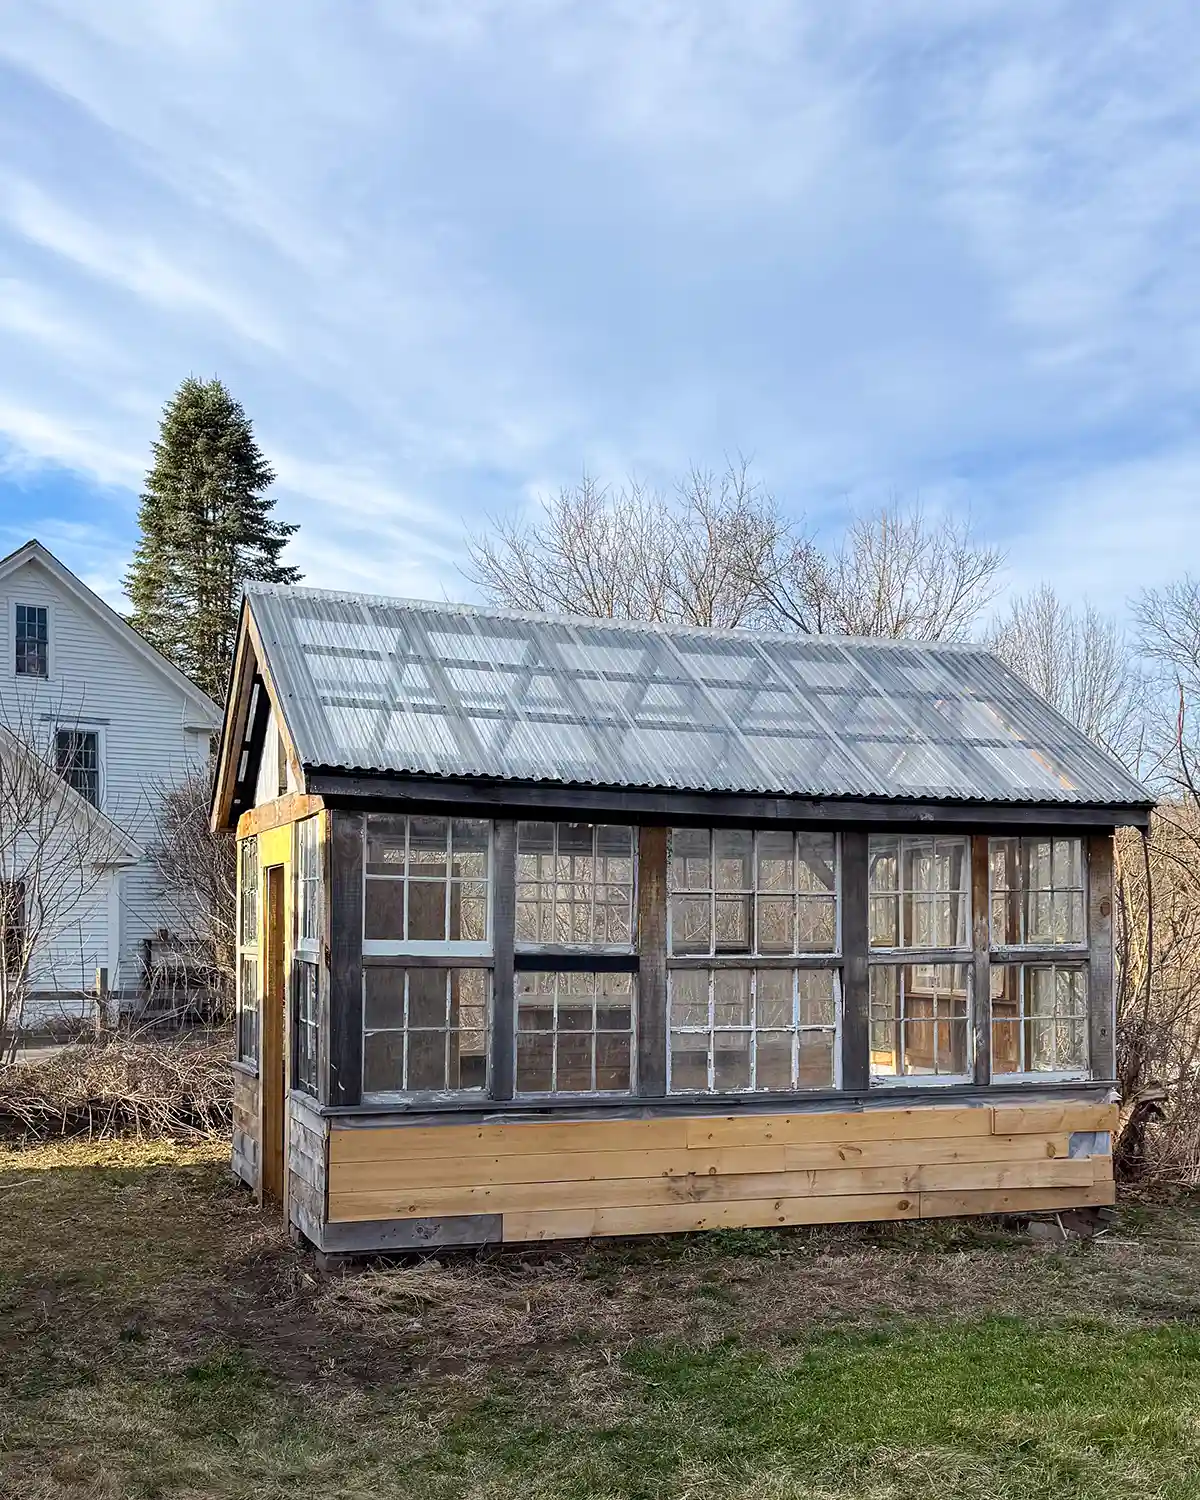
Later, I’ll put together a plan for finishing the interior of the greenhouse. Things like shelves for seedlings, a potting bench, a plant table, solar lights, and maybe an in-ground garden bed on the south side. I have some rough ideas I’m still ruminating on, but I really need to put pencil to graph paper, measure everything, and make a real plan.
But today I’m sharing the punch list for finally finishing the greenhouse and making it usable. After I accidentally used the greenhouse prematurely last year (you can read about that in the best/worst of 2025 post), we made precisely zero point zero progress. I don’t want to repeat that and am vowing not a single plant goes into the structure until it is FINISHED. Here we go.
Step One: Leveling
Over our greenhouse structure years, we’ve noticed it’s gotten slightly off-kilter. It’s not a huge shift, but it is evident. Most of it is coming from the bricks we used to shim up the structure starting to tip. Water washed underneath that corner in the spring, which is another thing we need to think about, eroded some of the soil around them, and they are starting to fall over. It looks worse than it is.
The plan is to jack the greenhouse, remove the smaller bricks, and replace them with larger, more supportive ones meant for this type of work.
When we level the greenhouse, we’ll also adjust the bricks in such a way that they won’t impede the garden bed I’m planning. A couple of them stick out into the garden space, and I’m worried about bashing my knuckles on cement while gardening.
Step Two: Make Some Of The Windows Operable
The plan is to make a few of the windows operable by attaching hinges. I would really like to have some airflow in the greenhouse, which is helpful for hot days and young seedlings. Since I have a general plan to finish the interior, I think I know which windows make the most sense to open. I just need to discuss with Colby.
Ideally, I would like to open the windows opposite the door, but I’m thinking of putting my potting bench here. It may be hard to open those windows. How angry do you think Colby will be if I ask him to help me move the heavy-as-an-elephant potting bench in here to give it a test run?!
Step Three: Finish Siding And Exterior Trim
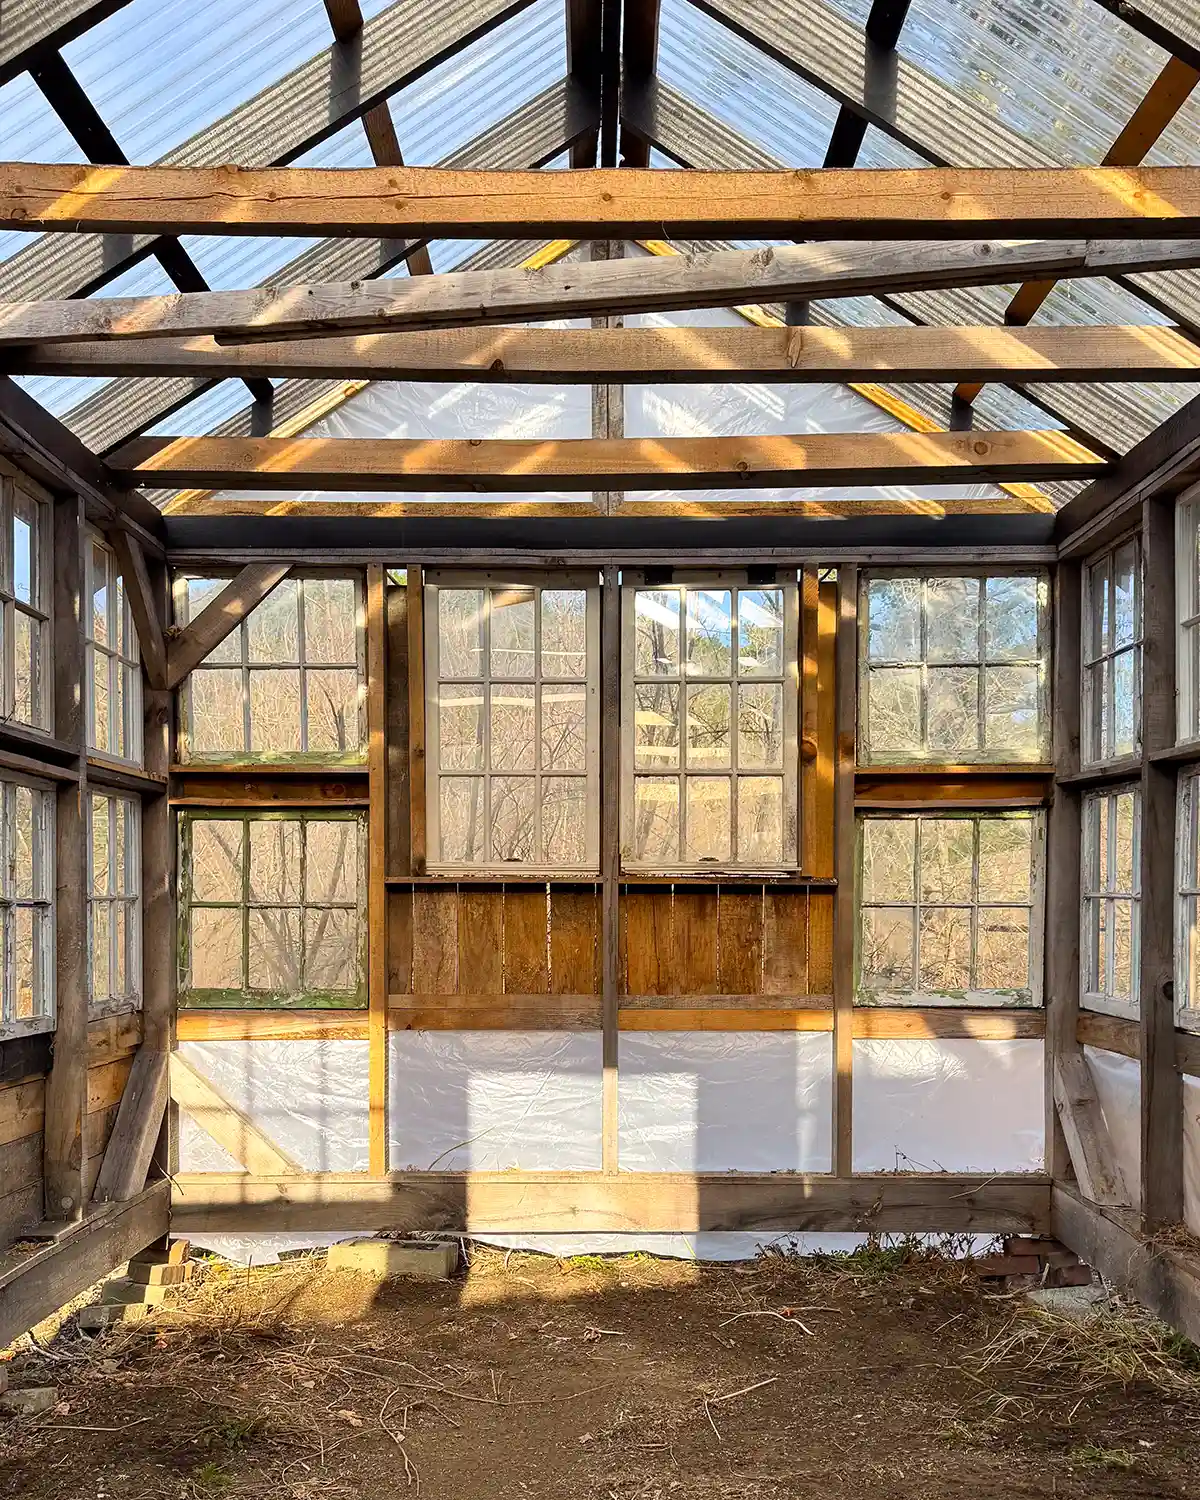
When we last left off, the greenhouse siding was half finished. We needed more lumber, saved up for a pile, and picked it up just before winter. It’s rough-cut lumber from a local sawyer, which is much cheaper than buying smoother, planed boards from a big box retailer. To use it, we first plane it down some (we don’t care if it’s perfectly smooth) and cut grooves to make our own shiplap siding. What we gain in our budget, we lose in time as the process takes a while.
It’s supposed to be a gorgeous weekend this weekend (no rain OR snow, hopefully yesterday was our last snowstorm of the season), and Colby plans to set up a workstation outside to finish making the shiplap and installing it.
Once the siding is on, the greenhouse needs all its trim. Hopefully, that will get finished this weekend as well.
Step Four: Install Interior Trim
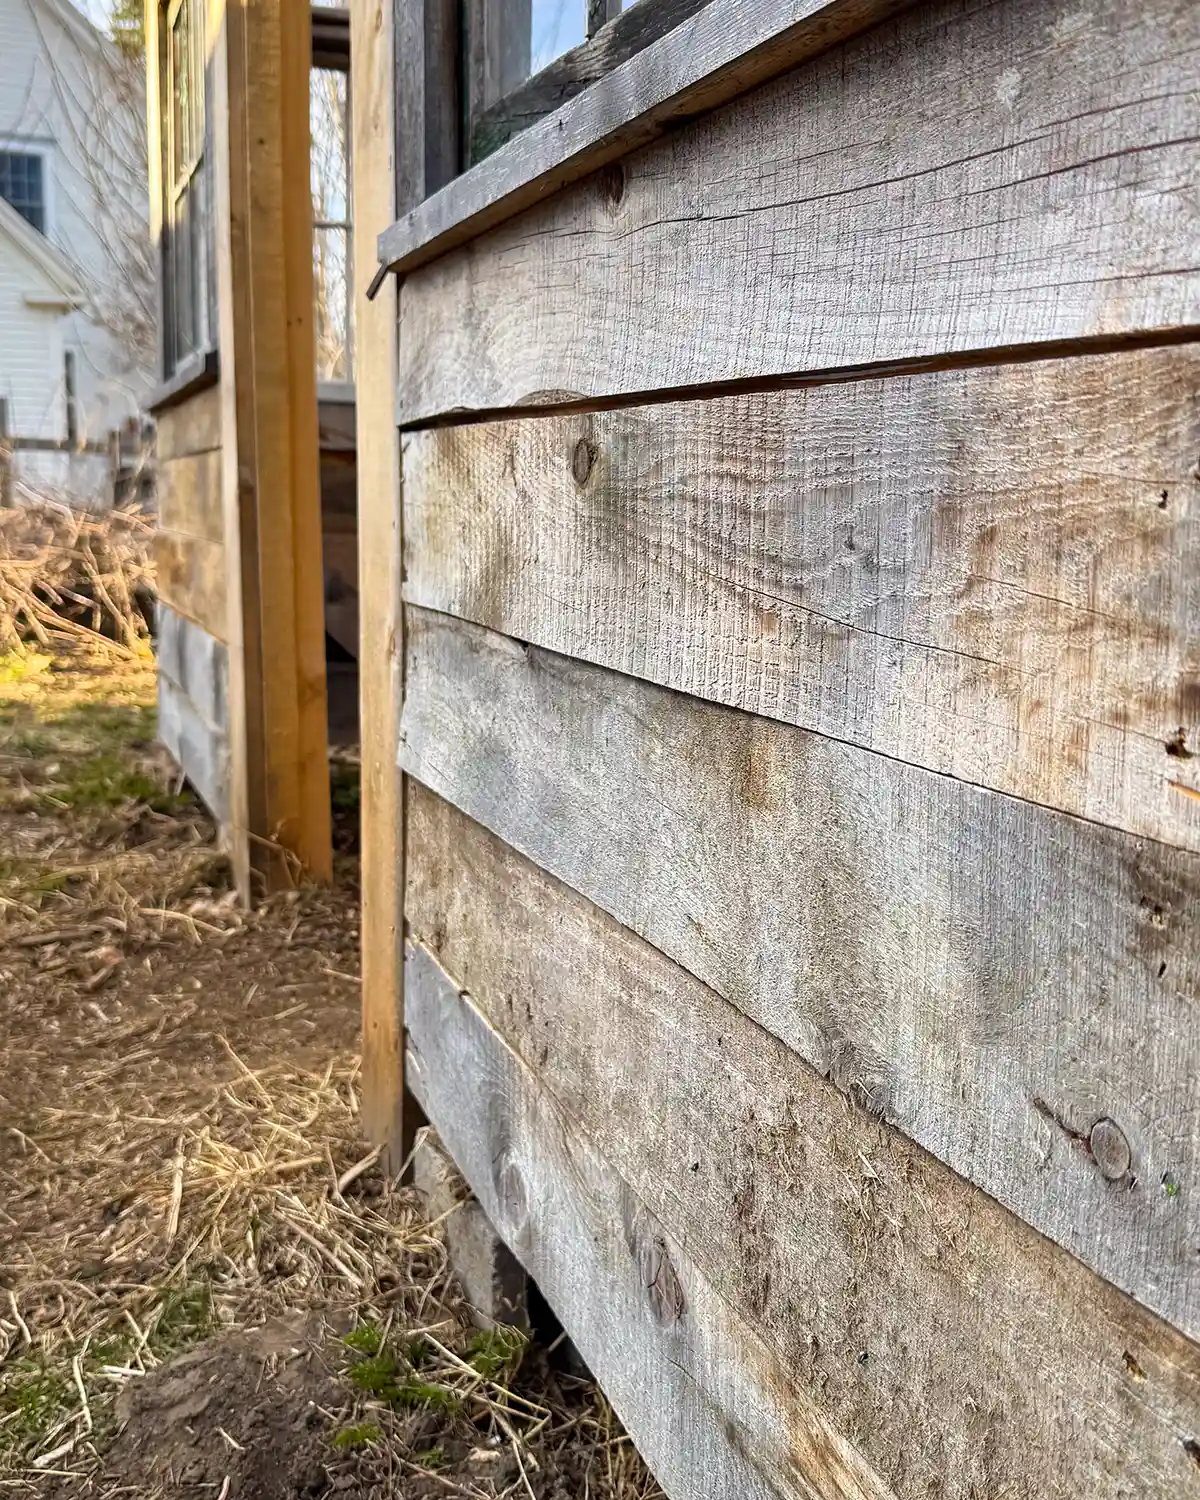
After the exterior is all trimmed up, we can install all the trim for the interior. We’re keeping it pretty basic with window stops (the windows are currently temporarily nailed in), corner pieces, door trim (the current door is also temporary), etc. Emphasis on nothing fancy for the greenhouse trim work.
Step Five: Finish Repairing And Glazing Windows
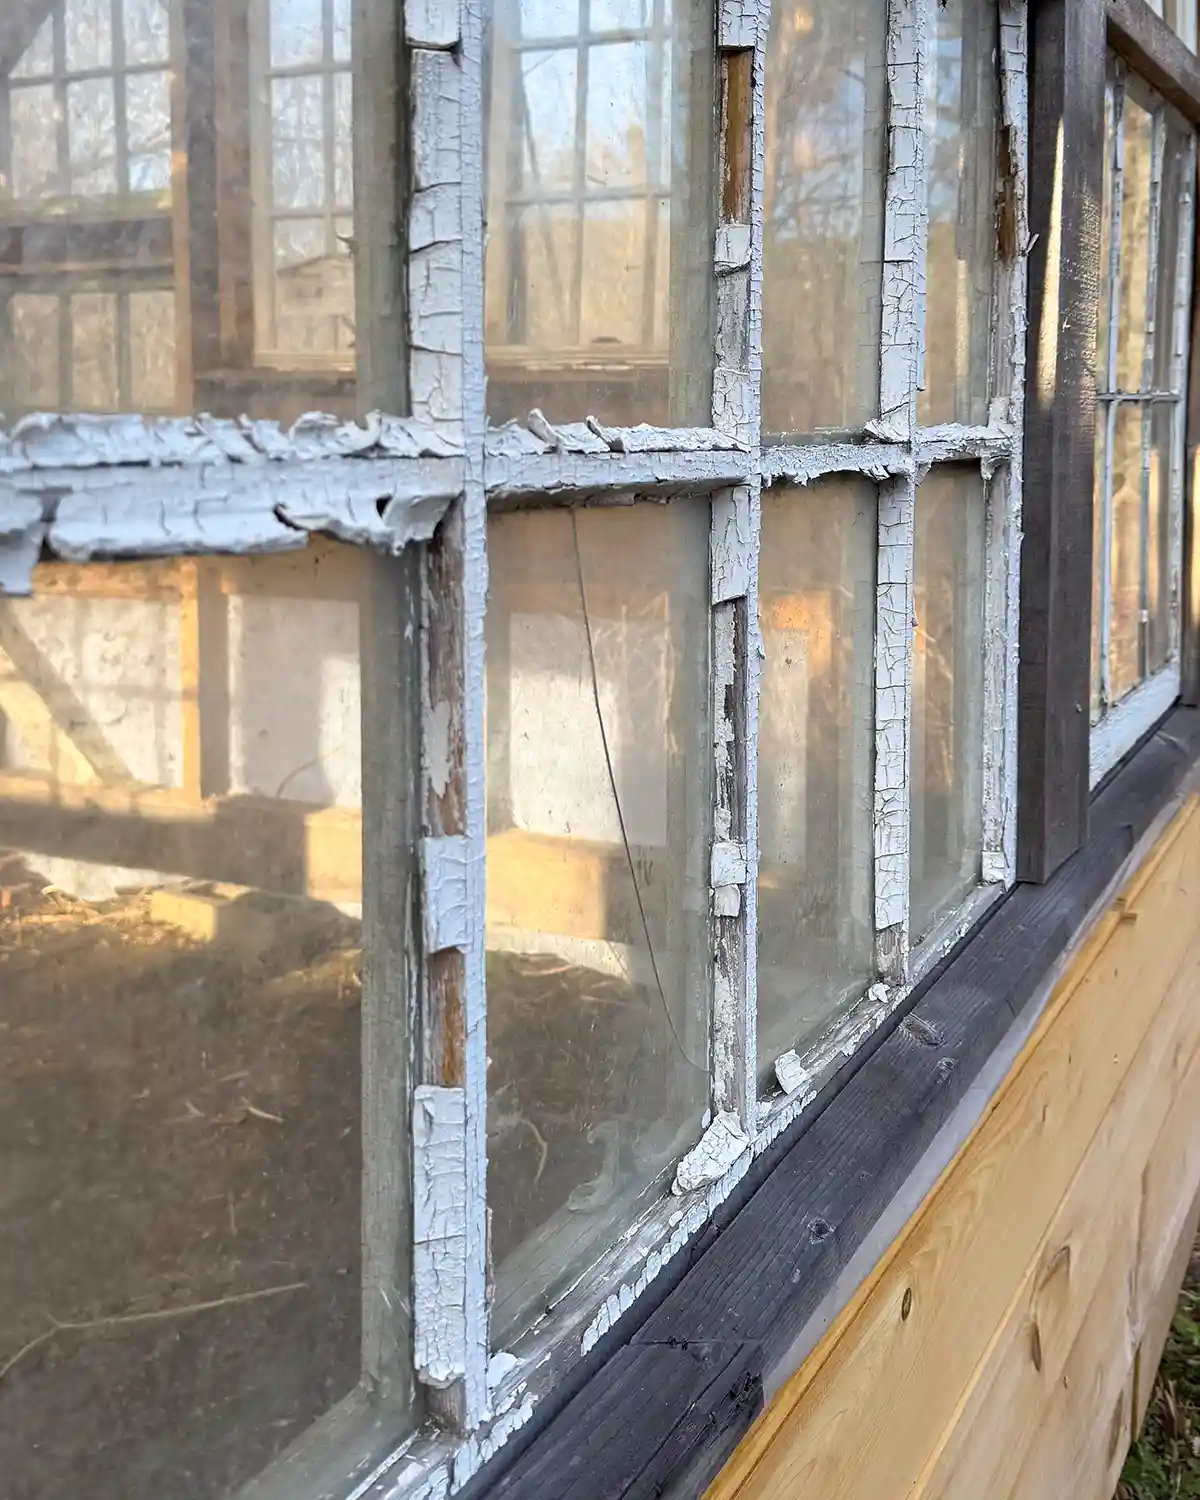
This just might be the heaviest lift. Many of the window sashes we used for this project were in various states of disrepair and falling apart. Most needed reglazing, and some had broken glass in the window sash.
We’ve repaired many of the windows last summer, but it’s a long, tedious process, and it gets really boring really fast. It also gets expensive as window glazing can be really expensive and you go through alot of it with a greenhouse. We typically use DAP Window Glazing (Home Depot), but sometimes substitute cheaper paintable caulk (Home Depot) along the way. I prefer the window glazing, mostly because I trust it to last longer and don’t want to repeat this task very often.
Once all the trim work is done, Colby and I are going to tag-team it and try to finish all the window sash repairs together.
Step Six: Critter Proof
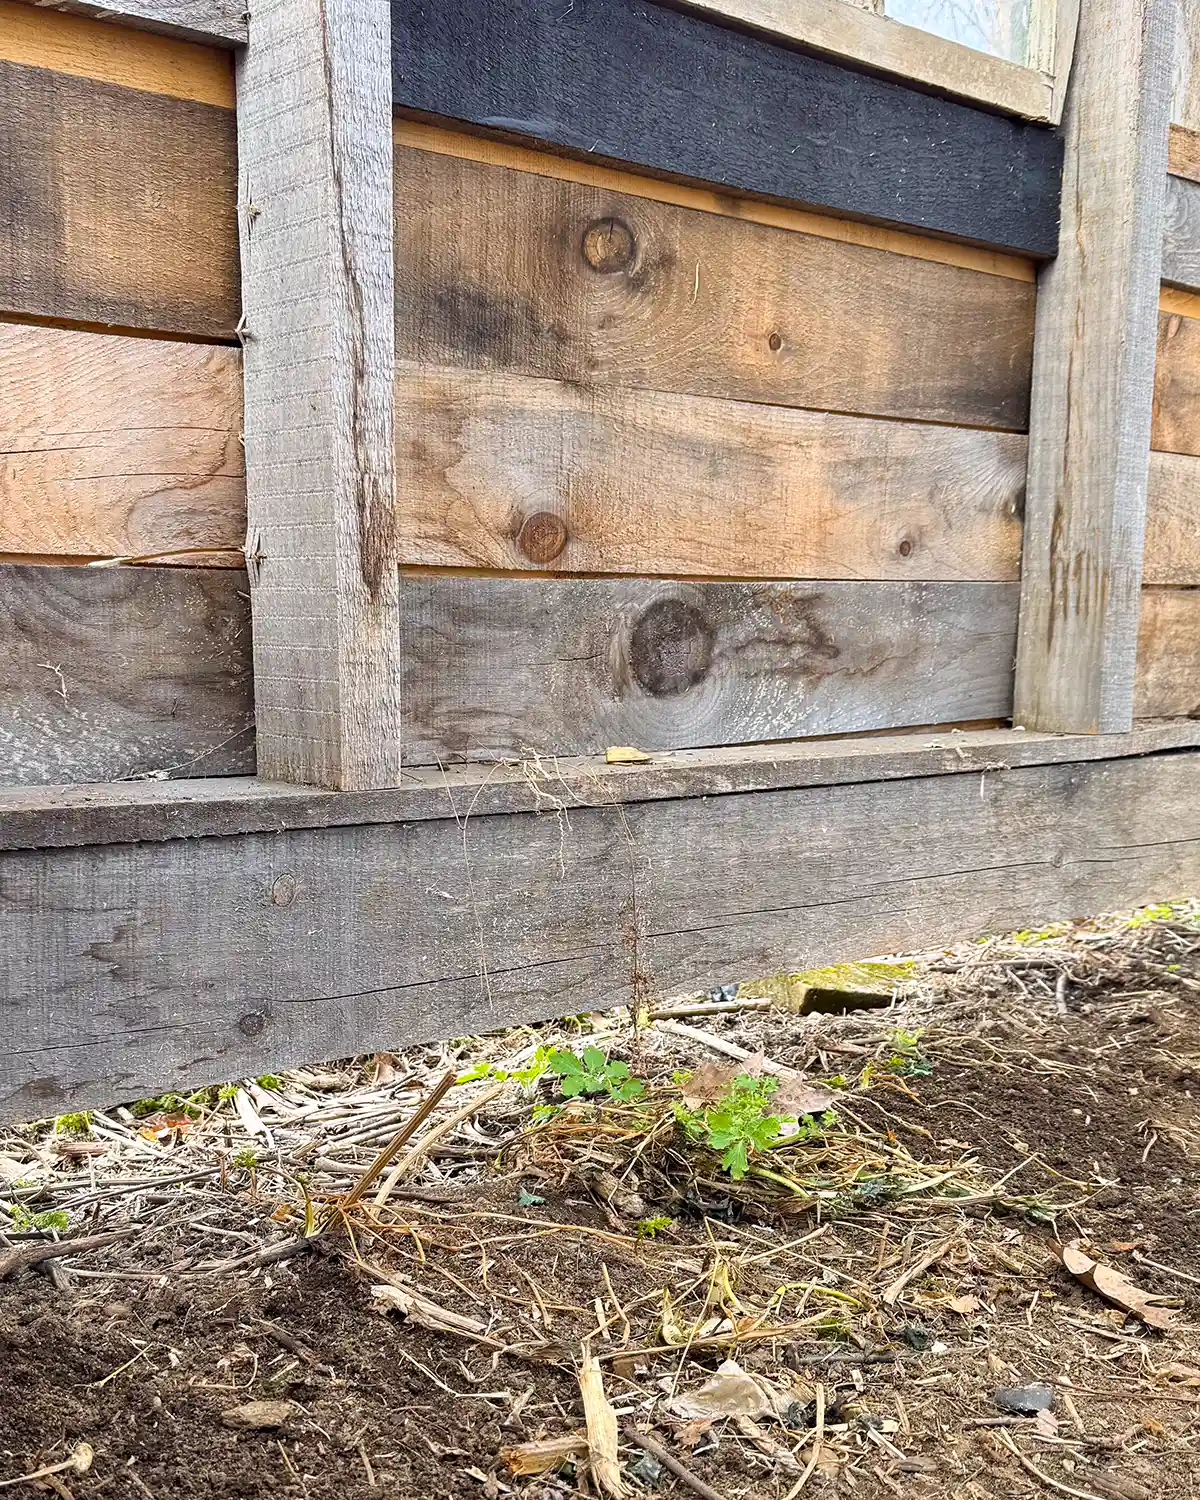
While we can’t completely critter-proof the greenhouse, we are going to give it our best shot. We live in the country and have pretty regular problems with mice, rats, voles, moles, groundhogs, and even our own pets/critters (a dog, two cats, and a mess of chickens). There’s nothing that frustrates me more than when I seed-started peppers in January, tended them, up-potted them, hardened them off, and then a mouse eats them, leaving me no opportunity to grow my beloved shishito peppers for the season.
We want to dig down the perimeter of the greenhouse and install some wire mesh to prevent critters from digging underneath to get inside. That should help immensely, along with sealing all the gaps with trim. We’ll also have to do something with the door, but we’ll address that when we build the final door.
Step Seven: Finish The Gable Ends
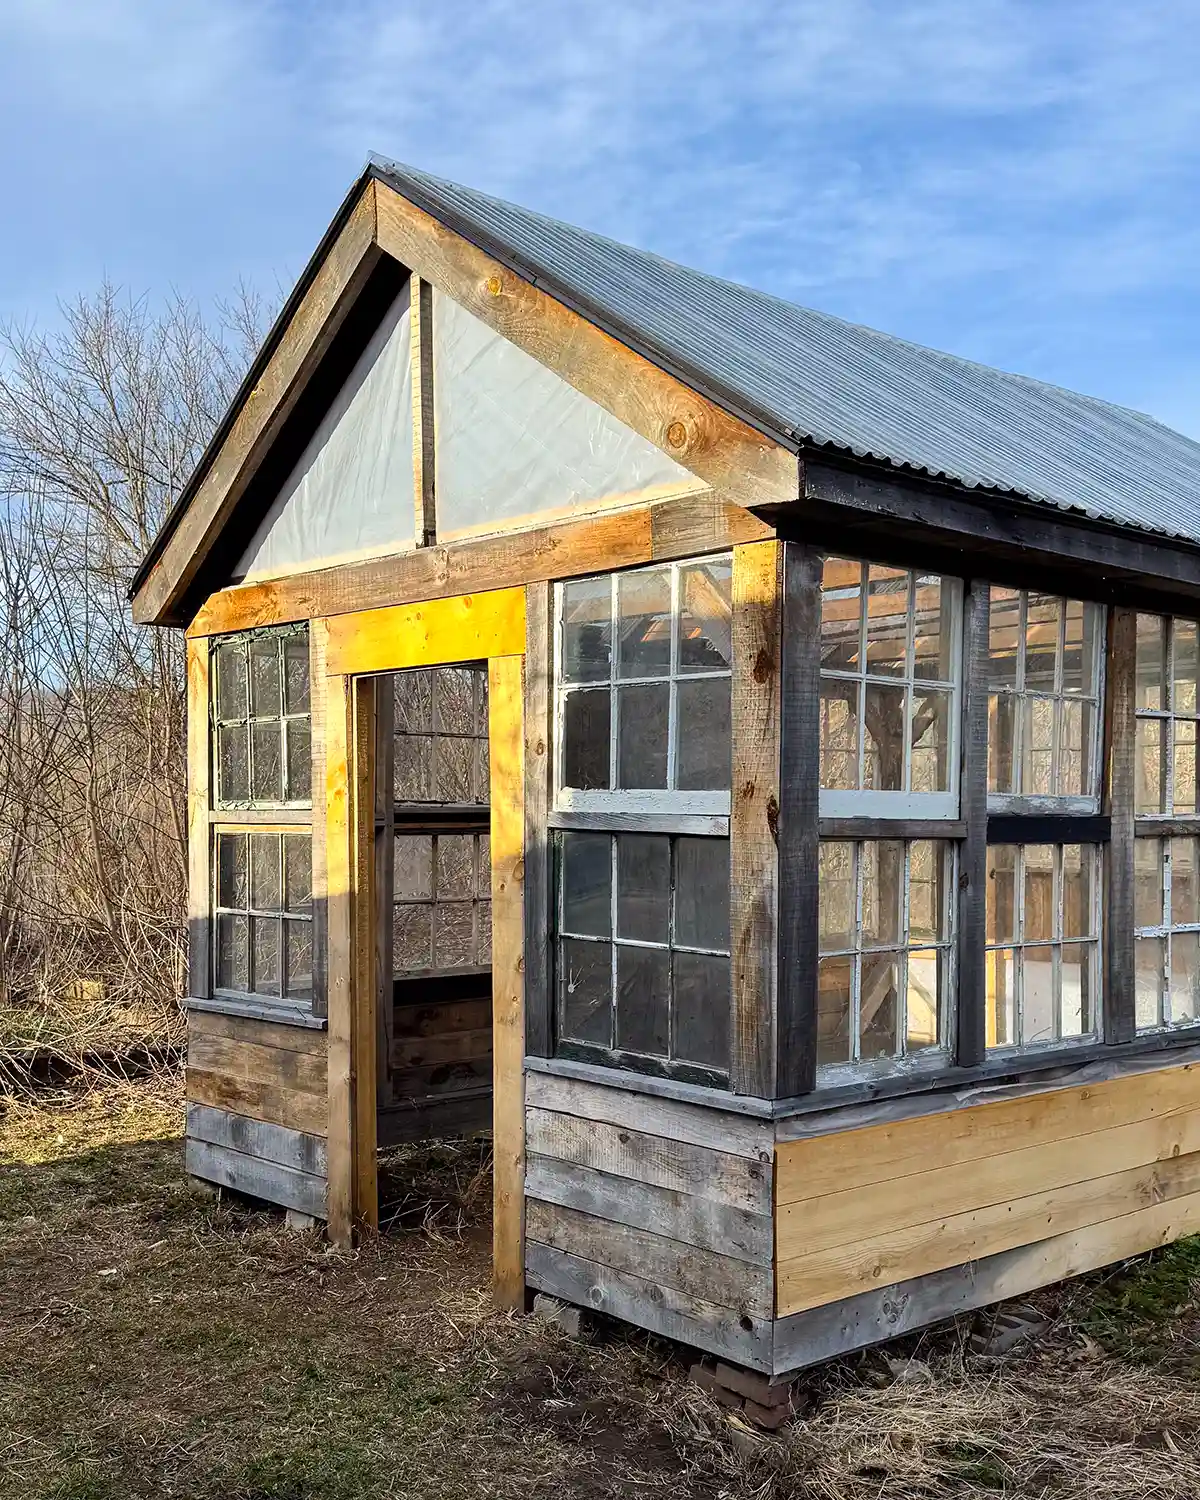
Another holdup for finishing the greenhouse was with how I wanted to finish the gable ends. I really need to buck up and decide because tik tok time is running out.
I’m torn, do I finish the greenhouse gable ends in a standard way by installing vents? I found a pair of vents for a much more reasonable and affordable cost from a farm supply site. Originally, I thought I would have to pay $250+ per vent (more than $500 total), but I found a more affordable option at $70 each.
But then there’s another part of me that wants to finish it all fancy like, custom cutting glass (possibly stained glass?!) to make some sort of design. The beautiful home, character-loving side of me wants to go fancy, while my practical, gardener side says vents. But what if there is some way to meet in the middle?!
Step Eight: Paint The Greenhouse
By the time we finish all the other steps for finishing the greenhouse, our temperatures should be warm enough that we can start painting the structure. And by painting the structure, I mean scraping all the old, flaking paint from the window sash and then painting it.
This is another heavy lift, and one I feel may take a long time. The beauty of the greenhouse, though, if the weather is looking questionable with potential rain in the forecast, I can still paint the inside of it. This task will be just a little less weather-dependent.
I’m also debating using masking liquid on the glass panes and then spraying the entire structure with paint. Liquid masking is a material you paint on window glass to protect it from paint. After painting, you peel off the masking liquid for a (hopefully) flawless finish. I’ve never used it before. I’m not sure I’m confident enough to try it for the first time with ALL those windows. Maybe just one side at a time to start.
Step Nine: Build A Dutch Door
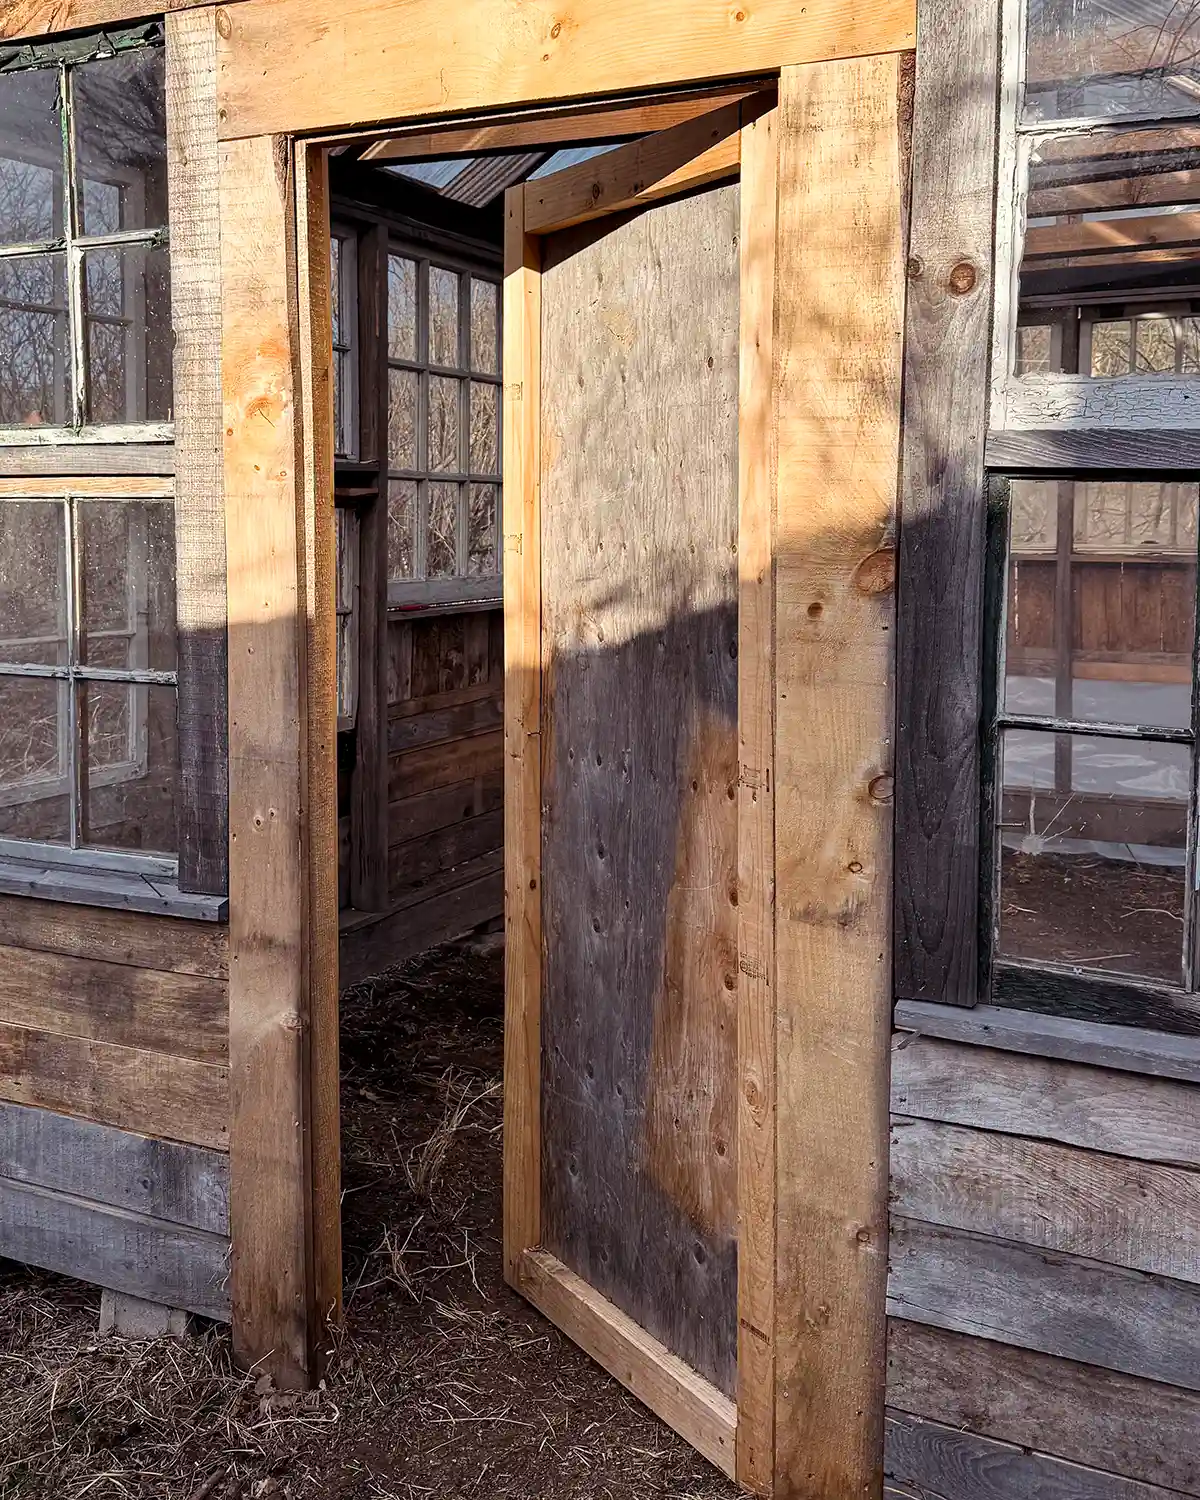
We currently have the cheapest, most basic, scrap wood door known to man in the greenhouse. We went through a cold snap while I had some frost-tender plants out in the greenhouse last year. Instead of bringing all those plants inside, Colby quickly put together a door and sealed up the open areas with plastic sheeting. It worked like a charm.
The plan is to build a custom Dutch door for the greenhouse. Something where I can open the door top to get more airflow, but also keep our dog out. We are obsessed with the Dutch door in our kitchen, and we’re going for the same vibe in the greenhouse.
Step Ten: Install A Light/Fan
The final step to calling the structure complete is adding a light and/or a fan. I’m still deliberating exactly what I want and need.
Per lighting, it would be nice to have an exterior light on the greenhouse and possibly some lighting inside. We could go with solar lights or even run electricity to the greenhouse and hardwire something. The beauty of the greenhouse’s location is that it’s right next to one of our larger sheds with power. I don’t foresee myself out there much after dark, so I’m leaning towards solar lights.
Per the fan, I would ideally like an electric-powered fan in the greenhouse to keep air circulating and plants happy. To do that, it really makes sense to have power for the structure. I’m loving the idea of using something like this wall-mounted fan (Wayfair).
Now…Get To Work!
Part of my problem in starting a project or diving back into one is not having a plan. I’ve been putting off working on the greenhouse this spring since the whole thing felt overwhelming. Now that I see the steps laid out before me, and the decisions I need to make, it’s a lot easier to start chipping away at the punch list.
So now I’m off to find my caulking gun; those windows aren’t going to repair themselves!
Pssst…Do you have a nagging project in your home that you can’t seem to finish? Do tell!