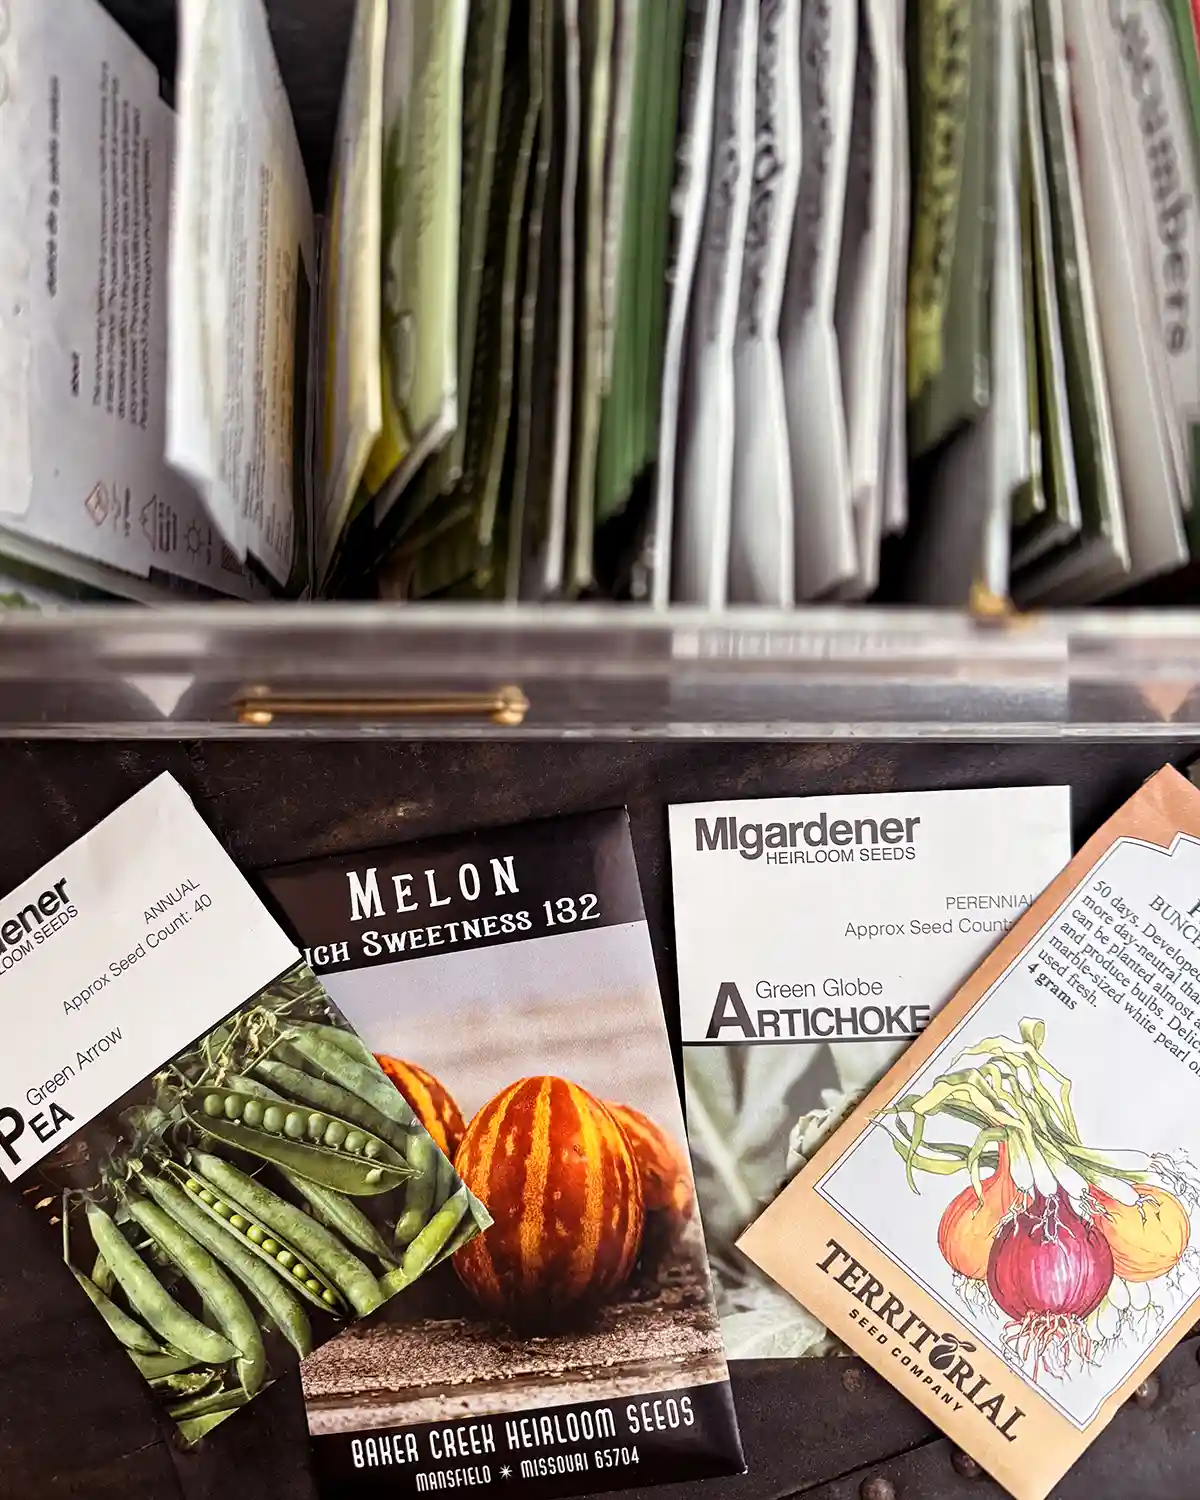
It’s early spring, you’ve started your seeds, your seedlings are tucked inside under grow lights, the weather is warming, and we gardeners are itching to get outside and dig in the dirt. It’s time to prepare our raised beds for spring planting or amend the in-ground rows to prep them for crops and flowers. Before planting, it’s important to learn how to prepare soil for planting and amend it accordingly. It’s like the adage, if you want to learn how to grow healthy plants, learn how to grow healthy soil.
I, like many naive and first-time gardeners, didn’t take soil health seriously at first, and my kitchen garden suffered. We had sandy soil, poor water retention, and few nutrients. Needless to say, harvests were mediocre at best. I’ve since learned how to grow healthy soil and build soil structure. Hopefully, you can learn from my mistakes. First things first, build up your soil, properly amend it, and watch your plants thrive! Good prep work yields great success.
In today’s post, I’ll walk you through how to prepare your soil after a winter of dormancy to help you grow healthy flowers and vegetables this growing season. Whether you’re working in an existing garden bed or setting up a new space, it’s always a good idea to prepare the bed for planting. Here we go.
Don’t Prepare Your Garden Bed Until You’re Ready To Plant
While technically, fall is the ideal time to prepare your soil for spring planting, it can also be done in the springtime. It’s hard to amend beds and care for soil during those heavy harvest days, so don’t worry if you’re just now getting to it. But if you do wait until spring to work your soil, wait until you’re ready to plant the bed.
One reason to wait is that it helps protect pollinators and beneficial insects who may still be asleep in the soil and plants left behind. Work one bed or zone at a time, letting all the insects wake up and find a home away from your garden.
The second reason is to protect soil surface health. In the spring, most gardens are covered with debris that acts as a mulch. If you dig up and prepare your garden soil but don’t plant or water for another few weeks, the soil surface is dying a little bit each day it’s exposed to the sun. Nutrients will be lost, and if left for too long, the soil can become hydrophobic, repelling water instead of absorbing it.
While the best time to prep a garden space is just before planting, if you do prep early, keep the bed watered. Even better, mulch it until you can plant.
Clear Any Garden Debris
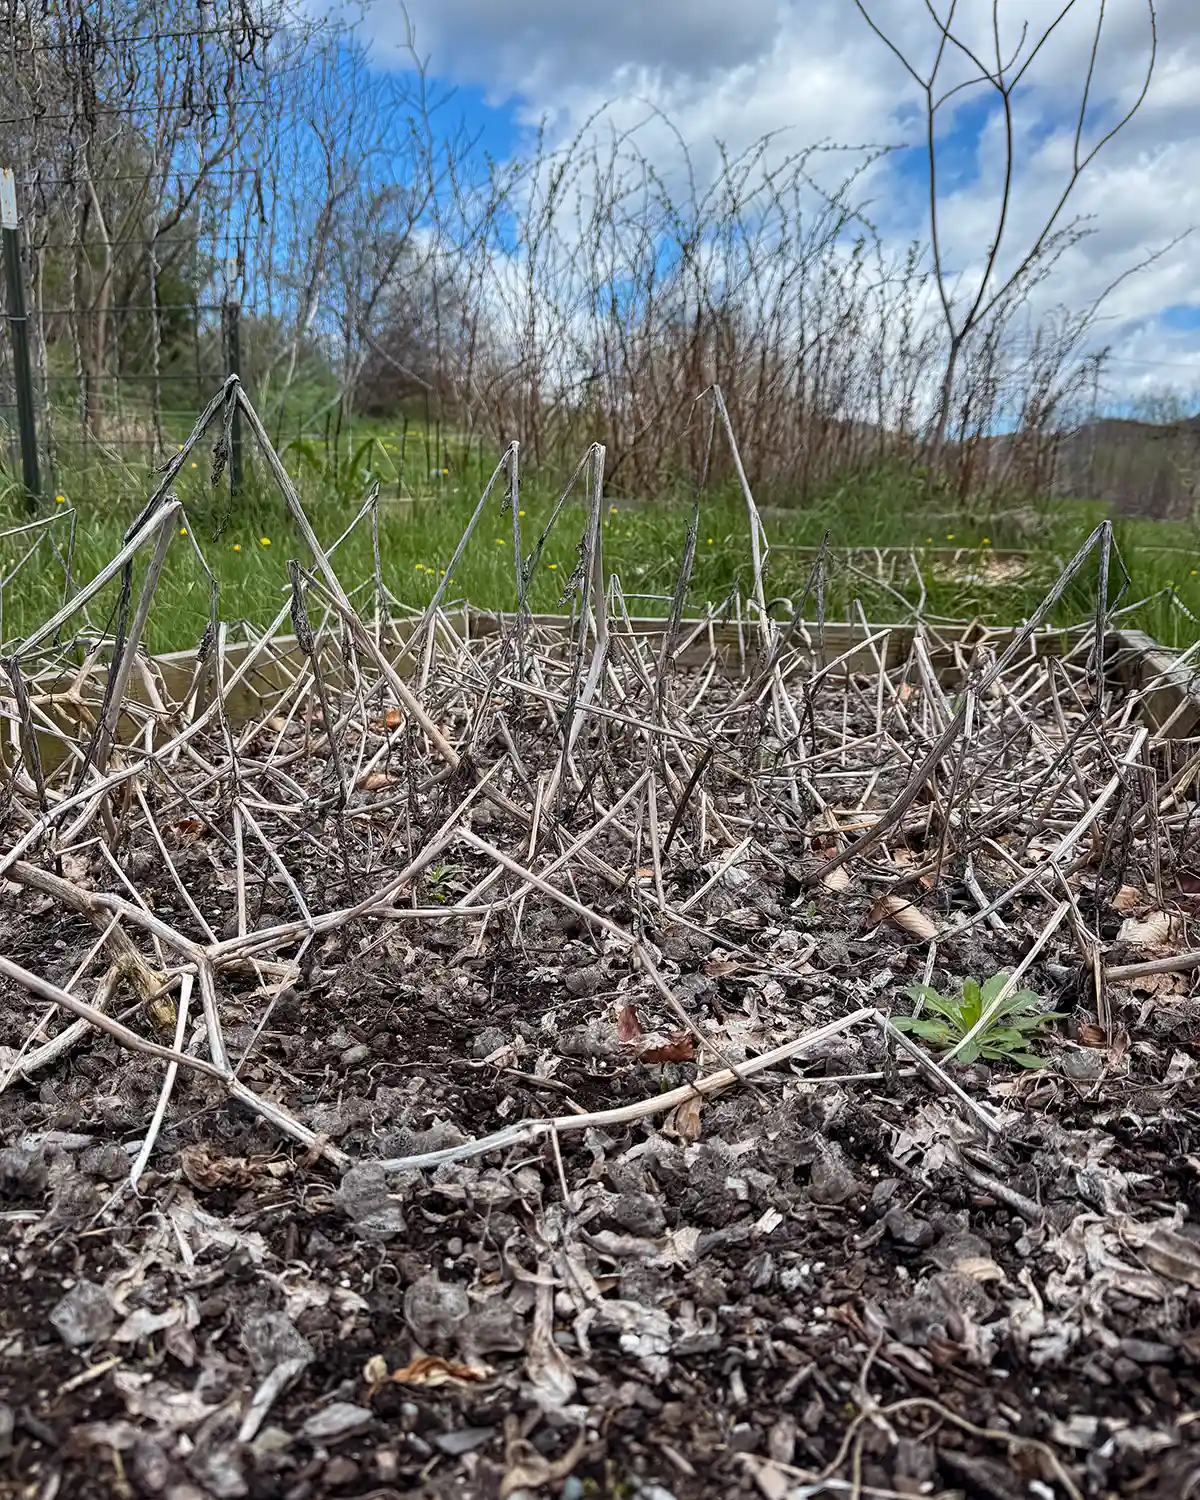
The first step is clearing out any garden debris. Over the winter, gardens accumulate sticks, leaves, and other items. Go through your flower and vegetable garden bed and clear out anything that doesn’t belong there, including rocks and annuals from last growing season that remain.
And for some of us, clearing the debris also means putting away last year’s garden structures, including trellises and tomato cages. Every year, no matter my best intentions, the ground freezes before I can pull all the trellises, clean them, and put them away for winter.
Loosen The Soil
The next step is to loosen the soil. Soil compaction is not uncommon after a long winter. It’s important to loosen compacted soil before planting to ensure plant roots can grow through the soil below. If it’s too hard, they won’t root deep or well.
Using a garden fork, either a large stand-up size garden fork or a small hand-held garden fork, loosen the soil in the garden bed. The small fork is handy for working around existing plants, while the large fork is better for open garden beds. For larger areas, a broad fork works well. One of my favorite tools for this step is a long-handled twist tiller fork.
Here are my two ride-or-die tools for loosening the soil.

I use the smaller fork on existing garden beds or ones that I’ve regularly planted. The twisting tiller fork is so handy for loosening up your soil, even in grassy areas and new beds. In my season of babies and small children, I wasn’t able to plant the entire garden each season, and many beds got overgrown with grass. The twist tiller was my hero for reclaiming unruly planting beds.
Test Soil For Nutrients
While it isn’t necessary to test your soil, the information can be helpful, and now is the time to test. I highly recommend testing new garden sites before planting. Test results can help a gardener amend and fertilize the raised bed or garden before planting, to ensure success out of the gate.
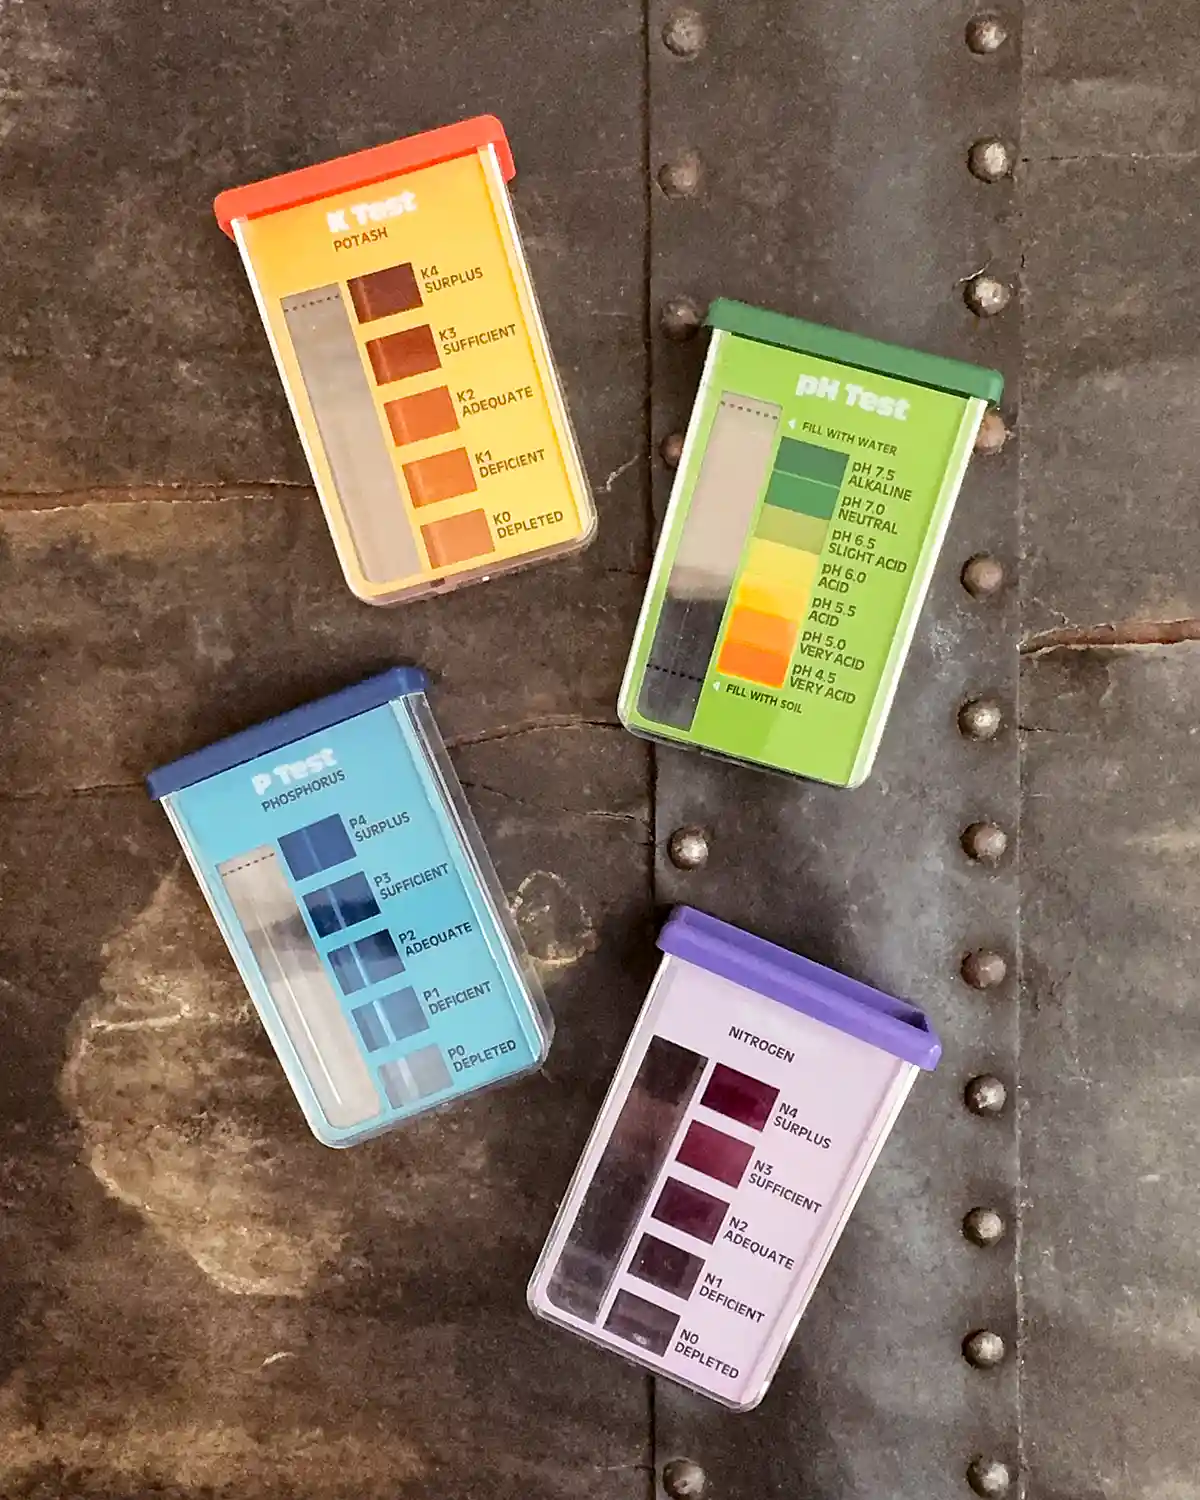
At a minimum, test nitrogen (N), phosphorus (P), potassium (K), and pH levels. Nitrogen, phosphorus, and potassium are the three main macronutrients essential for plant growth, and pH controls the nutrient uptake of the plant. NPK are the most common elements in plant fertilizers, which are often differentiated by their levels. Each supports different components of basic plant functioning, like root growth, flowering, and healthy leaf development. If your soil is lacking in one of these basic compounds, plants will suffer.
You can get a basic soil testing kit that includes these measures relatively inexpensively, and you can test at home. No need to send soil samples to your local cooperative extension. You gather soil samples, mix them with water, drop the mixture onto a test strip, and compare the color to the chart. You’ll instantly get a picture of your soil health.
The soil’s pH is especially important for certain plants. For example, blueberries and azaleas thrive in more acidic soils (pH of 4.5 to 5.5) while geraniums prefer a slightly higher pH (6.0 to 6.6).
If it’s your first garden, perform a basic soil test. Aim for a neutral pH around 7.0 for optimal nutrient absorption and for a balance among the nitrogen, phosphorus, and potassium levels. If one of the NPK levels is an outlier, that’s what you’ll be amending the soil for.
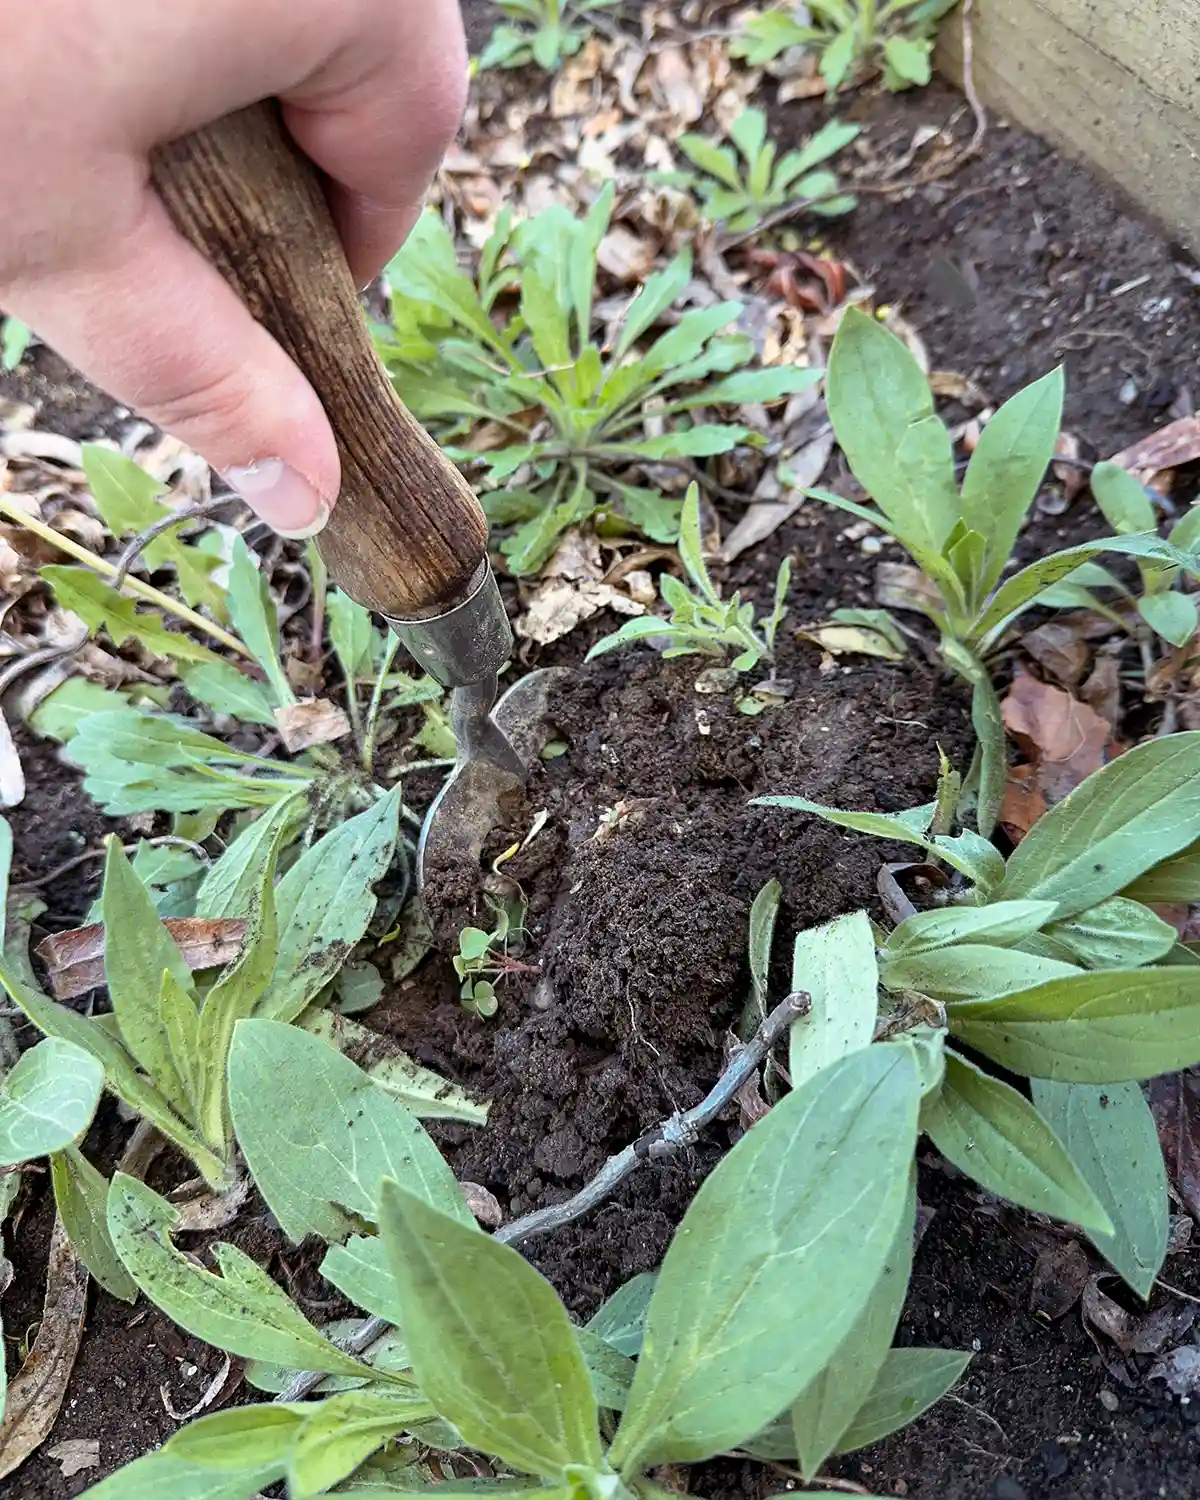
Remove The Weeds And Turn Under Cover Crops
Now that the soil’s loosened, it’s the perfect time to remove the weeds. Go through and pick out any weeds from the garden area. If any are large and difficult to remove by hand, utilize a sharp spade to dig up or cut the weed.
If you sowed cover crops in the fall, after removing the weeds, turn under the small, leafy greens. Some people prefer to use motorized garden tillers for this step. I prefer not to till during proper soil preparation. Avoiding tillers helps improve the soil quality and health.
Check Soil Condition
At this point, give your soil a general health check and get an idea of what type of soil you have. Grab a handful of soil and check the soil’s texture, moisture, and feel for the soil type. Were the top layers hard, almost caked over, and repelling moisture? What’s the consistency? More clay or sandy-like? And do you see any earthworms while you worked?
This step is especially important for a new garden bed or space, one that hasn’t been amended or worked before. It’s pretty easy to tell what type of soil you have. Sandy soils easily slip your fingers and will be drier since they don’t retain moisture. Heavy clay soils will be dense, lumpy, and sticky. Neither of these soil types yields a truly vibrant garden, and you’ll want to amend the soil.
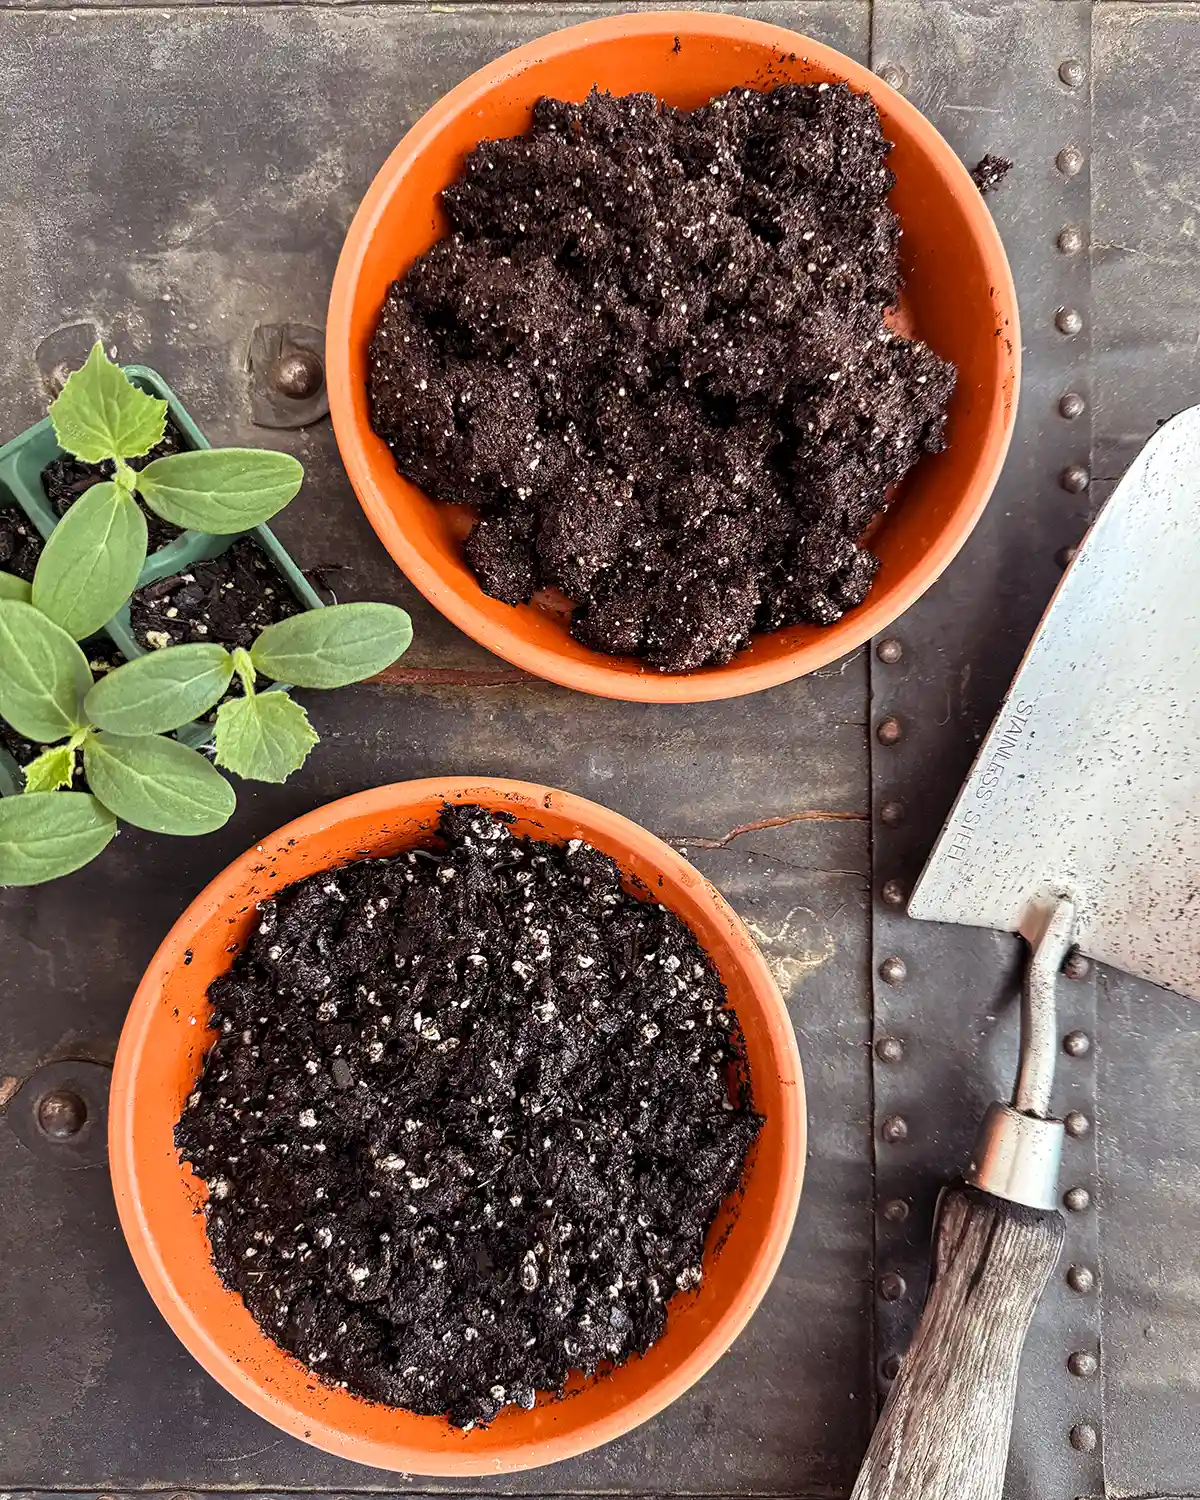
Add Organic Matter
Now that we have an idea of the type of soil we’re working with, a general idea of the soil’s nutrition, and the garden is free of weeds and debris, the next step is to add organic matter to amend the soil.
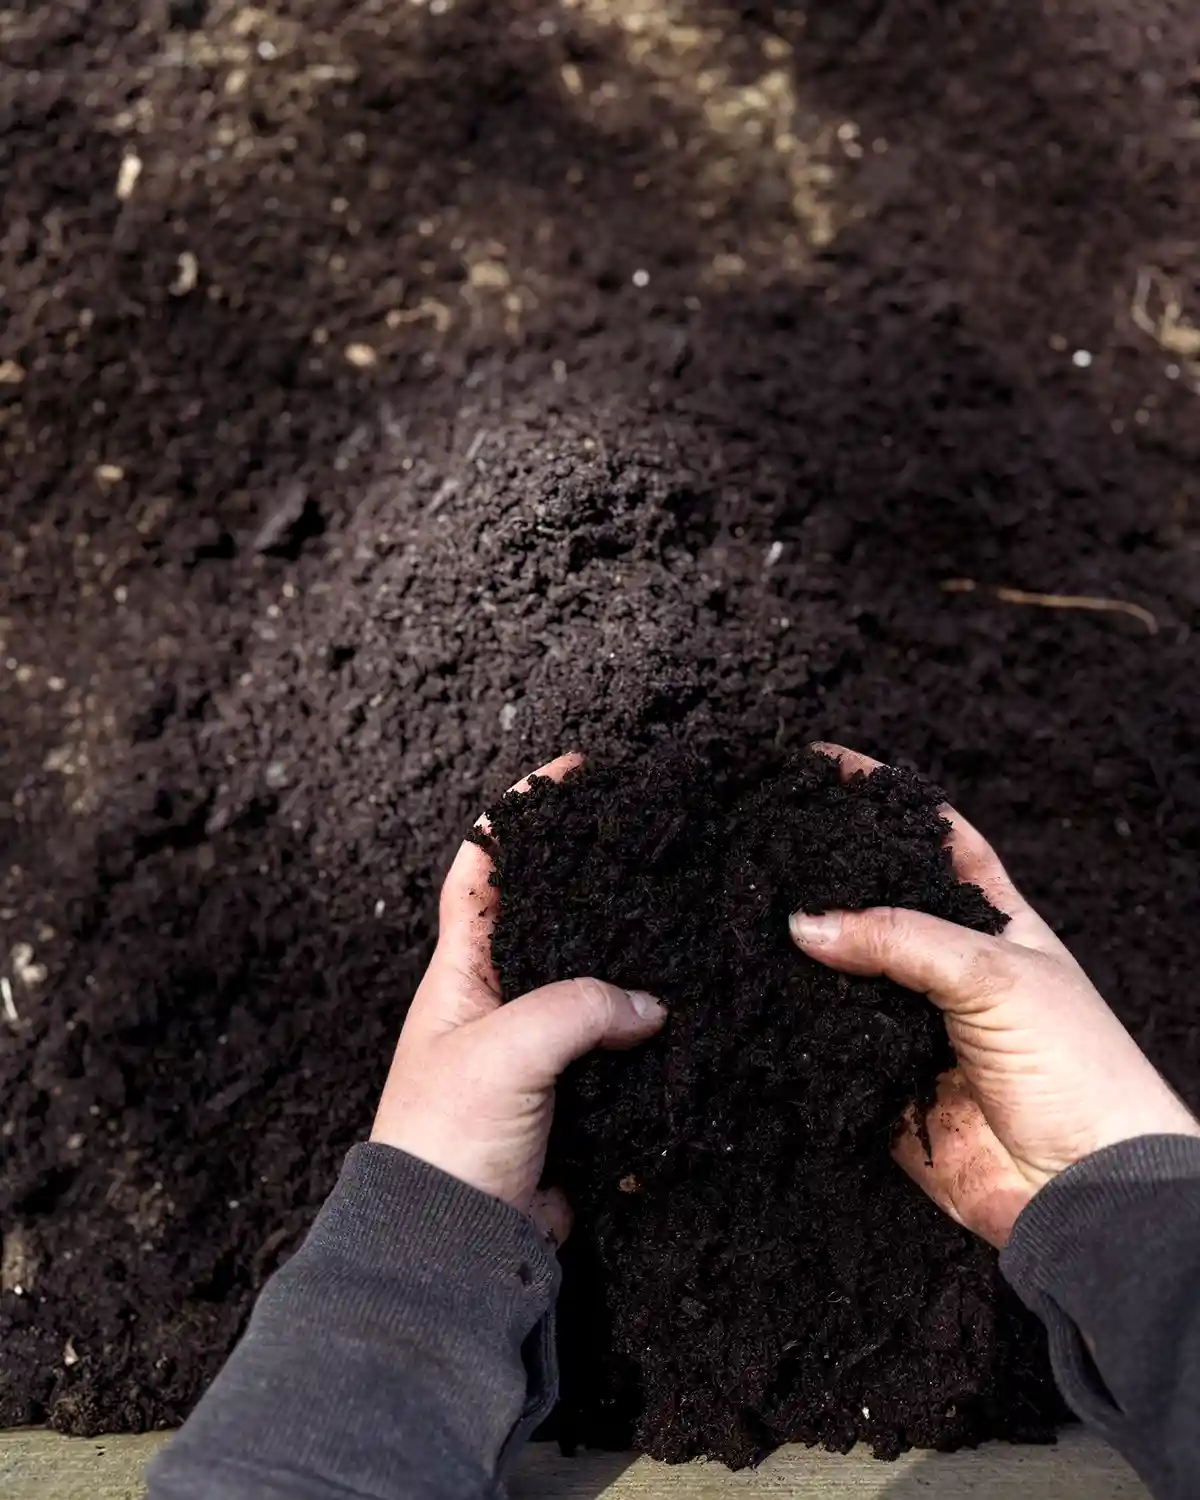
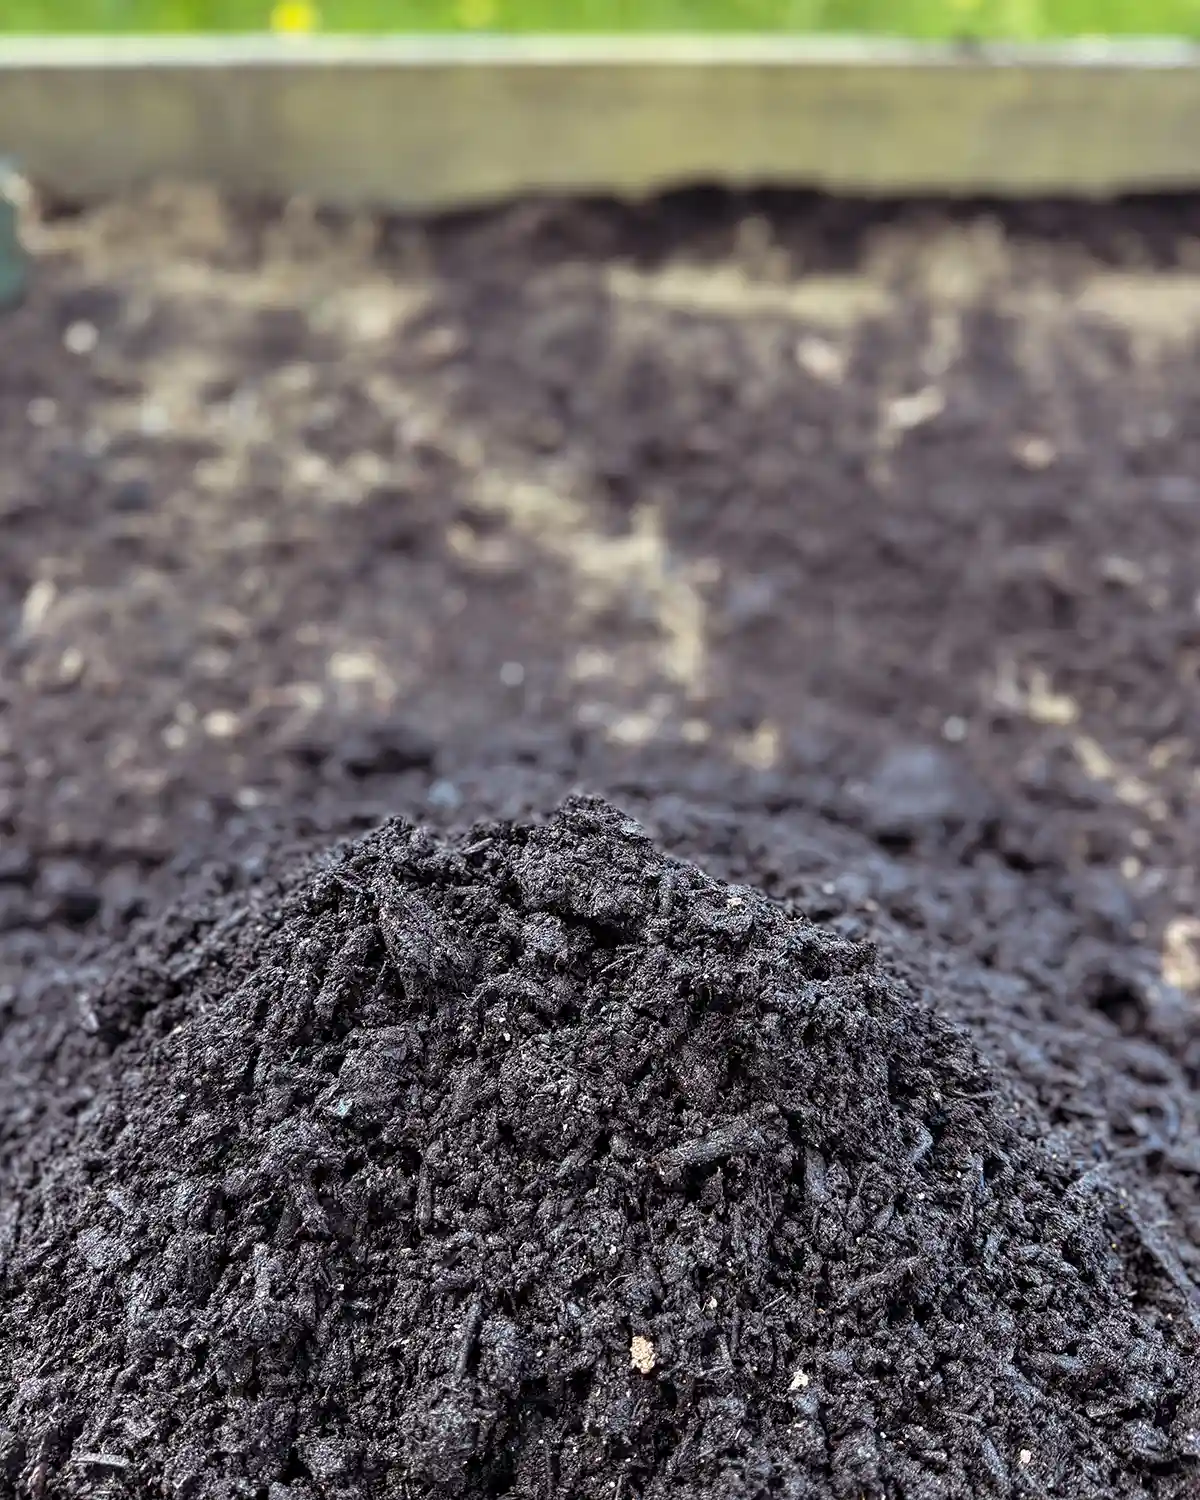
General guidelines recommend adding 2 to 3 inches of organic material to your garden beds before planting each spring. The best organic materials to add include compost or aged manure. These materials help loosen compacted clay soil, help with moisture retention, build up sandy soils, and add much-needed nutrients to your garden.
It’s preferable to use home-made compost since you know exactly what is in the compost you’re making. Occasionally, purchased compost can come with materials you don’t want, like pesticides or invasive species. If you don’t have enough compost at home, you can purchase bags of it from local garden centers and hardware stores. Or if you need alot of it, you can purchase it in bulk from a local composting company and have it delivered.
To put purchased compost into perspective, and beat the drum for making your own, to properly amend a 4′ x 8′ garden bed with 2-3″ of compost, you’ll need at least (5) 1 cubic foot bags. That’s $50 to $60 of bagged compost per bed. If you’re a cost-conscious vegetable gardener, that’s a lot of harvesting to recoup the costs.
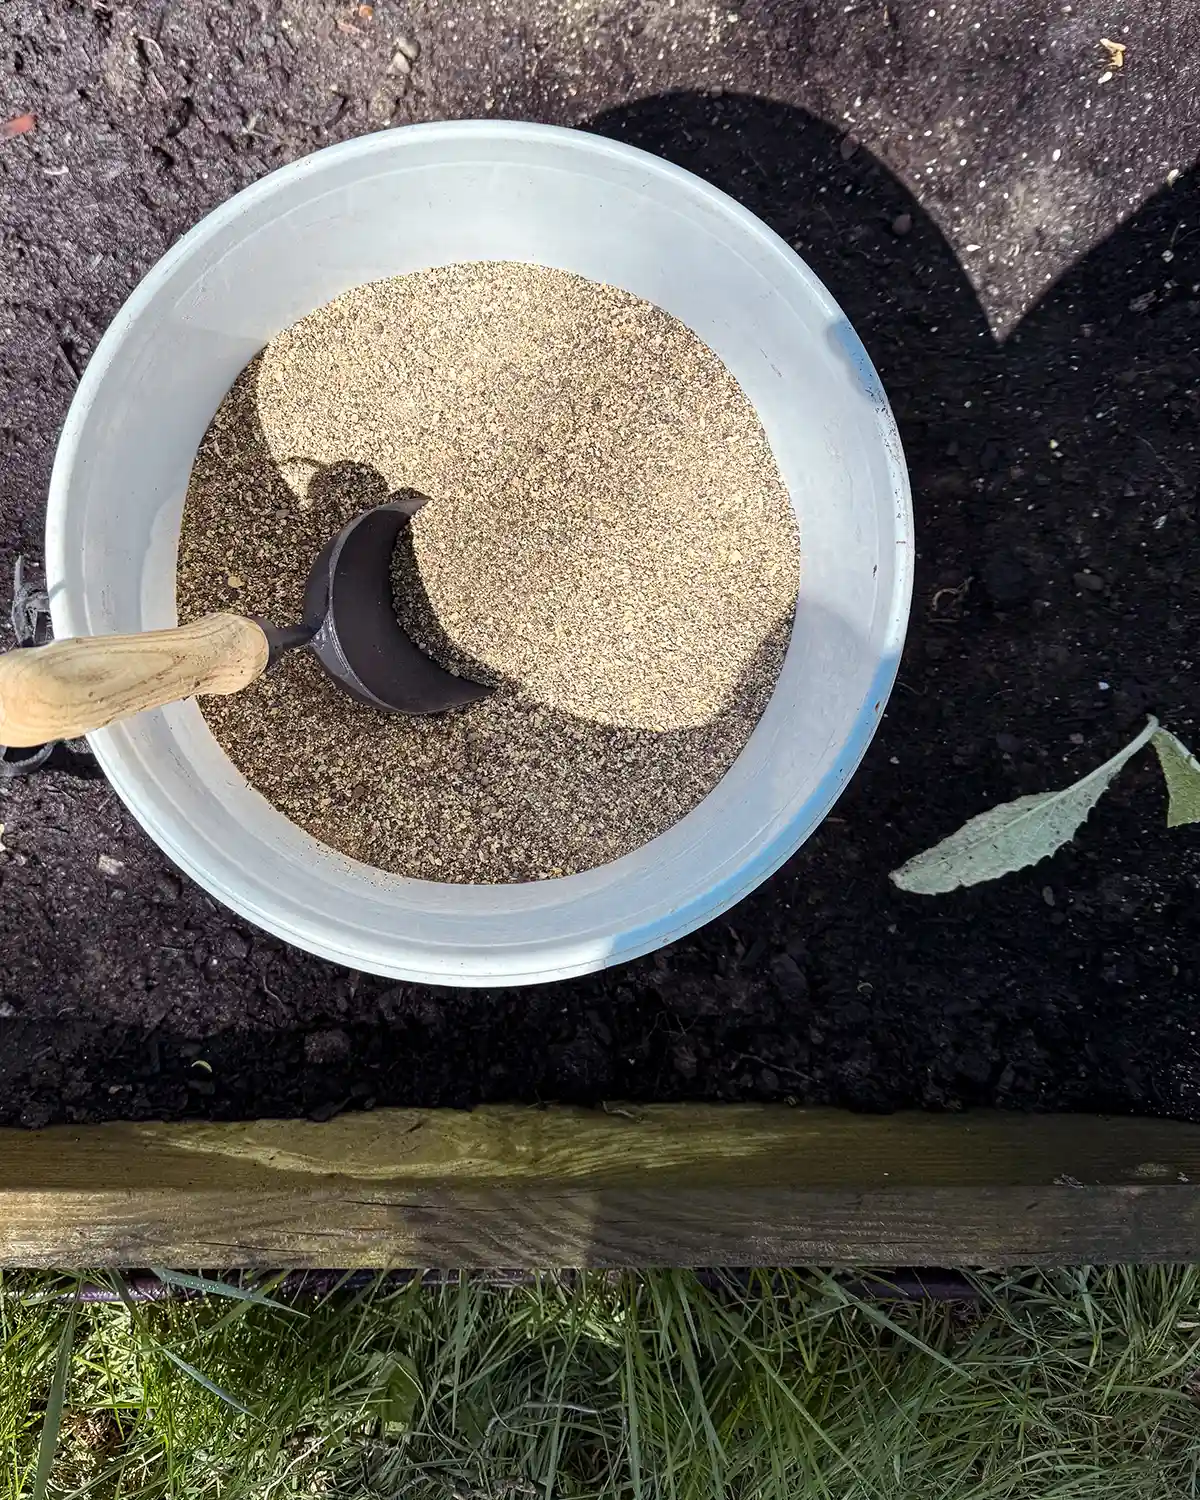
If your garden is lacking in certain nutritional elements (nitrogen, phosphorus, or potassium), now is the time to add soil amendments. Look for a soil amendment, like a general fertilizer, at your local garden center that is higher in the nutrients your soil lacks. So if your soil is severely lacking in nitrogen, you can use individual fertilizer ingredients like blood meal or soy meal, which are both high in nitrogen. Or you can look for a fertilizer NPK that’s highest in nitrogen.
Level The Soil Surface
Now that we’ve added all our organic material and soil amendments, it’s time to rake it all in and create a level surface. Having a level surface before planting ensures that water won’t pool in certain areas, creating dry and damp spots. It also makes planting much easier.
For a new garden bed, you want to rake in the amendments and organic matter, mixing it in with the top 6-8″ of soil. Using a standard garden rake, mix and rake the soil together until everything is well incorporated. Lastly, rake the soil surface flat.
For existing garden beds, especially those who prefer no-till or low-till gardening methods, one of the best ways to maintain the health of your garden is to layer compost and amendments on top of the existing bed and then rake it smooth. Try not to disturb the soil layers below, since this helps preserve the soil structure and encourages earthworms and microbes to continue doing their work.
Plant Your Garden
Now that the heavy lifting of soil preparation is over, it’s time for the fun part: planting your garden. Whether it’s flowers or growing your own food, plant away. Your plants will appreciate all of the hard work you put into early soil preparation for the garden season. It’s also much easier to fix the soil before planting.
For new gardeners, I hope you learned a thing or two about how to prepare soil for planting. If you have any questions, feel free to drop them in the comments so I can respond. Happy planting, everyone!
Pssst…Your turn, share in the comments how you like to amend your gardens. Any favorite tools or soil amendments? Any tips special to your growing zone?