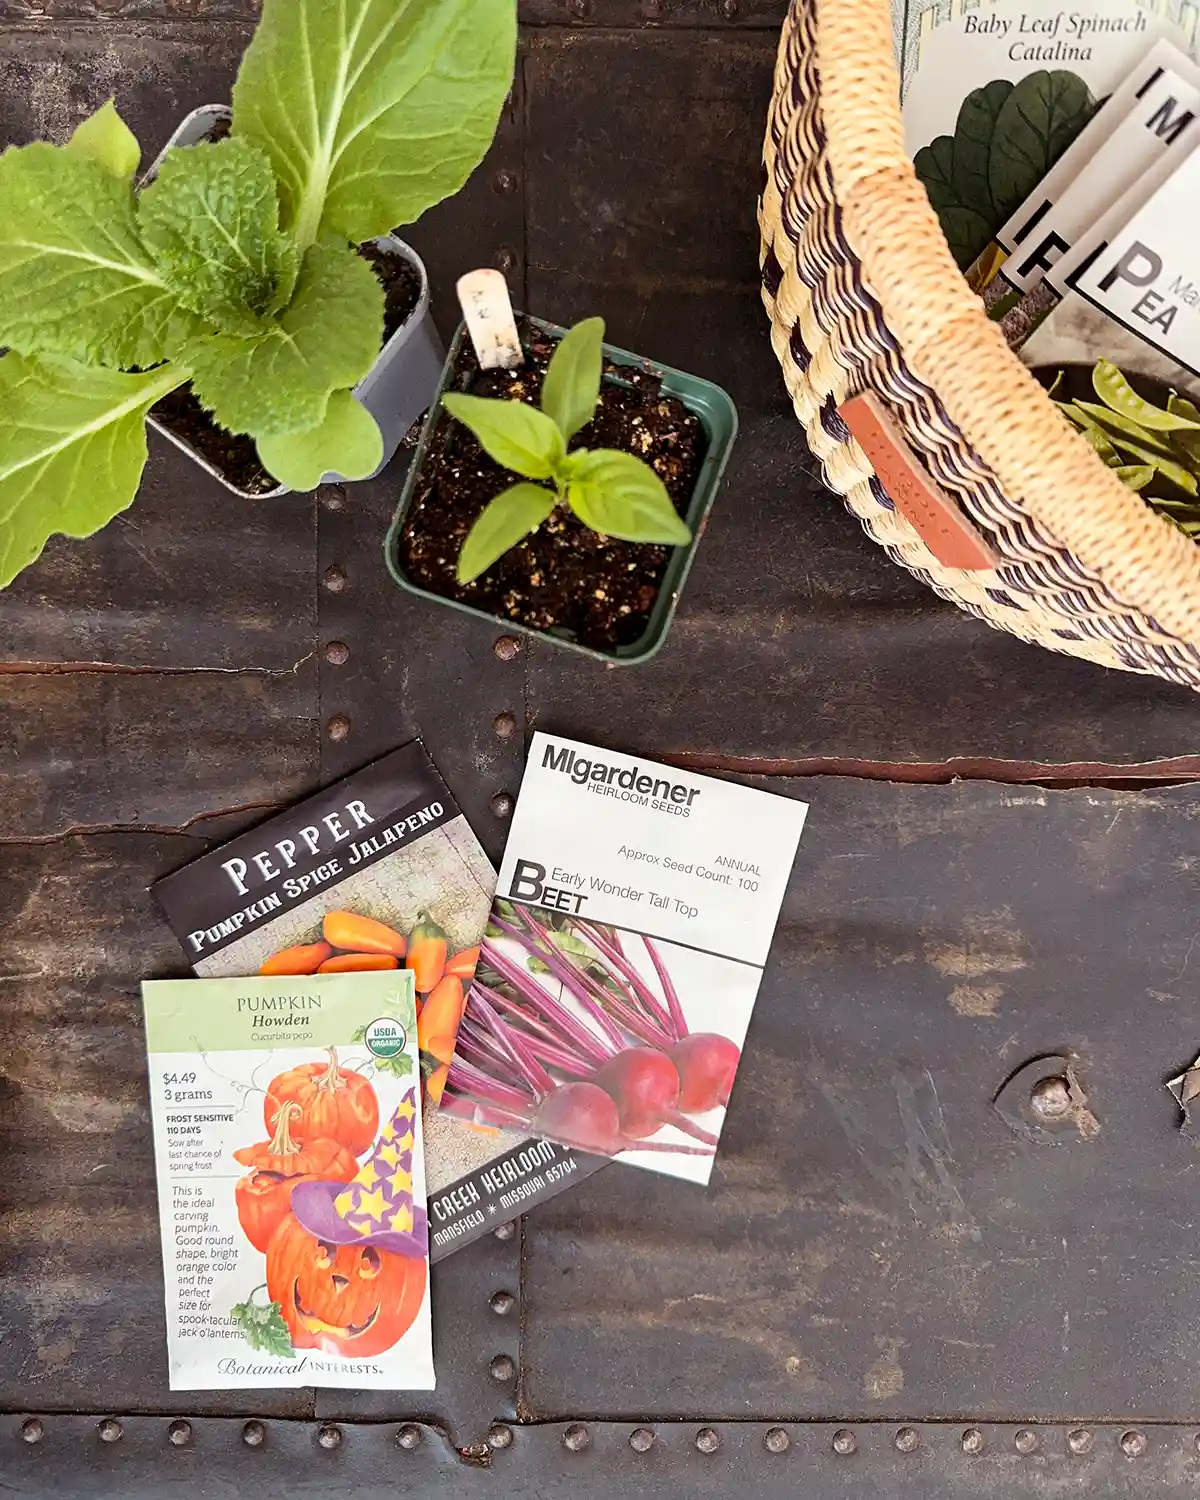
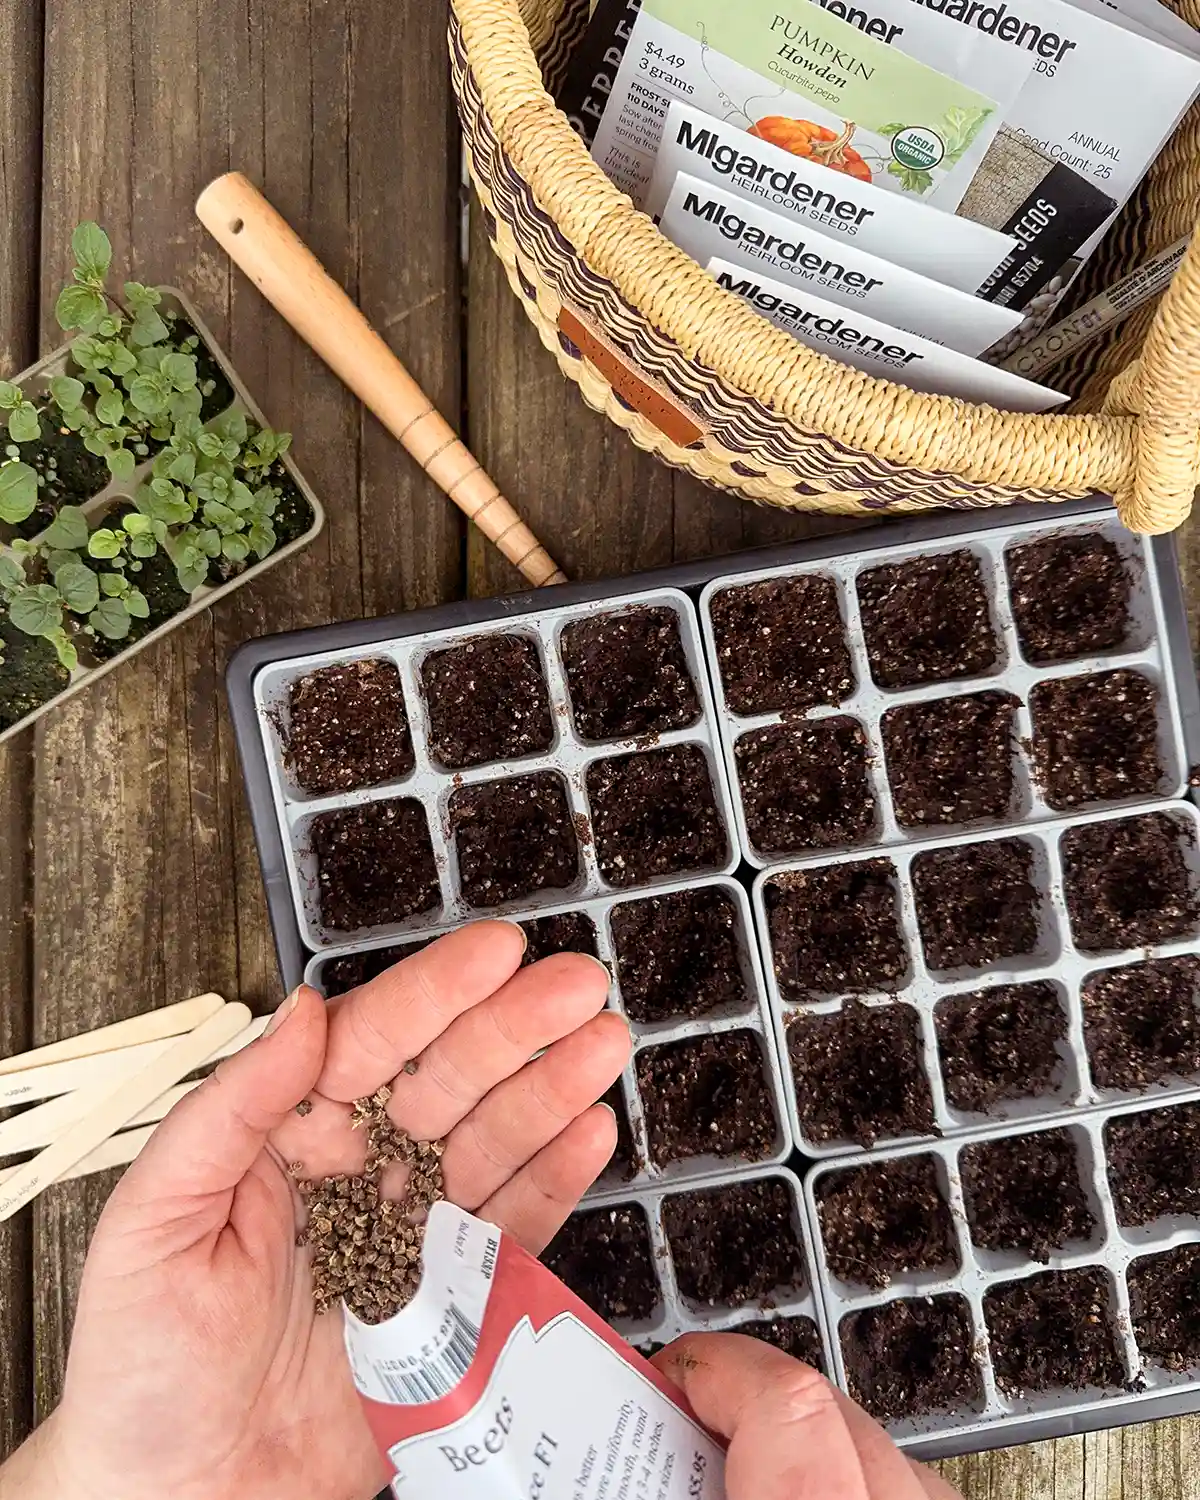
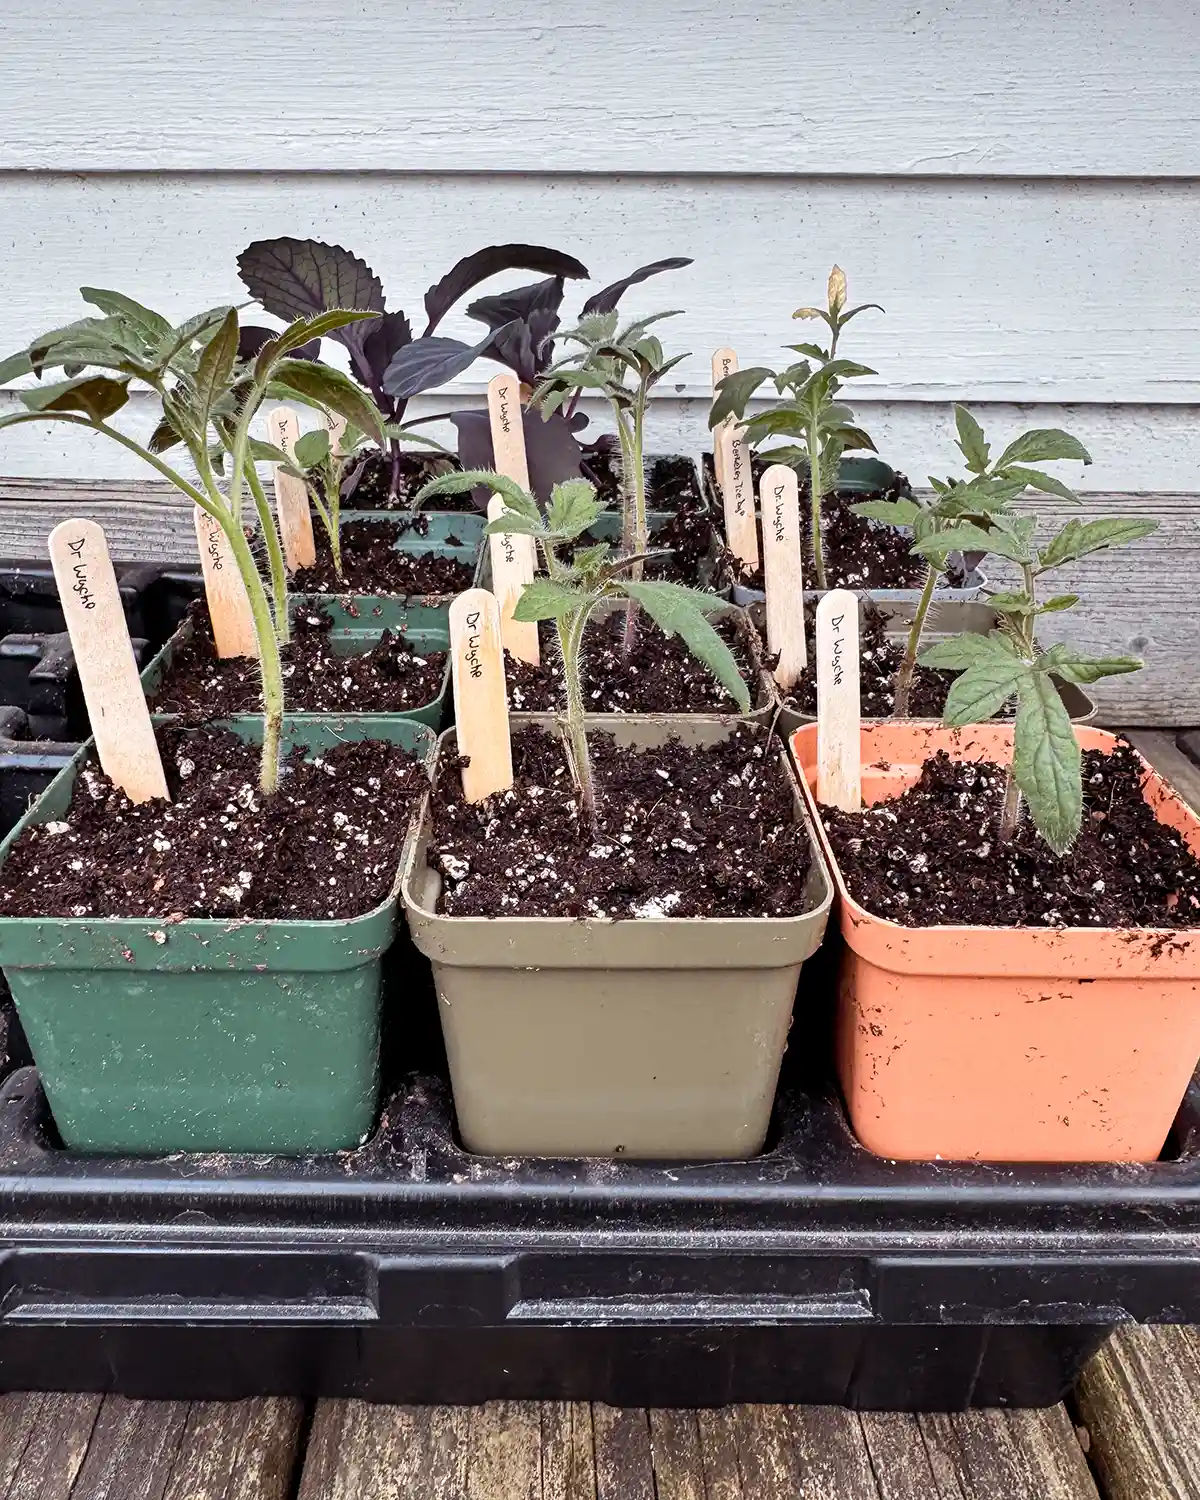
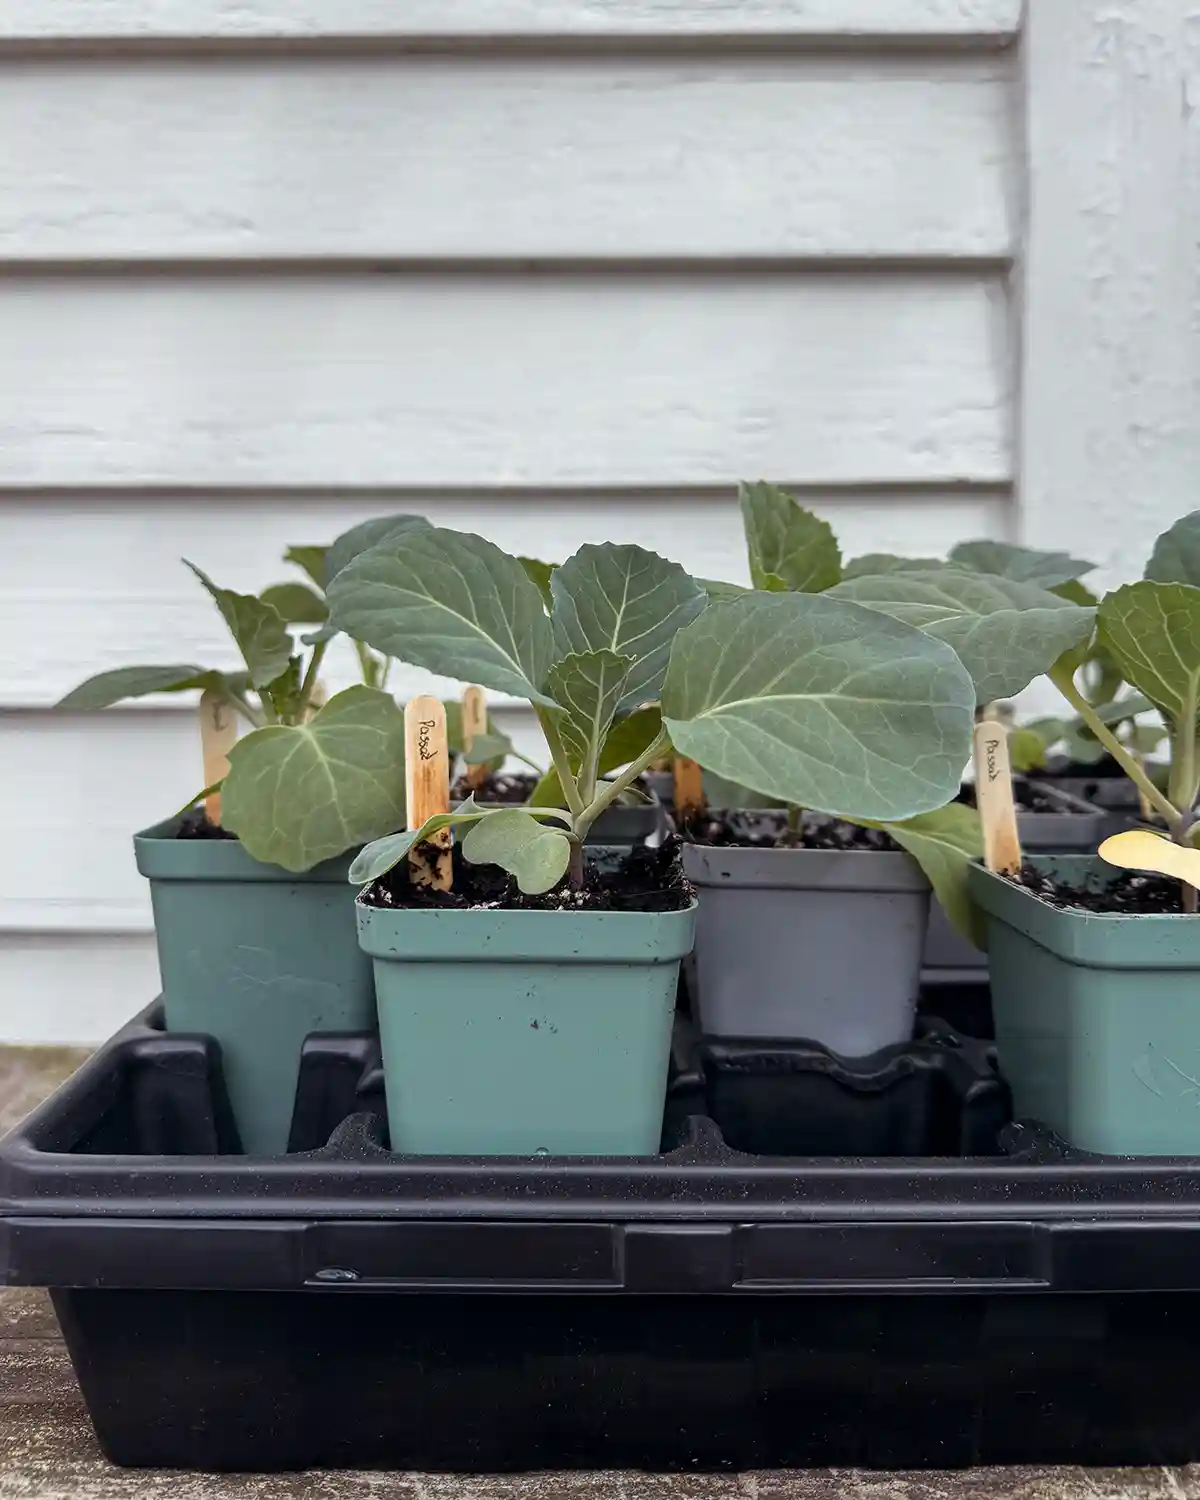
You’ve put in the hard work of sowing seeds indoors, nurtured those tiny baby seedlings to healthy young plants, and the temperatures are finally warming to a point where you’re considering planting them outdoors. But before taking those plants straight from inside to outdoor conditions, it’s time to harden off those seedlings. In this post, I’ll walk through how to harden off plants the traditional way (spoiler: it takes a few weeks) to the easy and speedy method I prefer.

Why Harden Plants?
If you take plants straight from inside to outside, they’re going to experience a bit of shock. The outdoor environment is different from the indoor environment.
What Happens If You Don’t Follow A Hardening-Off Process
Inside the seedlings have a completely controlled environment. From a perfectly consistent temperature to regular light, watering, etc. All they’ve known are perfect growing conditions, hence how big and lush their new growth has been.
Outside, the conditions are much different. Natural light, especially direct sunshine, is not the same as a grow light. There are often colder temperatures outside, possibly still frost if you’re planting in early spring, varying degrees of moisture and precipitation, wind, and more.
If you took indoor-grown seedlings straight from your home and planted them outside, many would experience transplant shock, which includes stunted growth, health problems, or even death.
The Benefits Of Hardening Seedlings
The gradual process of hardening seedlings helps reduce stress on the plants. When plants are stressed, they stop growing. Some may pick back up again, but many plants under stress are delayed and stunted. Hardening allows them to adjust to the new environment in a stress-free way.
Hardening can strengthen the plants. As they slowly begin to adjust to the environment, they’ll continue to grow. Plants continuously adapt to their new environment. With gradual adjustment, they’ll start developing stronger stems from the introduction to wind, along with rigorous root development, which benefits nutrient uptake, and tougher foliage from exposure to cold weather.
In general, the process improves the survival rate of your indoor seedlings. Slow exposure to less-than-ideal conditions allows the plants to acclimate and better survive and thrive post-transplanting. Speaking from personal experience, when I planted swiss chard straight from inside to outside, the first cold nights killed them all off. Zero chard eaten that spring. Le sad.
What’s The Gist Of Hardening Plants
The basic idea of hardening seedlings is to give them an initial introduction to the outside world, paying close attention to the conditions. Don’t make it too harsh or too long a time spent outside. Then gradually increase the duration and intensity of conditions until you leave the plants outside overnight before transplanting them in the ground. The slow and steady method gives the plants the best chance of survival as plants adapt to conditions and temperature fluctuations.
When it comes to the exact process of hardening, there are two main schools of thought. There’s the traditional method, which takes a few weeks, and the easy/speedy method that can be completed in about five days.
Traditional Method To Harden Off Plants
The traditional method for hardening seedlings begins when daytime temperatures reach at least 45 degrees Fahrenheit and takes about two weeks to complete.
Initial Exposure
On the first day, take the plants outside for one to two hours in a sheltered spot. Place the plants in indirect light if possible. If only sunny locales are available, aim for about an hour of direct sunlight. Otherwise, keep the plants outside for a couple of hours before returning them to the lights indoors.
Gradually Increase Duration
The next day, gradually start to increase the length of outdoor time for the plants. Add an hour or two each day, gradually increasing both the time the plants are outside and the light level exposure. By the end of the first week, the plants should be exposed to outdoor conditions for about 6 to 10 hours each day.
Vary Conditions
During the second week, continue to increase the amount of time the plants are outside by one to two hours each day, in more variable conditions. Add a little bright sunshine, more wind, or a cooler day. Just avoid extremely windy days and temperatures below 45 degrees Fahrenheit, which could damage tender seedlings.
Overnight Acclimation
At the end of two weeks, leave the plants outside overnight as long as the temperatures are appropriate for the seedlings. Monitor the conditions for your frost-sensitive plants for exposure to cool nights. Before leaving the plants outside overnight, look for signs of stress. If you notice any, continue daytime hardening until they look a little healthier.
Transplant Seedlings
Now your seedlings are ready to be transplanted to their new outdoor home.
Easy Hardening Method
This method is the easiest way (and quickest) to harden seedlings. If you’re like me, the indoor/outdoor constant movement for multiple weeks gets to be a little much. I can last hardening my crops for about five days before I’m over it. And that’s just what this method does. Five days of stress-free hardening the easy way.
Initial Exposure On A Cloudy Day
Before you start, watch your weather forecast like a hawk. Your hardening off window looks like three straight days of clouds, no rain, and temperatures above 45 degrees Fahrenheit. When you see that window, that’s your time to start hardening cool-season crops.
On the first day of initial exposure, take your seedlings outside on an overcast day and leave them outside for four to six hours before returning them indoors. A shady area or the use of shade cloth can be substituted for an overcast day.
Increase Duration For Two Days
For the next couple of days, increase the amount of time the seedlings spend outside on overcast days. They should spend about eight hours outside on day two and twelve hours outside on day three. During the next couple of days, the plants should be exposed to some more direct sunlight and wind. Maybe some morning filtered sunlight transitioning to shade later in the day.
Expose Plants To Full Sun
On the fourth day, introduce the plants to direct sunlight for the first time before moving them to an indirect light location. Keep them in mid-day, direct sunlight for one to two hours at most.
Full Day And Night Exposure
On the fifth and final day of hardening, your seedlings are ready for a full day of light exposure or can be transplanted to their new home. Easy peasy lemon squeezey.
Now, excuse me while I go plant my freshly hardened plants into a garden bed. In a strange twist of events, the plants are safer outside these days thanks to a new kitten who keeps eating all my cabbage seedlings inside, the little monster. Happy planting, everyone!
Pssst…For my fellow gardeners, how do you usually harden your plants? Any tricks you’ve learned along the way? Do share in the comments.