Sometimes a maker just needs to make something. Preferably something vibrant, slightly unnecessary, and much more fun than the practical job of sorting through a closet to figure out which pants still fit. So this week, the kids and I made chunky letter bead bag charms for their backpacks, and honestly, it was a much better use of our time than back-to-school prep. Because summer isn’t over until we say it is, and apparently we are saying it is not over.
In this tutorial, I’ll show you how to make your own DIY bag charms with chunky letter beads, plus I’ll share where to find all the supplies (because, as it turns out, finding the right chunky beads is its own little scavenger hunt).
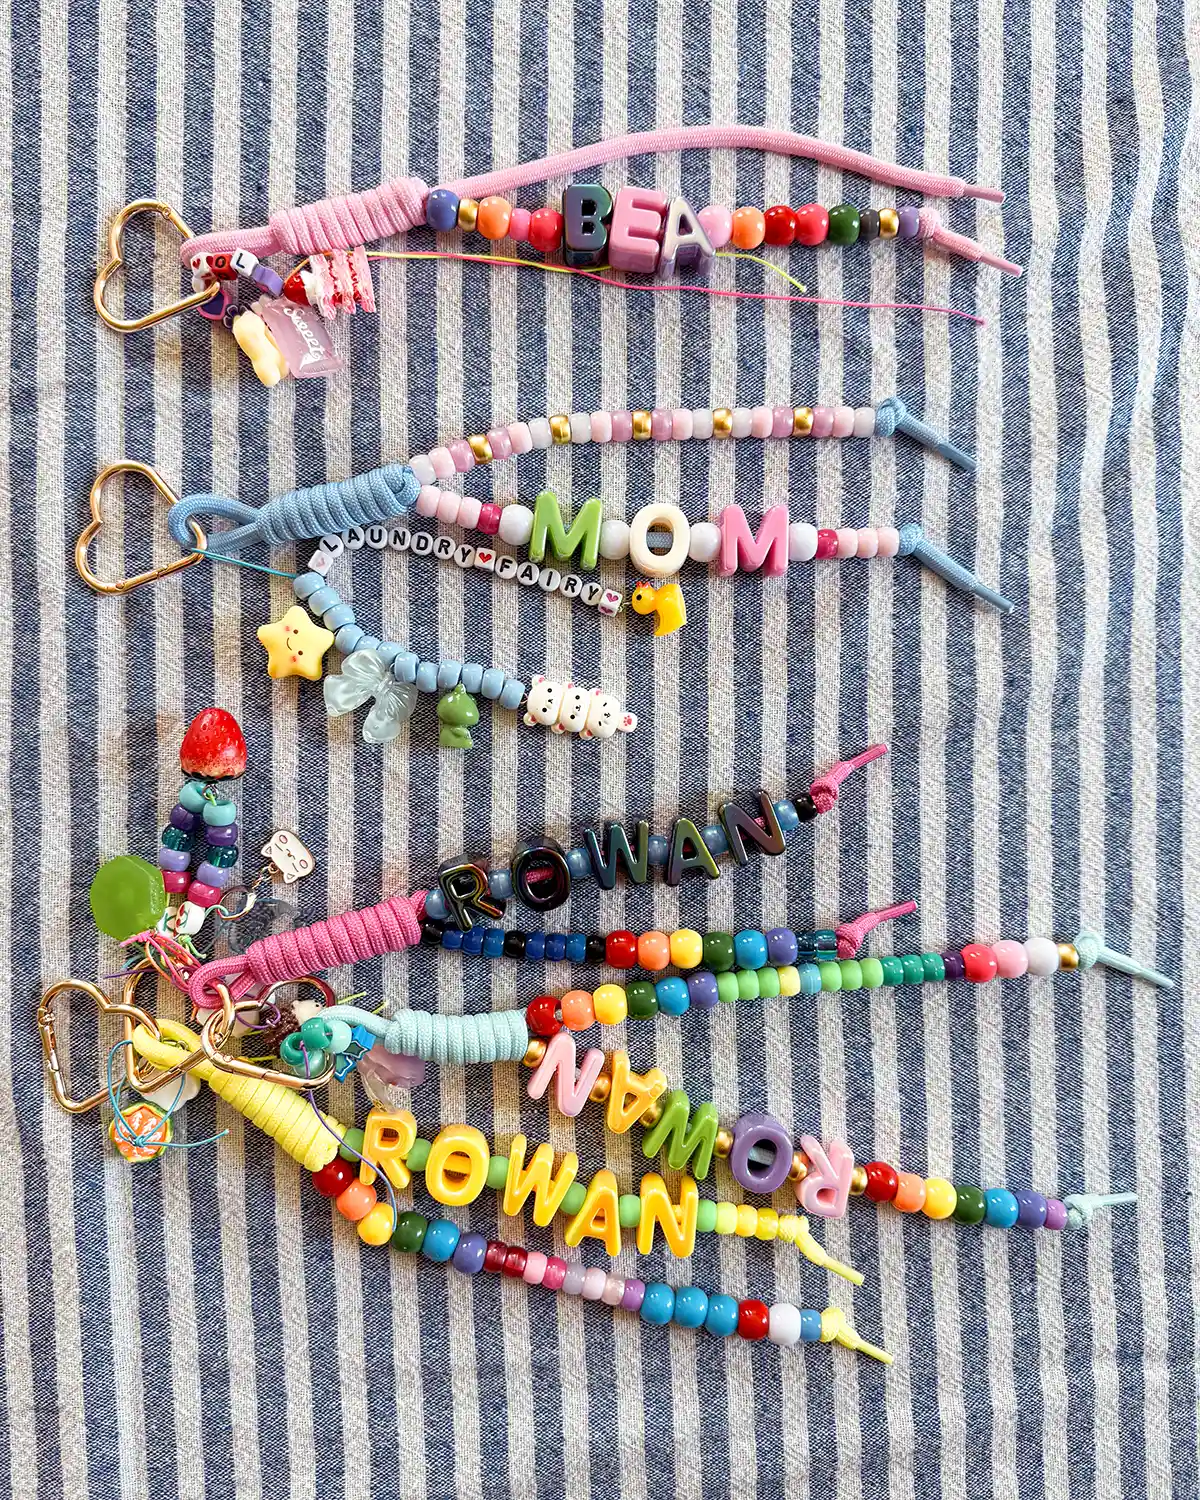
This is a ridiculously easy project and took us about 30 minutes to make five bag charms, which is approximately seven minutes longer than the maximum amount of time and fine motor skills my four-year-old and I can devote to any one craft.
I intentionally chose kid-friendly, easy-to-work-with supplies, which is why I happily bought pre-knotted paracord and skipped the whole “how does one tie this knot?” portion of the program. I also stuck with simple cord and knots instead of fancy crimp beads. Would I have done it differently if I were making these by myself? Probably. But when kids are involved, easy is the name of the game. Less fuss, more making, fewer tiny craft supplies rolling mysteriously under the furniture.
But enough intro, let’s make beaded bag charms!
How To Make DIY Chunky Letter Bead Bag Charms
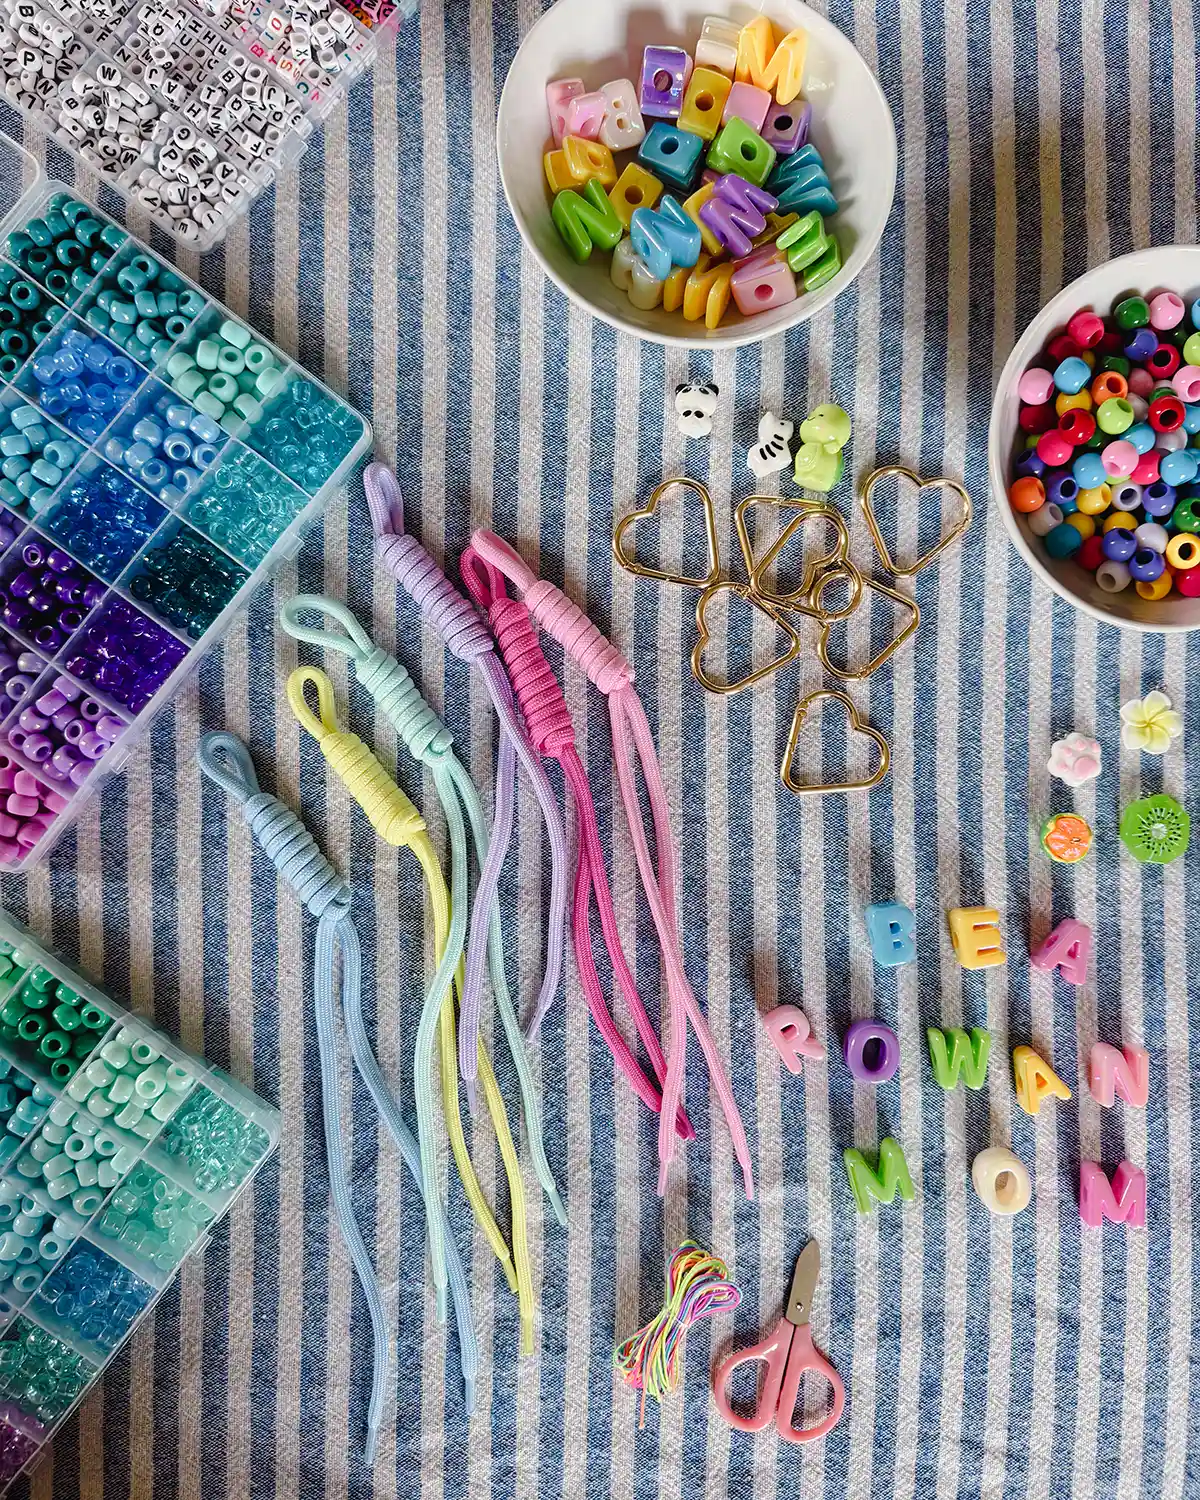
Supplies
- Chunky Acrylic Letter Beads (Amazon)
- Pony Bead and Small Letter Bead Set (Amazon)
- Large Hole Pony Beads (Amazon)
- Mixed Charms (Amazon)
- Paracord (Amazon)
- Heart Keychains (Amazon)
A note on supplies: This list is everything we used to make our DIY bag charms. Yours may look different, and that’s okay! I also bought a huge pony bead mix pack that included letter beads, elastic cord, and tiny scissors, which was SO worth it and we’ll be using for projects to come.
A note on bead sizes: Regular pony beads fit very tightly on the paracord. We were able to put them on okay, but sometimes the cord bunched up a little when trying to pull them off. The large hole pony beads were much easier to put on and off.
A note on chunky alphabet beads: I opted to purchase the individual letters we needed instead of buying a bulk, mixed alphabet pack. There were lots of mixed reviews on all the bulk packs I looked into, usually around which letters were included. For instance, some were missing R but came with three Zs. I opted for the sure thing instead of rolling the dice on a mixed container. It’s MUCH more expensive this way, but I also have plans of doing this again next year and invite the girls’ friends over for a bag charm party.
Tools
- Scissors
- Patience (it may be the most important tool when doing any craft project with children)
Step One: Select and String Letter Beads
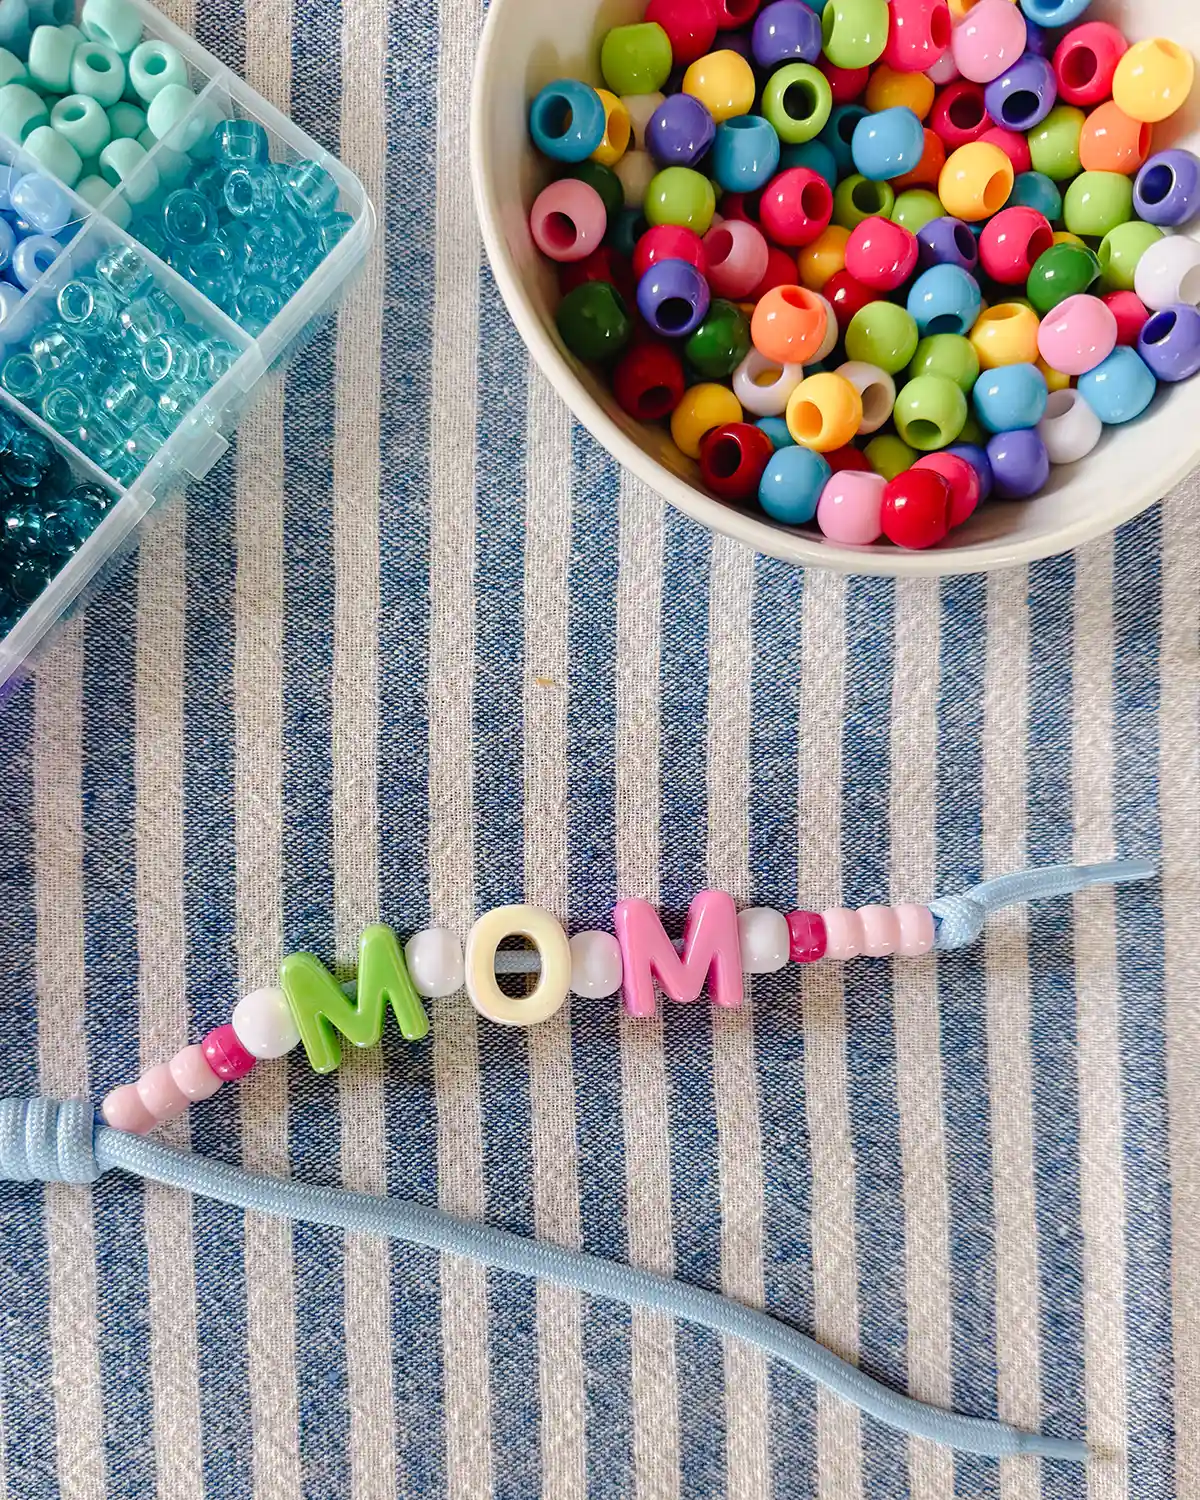
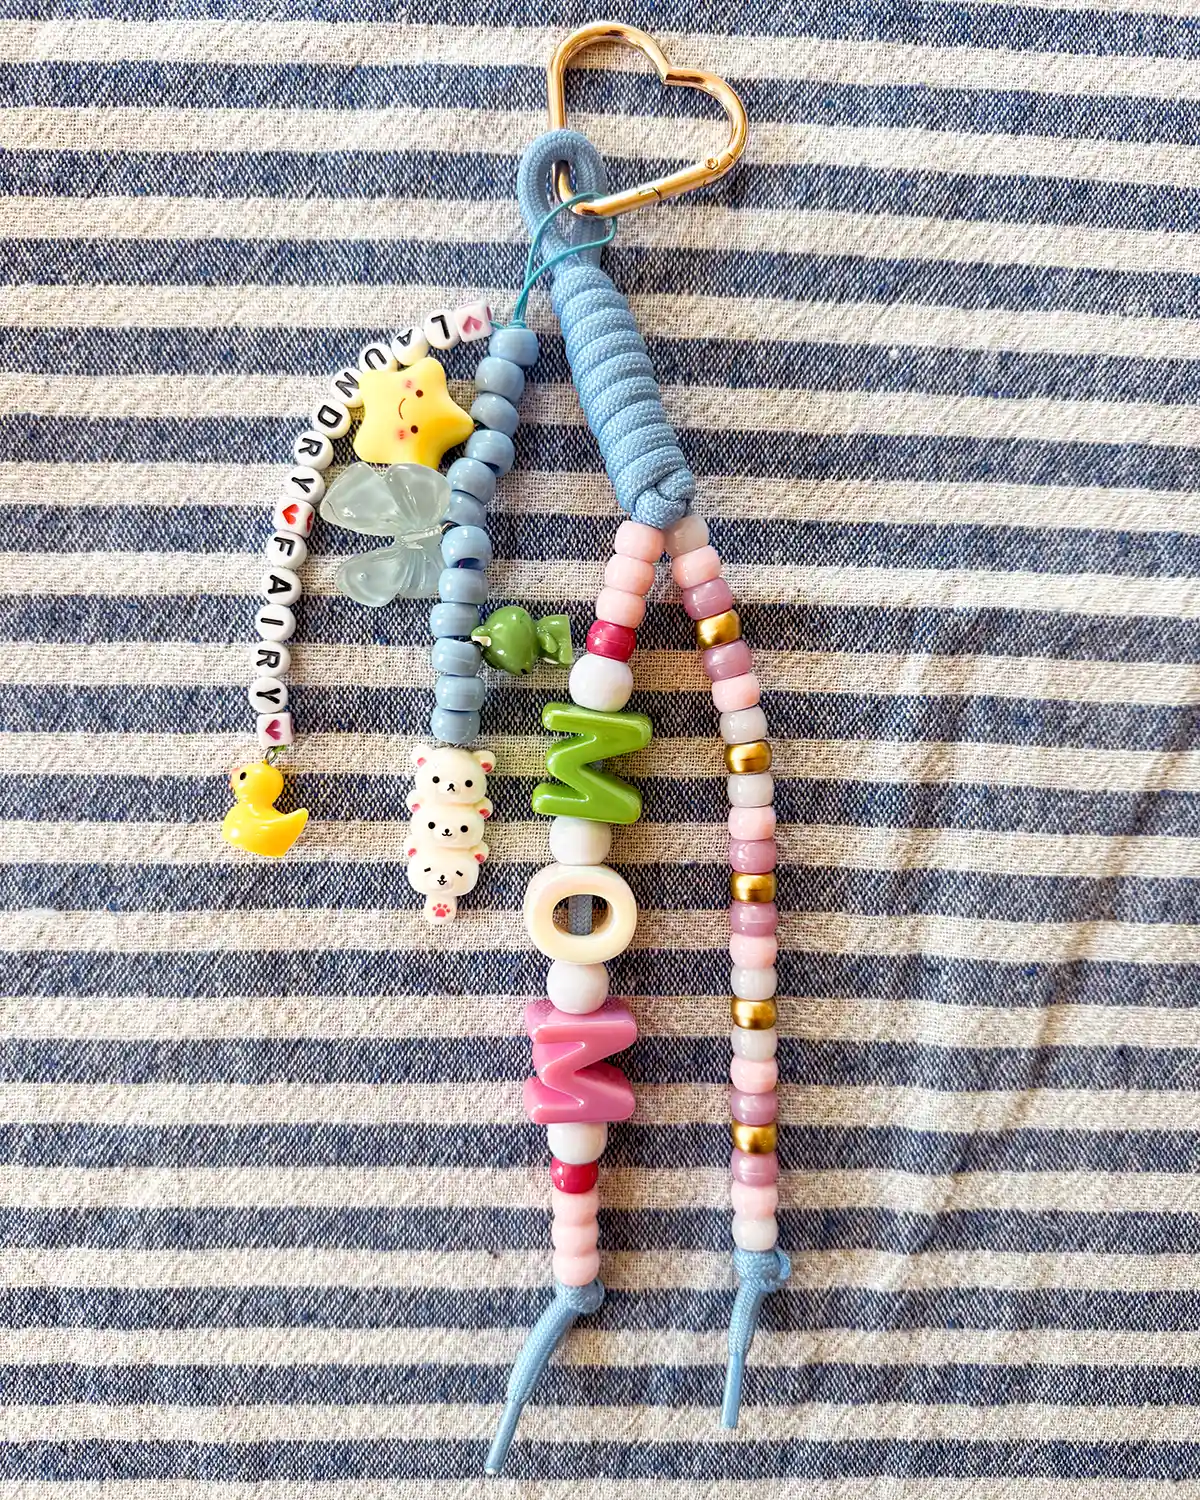
Pick a paracord and choose your main word to personalize your creation. The girls did their names, and I chose “Mom” because it only required buying one more set of chunky letter beads. Play with the various beads and thread them along the paracord. Go for a pattern or bead like a wild four-year-old where anything goes. Or maybe make one with a color scheme using various shades of your favorite color. This is the part where you can really let your creativity run wild, like Lola Dutch (I love her so much). So unleash it!
With the bubble letter beads, the two schools of thought are to smoosh the letters right up next to each other or use colorful beads as spacers. My kids are smooshers; I’m a spacer.
Bead away until you’re happy with your creation. Leave a little over an inch at the end, or however much room you need to make a basic, big knot to keep all the beads on.
Step Two: Thread Beads On The Second Strand
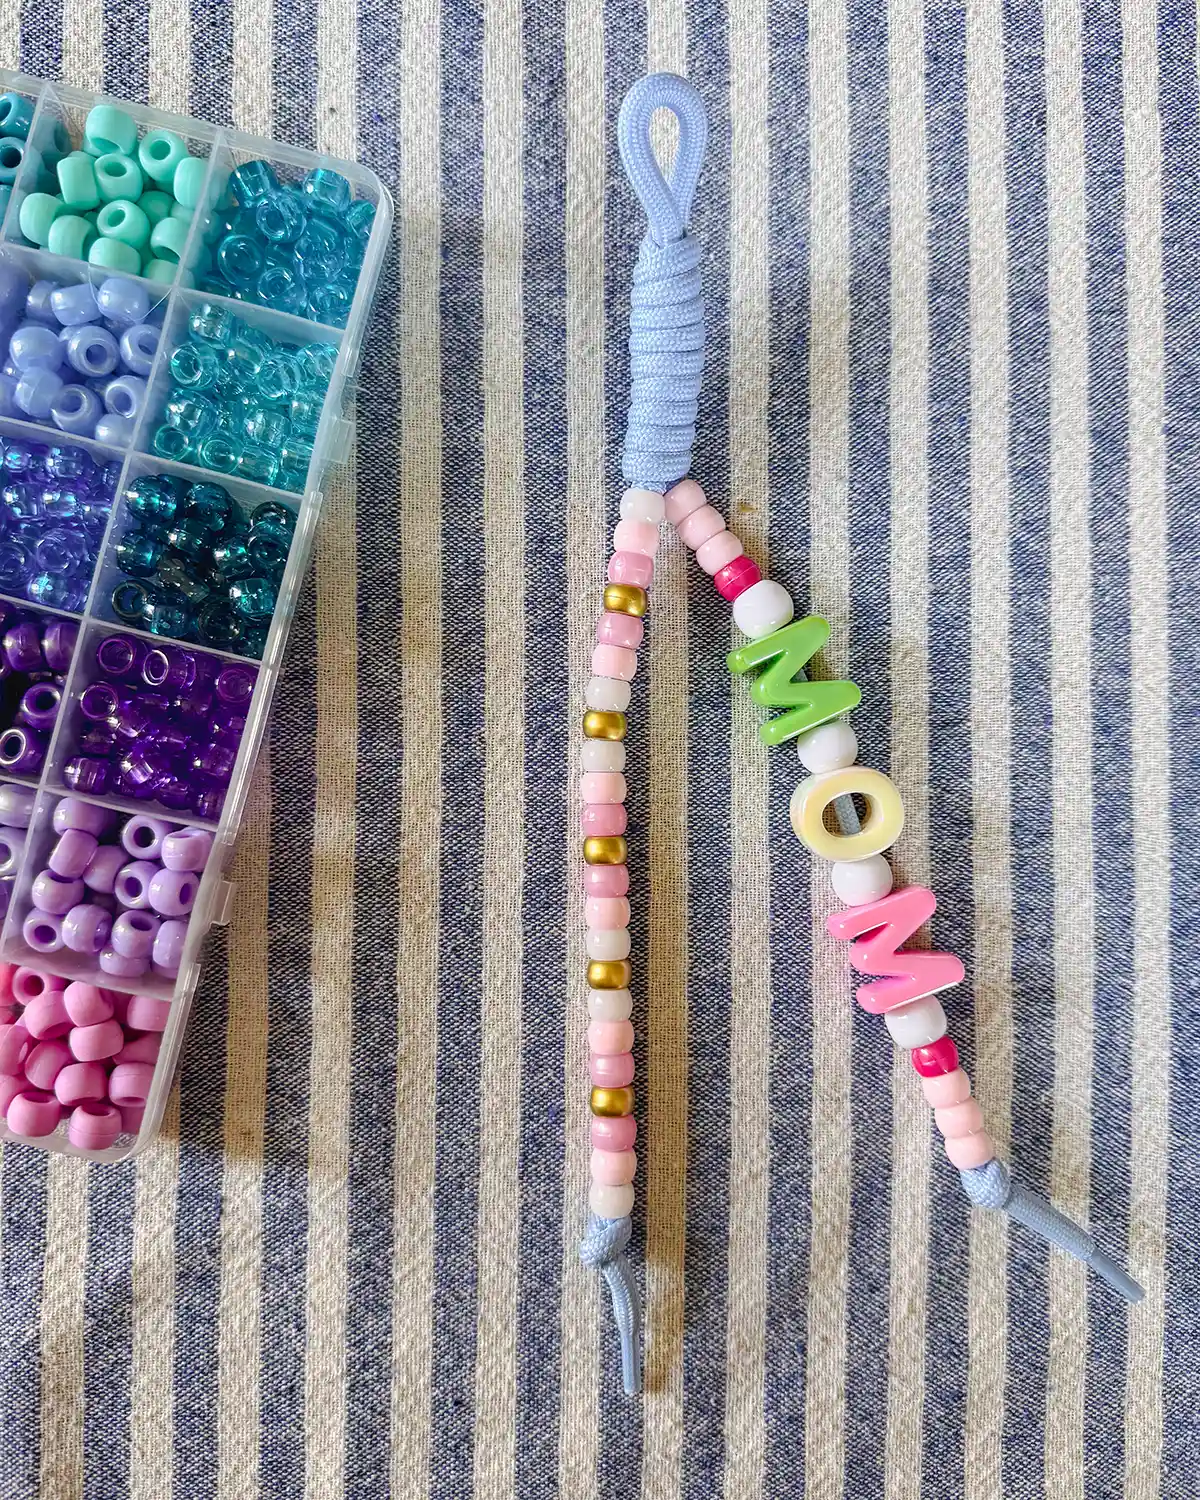
Next, thread beads along the second strand of the paracord keychain. This is when it’s nice to have such a big selection of beads to mix and match. The color and pattern options are limitless!
Keep stringing until you’re happy with your creation. Once again, leave a little over an inch at the end of the paracord to tie a knot. Voila!
Step Three: Attach The Keychain
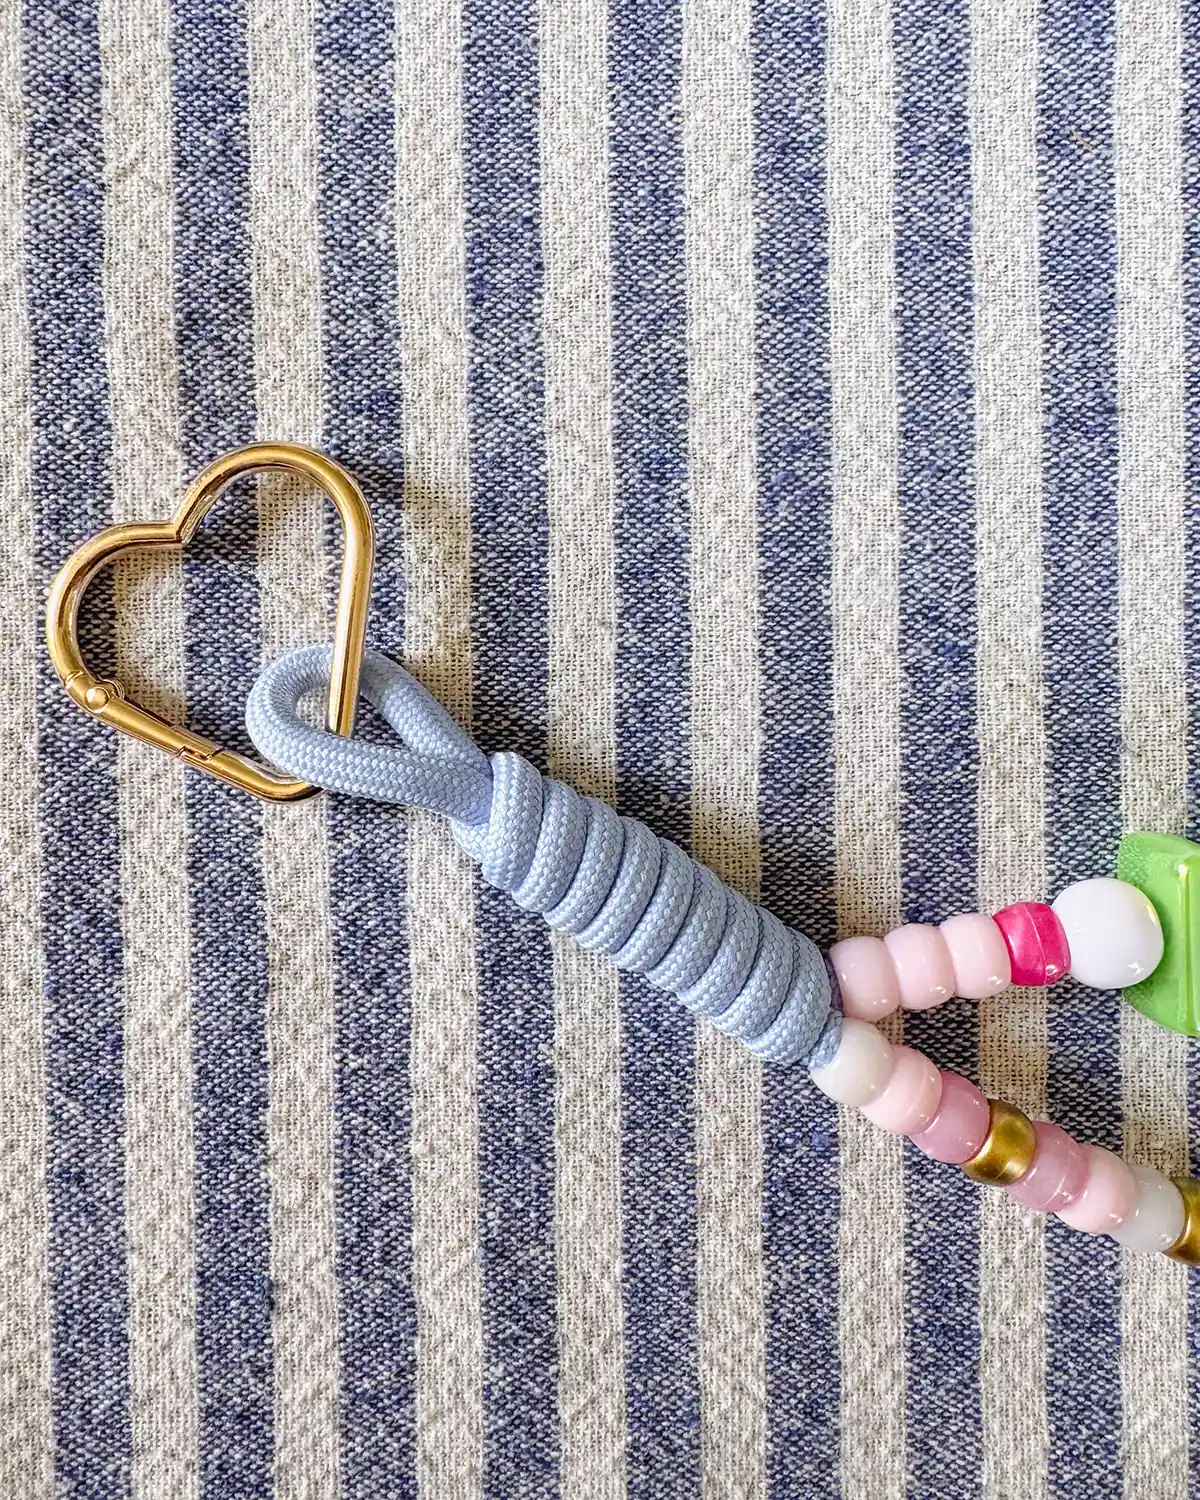
The paracord needs a device to attach it to your backpack, purse, tote bag, or other bag of choice. Enter the magicalness of a carabiner. These are not your standard camping and outdoorsy carabiners. These are crafting, maker carabiners. We chose some fun gold heart ones to attach to our bag charms, but they come in so many different colors, shapes, and sizes.
For this step, clip the carabiner or keychain to the paracord loop. Like so.
Step Four: Make Some Flair
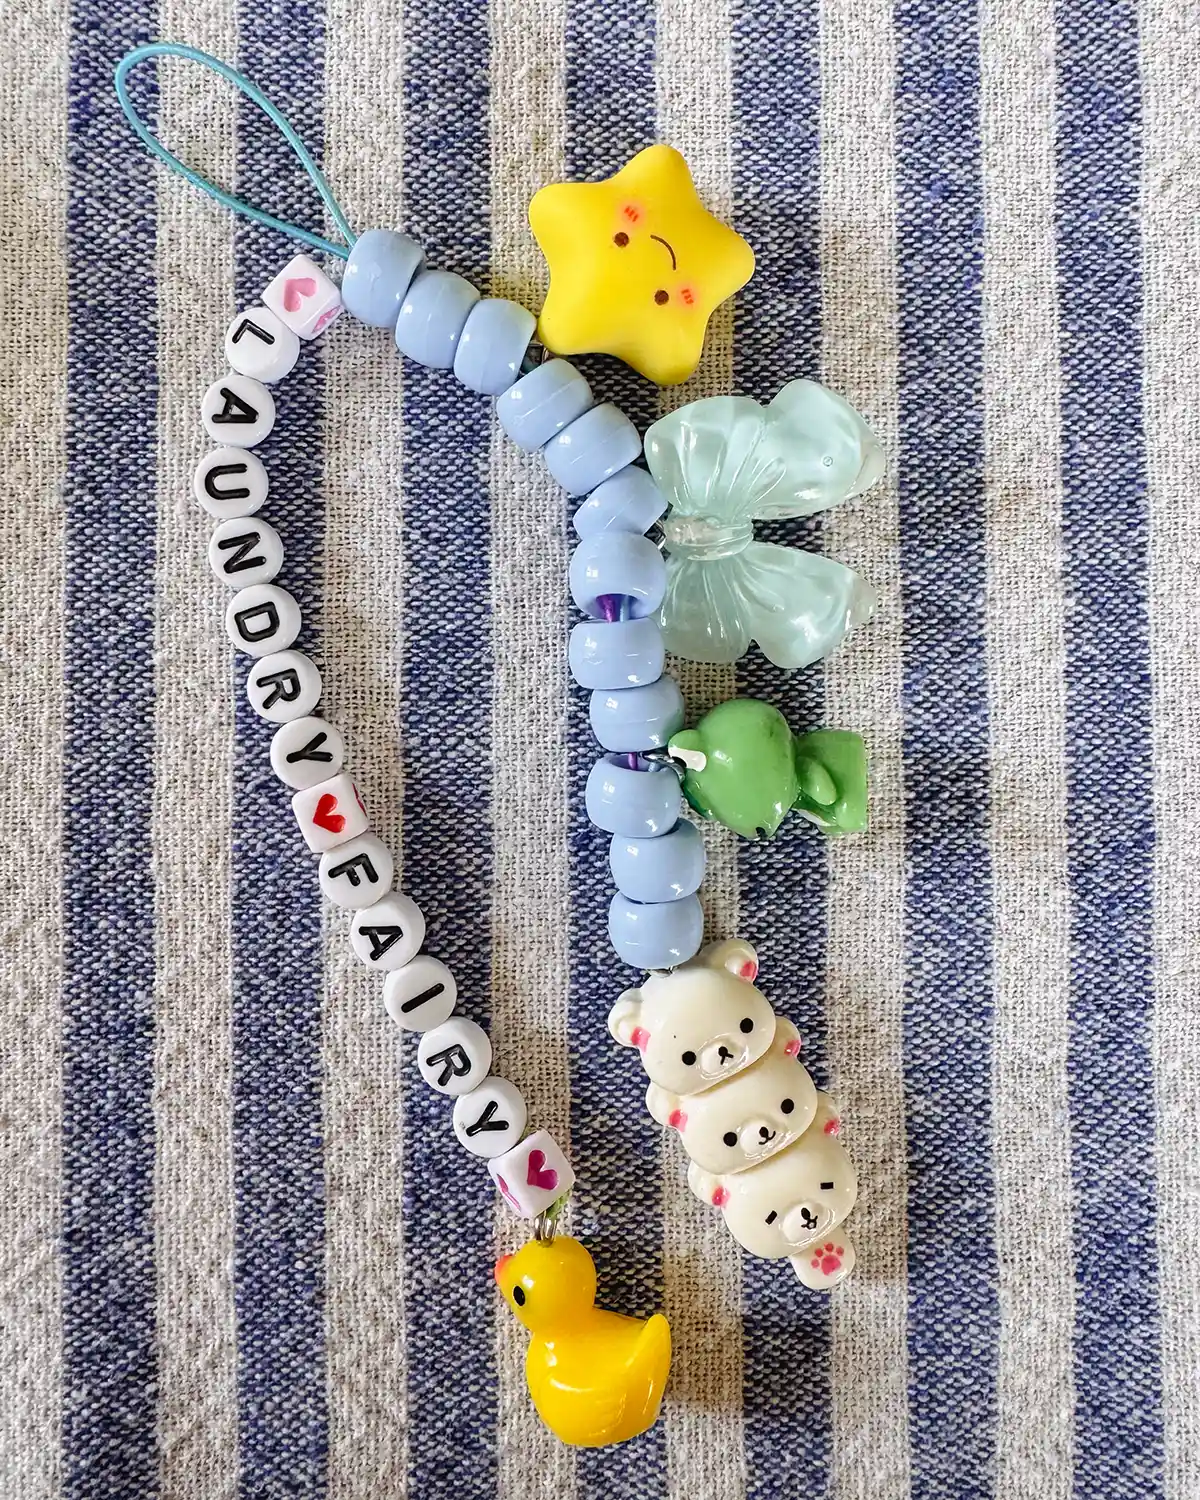
Just like the waitstaff at Tchotkes restaurant from the movie Office Space, our bag charms need at least ten pieces of flair. To customize our flair, we used the stretch cording that came with the pony bead kit. Cut the elastic longer than you need; mine was about a foot long, then fold it in half and tie a simple knot near the top of the loop, similar to the paracord.
Then string beads and charms along both legs of the elastic. When you’re done attaching beads and like the length, attach a charm at the end. A tassel or star beads are other charm ideas for the ends. Attach the charm onto the end with knots, then thread the elastic back up through the beads. You don’t have to thread all of it back up, just a little bit of it so you don’t see the ends, yet it’s not cut right next to the charm.
Here’s my finished flair. I thought using the alphabet bead set to spell “laundry fairy” was an appropriate job description to go with my “mom” bag charm. Other jobs I considered: snack dealer, magic department, bubble technician, lostologist, chaos curator, boo-boo bureau, memory maker, and tiny human resources. All the hats us moms wear!
Step Five: Clip On The Flair
Now, return to the bubble letter, paracord bag charm combo and clasp the custom flair onto the carabiner. Easiest step of the day!
Step Six: Attach The Bag Charm To A Bag
And now, the moment we’ve all been waiting for: attaching your magnificent little DIY bag charm to an actual bag. After all that bead arranging, string tying, and general crafting, these tiny beauties have a destiny to fulfill. Namely, making a perfectly ordinary backpack or purse approximately 37% more fun.
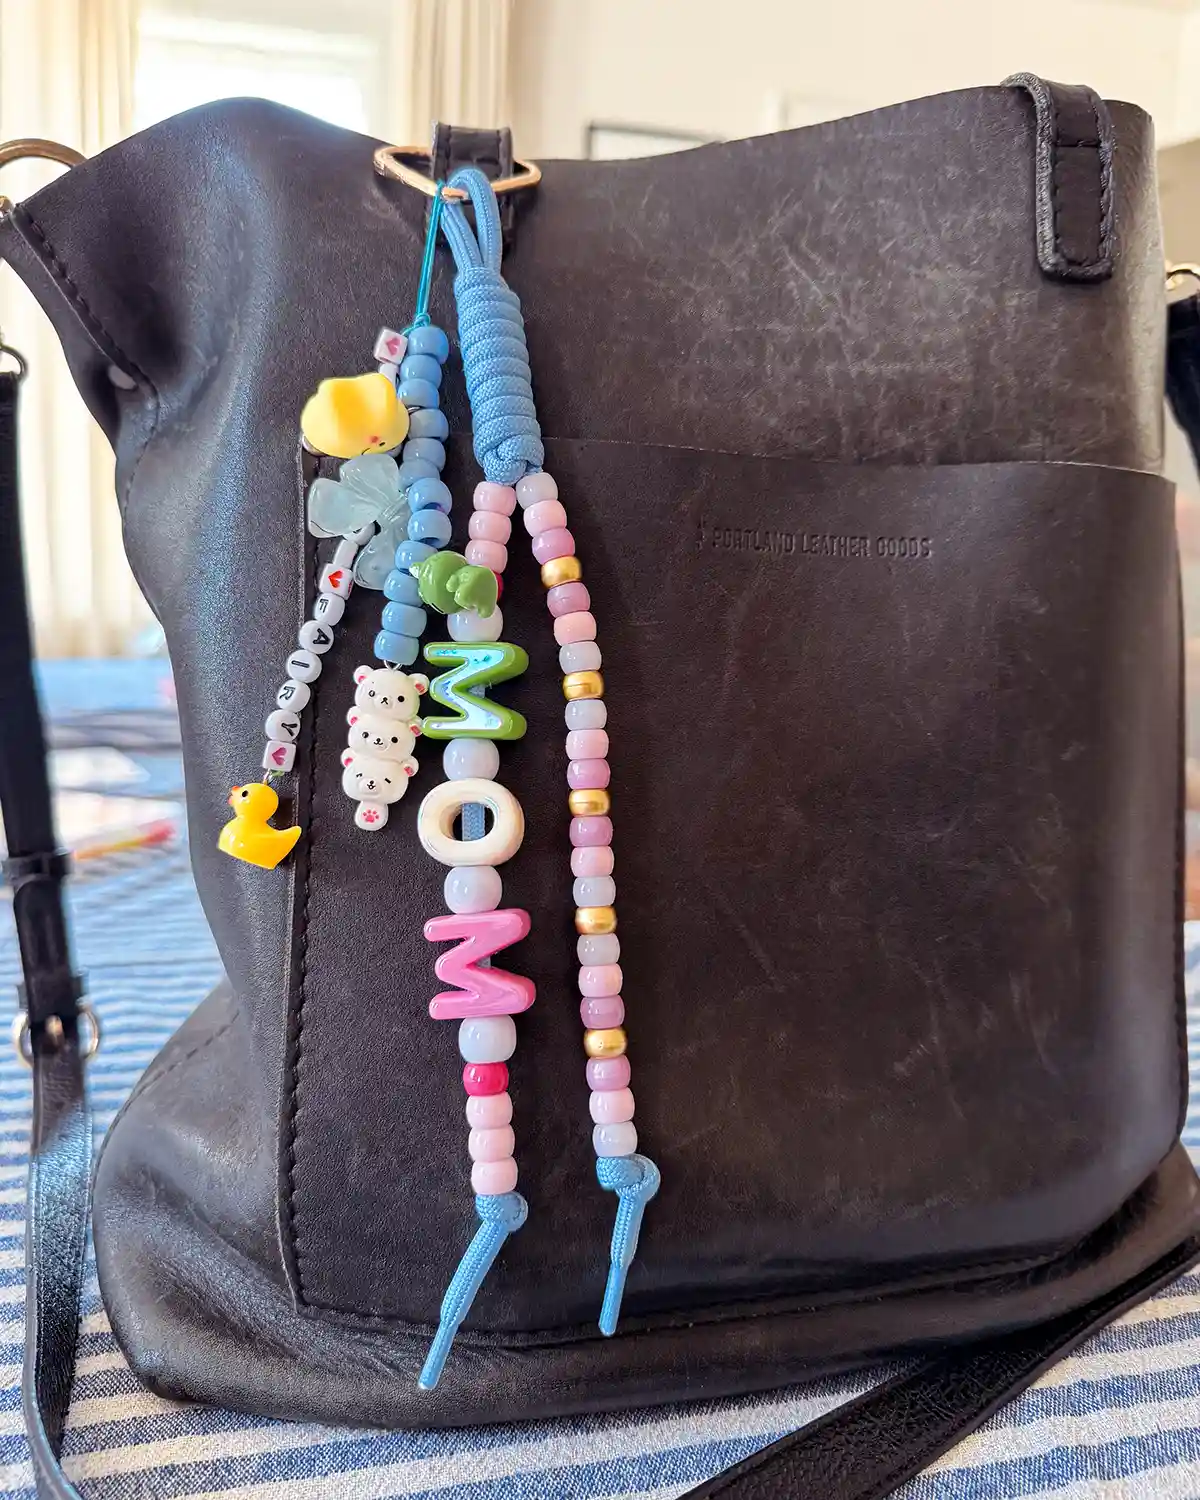
I immediately clipped mine onto my purse and headed out into the world, where I confidently took my new accessories on their inaugural adventure: a visit to the hardware store for chicken feed and cat food.
I received precisely zero compliments. ZERO! In the words of Stephanie Tanner, how rude!
Honestly, I blame the audience. I was surrounded by men buying lumber and discussing lawn equipment repairs. Clearly, this was not my target demographic. The craft store, however? Now that’s where these charms will get the appreciation they deserve.
My youngest daughter attached her creation, done entirely on her own minus the knot tying, to the zipper pulls of her tired old backpack. The charms definitely brighten up the old bag.
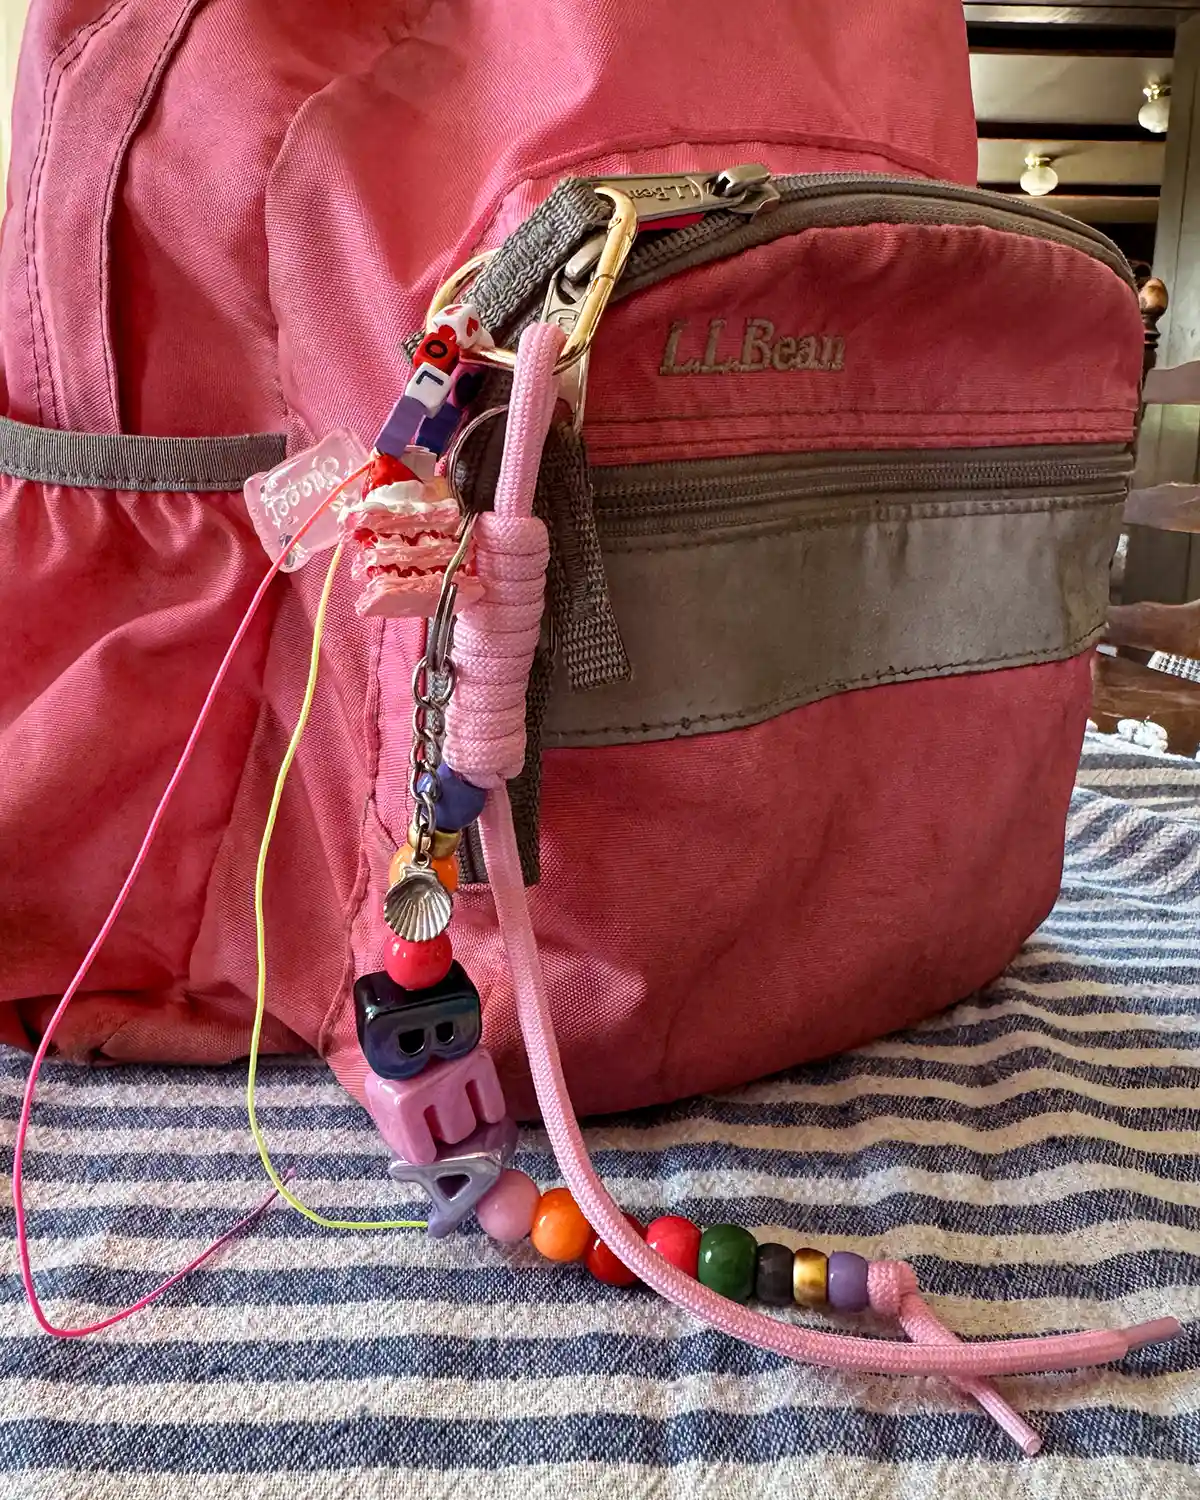
Rowan has proceeded to first wear all three of her creations to the hardware store by attaching them as a giant wad to her shorts. I feared for her shorts’ safety. When we got home, she attached one to her backpack, another to her softball backpack, and the third to her lunchbox. She color-coordinated the one specifically for her lunchbox. Be still my heart, I am raising a mini me.
And there you have it. Five colorful bag charms, approximately 30 minutes of crafting, and absolutely no back-to-school organizing accomplished. I’ll call that a win. There’s just something wonderfully satisfying about making something just because it’s fun. Doubly satisfying when you can do it with your kids.
So grab some fun, chunky letter beads, a mixed bag of charms, and give your backpacks, purses, and summer-weary souls a tiny dose of personality. The laundry can wait. Happy crafting, everyone!
Pssst…Okay, who has crafted with these bubble letter beads? Has anyone found a really great mixed pack of them? Crafting minds are dying to know! Also, has anyone else made (and loves) a purse charm? New DIY crafts hobby unlocked.