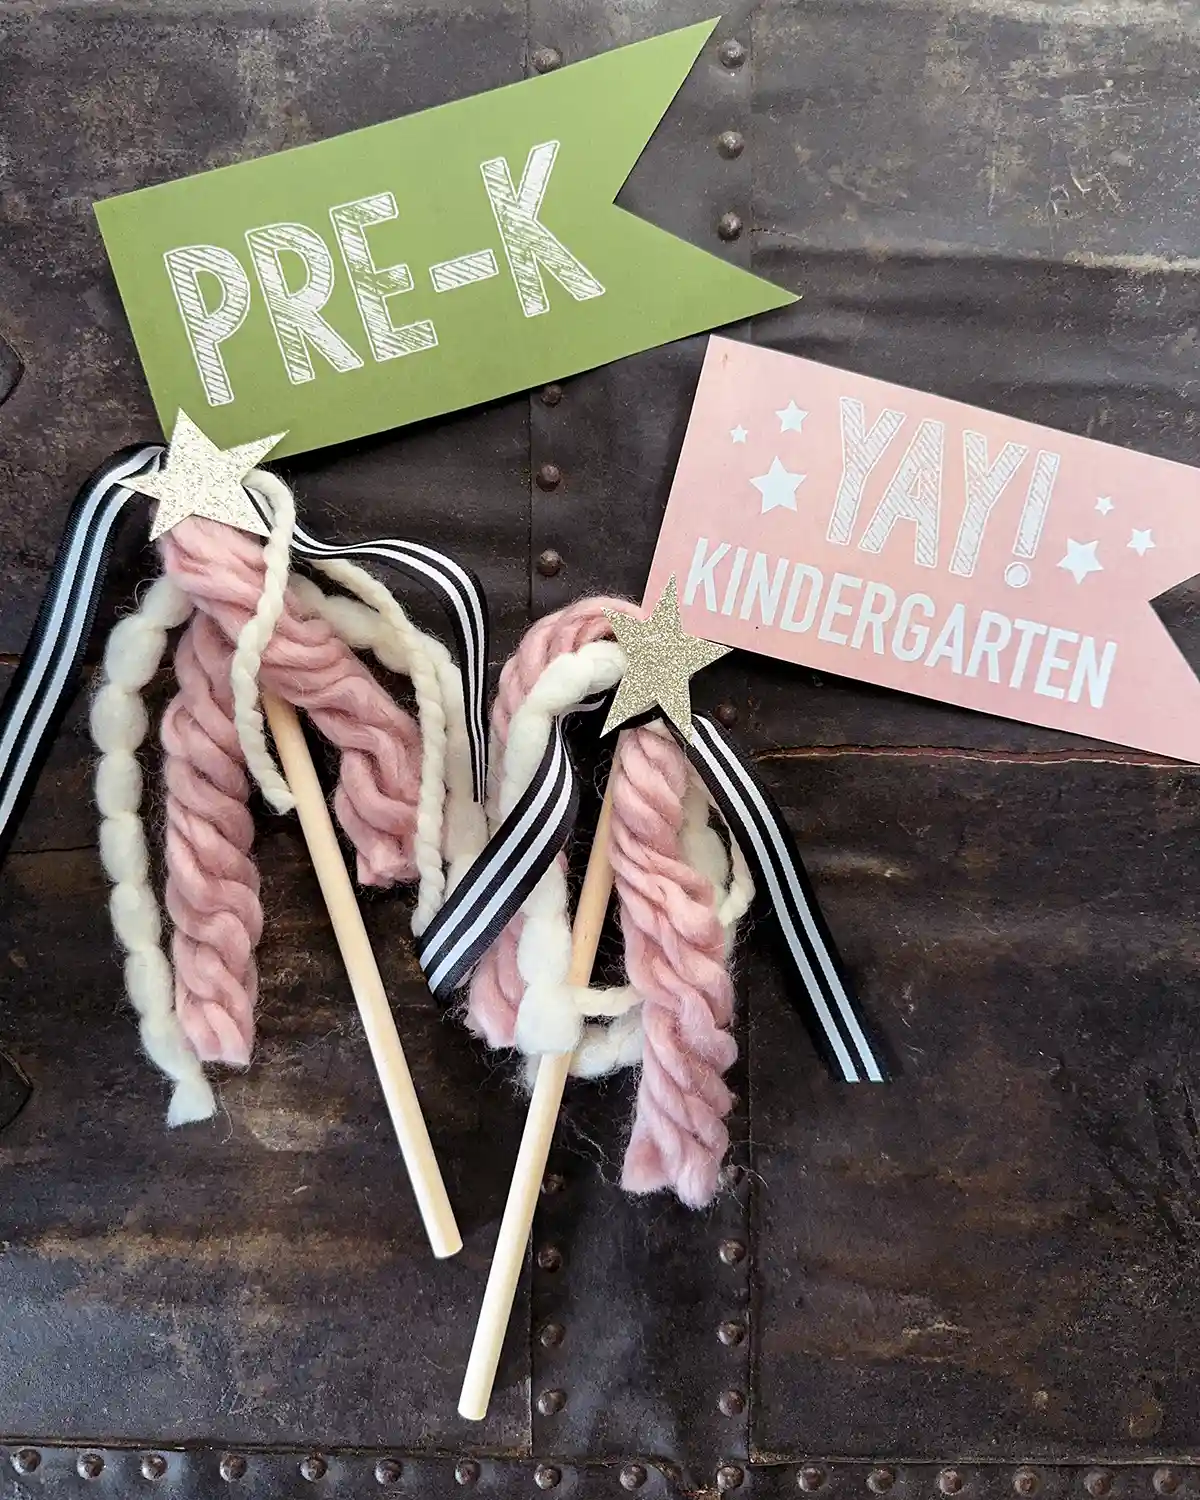
It’s back to school time, and as our family’s self-appointed master of memory-making and keeper of moments, I’m prepping for those first day of school pictures. As I’m writing this, my baby is weeks away from her FIRST day of school as a kindergartner. I believe the phrase I’m searching for to paint a picture of how I’m feeling right now is, “I’m not crying, you’re crying.” But it reminded me of a fun tradition we started when my eldest baby headed to her first day of preschool. I made a first-day-of-school flag to use as a photo prop to document these days.
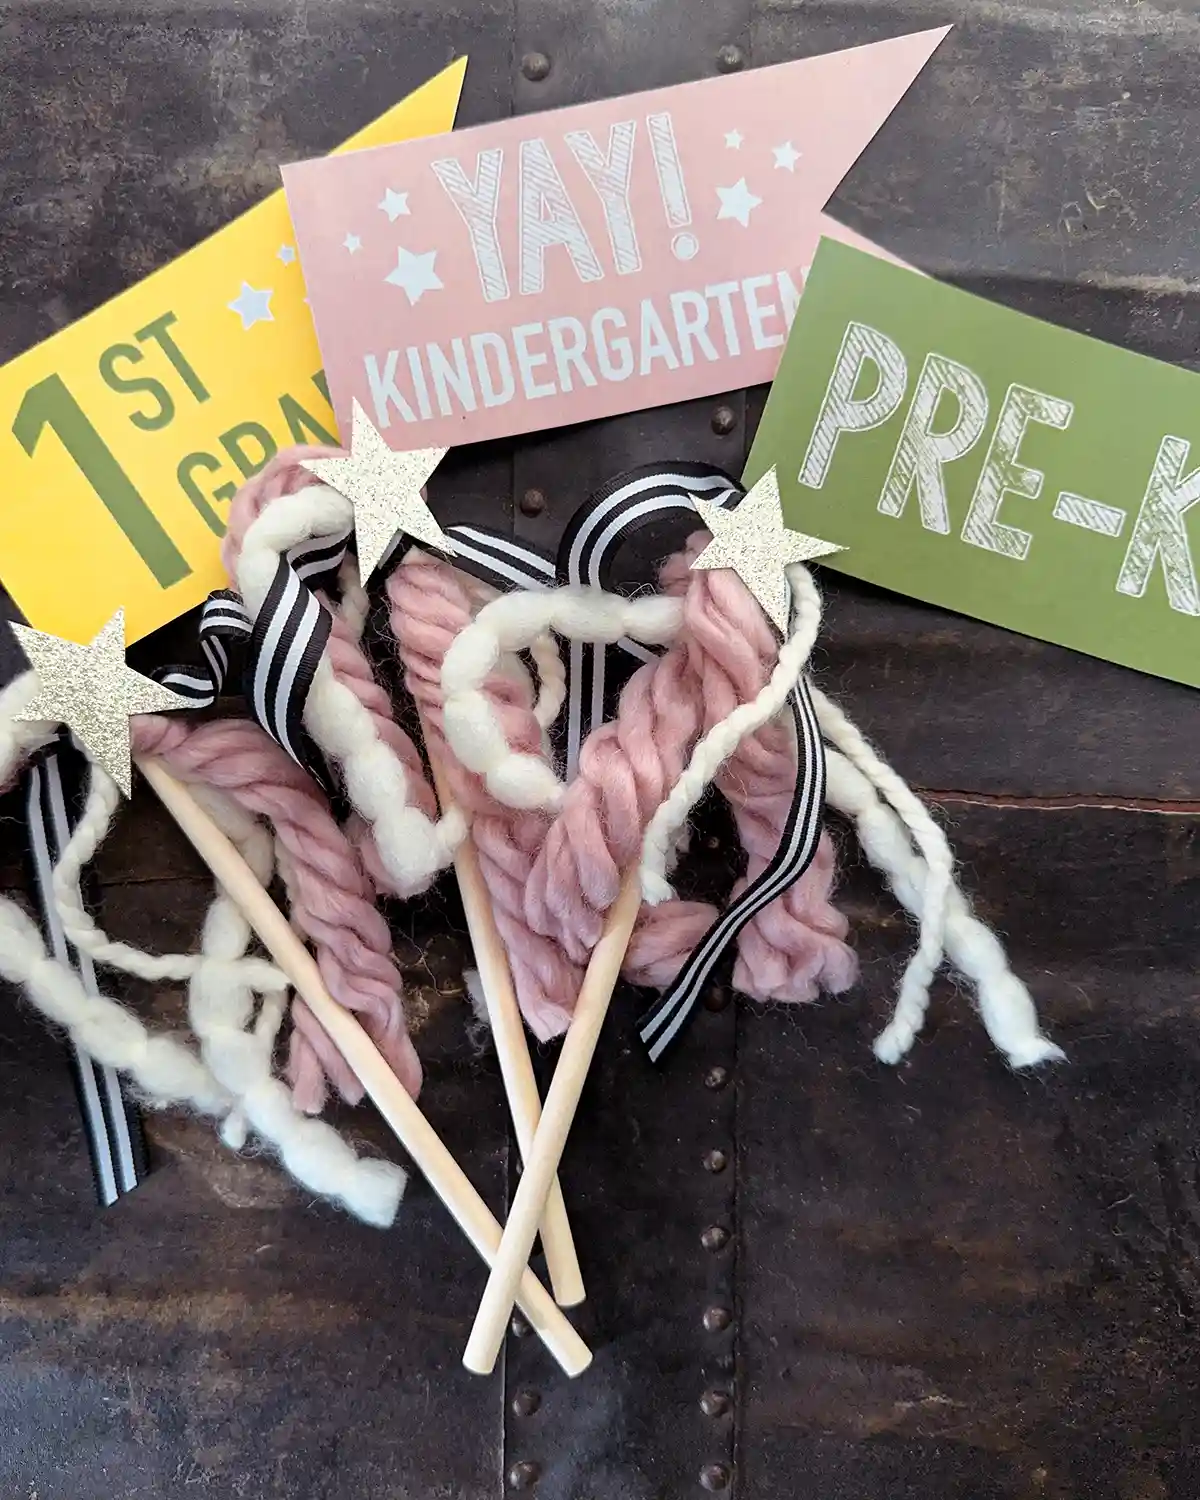
Making these school year props was super simple, and today I’m showing you how I made them so you can file this away for back-to-school time in the fall. It’s a fun summer craft project you can quickly tackle, and it uses supplies that you (if you’re crafty) likely have around your home.
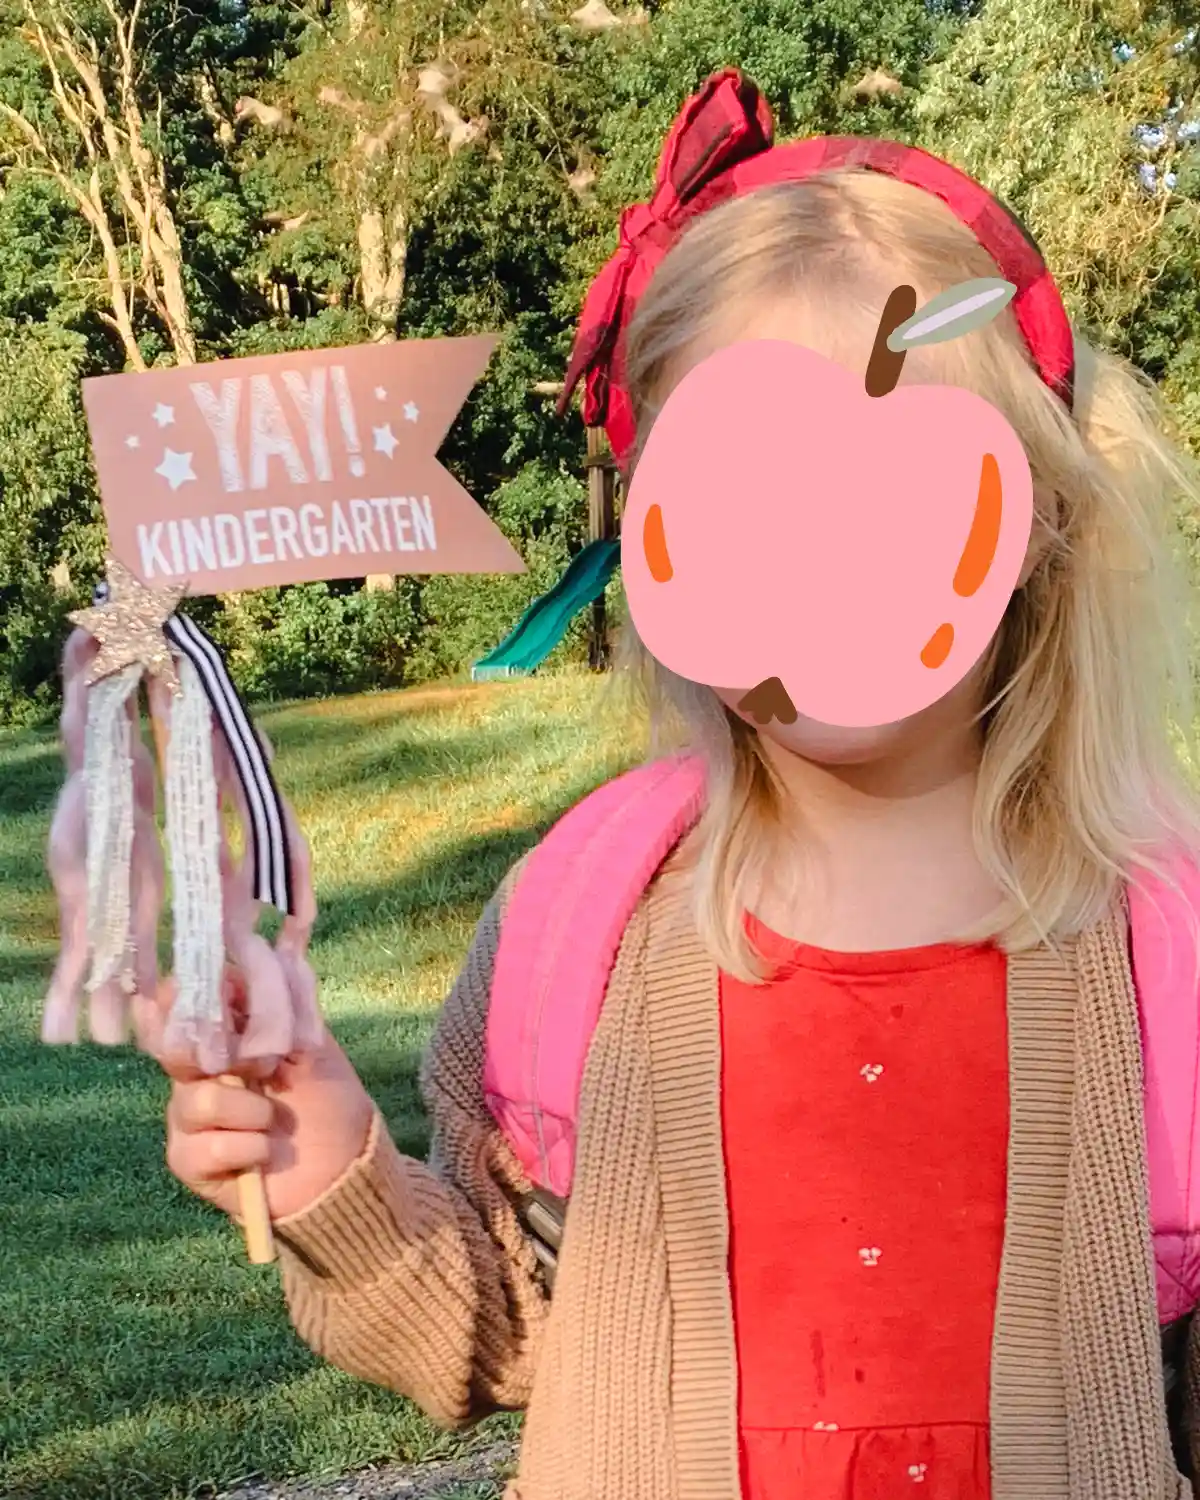
I also included some free printables at the end of this post in a few different colorways. Just download them, save to your computer, and print. Here’s to you, free printable for making lives easier. (Pssst…I’m trying not to show my kids faces around here and be a better internet mom, hence the apples).
How To Make School Year Pennant Flags
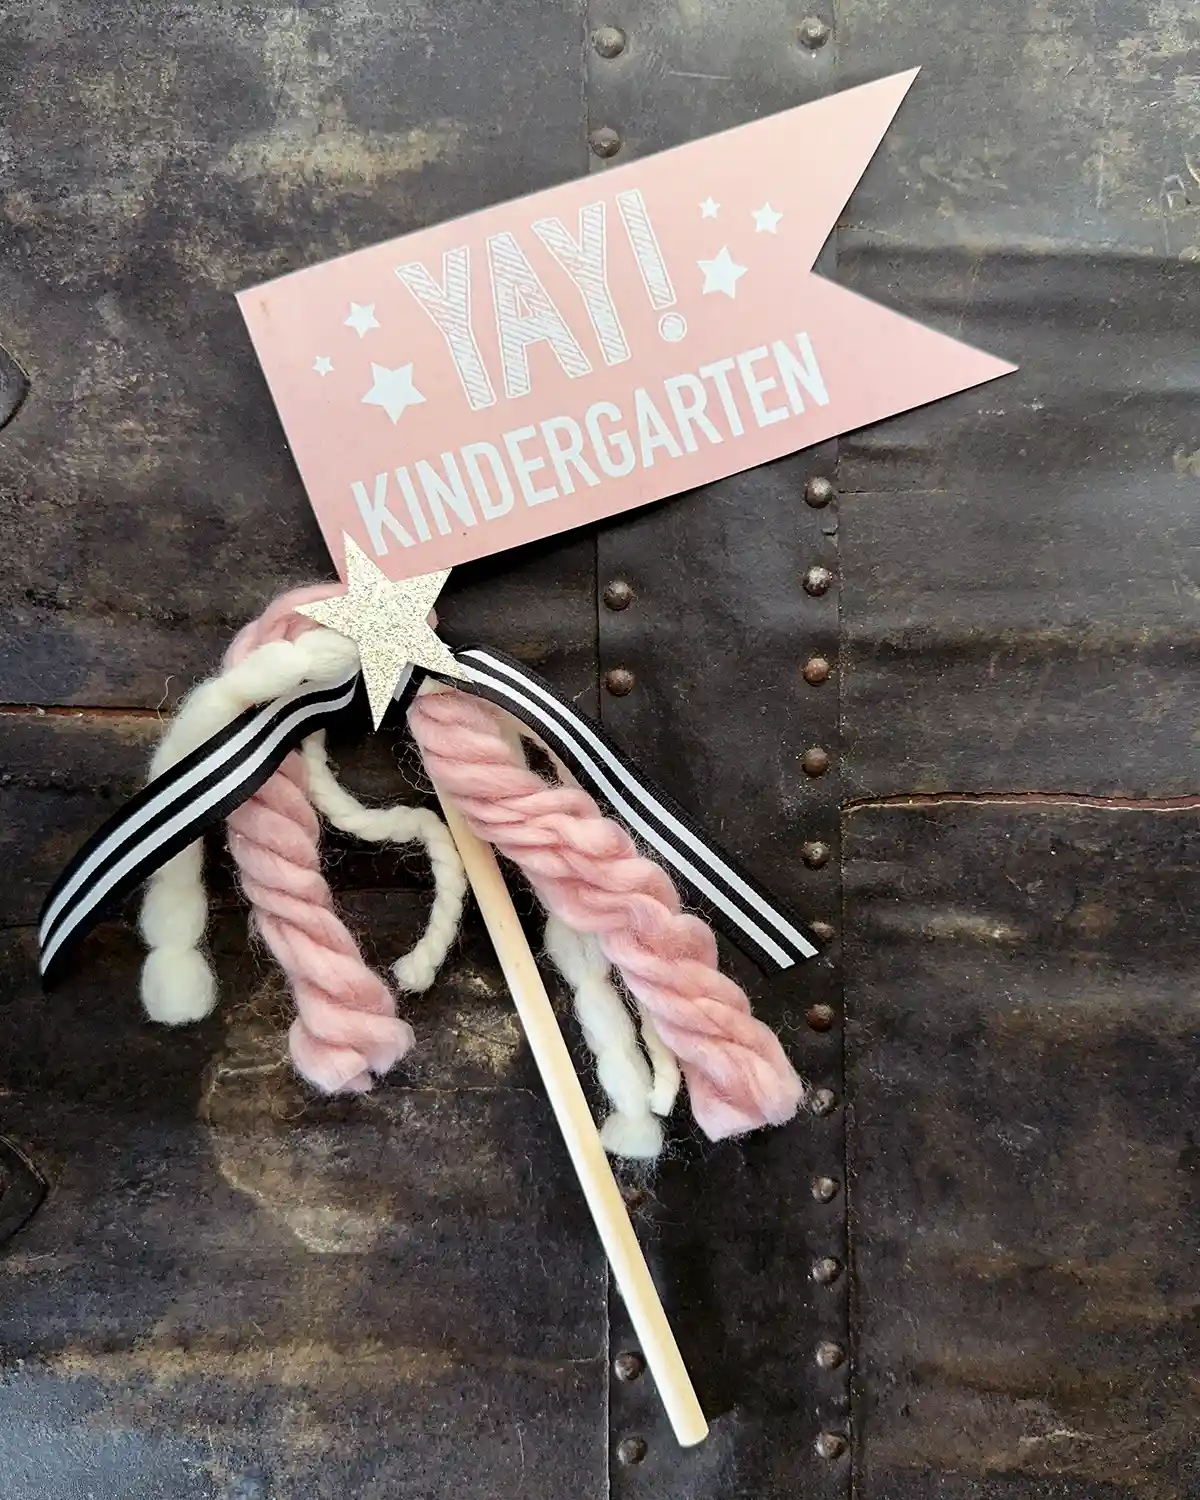
Now, let’s make some DIY flags together! I’m going to make a first day of kindergarten flag.
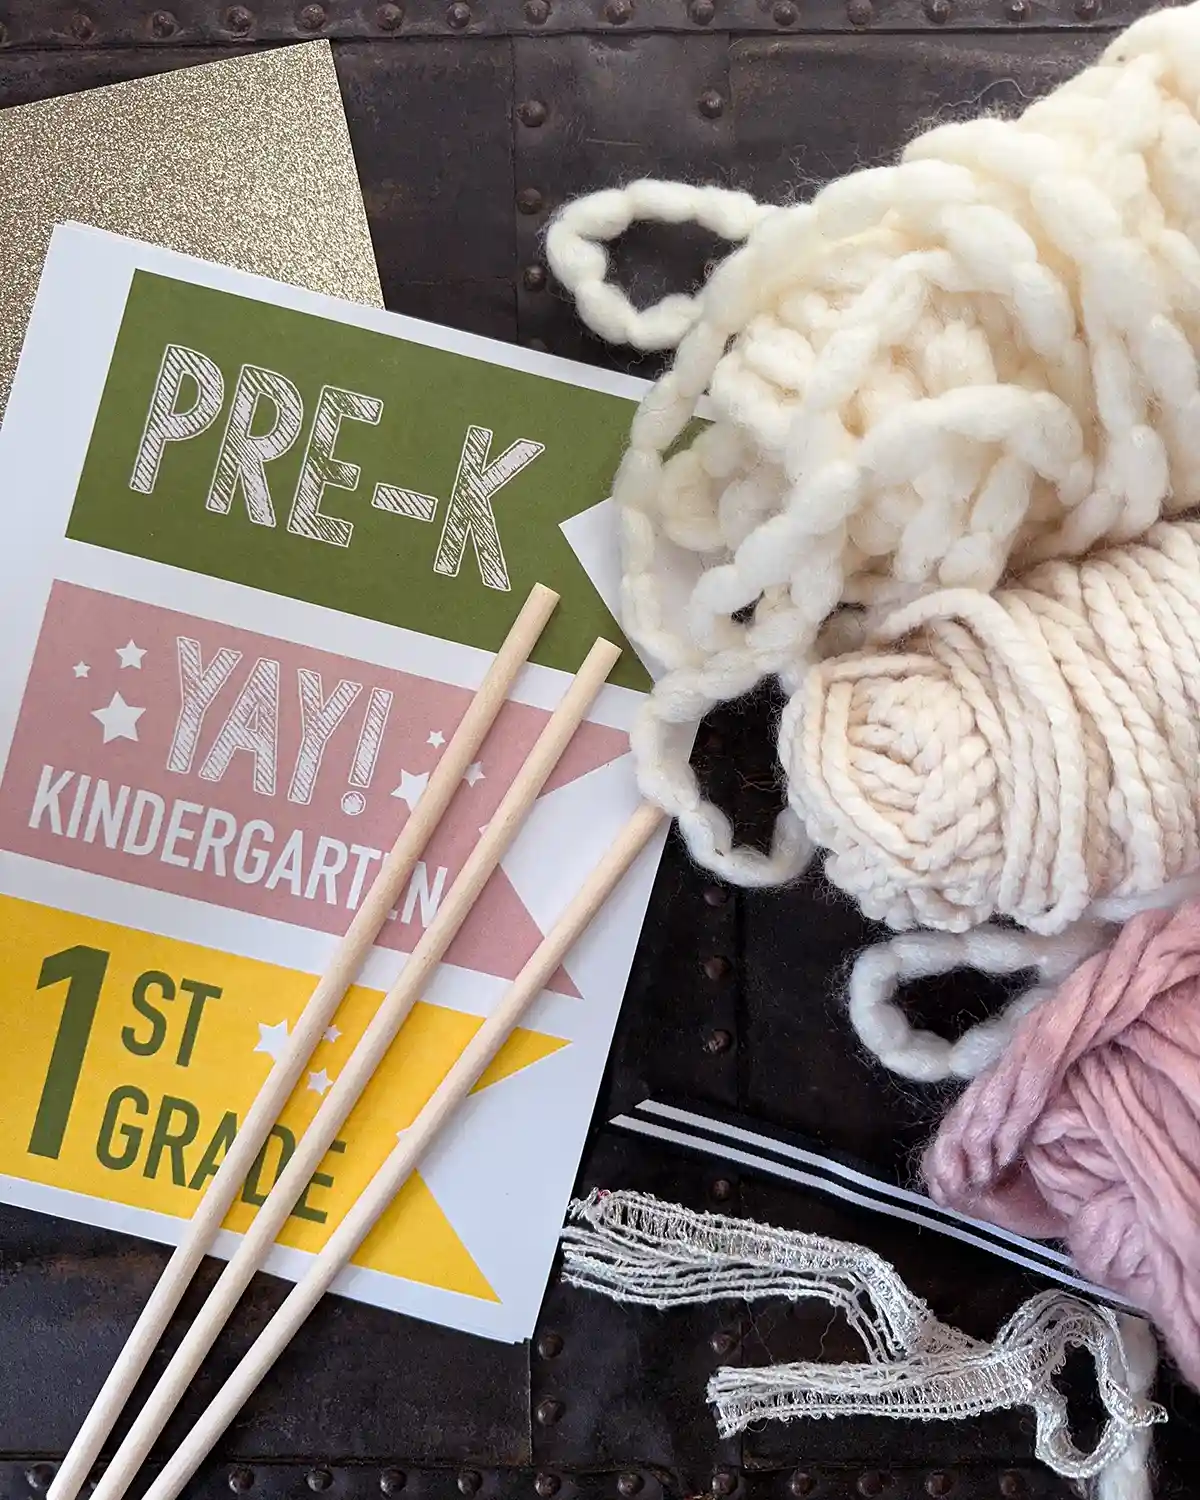
Supplies
- White Cardstock Paper (Michaels)
- 12″ Wooden Dowels (slightly larger than pencil thickness) (Michaels)
- Hot Glue (Michaels)
- Yarn, Ribbon, String, etc. (whatever you have on hand)
- Foam Glitter Sheet or Glitter Paper (Michaels)
Tools
- Printer with Color Ink
- Scissors (Michaels)
- Hot Glue Gun (Michaels)
Step One: Print And Cut Out Flag
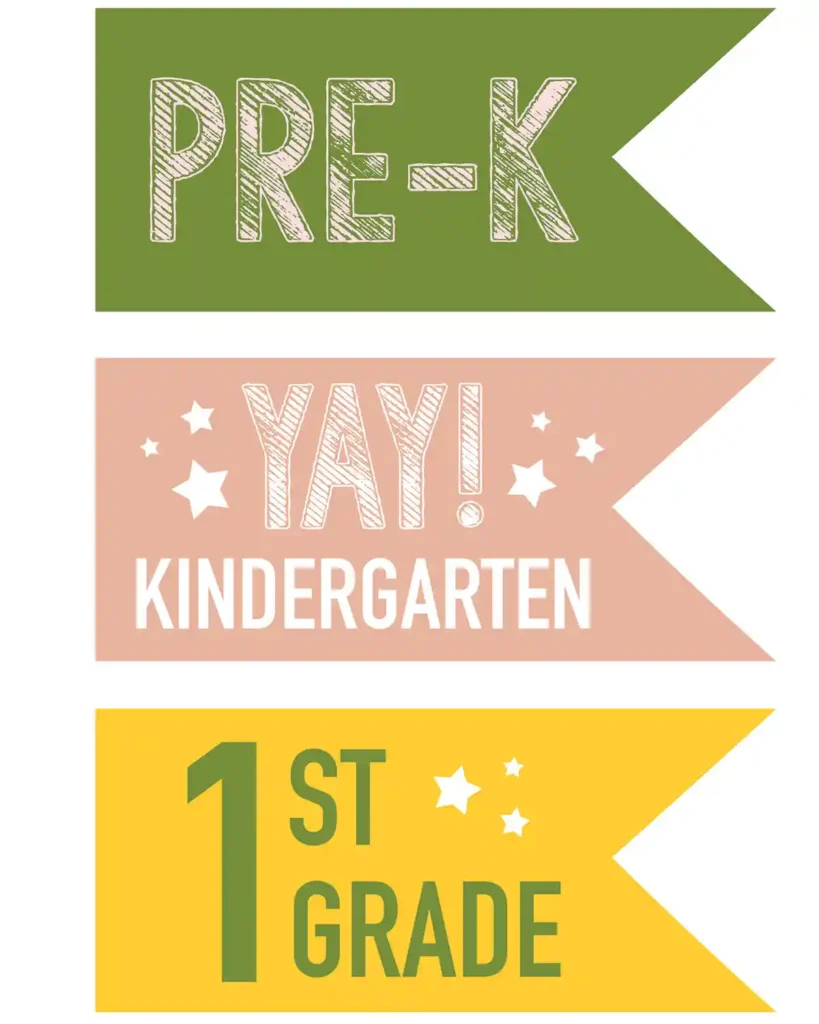
Choose which color set from the PDF printable choices below. Download the file and print the page you need on white card stock. If you don’t have a printer, sending the file to Staples (or a local print shop) for printing is always a great option.
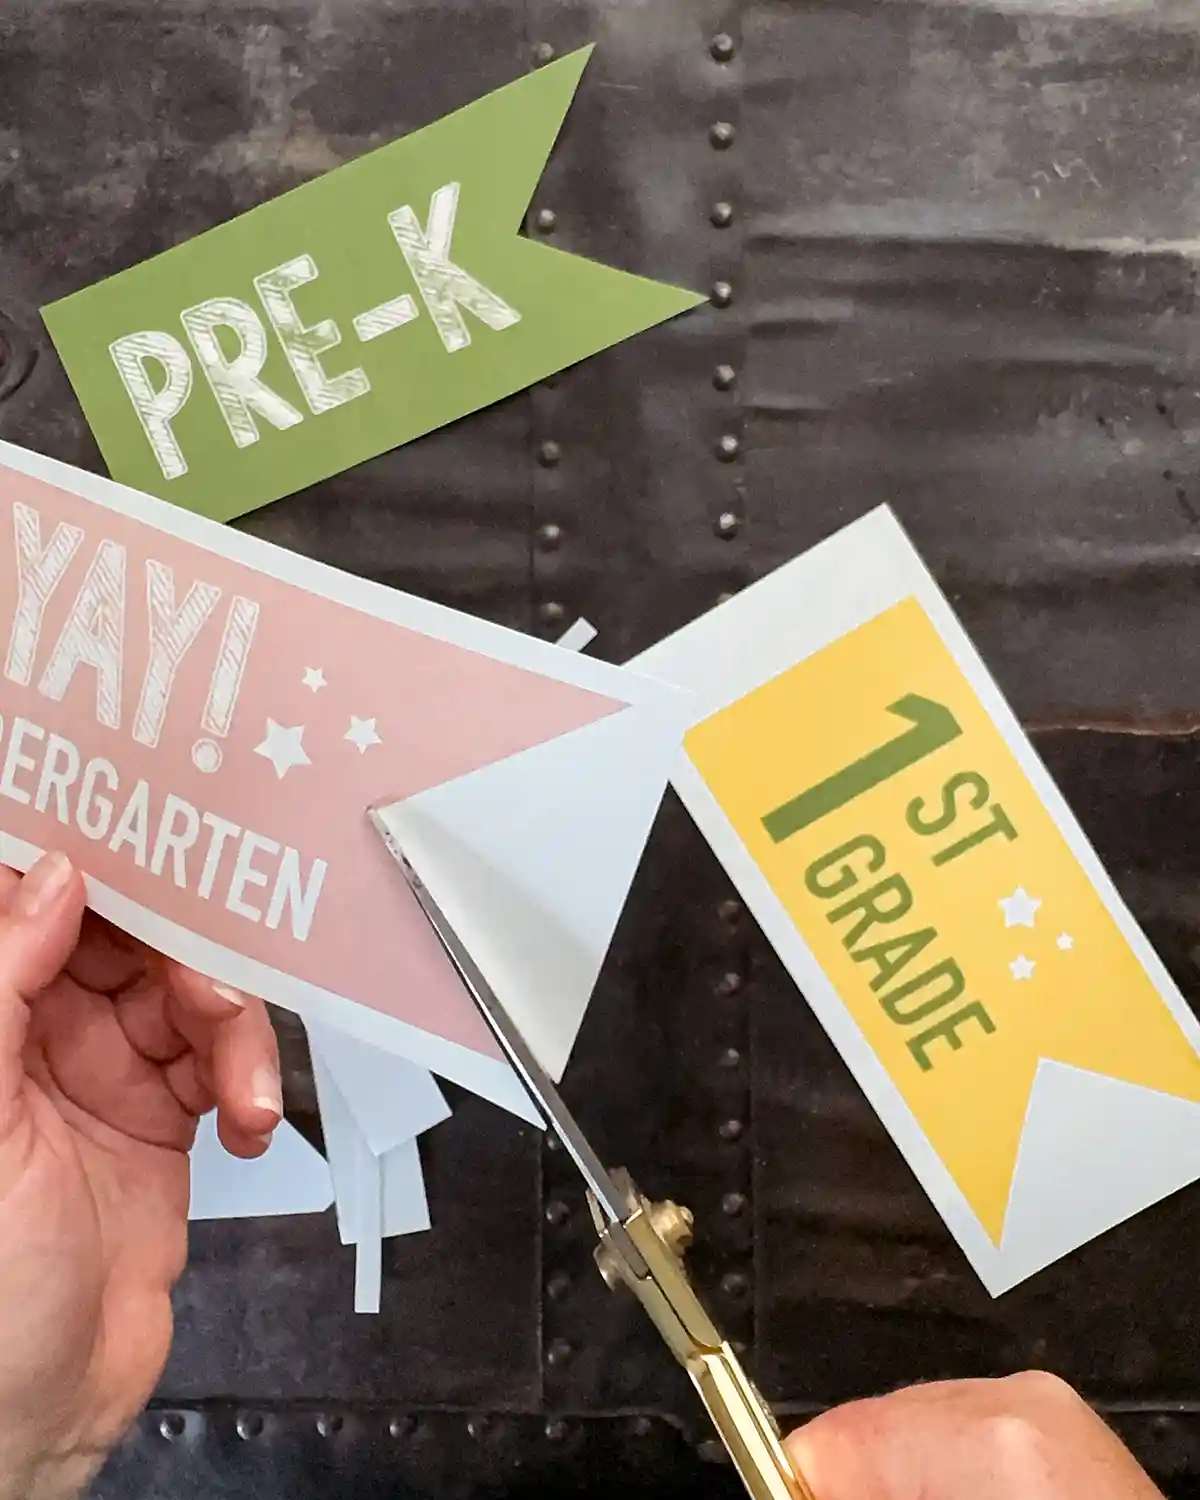
After printing, cut them out using a pair of craft scissors. I’m choosing to work with the kindergarten design for my soon-to-be kindergartener.
Step Two: Glue Flag To Dowel
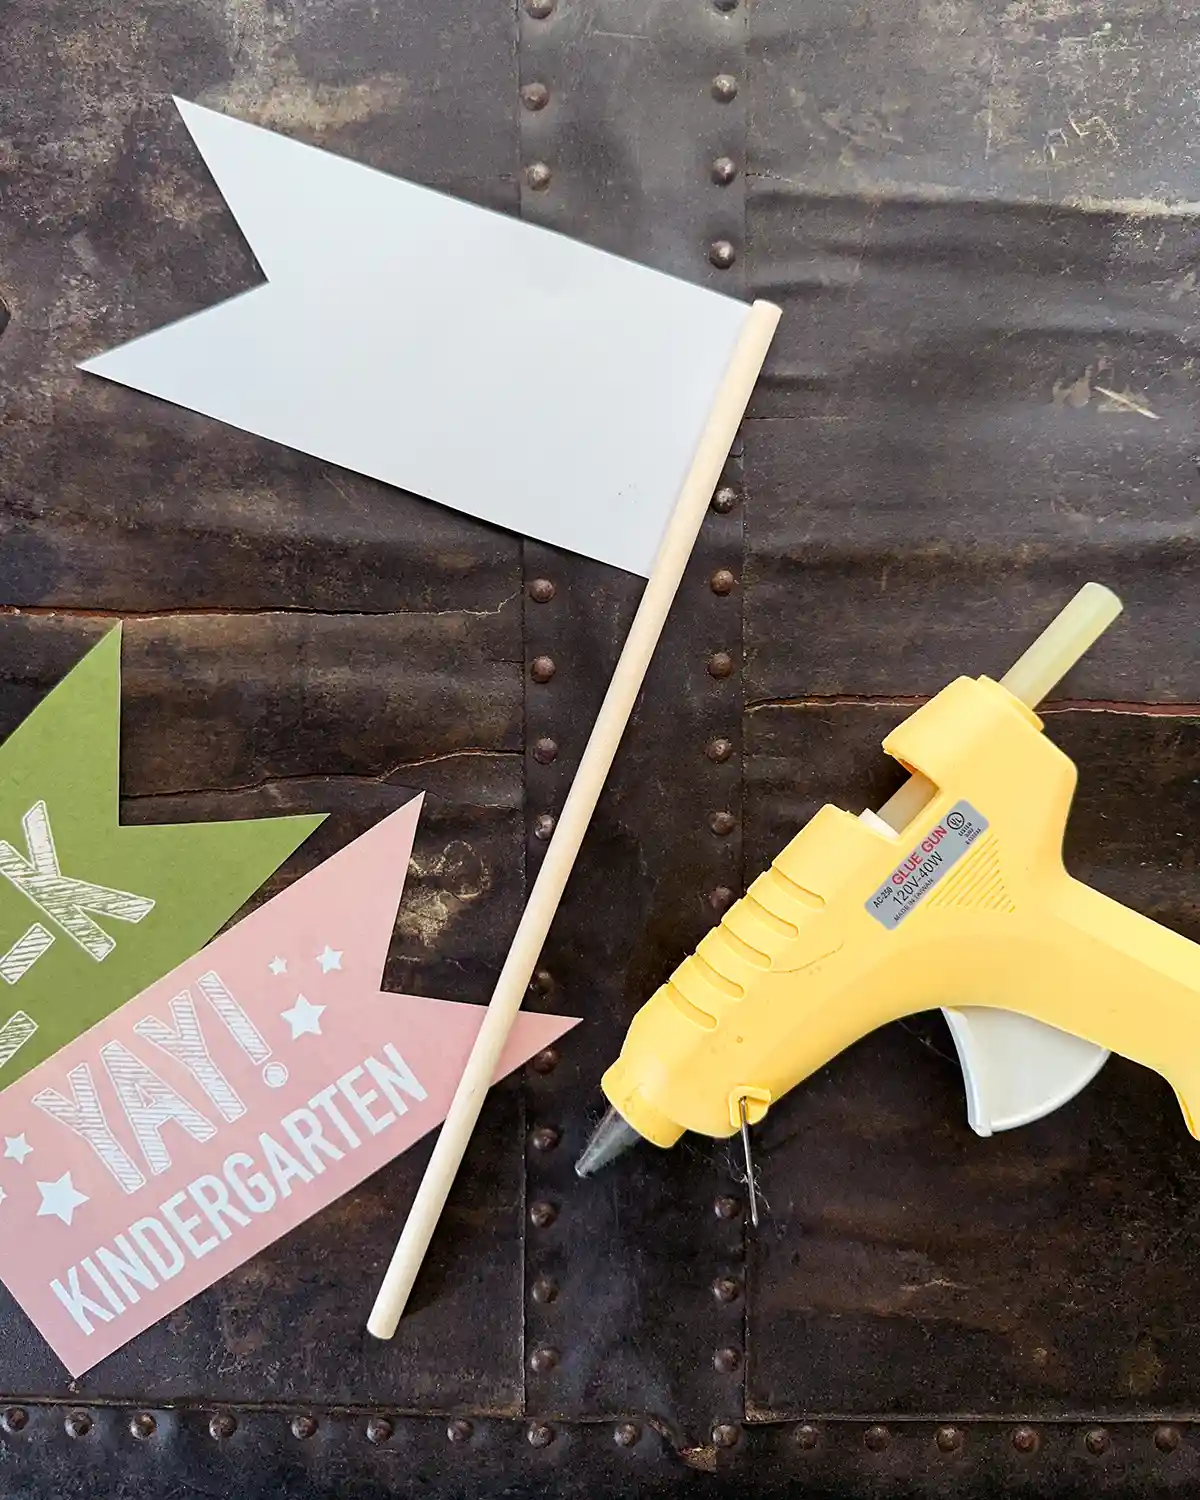
I’ve tested two different options for gluing the paper to the dowel: basic craft glue and hot glue. Hot glue wins, hands down. Start by warming up your glue gun.
Flip the flag upside down. Be sure to flip it in a manner so it won’t be attached to the dowel upside down. I’ve done this before and have learned to double-check the pennant’s orientation before glueing.
Run a small bead of hot glue just inside the short, straight edge of the banner. You don’t want it so close to the edge that the glue pushes past the edge of the flag once the dowel is attached.
Then line up the wooden dowel and gently press it into the bead of glue. I preferred to keep the top edge of the dowel behind the sign, but that’s just a personal preference.
Step Three: Assemble Embellishments
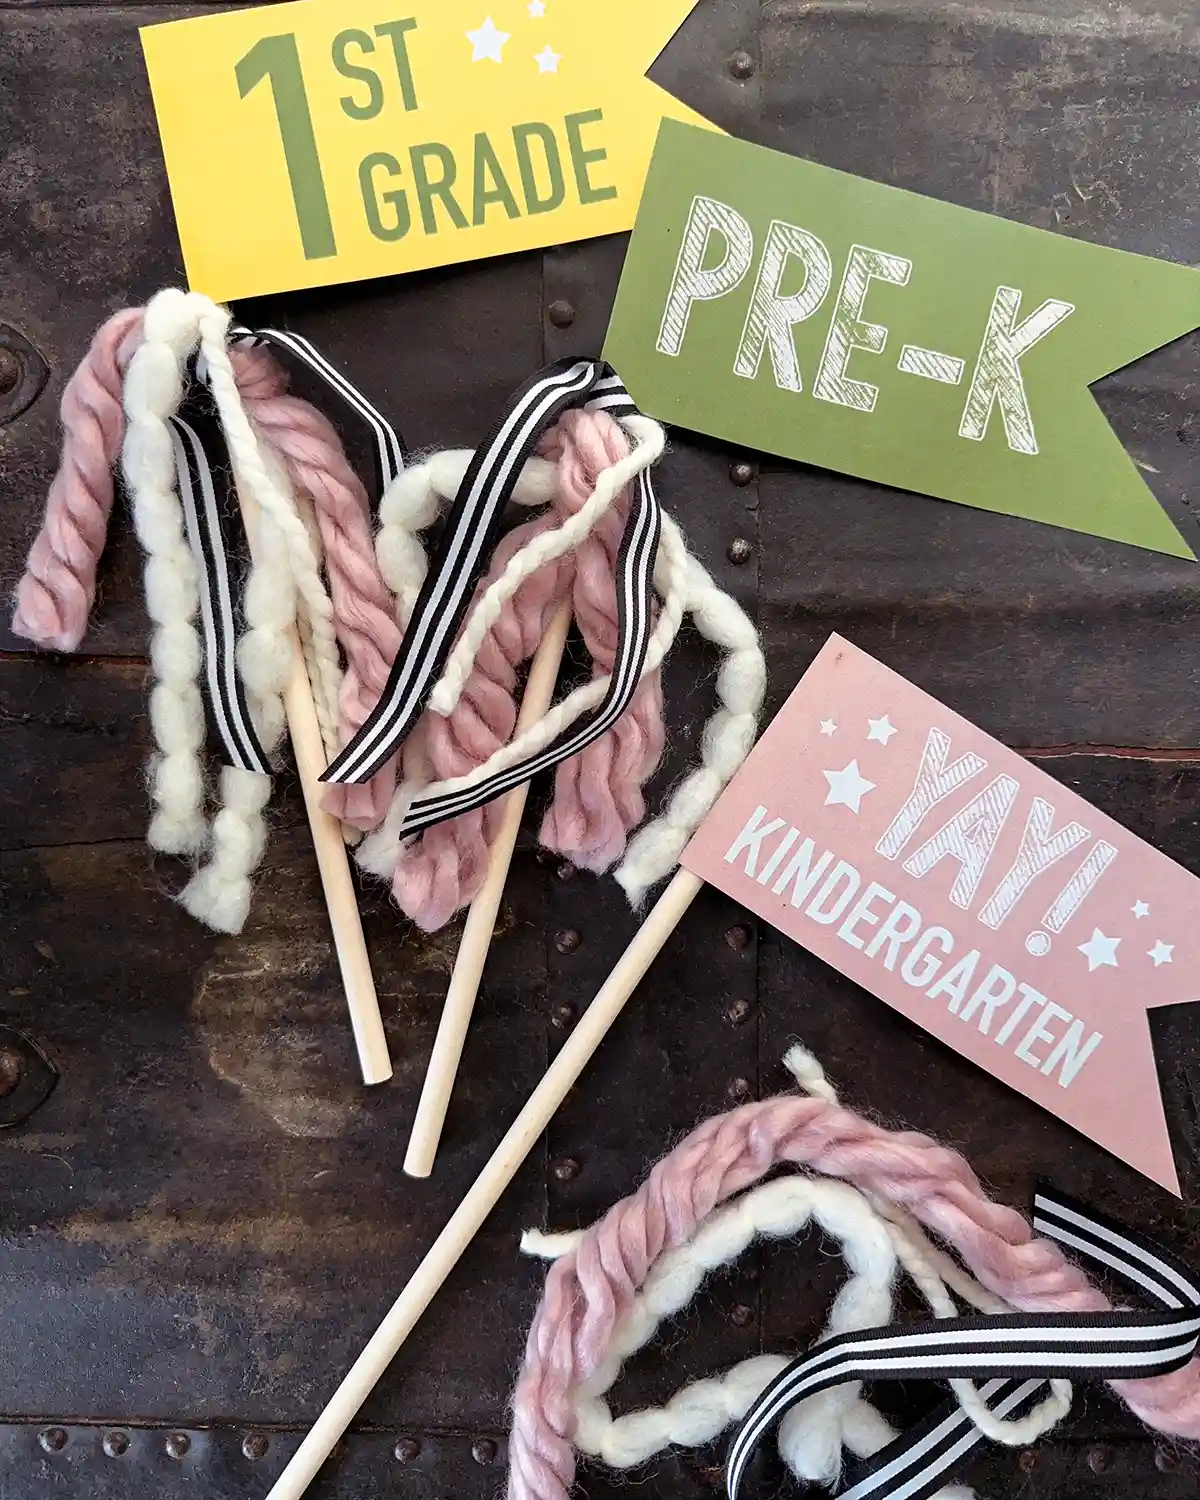
While we’re waiting for glue to dry, gather all of your embellishments. Whether it’s yarn, ribbon, macrame cord, embroidery floss, etc. Whatever you want to use to tie onto the flag. Get creative with what you have and mix the mediums for an eclectic look.
Then cut 12″ strips of yarn/ribbon/etc. This is a good length proportionate to the wooden dowel, but to each their own. Mix it up how you wish.
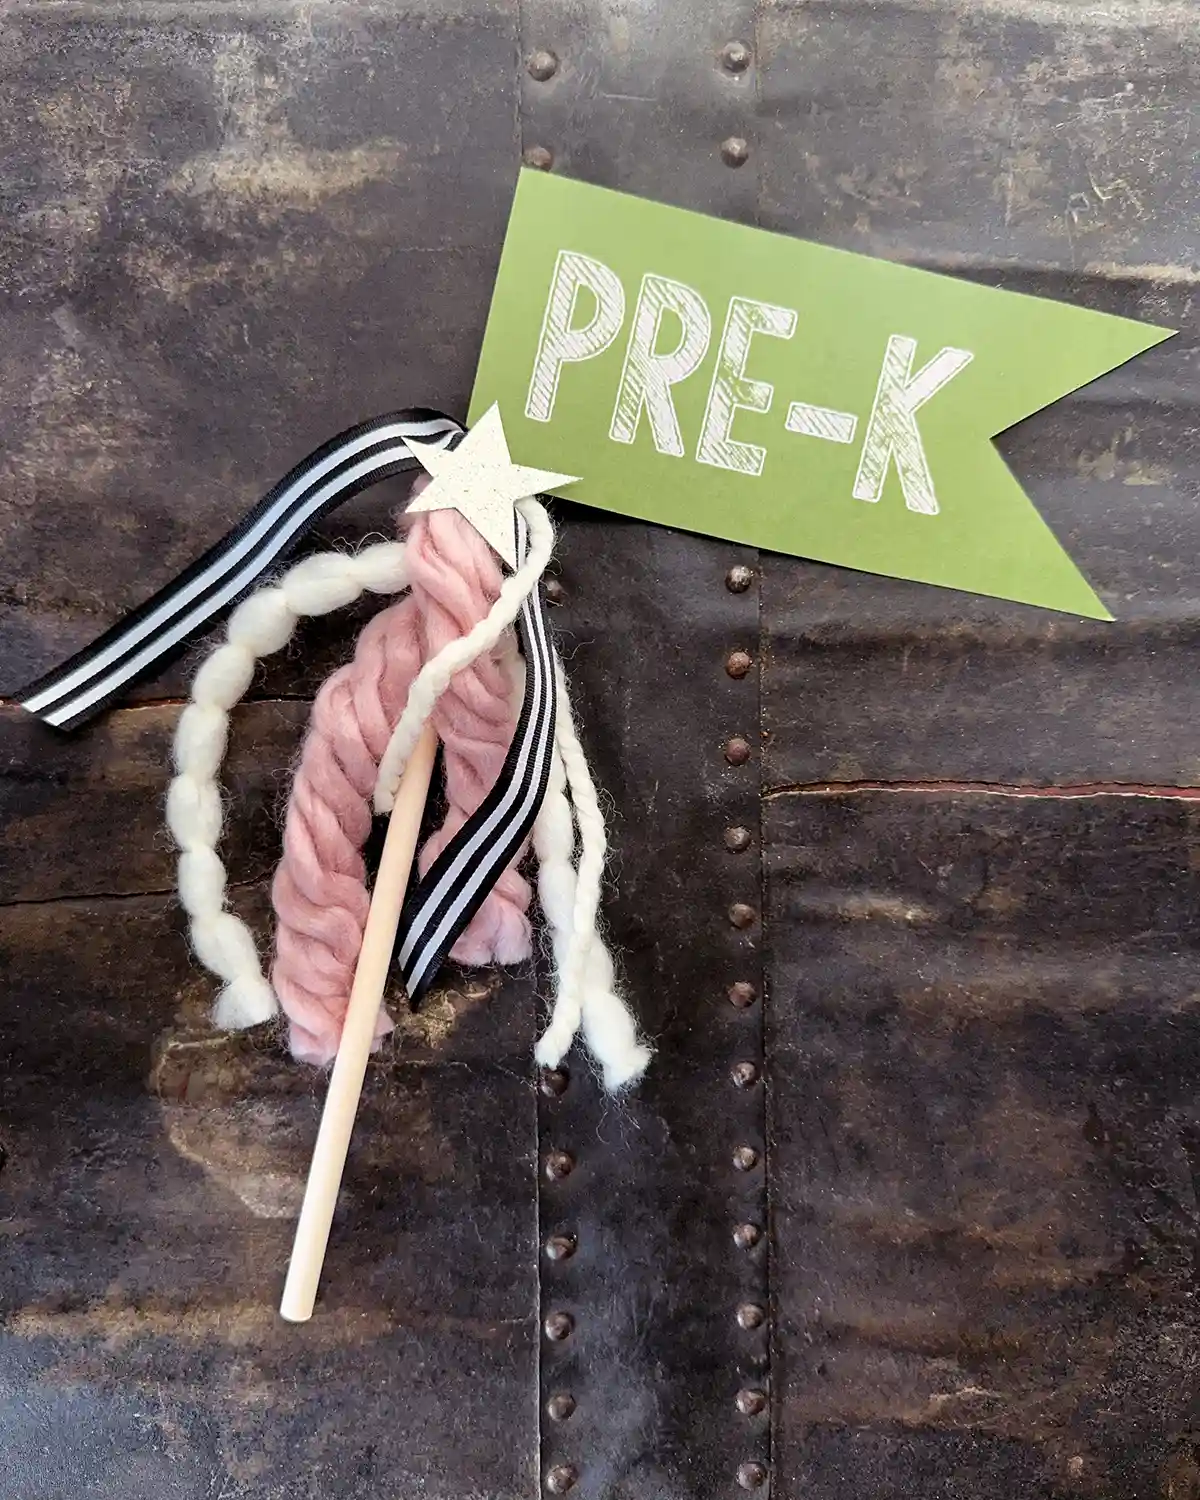
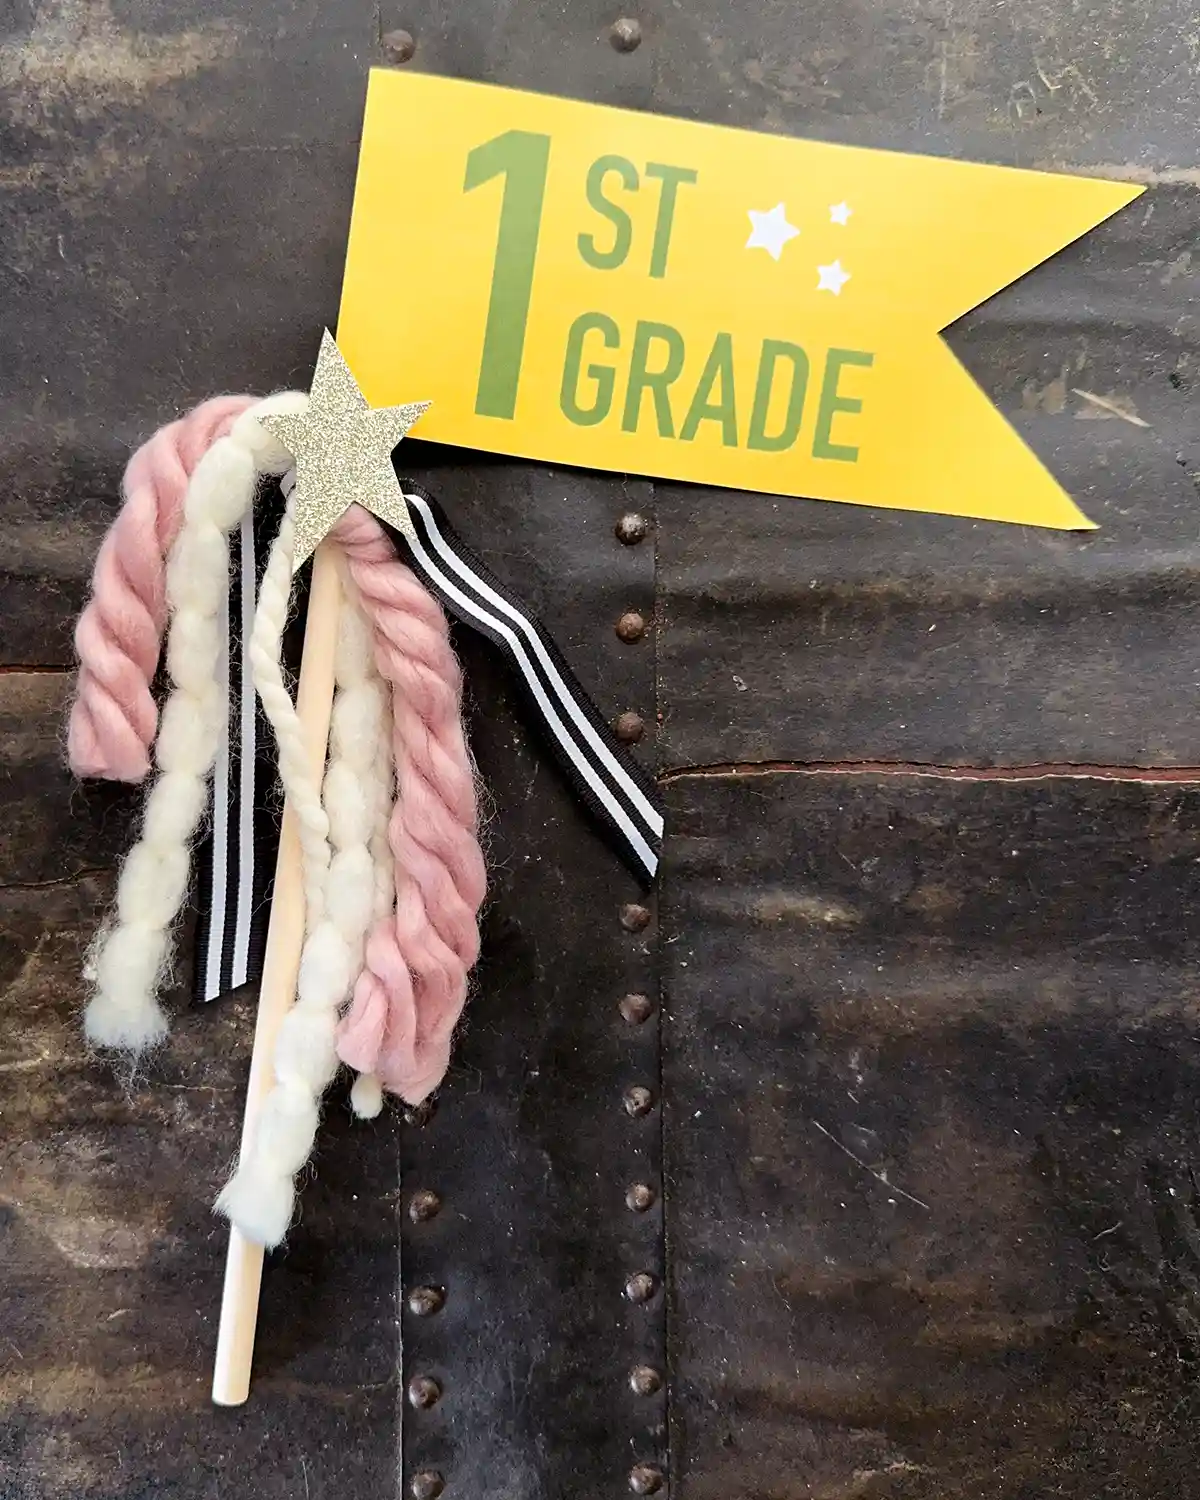
Once the glue is dry, tie on the yarn/ribbon/etc. onto the dowel where it meets the bottom of the flag. Try to tie on everything so it’s like one big knot.
Step Four: Add A Star
Now it’s time to add our final embellishment, a cut-out star (or any other shape or object of your choosing).
For ours, I had a leftover gold glitter paper from another project and used that. Glitter foam would also work along with a variety of other materials.
I didn’t use a template and just freestyle-cut out stars because I wanted them just a little bit off-kilter. But you can use a stencil or draw one first on the back of the sheet before cutting it out.
Then, hot glue the star right on top of the yarn/ribbon knot. If you do it just so, you can slip the yarn/ribbon/star right off the dowel and put it onto another one, repurposing the embellishments as your kids rise through the ranks.
Step Five: First Day Of School Photo Shoot (or Last Day)
And now you’re ready to hand over the pennant flags to your children and snap a set of first day of school (and/or their last day of school) photos. I love how I have a whole collection of pics of the girls with these props. They’re super adorable, and I will forever treasure them. Even the ones where they’re super grumpy about taking their picture and the occasional ones where one of them looks like a troll.
Whether you take pics at home before leaving for school or in front of the school, these school year flags add a little extra pizazz to your shoot. It’s like from the movie “Office Space,” and we’re adding one more piece of flair to reach the required fifteen (but better make it 37 so the Chotchkie’s manager doesn’t get on your case).
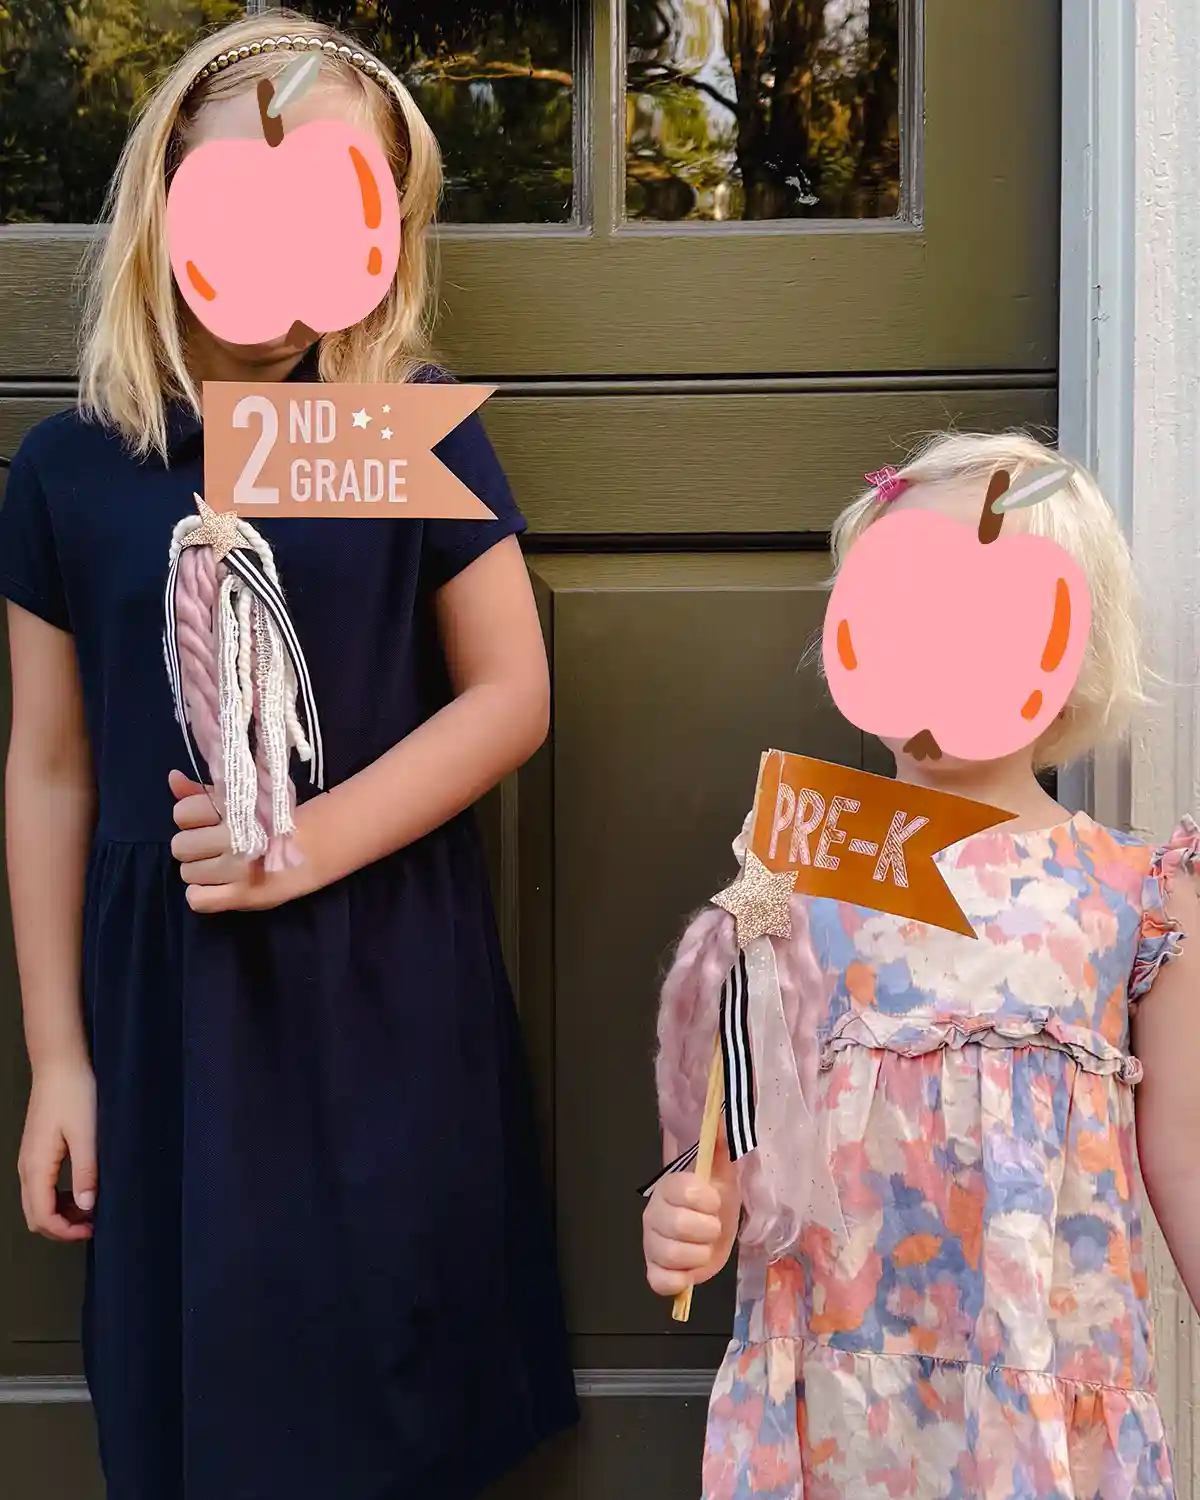
Here’s a shot of my kids on their first days of second grade and preschool. The preschool flag was looking a little rough in it’s third year of use between the two kids!
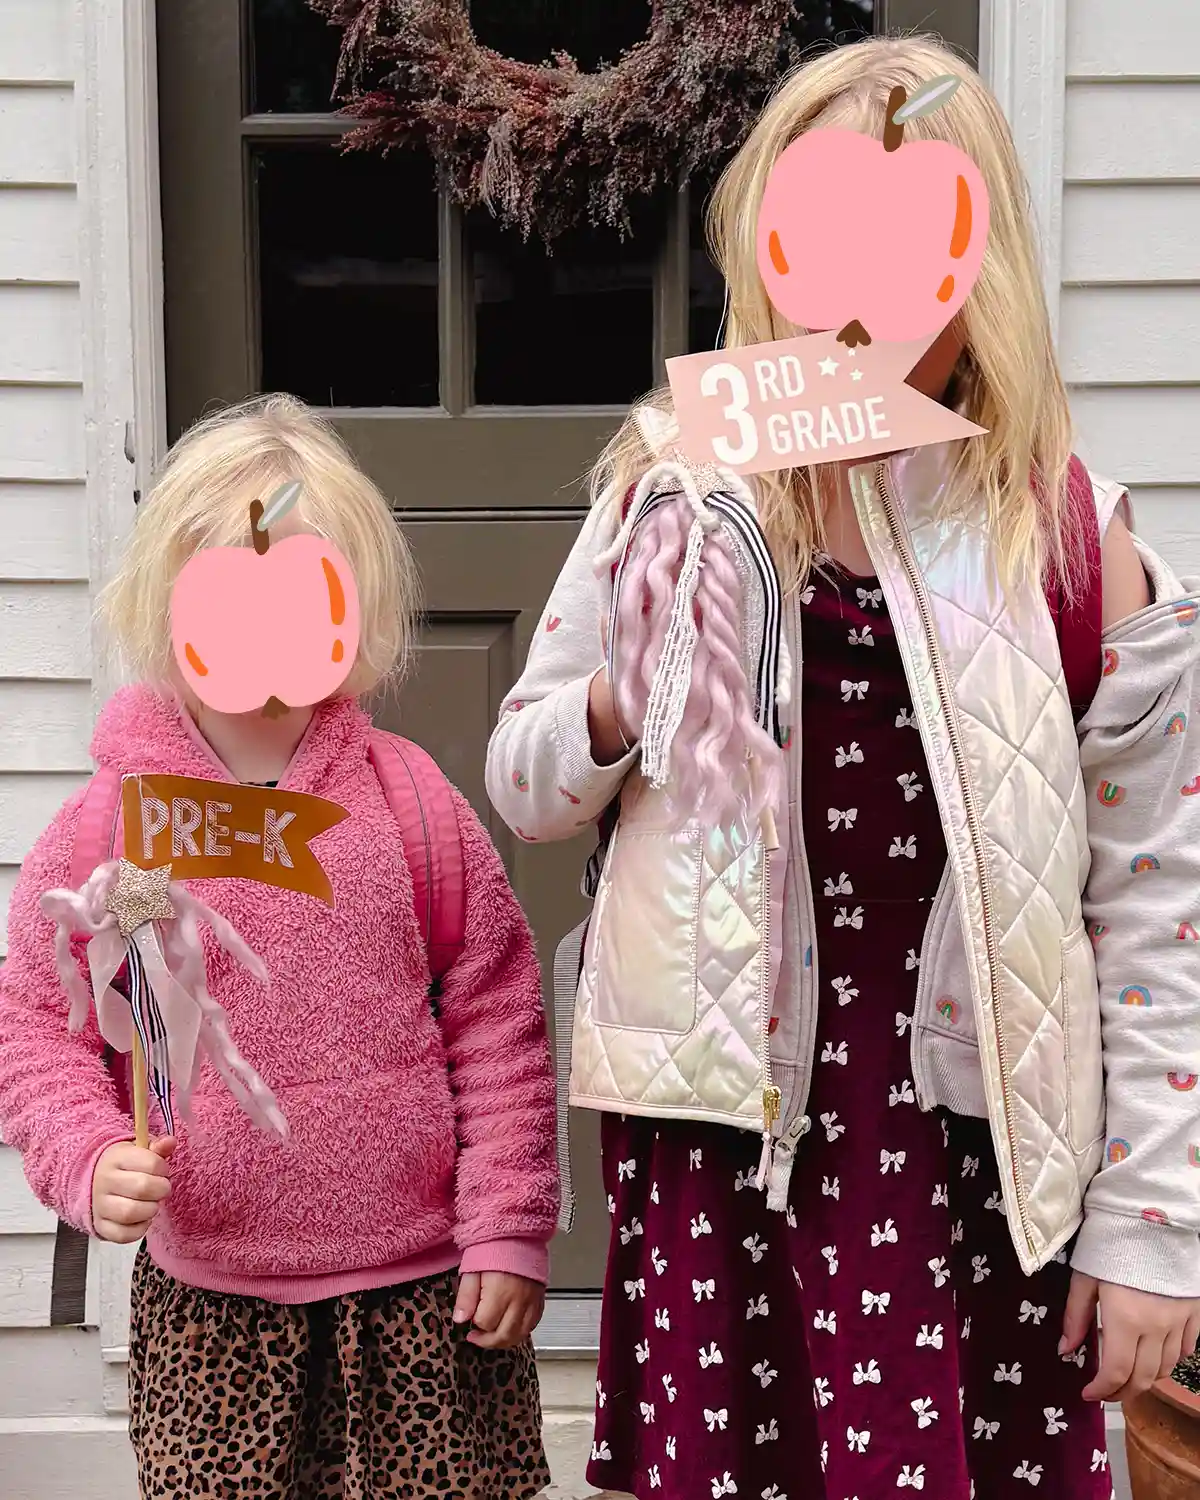
And another on their first day of preschool and third grade. Note the fourth and final year (now I’m crying) of use of the preschool flag. It’s ready for retirement.
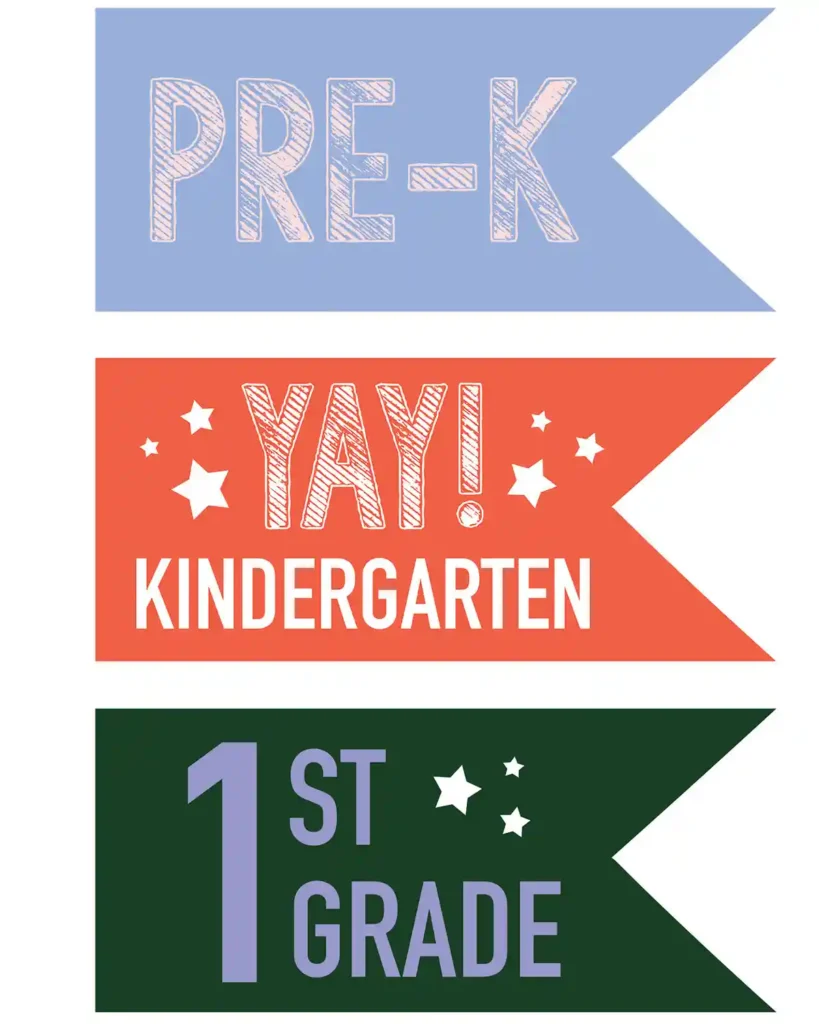
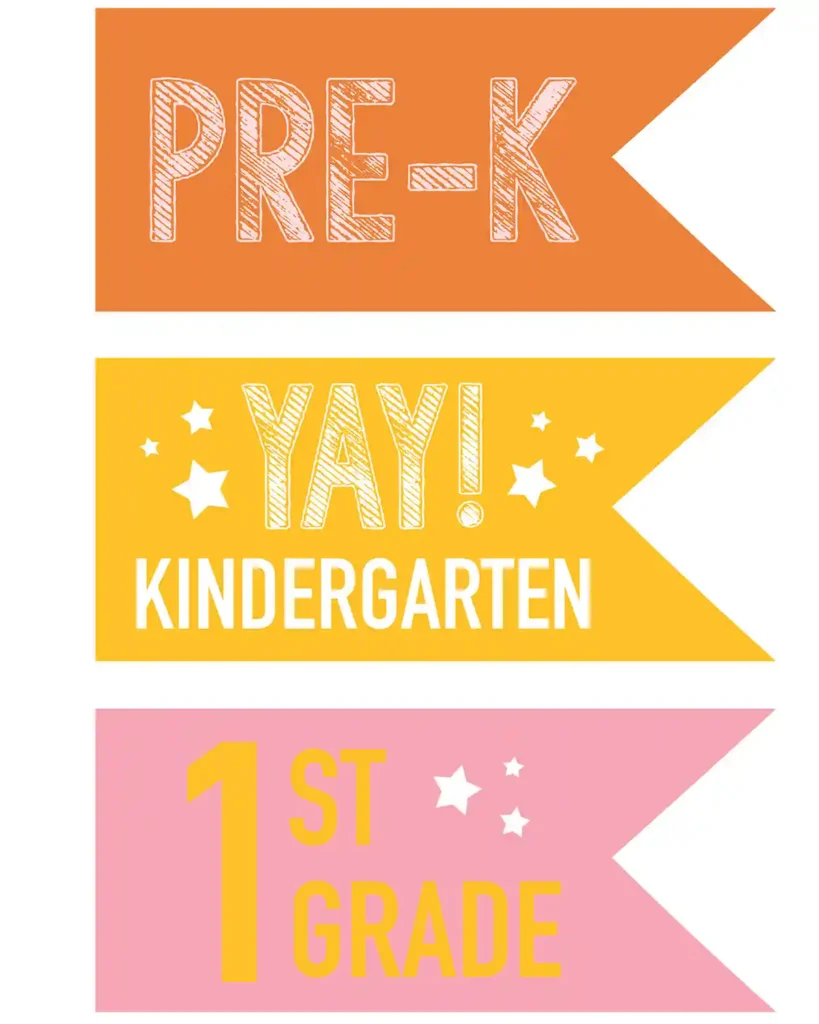
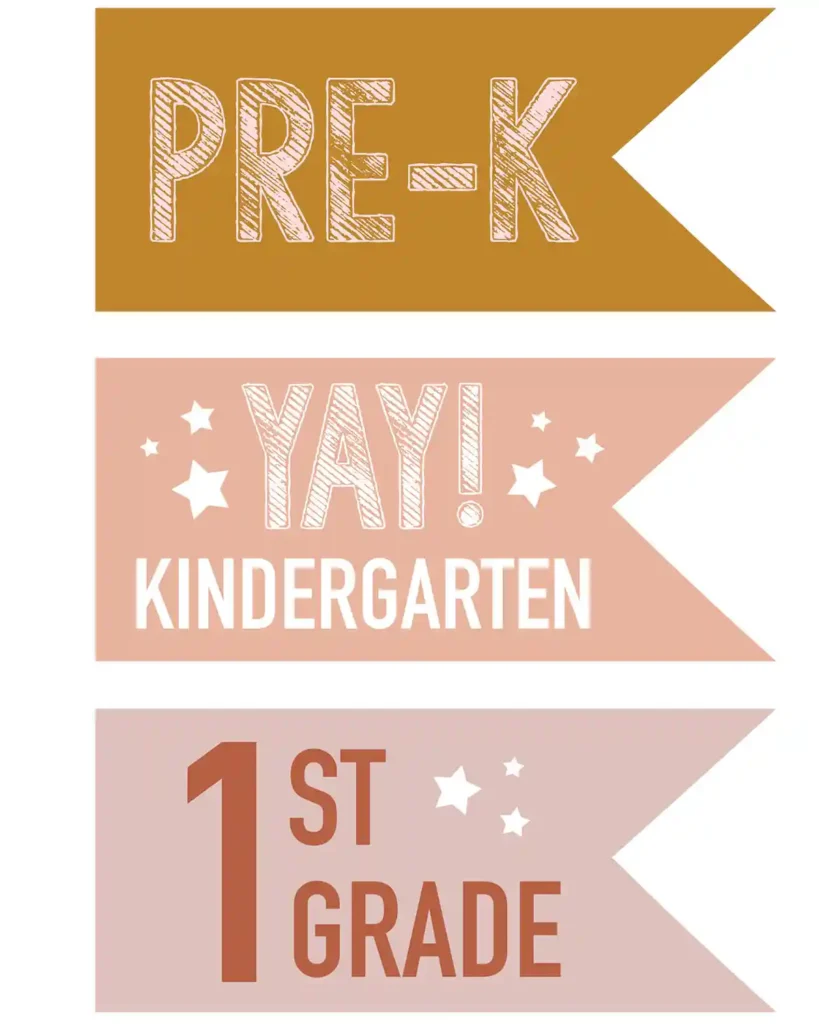
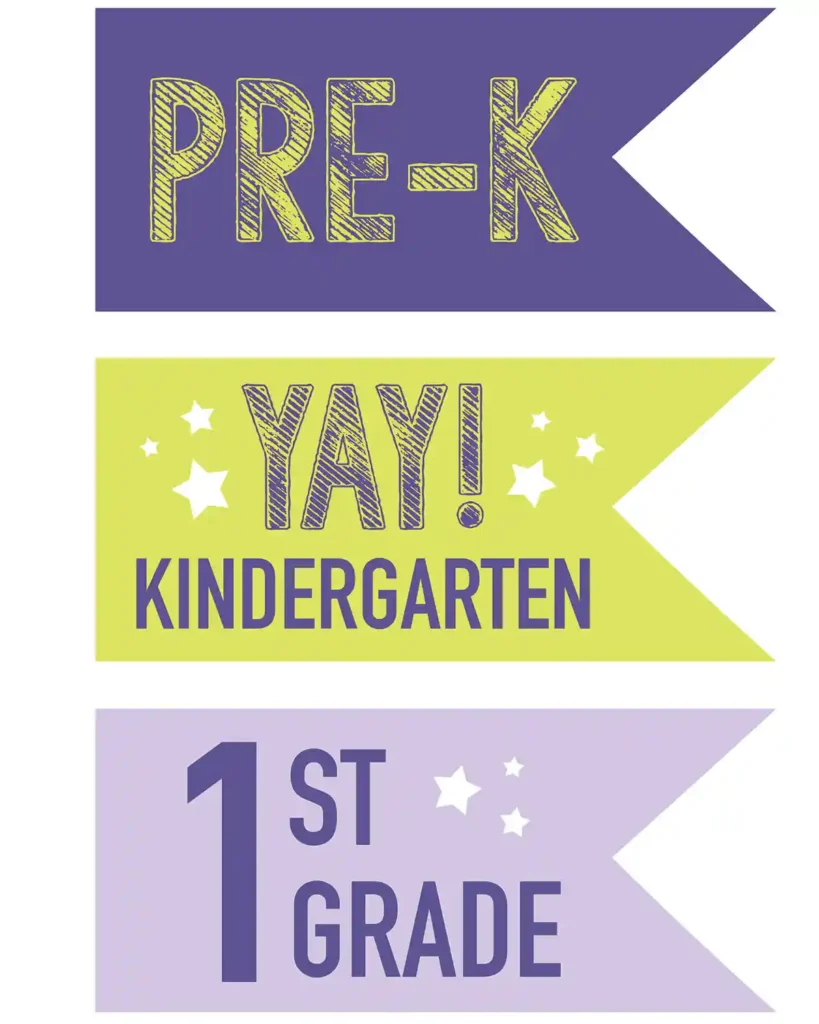
Download Your FREE Printable First Day Of School Flag
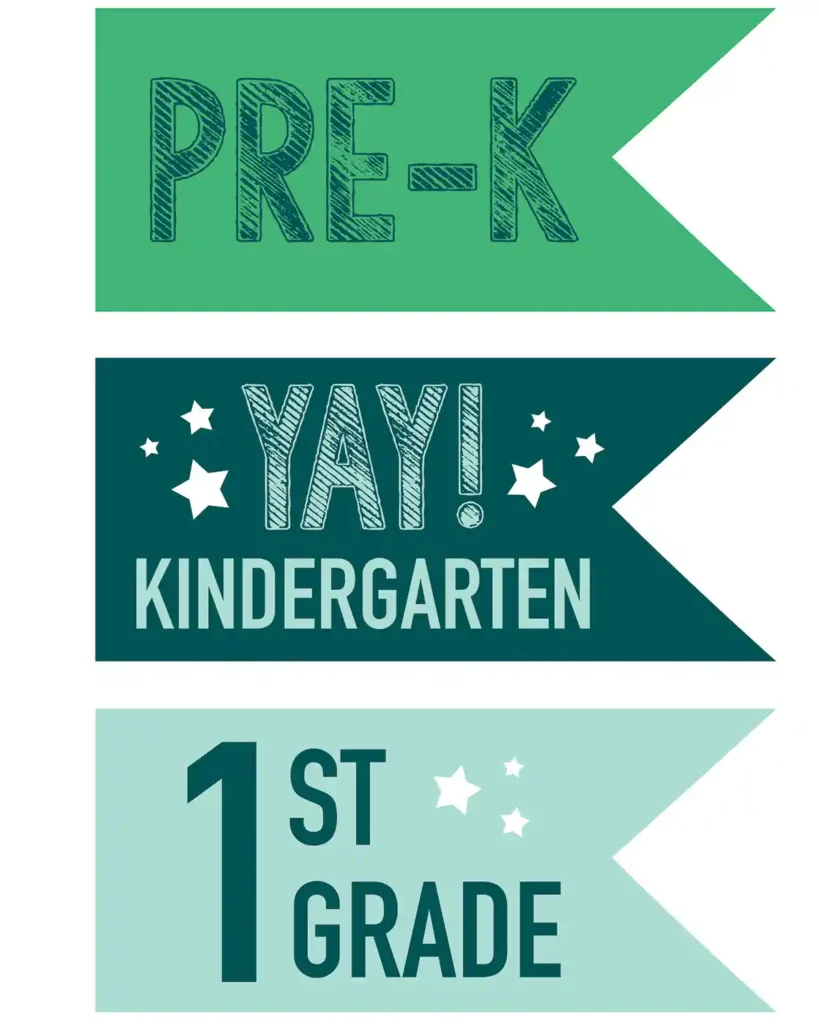
Here’s a set of free printable first day of school flag designs in a variety of colors. Each set includes every grade from preschool through grade 12, covering the entirety of our kids’ school days. If you have a different color preference, feel free to let me know in the comments, and I can add some. Making these in Photoshop is my idea of a good time! If you’re craving black and white, any of the image files should work when printing in greyscale.
Click on the image below to download the set of printable school year flags for preschool through 12th grade.
Happy first day of school, everyone! Or last day of school, depending on when you’re reading this. And I hope you try this craft and it works for you. It’s such an easy, little way to celebrate your child’s milestone. Now go out there to photograph and document your little one’s day!
My personal preference is to use the flags for both first and last day of school photos. Same prop, same slightly larger child, same shoot (a few pics at home and a couple at their school). It’s fun to compare and see how our little ones grew and changed throughout the year. There’s almost always a confidence boost between the two sets of photographs.
Now, pin this project to Pinterest so you don’t forget. Or if it’s school prep season for you, fill that Amazon cart with a few extra craft supplies to make these first day of school signs. Whether your kids go to public school or homeschool, it’s a great way to kick off the year.
Pssst…Do you take first or last day of school photographs? What’s your favorite picture-taking tradition?! Feel free to share in the comments.