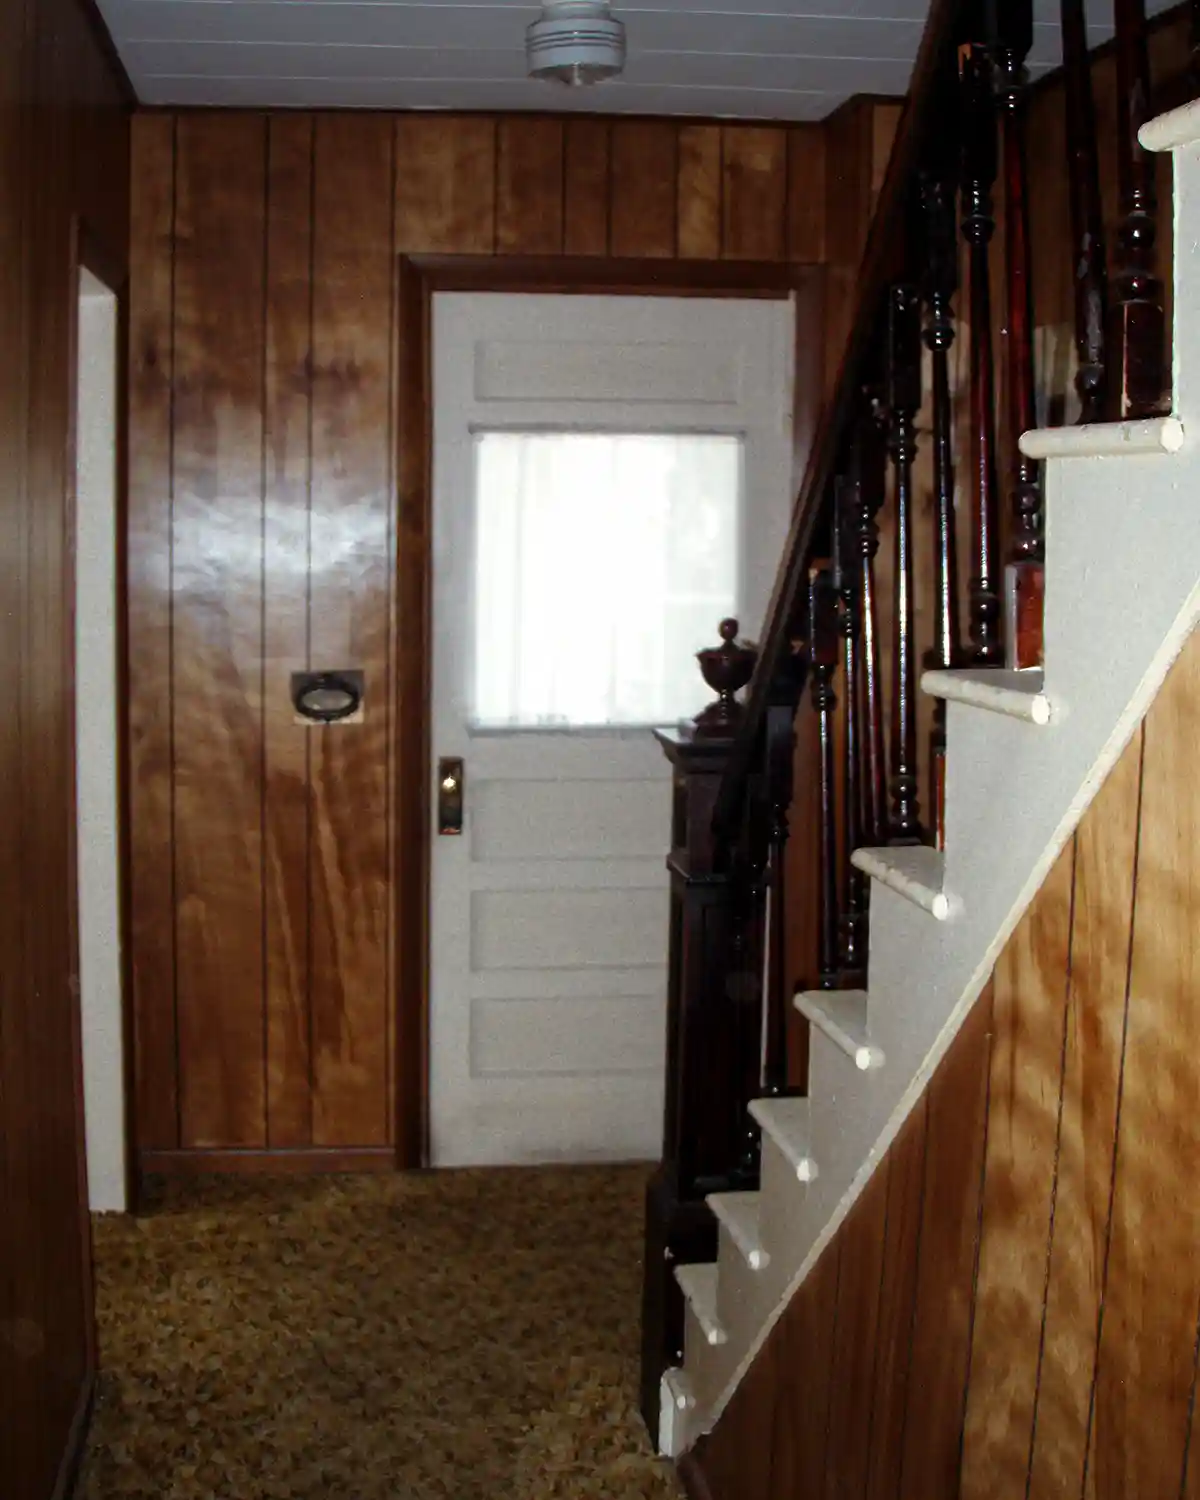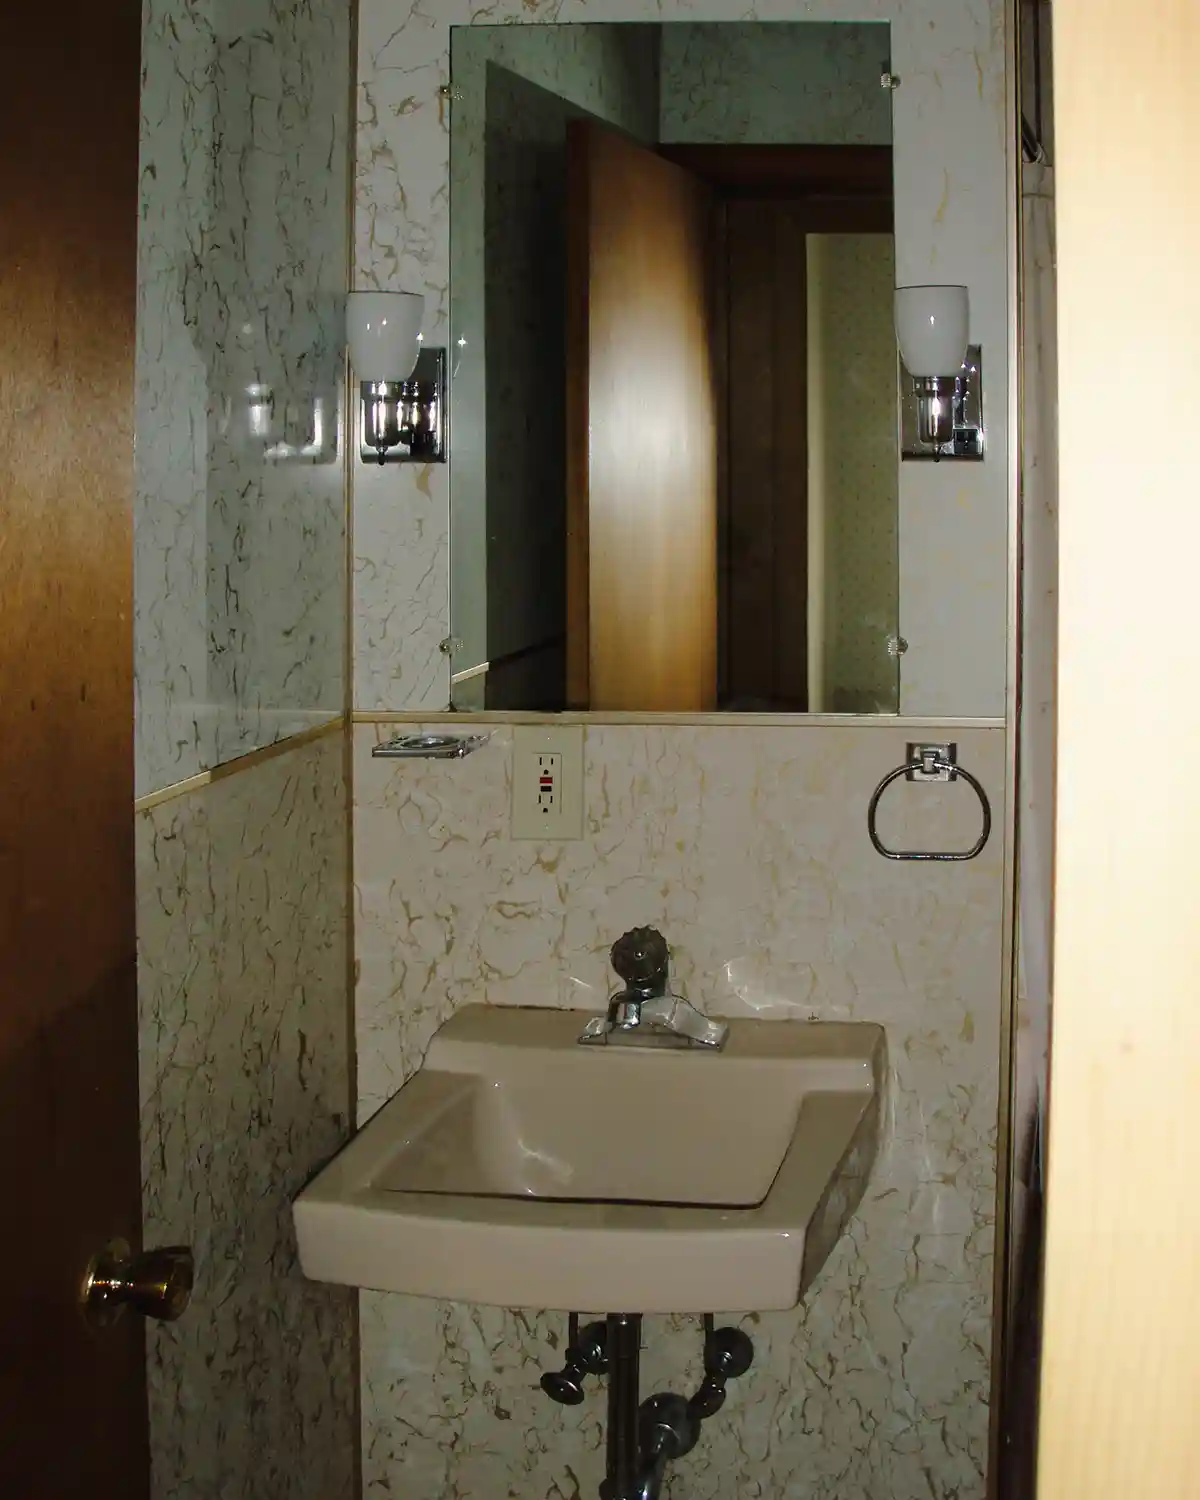
After sharing the before tour of the hallways and staircase in our first home in Maine, it’s time for the after party tour. Because every good before tour deserves an after party renovation reveal, right? This is that reveal. Today, we’re touring both the first- and second-floor hallways, with plenty of peeks at the renovated staircase along the way. To keep this post from becoming a small novel, the stairway is getting its very own dedicated reveal. After all, she did receive some major press and deserves a spotlight like the diva she is.
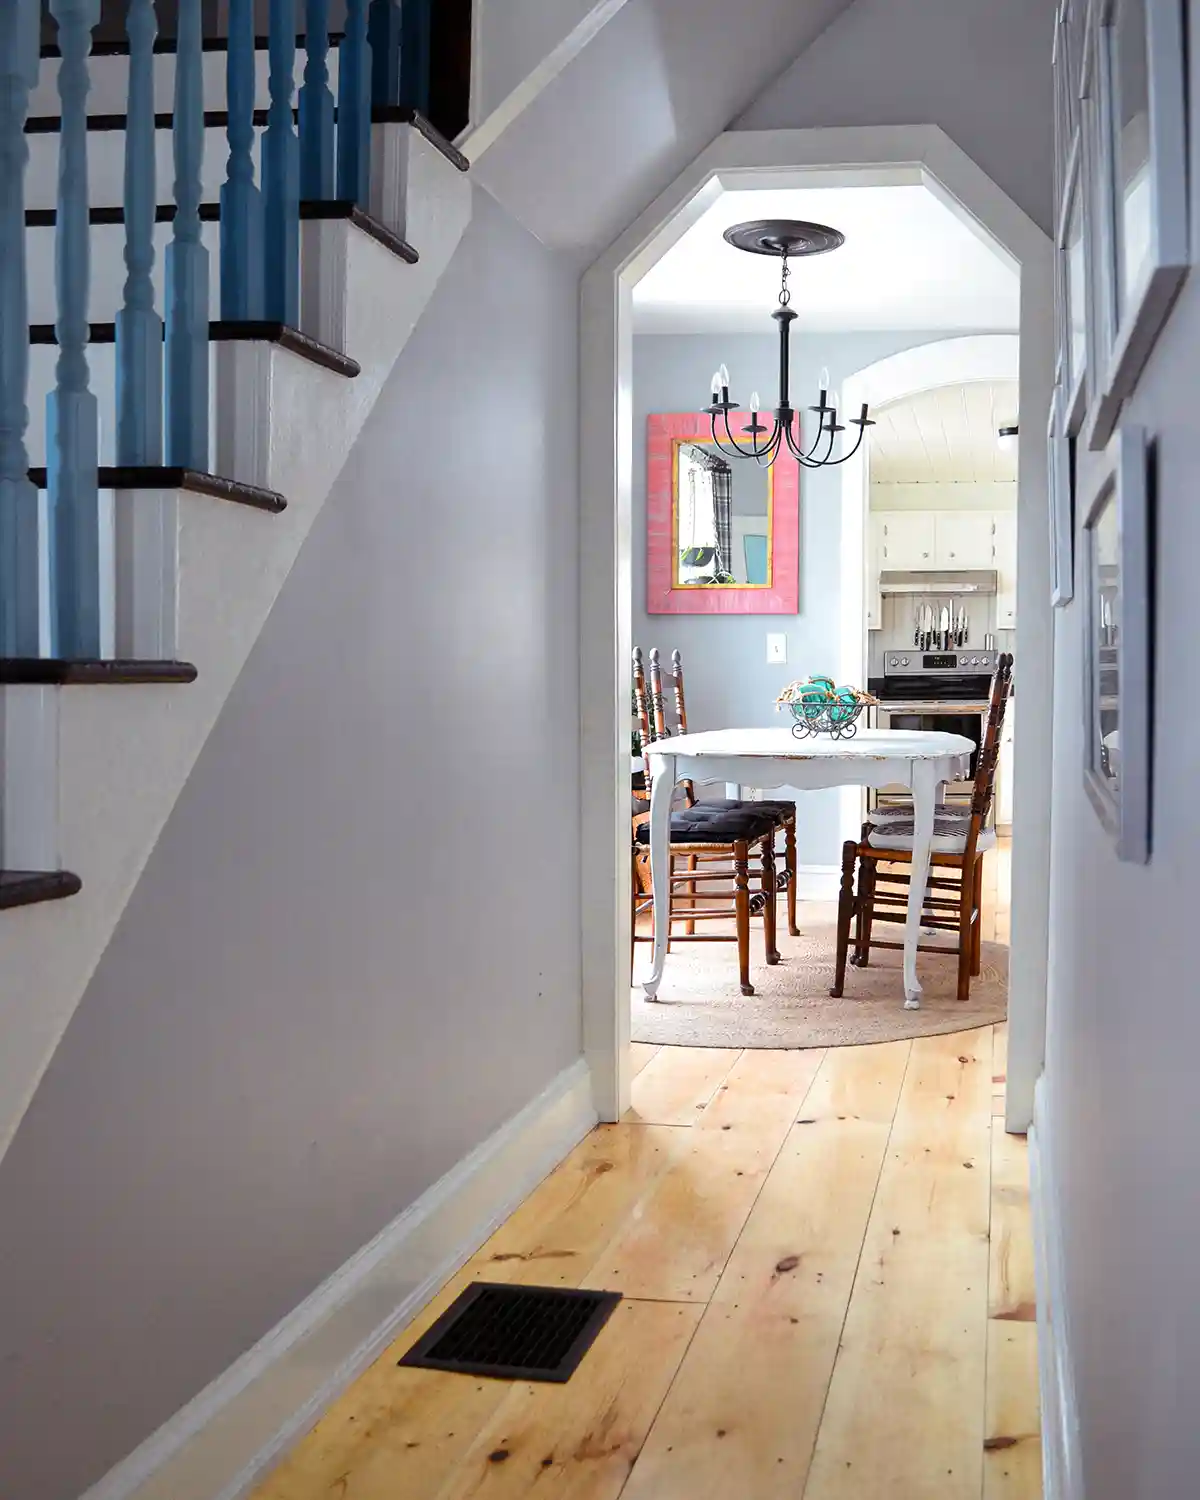
So, shall we begin?! First up, here’s the view from the front door, looking down the first-floor hallway toward the dining room and the kitchen.
But before we talk first floor, let’s head upstairs, because for some reason, most of my pictures are a natural progression traversing from upstairs to downstairs and along the hall. It’s like I walked the route from our bedroom to the kitchen snapping pictures, which is likely what I did.
Renovated Second Floor DIY Hallway
At the top of the stairs, you’re greeted by the upstairs hallway. When you look straight down this hall, the craft room and primary bedroom are to the left while the guest room and the bathroom are off to the right. The bathroom is the first door after coming up the stairs.
Random sidenote…do you see Goose (our black spotted dog who passed away in 2018)? He makes quite a few appearances in these tours which I didn’t notice before. So if you’re bored, treat this article like a Where’s Waldo Goose.
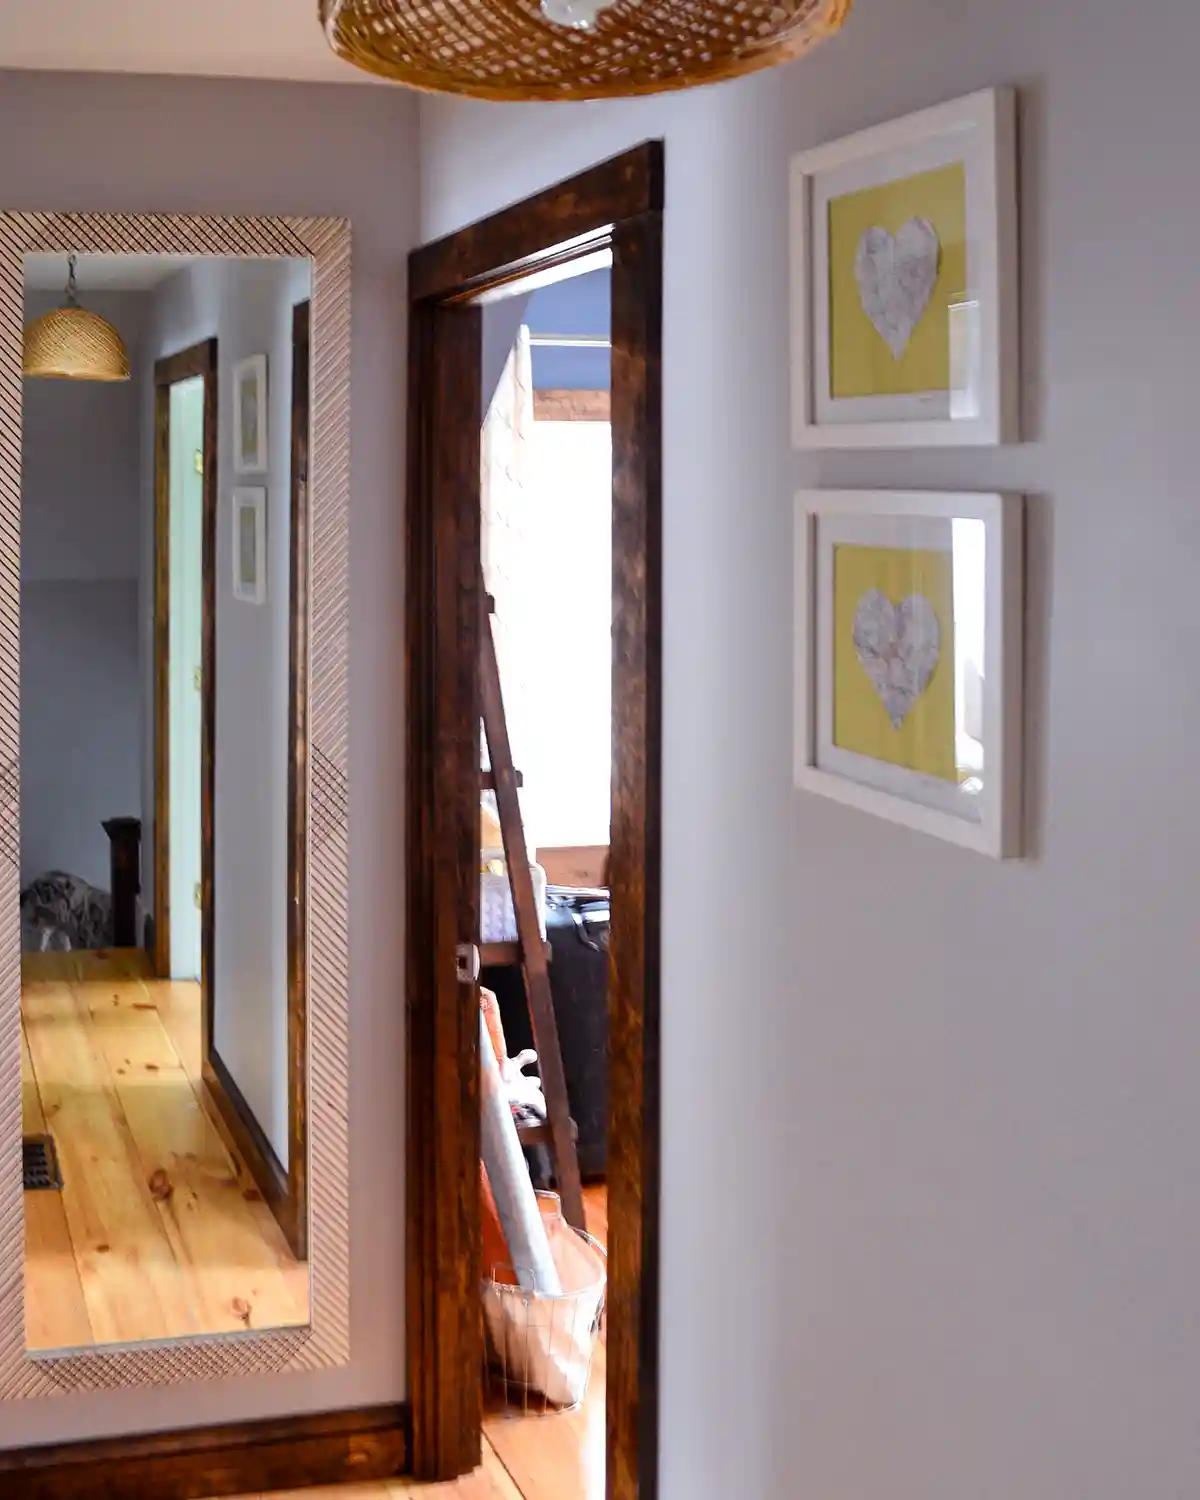
The hallways, like much of our house, received extensive renovations. We took the spaces down to the studs, which wasn’t our original intention, but I’ll tell that story in a moment. We insulated, sheetrocked, painted, installed new pine floorboards, painted some more, stained trim, replaced the hollow core doors with solid wood ones, thrifted for light fixtures, and even made our own art and DIY mirror frame.
Speaking of which, I loved this DIY mirror frame, even though it turned out just a bit wonky. It was inspired by this grooved, Nate Berkus for Target frame I had loved. I thought we could recreate the look with a router and some stain. The mirror was the original that was hanging at the end of the hall when we bought the house; it just needed some framing and an upgrade to help decorate it. I loved how it gave the illusion of a larger space and reflected light in an otherwise dark hallway. Also note the moving box decor in the mirror (ha!).
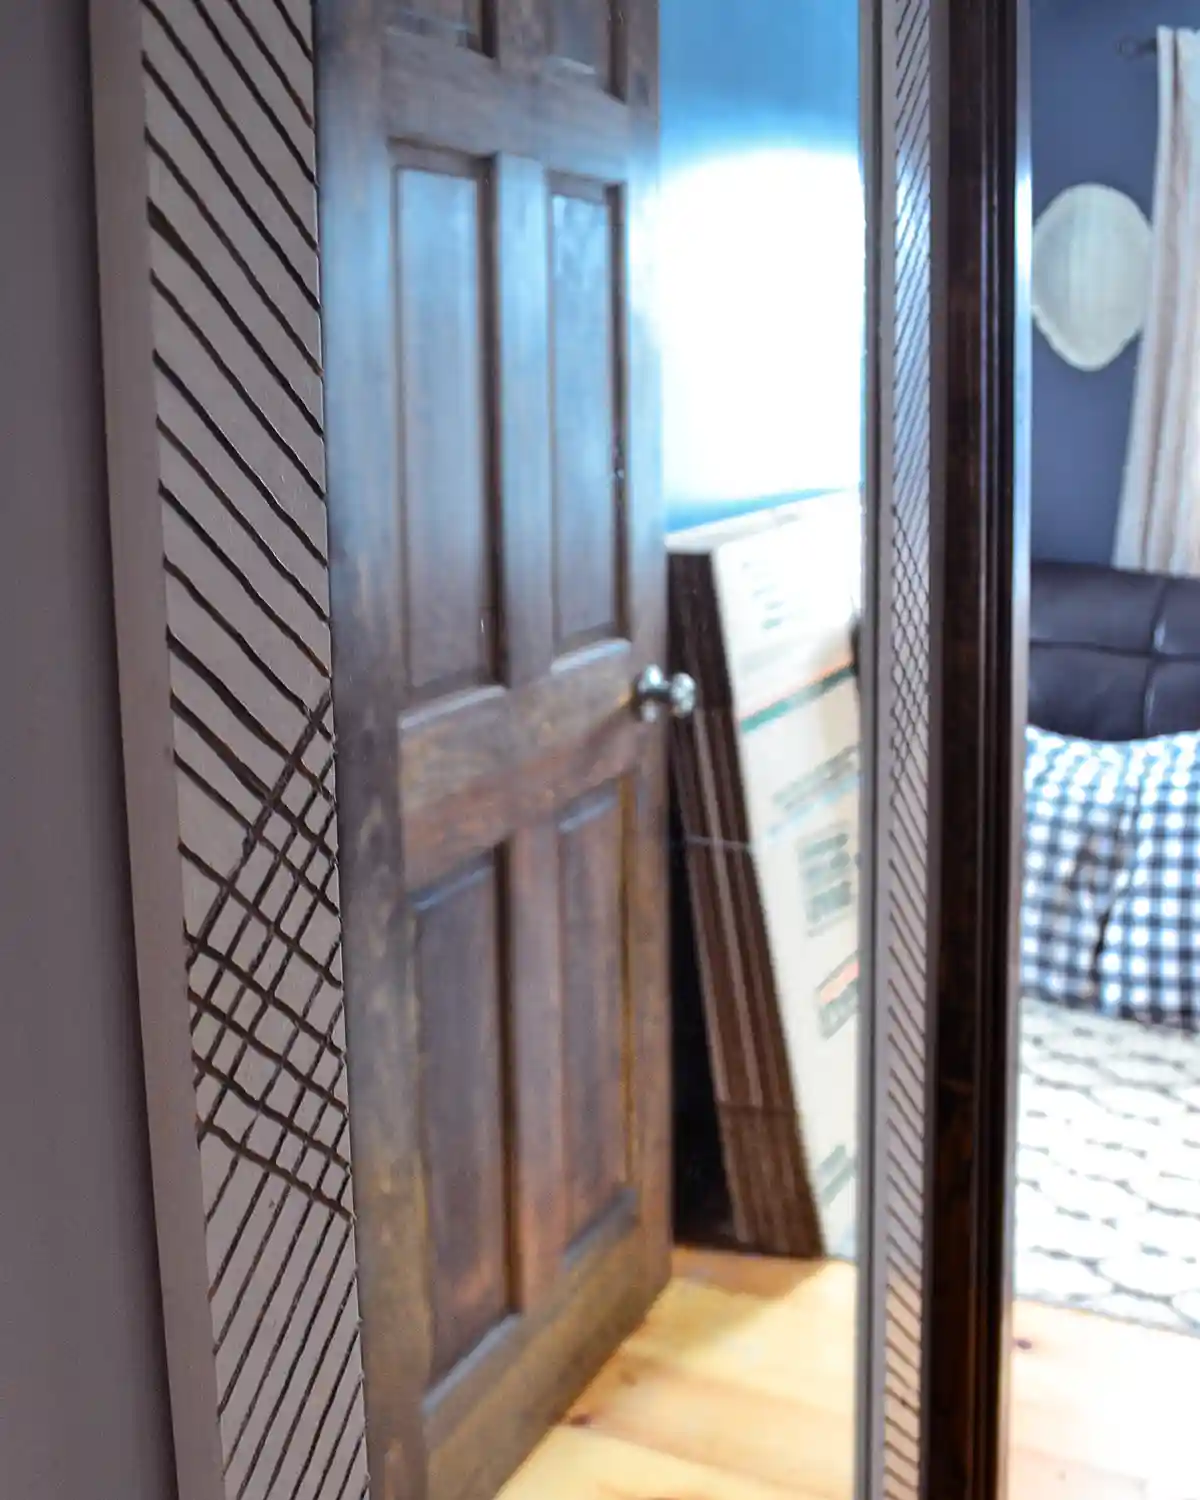
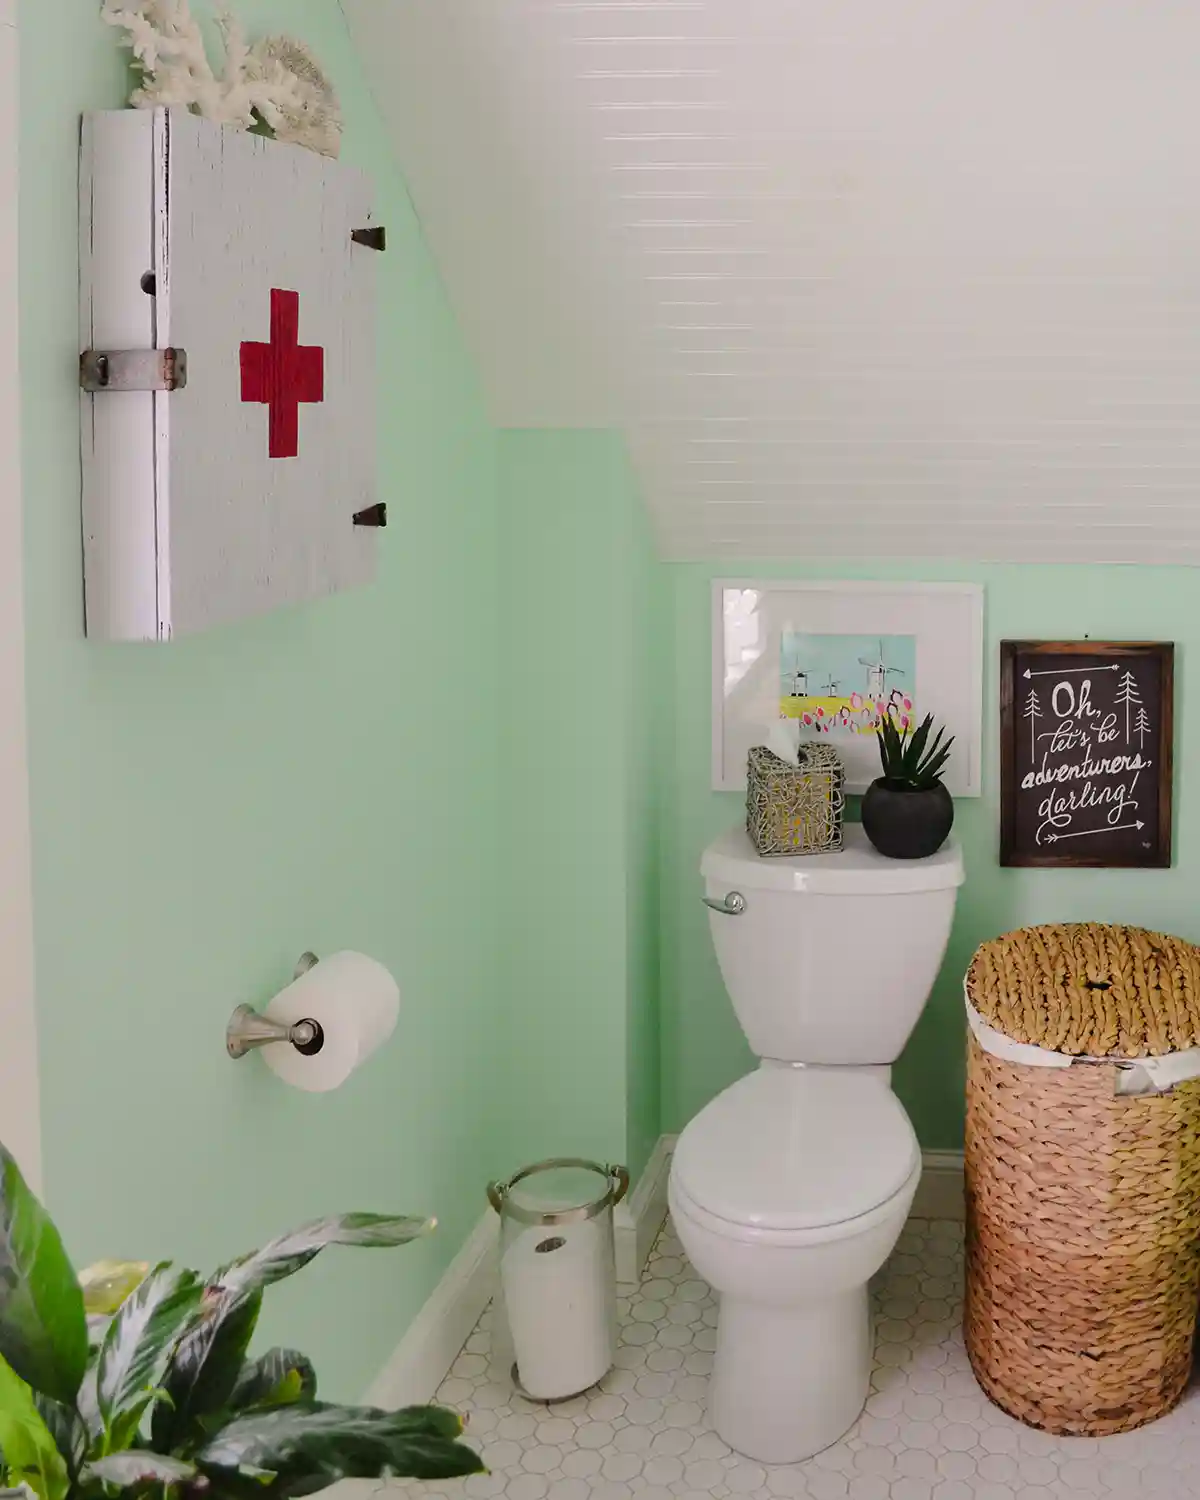
Here’s a shot of the hallway from the craft room where you can see into the guest room (the dark blue room) and also the bathroom (the mint green room). The guest room was a space where we experimented with trim and staining. Colby was adamant about staining the doors and trim up here instead of painting them white like the rest of the house. It turned out beautifully, but I never loved the disjointedness. If I had a do-over, I probably would opt to paint everything white for consistency, but I’m also glad we tried it and learned what we love.
Like most of our first home in Maine, we renovated everything on a shoestring budget. Thus, none of the doors match since each was picked up as a solid wood door slab from the liquidation room at our local lumber yard. It saved us hundreds, if not thousands, of dollars over the renovation years.
In the shot below, you can also see our thrifted, woven pendant light fixture along with some DIY art we made. I love the visual interest, texture, and brightness the light brought to the hallway. Next on my list, before we decided to move, was adding a runner.
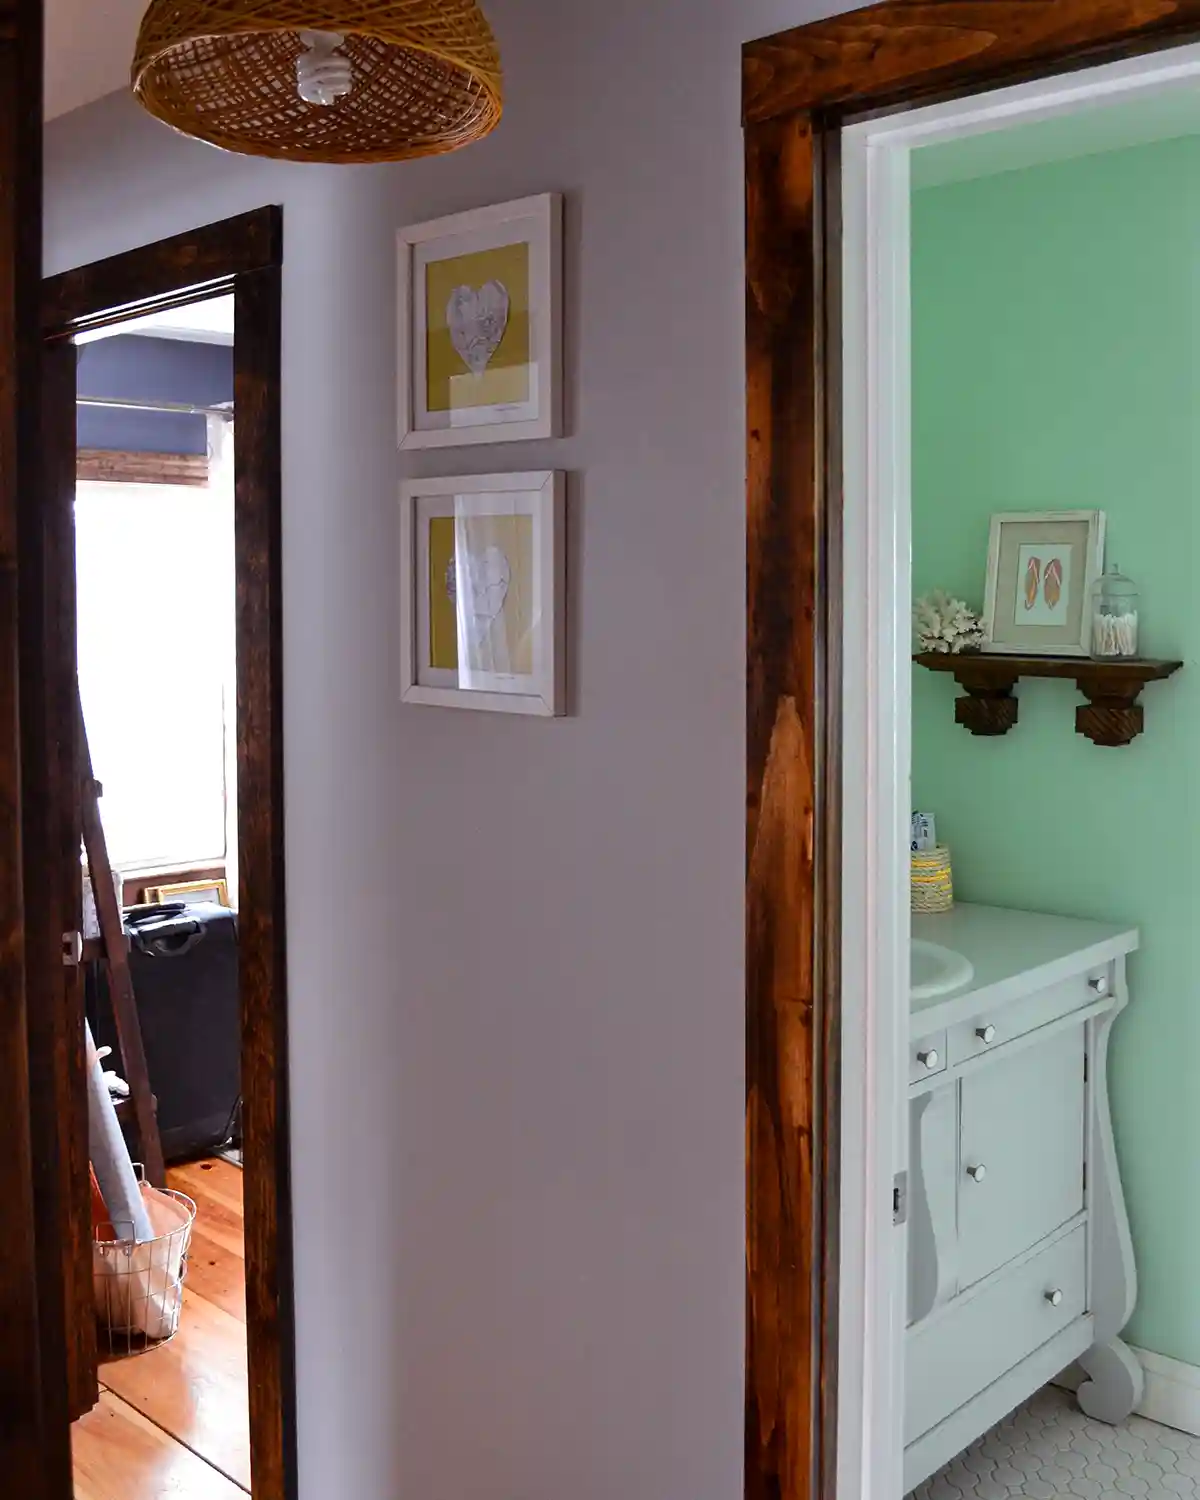
The art is a set of hearts cut out from maps. I used an old road atlas that was woefully out of date to cut out hearts around both Colby’s and my hometowns. It was such a special, simple, and budget-friendly art project. I miss these kinds of projects around the house and may need to get back to my frame-anything-and-call-it-art days.
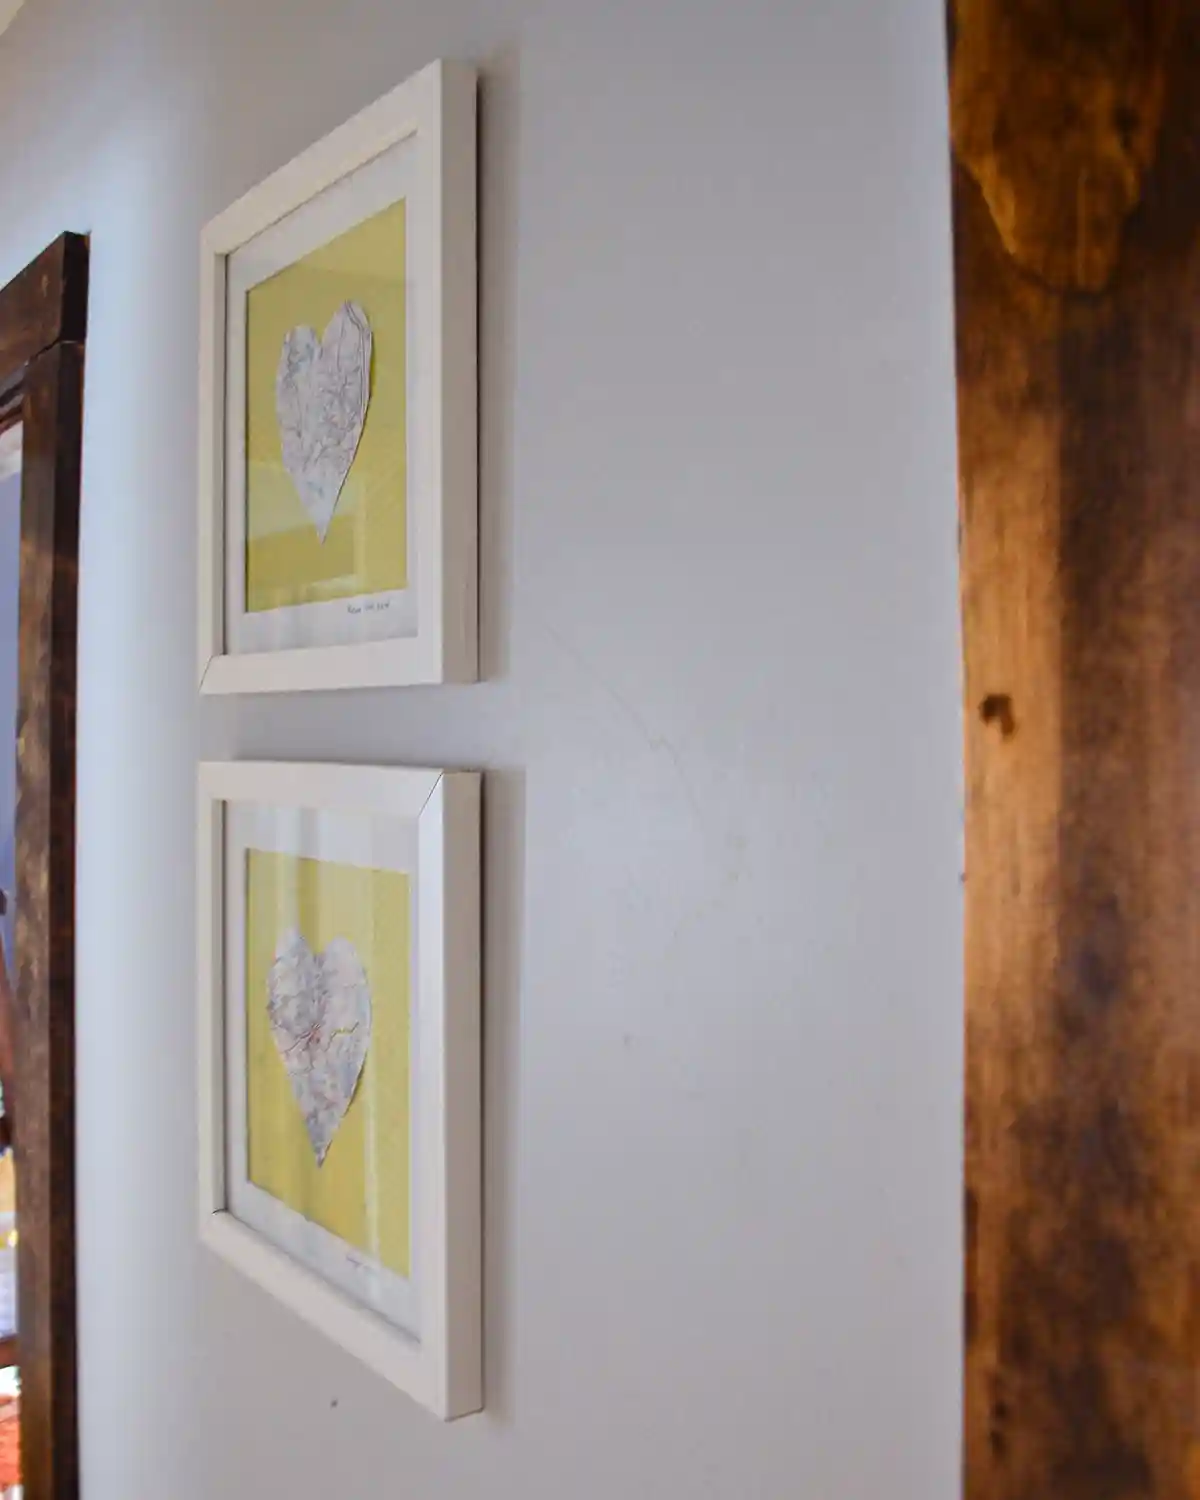
It’s a pretty short and narrow hallway, hence such simple home decor and DIY projects.
Here’s a view from our primary bedroom looking down the hallway at the stairs. Which brings me to story time.
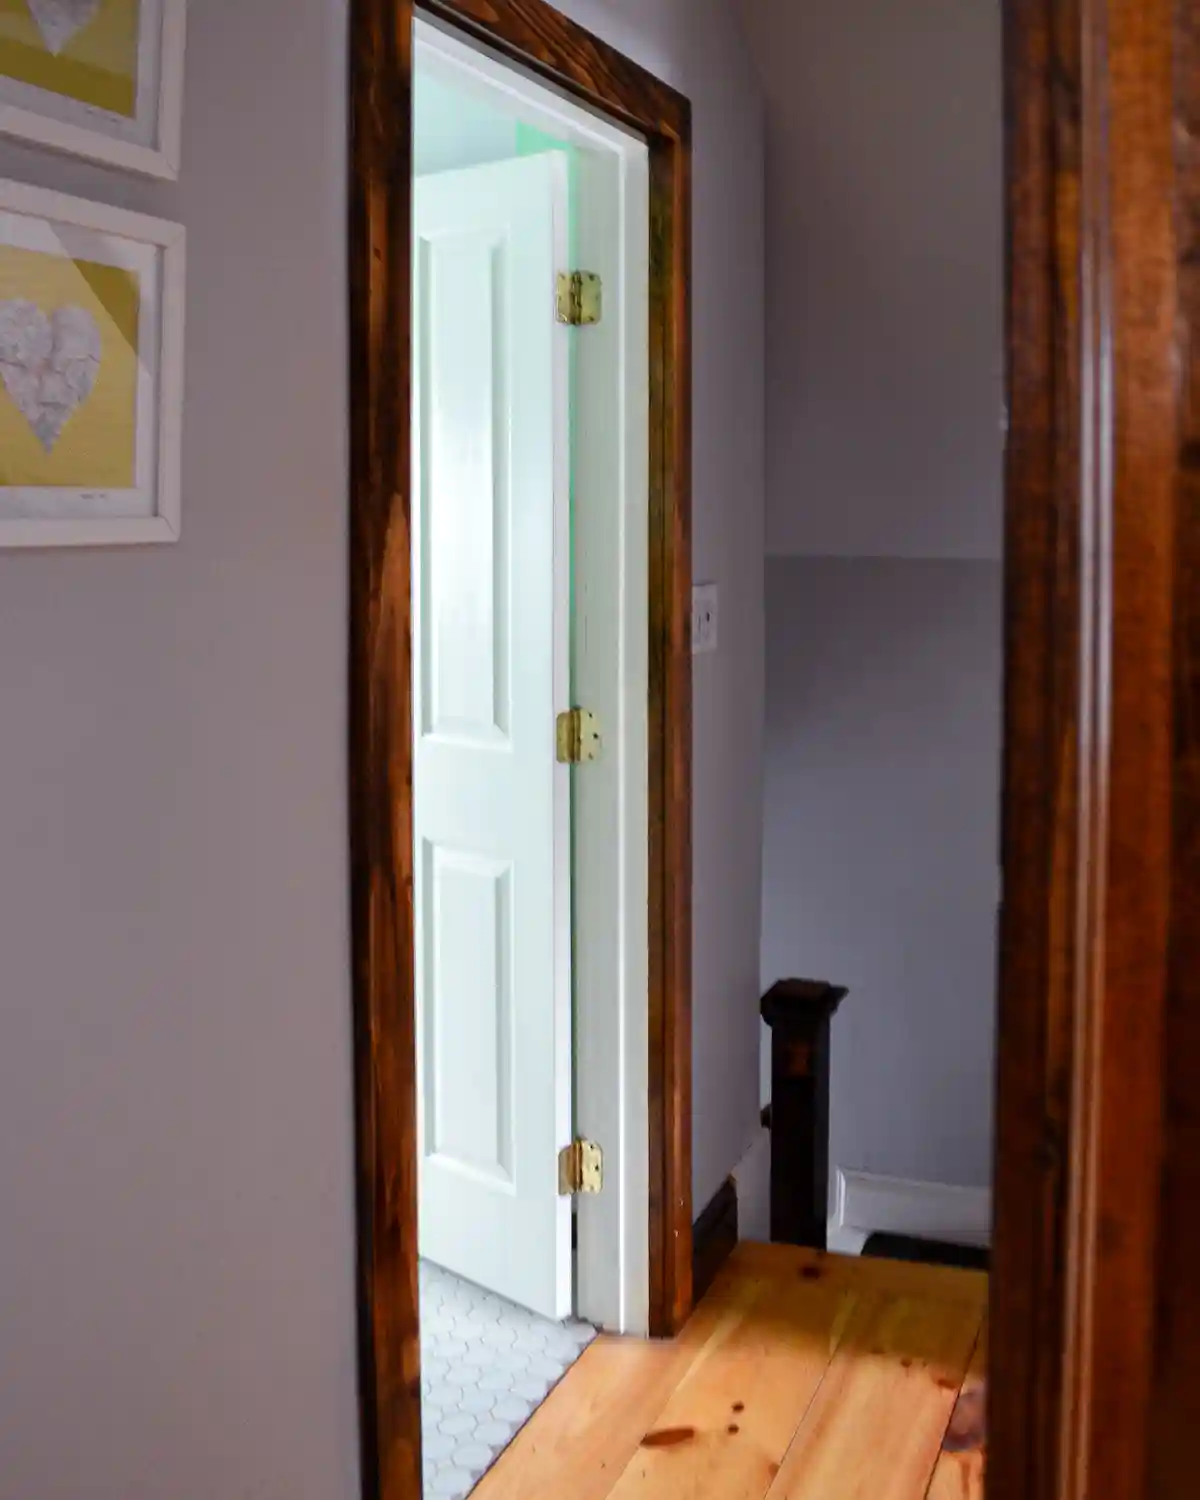
In the first year of owning our home, we tried to renovate the basics. Like removing all the carpeting and paneling, working with what was underneath, skim coating walls, and painting everything. One task in the fall of our first year was trying to get the porch light to work. Two things happened during the investigation period that led us to tackle a much bigger than expected renovation.
First, when we pulled part of the wall away from the porch light switch, next to the front door, to see if there was a wiring issue, we discovered active knob-and-tube wiring along with charred framing around the door. The electrical wires had been arcing and sparking. We later learned from our neighbors that there was a pretty significant electrical fire that the previous owners hadn’t disclosed. Our electrician recommended replacing the wiring ASAP. All of it. We fixed what we could afford at the time, but spent far longer than I care to admit running extension cords to our bedroom and bathroom to power lamps.
Second story. Shortly after our electrical awakening, we were pulling paneling off the walls along both the upstairs and downstairs hallways and the staircase. There’s a pretty big exterior wall that stretches from the top of the staircase (pic above) to the bottom of the staircase (pic below). Now, picture me pulling paneling from the wall just to the right of the door. Accidentally, I pulled a large chunk of the plaster off the wall. After studying the wall for a second because something felt off, I realized there was no insulation in this wall. None! I pulled off a little more of the wall, shone a light up towards the roof, and zilch. No wonder our house was always so cold.
That was the moment we decided to slowly, over time, do a gut renovation of this house one zone at a time. We really wanted to fix the electrical issues along with insulating the whole thing. We did find insulation in the bedrooms, but were greeted with water damage instead to balance it out. Huzzah! But it just felt right to really renovate the spaces. Especially because, at the time, we had no intentions of ever moving.
Sneak Peek At Staircase Renovation
Here’s a quick sneak peek at the staircase. This is a shot looking down the stairs towards the door to the front porch. The opening to the left with the bookcases is the living room. (There’s Goose!) The lighter colors for the wall, trim, and molding throughout make the space feel so much more cohesive.
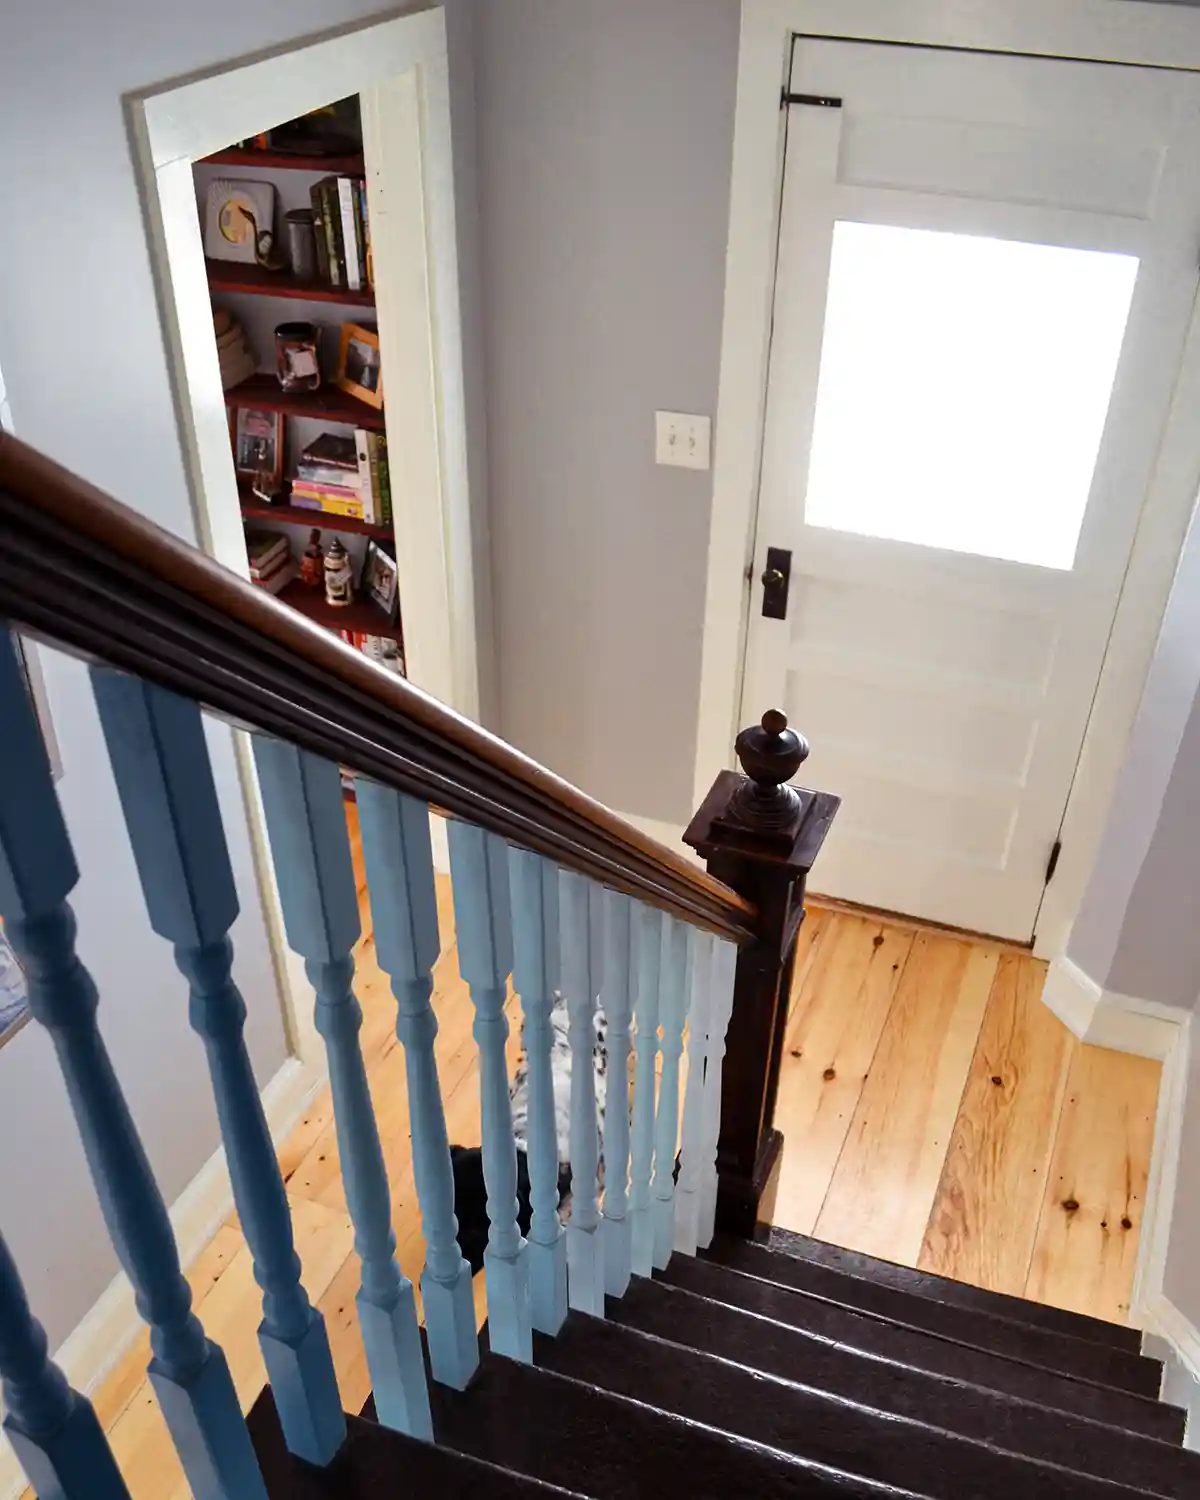
Much of the staircase was repurposed during renovations. We were able to use the existing structure, railing, and stair treads, only replacing the balusters and the trim. But I’ll share more of that later. Let’s move towards the first floor hallway.
First Floor DIY Hallway Makeover
The first floor hallway runs from the front door towards the kitchen at the back of the house. We continued the gray paint and white trim from the second floor down the staircase and through the first-floor hallway all the way to the dining room.
Here’s a shot from the living room. You can see the front door to the left and newell post from the staircase to the right. The art hanging on the walls was from an art class during my college days, black-and-white film photographs that I shot and developed in a dark room. It was one of the coolest and most interesting college classes I have taken. I still have the art to this day, twenty years later.
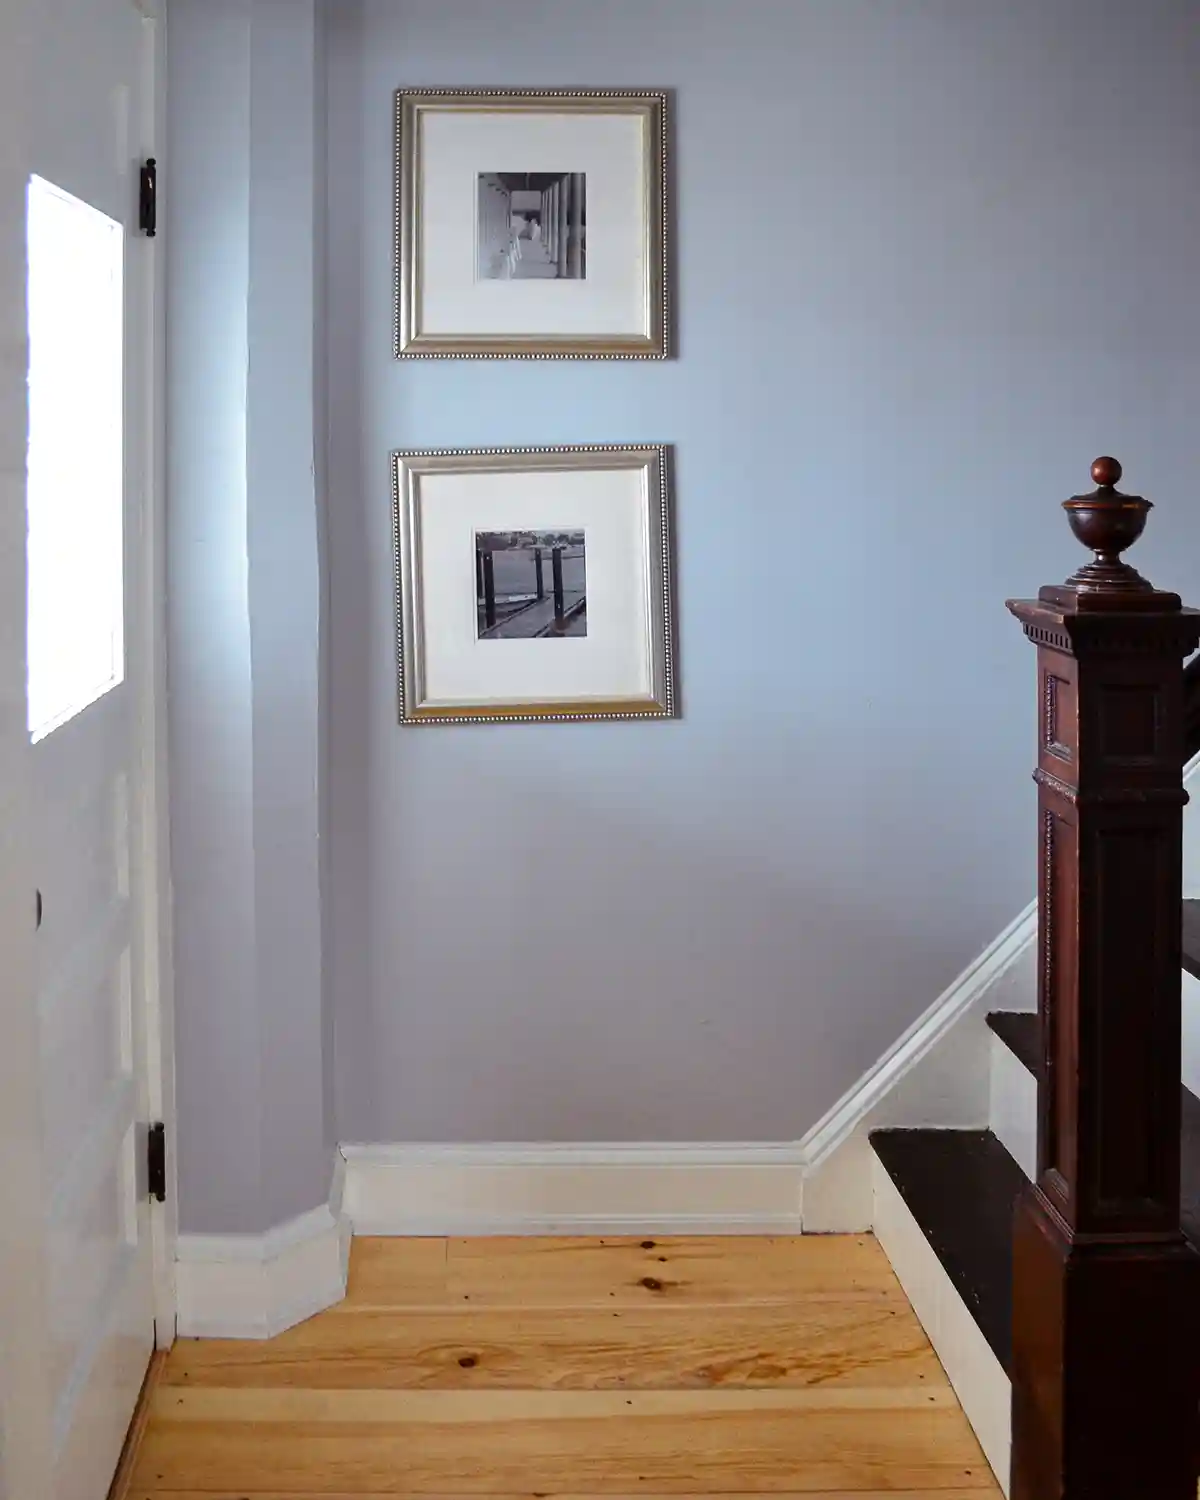
When we renovated this home, we opted to replace all the flooring and carpeting (mostly the carpeting) with new wide pine floorboards for a farmhouse feel (tutorial forthcoming). The second-floor hallway and guest room were the first spaces to get new pine flooring, and they have slightly yellowed over time. The pine on the first floor was less than a year old when I snapped these pictures. We chose the pine not only for the charm and character but also because it was much less expensive than hardwood floors.
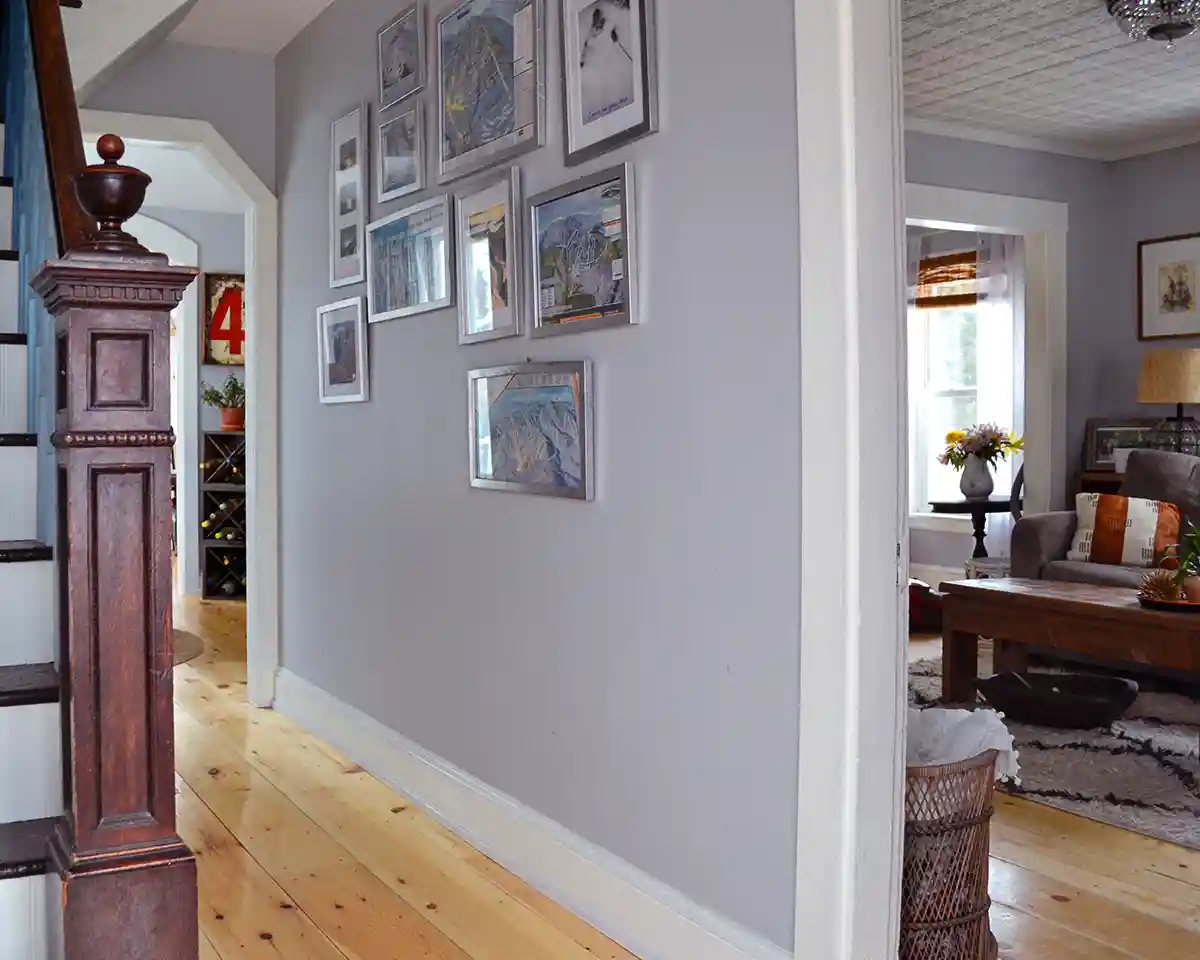
I love how this wide shot of the first floor of our home captures just about every space in one view. You can see the stairs and the hallway leading to the dining room and kitchen next to the living room with the cozy rug and parlor beyond. Plus, can you see that original, 1910 ceiling in the living room?! The living room was the original kitchen in the house before an addition and remodel in the 70s.
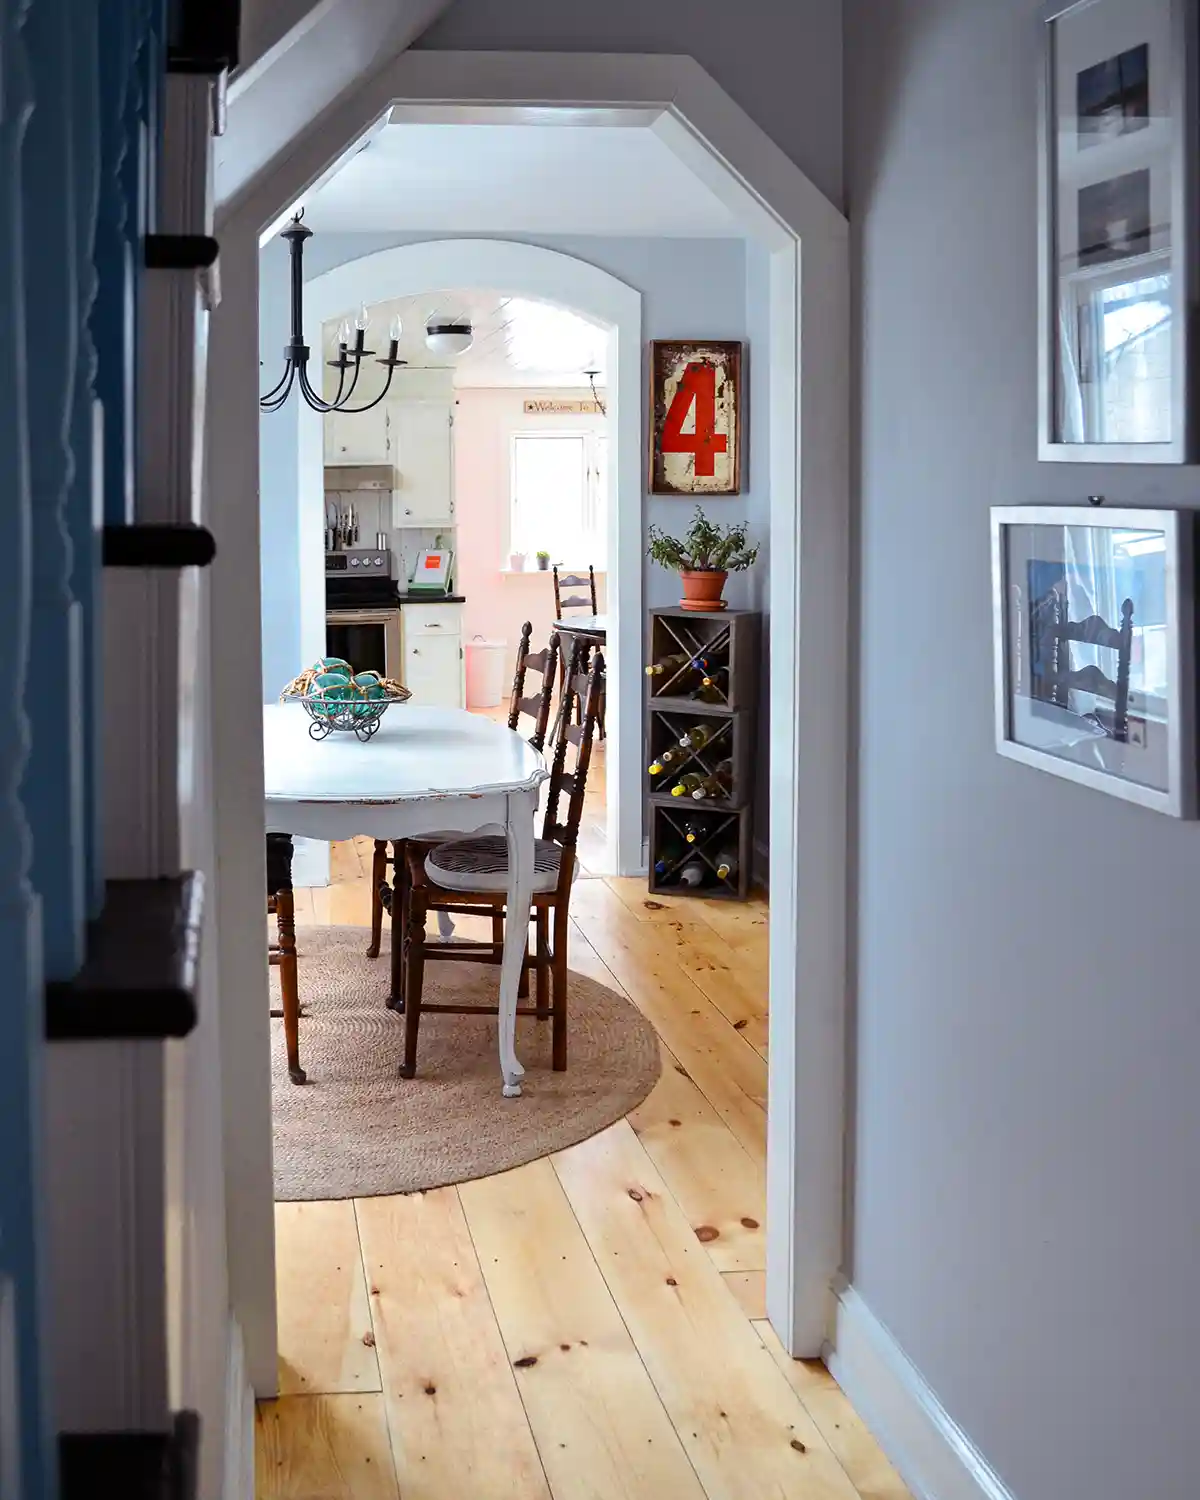
Here’s a better view looking down toward the end of the hallway, into the dining room and kitchen, which both receive so much natural light. This was another thing I would fix if I were living in the home now. Colby renovated the dining room and trimmed it out while I was away for two weeks for school. He added an arch to one doorway but kept the other one angular. If I could have a do-over, I would make both arched.
Sometimes it pains me that we didn’t FINISH finish this house. We still had so much more we wanted and planned to do. But then I’m grateful for the home and life we have now, after moving to Vermont to be closer to family. And besides, is a house ever really finished?! Hard no.
Ski Map Gallery Wall
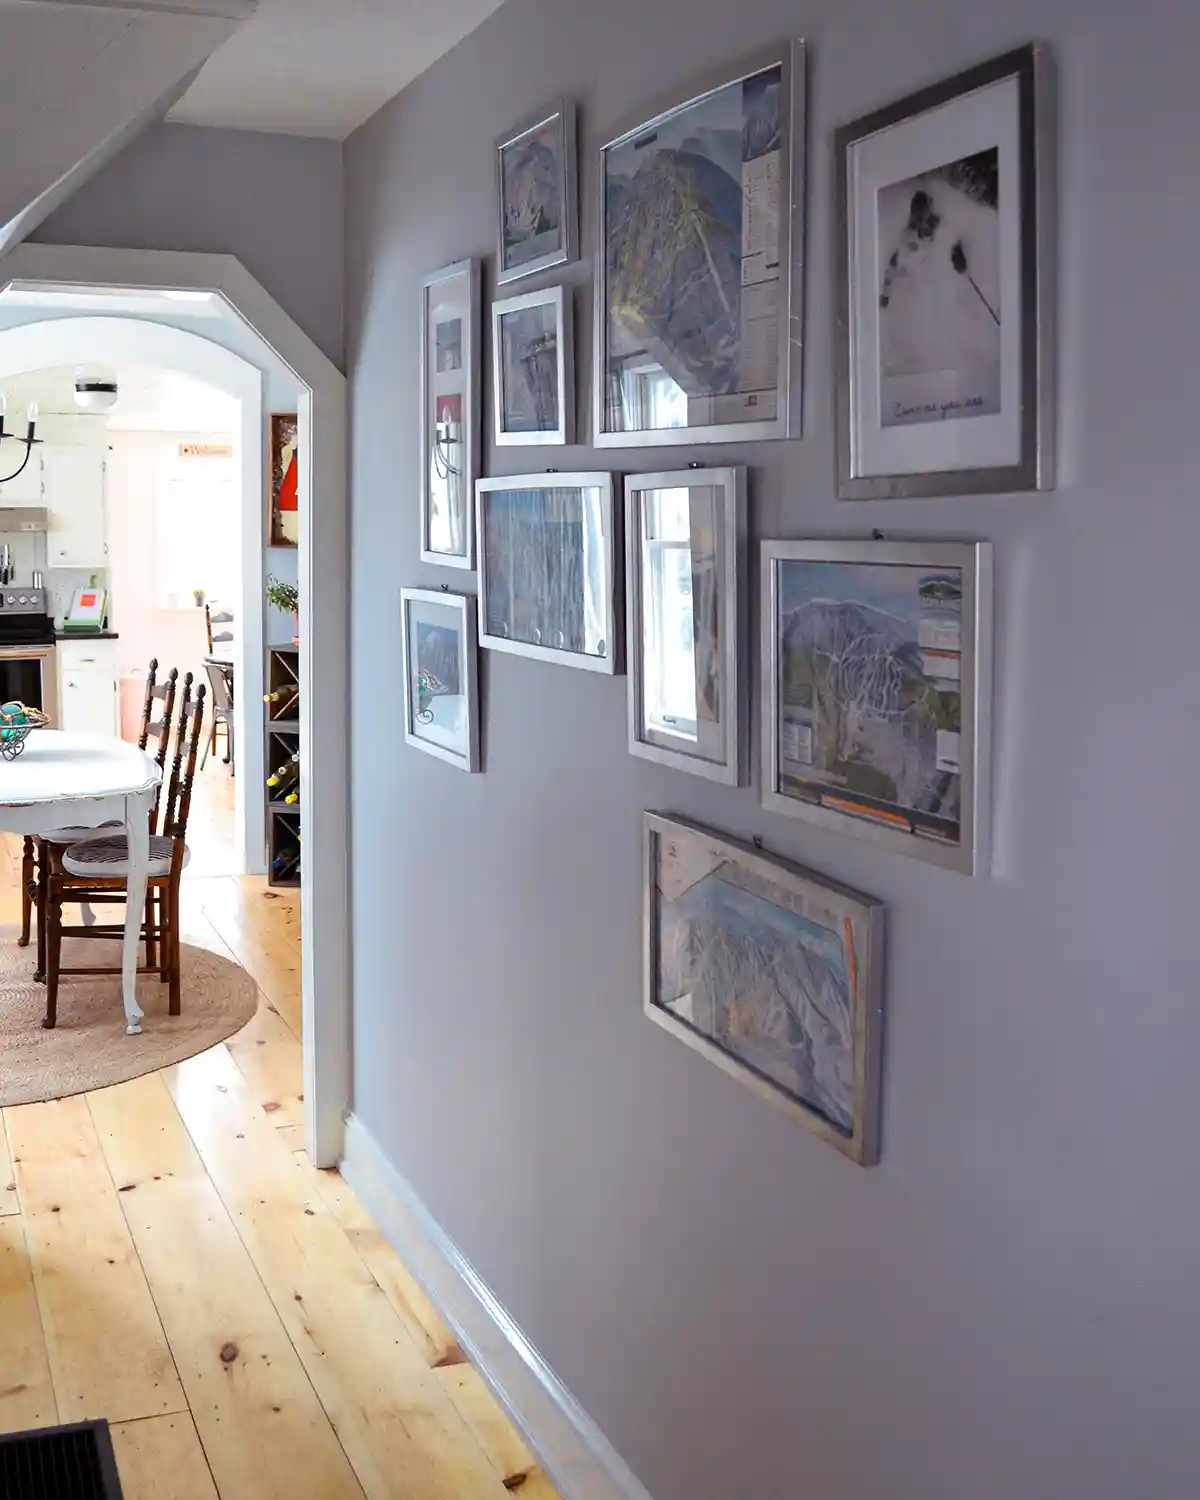
Throughout the years, I’ve always been an avid skier. I raced both downhill and cross country in high school and college, and to this day I work for the Killington resort in Vermont as a ski instructor. During my college years, I started collecting ski maps from all my favorite mountains. You know, back before the days of apps and digital guides. In college, I taped them to my walls. During my apartment-dwelling days, I framed them, and slowly the collection grew. They found a home as a ski map gallery wall on our first-floor hallway wall. I’ll have to share more about this fun project as well. Although now that I have a family, the ski maps might have gotten traded in for family photos.
And that concludes our tour of the hallway renovations from our first home in Maine. As a reminder, glance back to see some of the before shots of the halls and staircase. They were doozies! These projects were a labor of love, were done on a tight budget, and took us almost five years to (mostly) finish. You can also take the before tour of our entire house for more of a 70s vibe.